
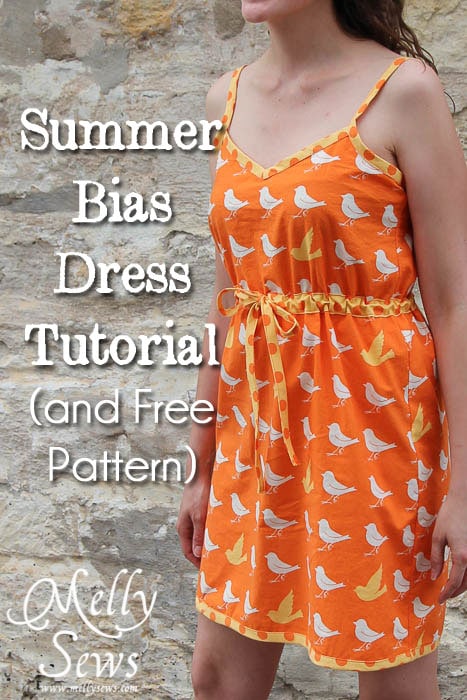
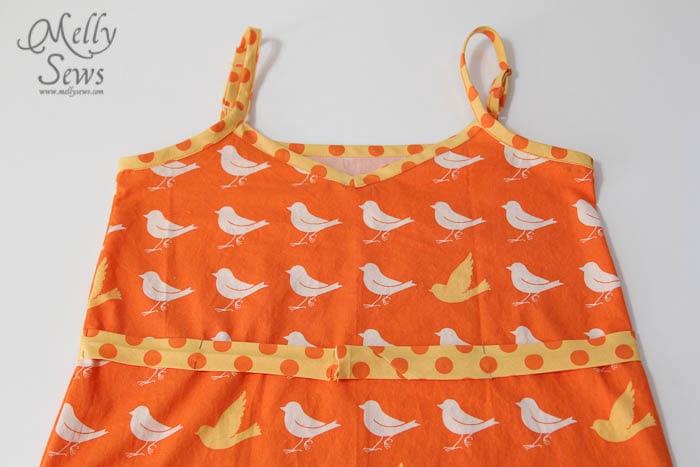
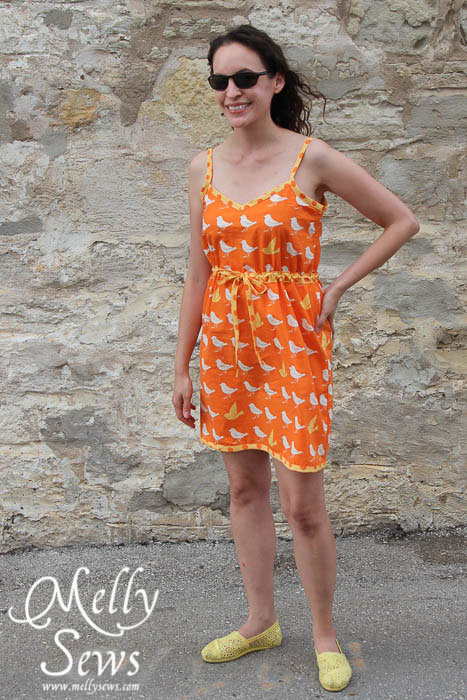
Presenting… my third sundress tutorial this month! Today’s tutorials is for this Summer Bias Dress using fabrics from the Oh Deer collection that I got from sponsor The Ribbon Retreat. This is one of those make me smile dresses. And sidenote – this would also be awesome as a pool cover up.
You’ll need:
- 2 yards of fabric
- 6 yards of 1/2″ double fold bias tape
- lingerie sliders
- 1/2″ wide elastic
- The pattern, see below
How to Get the Sundress Pattern
The pattern is in a women’s size XS (32-34″ bust). If you need to make the pattern bigger or smaller, check out this post. To get this pattern, click your preferred option from the buttons below as a newsletter subscriber or gallery access pass purchaser. Note that the free version of the pattern does not have printable instructions.
 |  |  |
Please note that all my free patterns are licensed for personal use only (no selling items made from this unless you purchase it) and by downloading you are agreeing to this license.
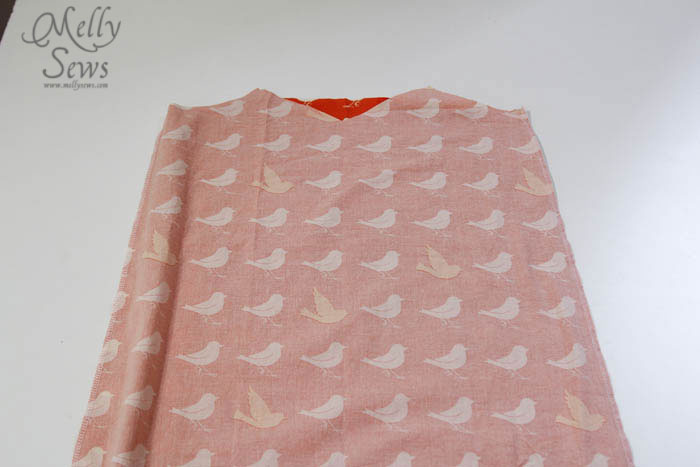
Start by cutting out your two pieces on the fold of the fabric.(I’m short, so you may want to add more that the 20 inches specified. In fact, I kind of wish I had added about 2 more inches. But hey, if you want it to be a pool cover up, 20 is probably fine unless you’re taller than 5’5″ )
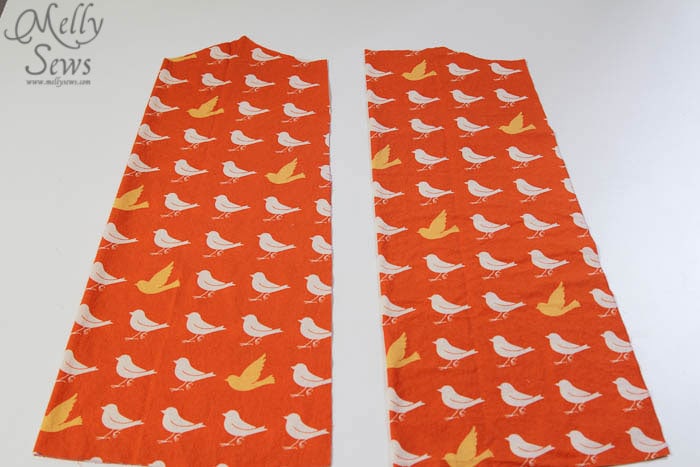
Place the two pieces right sides together and stitch down the side seams, finishing with your preferred finishing method. Don’t know how to finish seams? Check this tutorial.
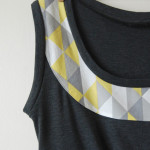
Pin bias tape to the wrong side of the center back. Stitch along the fold closest to the edge of the fabric. New to bias tape? Check this tutorial.
Fold bias tape to the right side of the fabric, pin so the folded edge covers the seam line from the last step, and stitch.
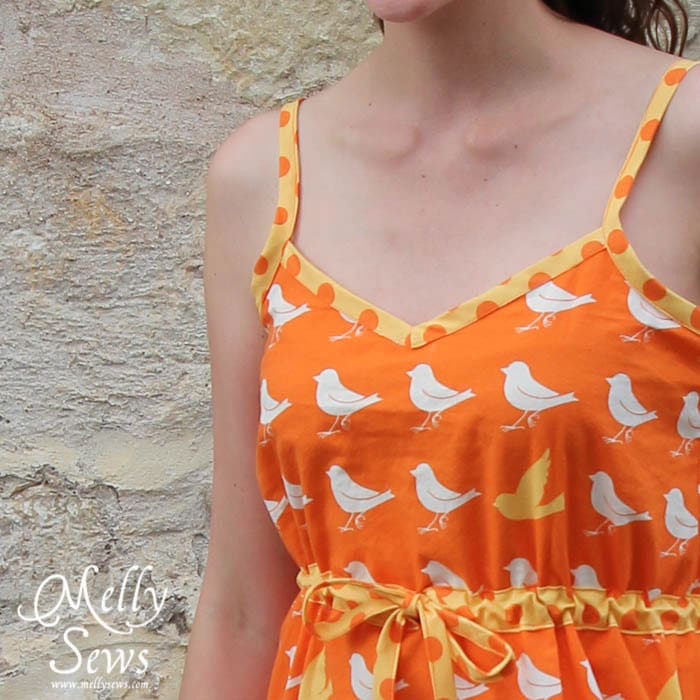
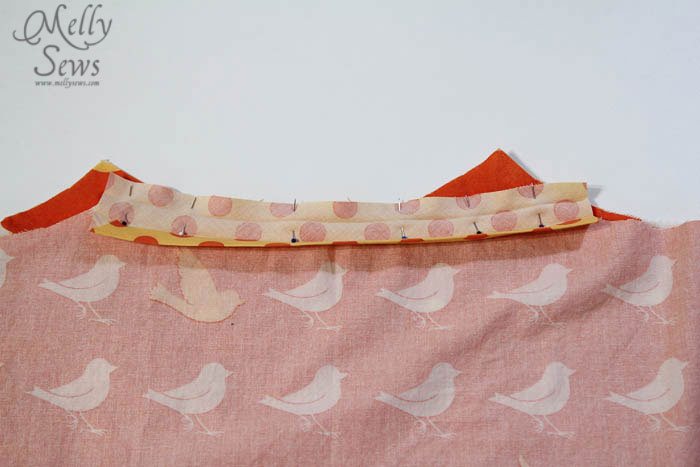
Use the guide on the pattern to cut two pieces of bias tape for the center front of the dress.
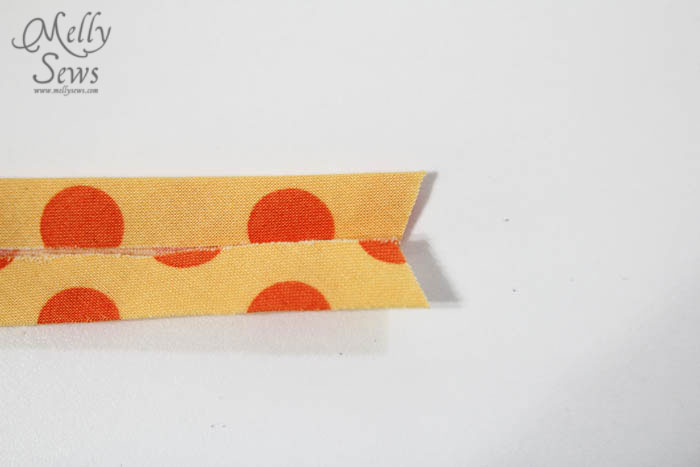
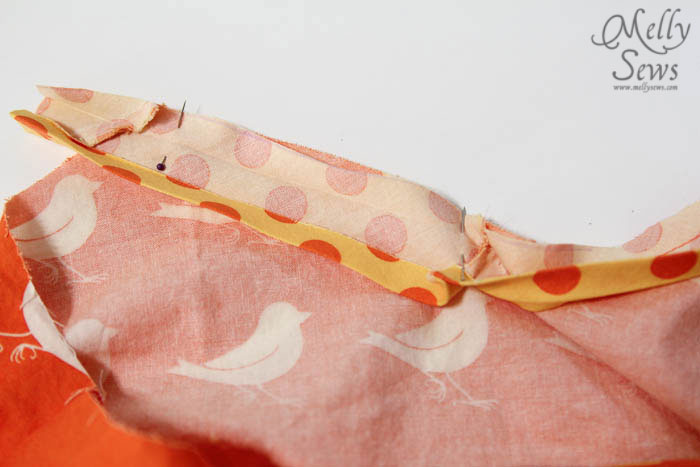
Open bias tape and pin cut edges like this.
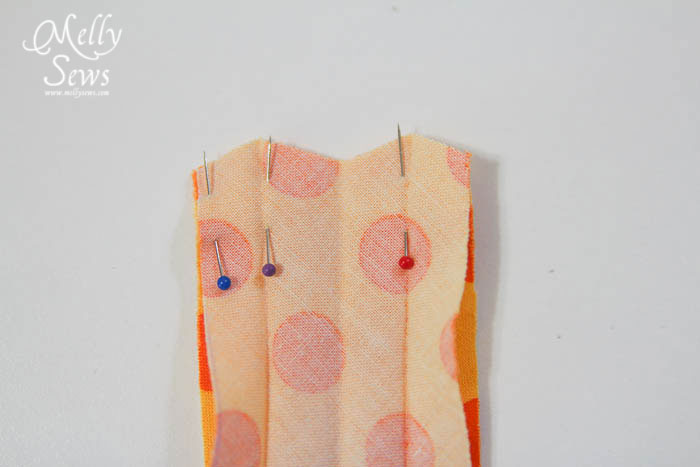
Sew together as shown.
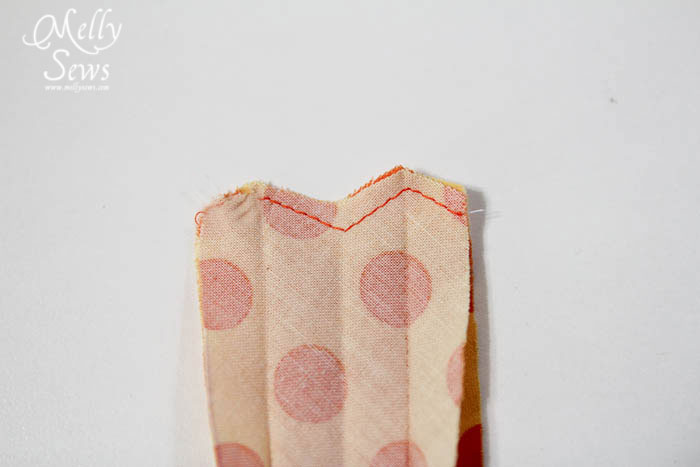
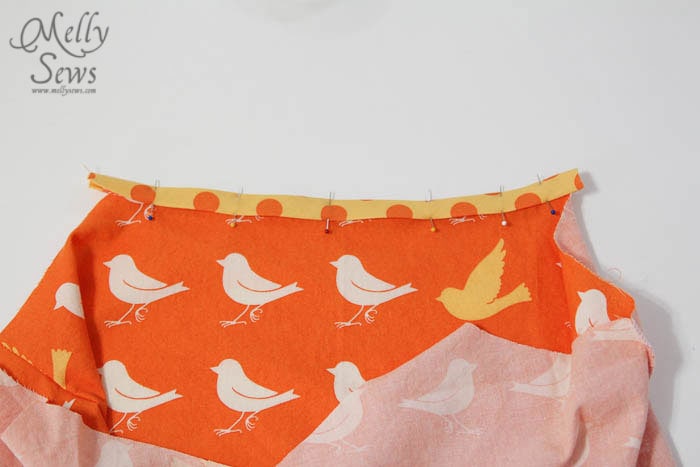
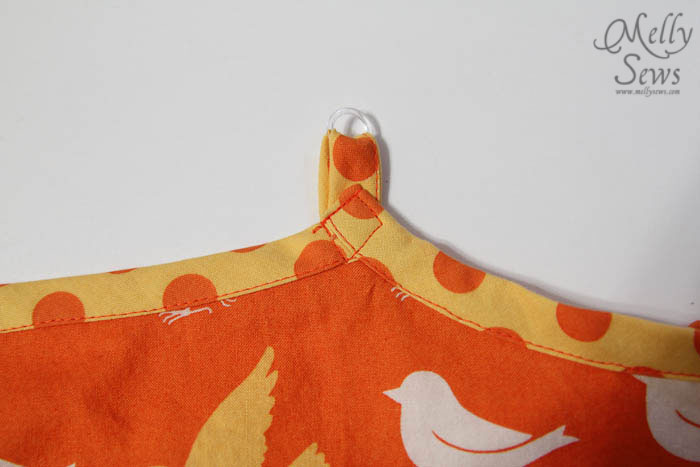
Align the non-sewn peak of the bias tape at center front on the wrong side of the fabric on the dress front. Stitch on the fold line from the edge to the center front.
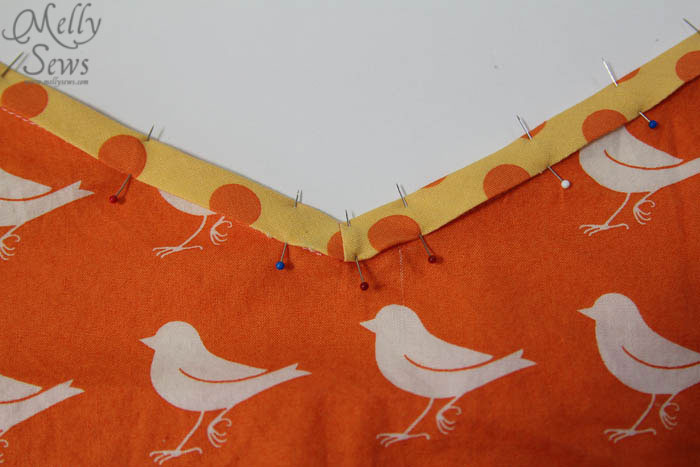
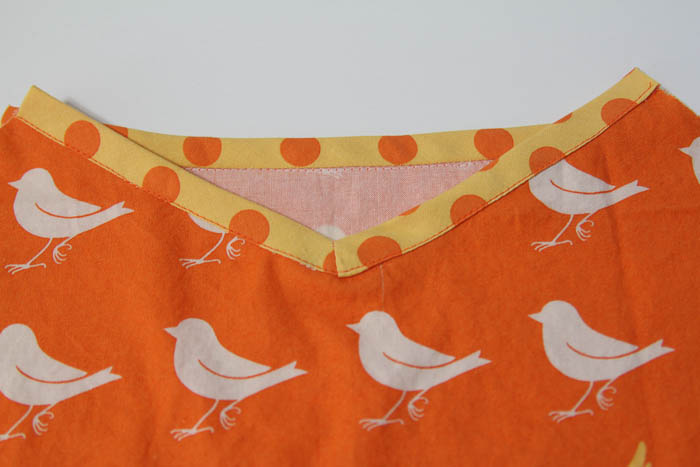
Turn the bias tape at center, pin, and stitch from the center front to the edge.
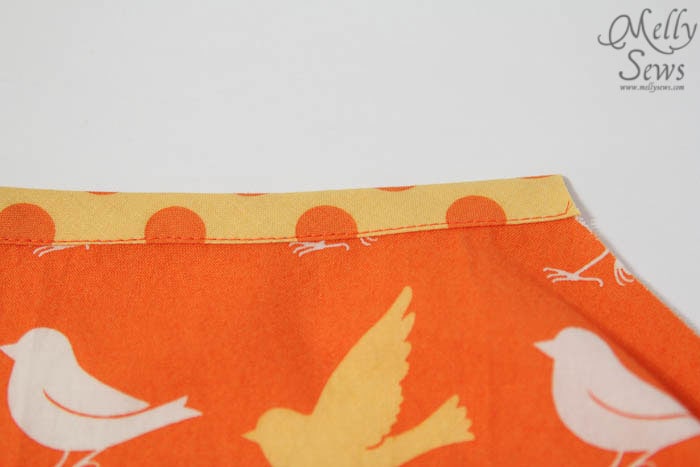
Fold bias tape to the right side. Pin and stitch. Trim off excess at ends.
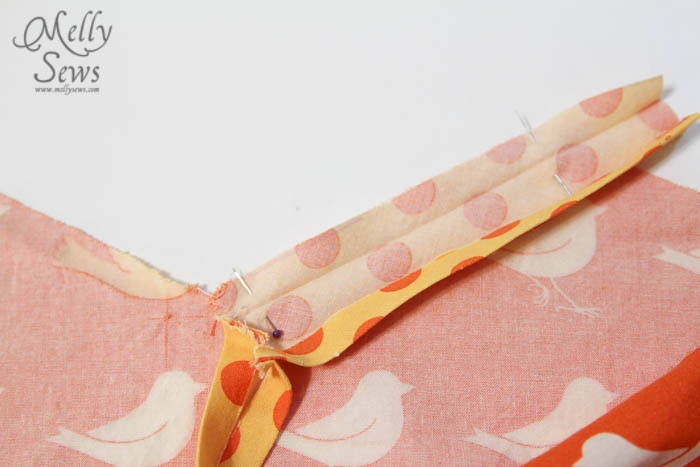
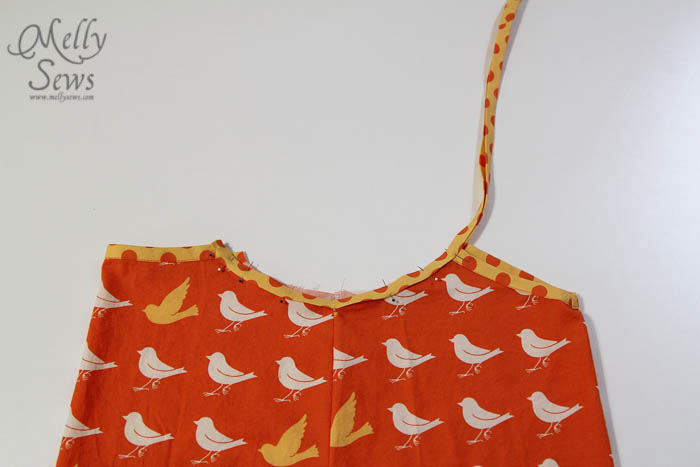
Cut 2 18″ pieces of bias tape. Starting at the back side of the dress, unfold and pin bias tape as shown in the arm curve, making sure to leave some excess hanging off the back edge – about 1/2″. Stitch down the fold line closest to fabric edge.
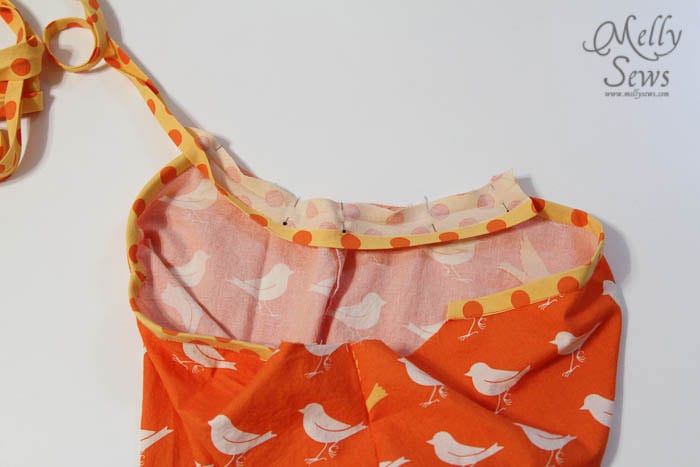
Fold bias tape to right side, folding raw edges under at the short ends. Pin and stitch in place, continuing your stitching up along the strap, closing the bias tape.
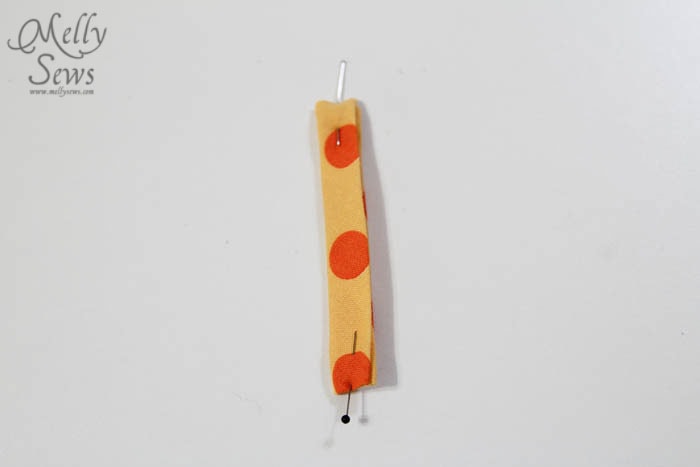
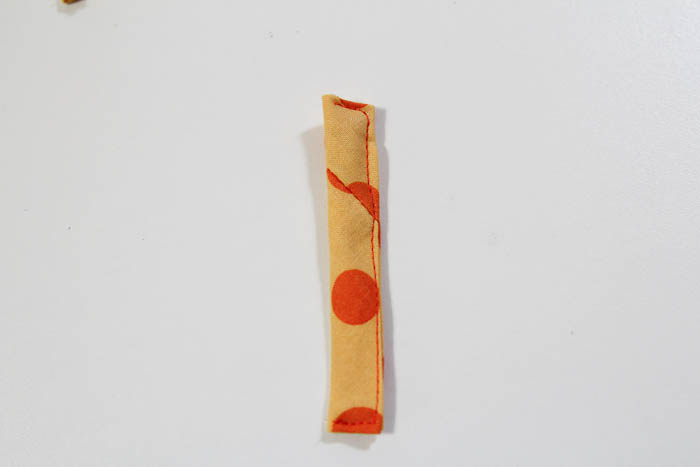
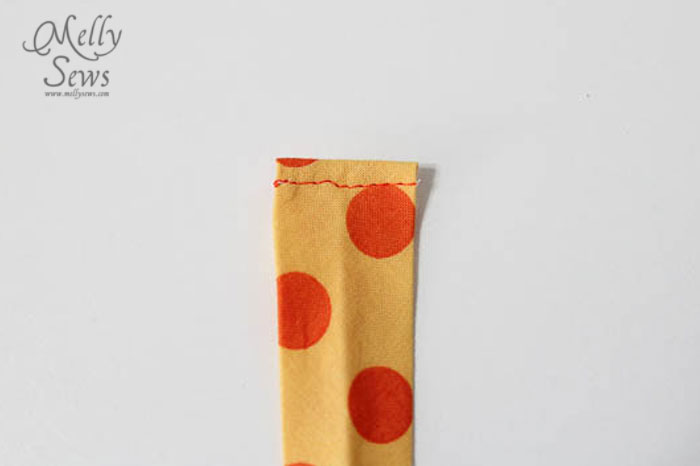
Cut 2 3″ pieces of bias tape. Fold raw edges in and stitch.
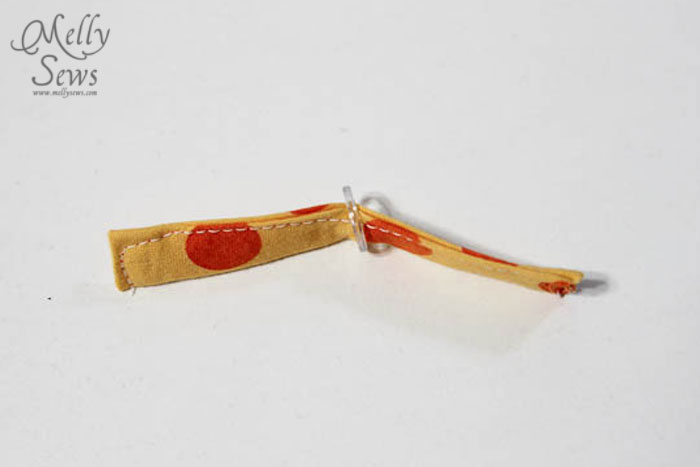
Slide through rings of lingerie sliders.
Pin to back corners of dress and stitch in place with a square, as shown below.
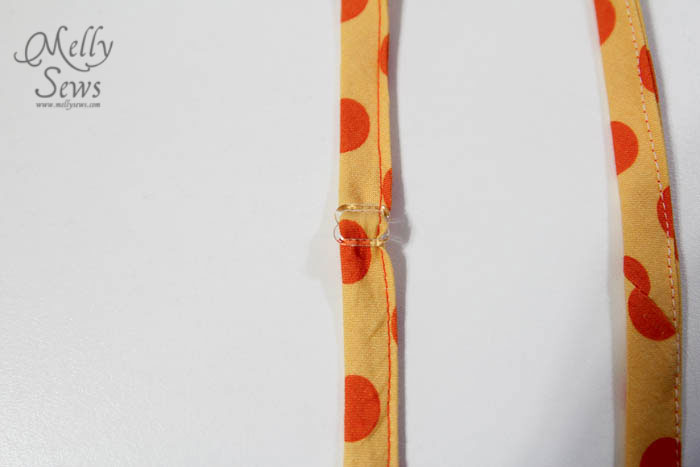
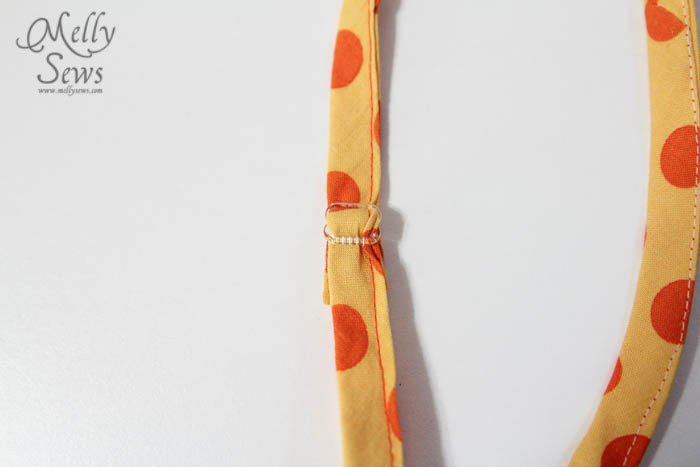
Thread long ends of straps through other pieces of lingerie sliders.
Thread straps up through the lingerie rings.
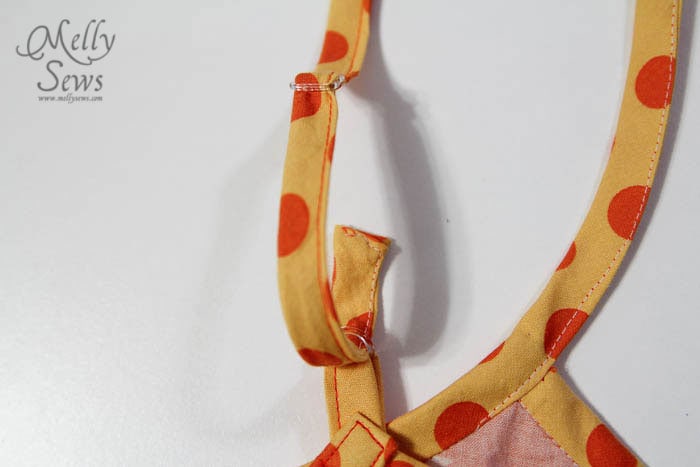
Thread ends of straps through lingerie sliders again. Tweezers or needle-nose pliers can be helpful here.
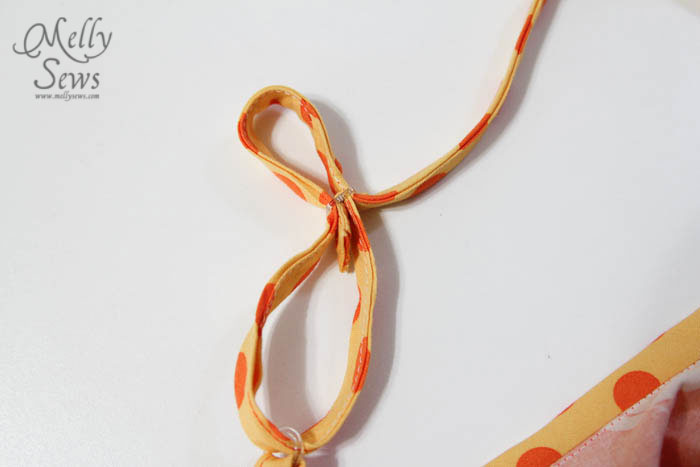
Stitch end of strap to itself around lingerie slider using a short stitch length and a medium zig-zag stitch, then pull straps tight.
Try on your dress. Mark where you want the waist to be.
Cut one more piece of bias tape the same width as the waist of your dress. Iron it flat, so that it is 1″ wide single fold tape. Fold the short ends under 1/4″ and stitch in place.
Pin this to the waist, checking that it is level all the way around, to form the waist casing. Stitch on the top and bottom edge, leaving the short ends open so you can thread the drawstring.
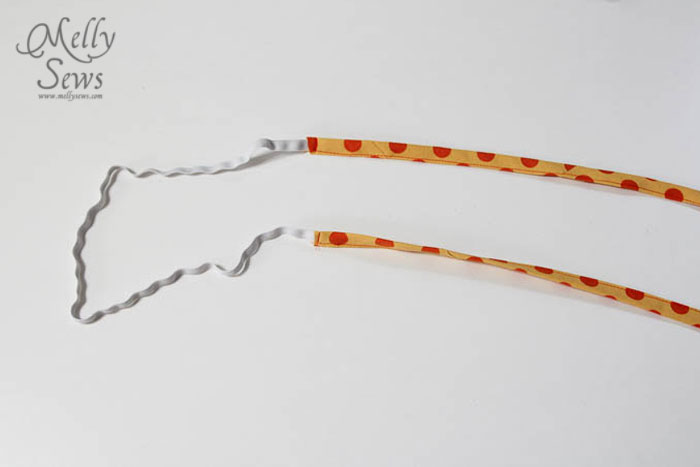
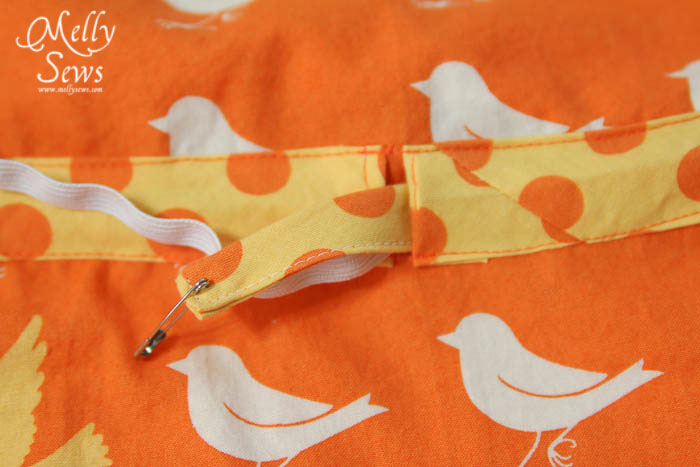
Cut a piece of elastic 6″ shorter than your waist. Cut 2 12″ pieces of bias tape. Sew them shut as you did for the dress straps, and then sew onto the elastic at either end to make your drawstring.
Using a safety pin, pull the drawstring through your waist casing.
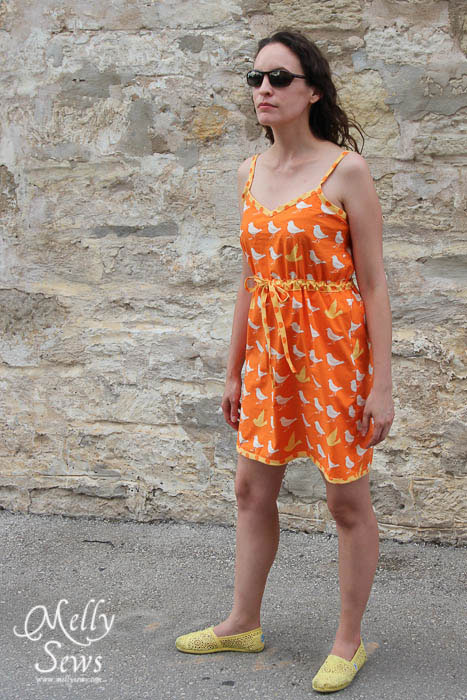
Cinch it up, tie a bow, and put your dress on.
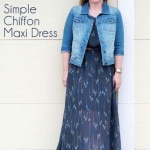
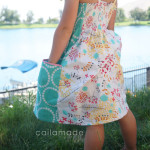
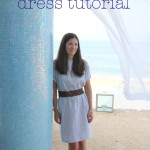
And in case you’ve somehow missed out on one of the awesome and fabulous tutorials this month, you can click any picture to go to the post.
 |  |  |  |
 |  |  | |
 |  |  |  |
 |  |  |  |
 |
Ajaire
This dress looks so cute with your toms! I am a recent Toms convertee and I am in love with the comfort. This is so summery 🙂
Amy
Love it! I just ordered some fabric from that line to make the kids floor pillows. It’s so bright and fun!
Jess the Sewing Rabbit
You are so cool in your glasses. Lol – I have been wondering whether or not to do a photoshoot with these can’t live without accessories!! You look awesome. Love the dress!
Martha
Your patterns are a size small.
Can you give me an idea of the measurements (bust,waist, hips) so I can see how much I may need to alter to make it fit me. (small can mean many things depending on who the designer is…)
thanks!
Melissa
My bust is 34″, hips 36″ if that helps with this pattern.
Martha
It will.
(You have stated your height before so I can also adjust for that.)
Thank you. 🙂
louise
Love this one! and the fabric!! So summery!
Velosewer
This would be a perfect dress for the summer.
Justine @ muchocolor
This dress is so cute but the fabric is just cuter! Awesome tute!
Janet
Kudos for your technique for the bias binding on the front v-neck! I just made this for my teenager and it turned out great..
Hannah
Hi
I love this dress, but I’m not that small 🙁 I’m a bust 38. Not sure on my waist as I haven’t measured, but is it as simple as just adding on 4-6 inches to make it my size? Sorry I’m new to sewing for myself!