
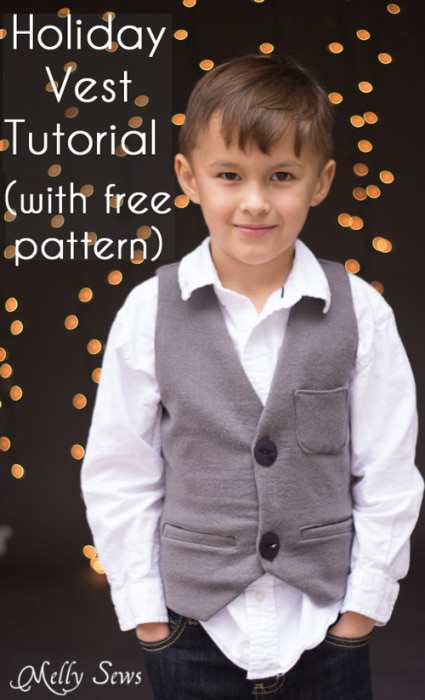
Hey y’all – today I’m going to show you how to sew a vest – and I’ve got a free pattern to share! My boys have been channeling a little bit of a hipster look in their fashion choices lately, so I was happy to make them vests (which they loved) for our Christmas card photos this year.
True story: one of the worst sewing fails I can remember was when I was in high school. Back in the 1990s, vests were in style (think the original 90210 series for fashion reference). And I was going to sew myself one. For whatever reason I decided to cut out my fabric unfolded. And I didn’t flip my pattern or fabric face down to cut the second vest front piece. Which resulted in cutting out two left sides. So I went back to cut another front. And cut ANOTHER left front side. At which point I was out of fabric. After buying more, I finally cut a right front side.

But did my vest woes end there? Oh no. Because just like I refused to follow the cutting layout instructions, I didn’t even glance at the sewing instructions. So I sewed my vest, then sewed the lining, then carefully placed them right sides together and sewed around the armholes and around the whole outside edge of the vest, leaving a hole in the bottom edge to turn it right sides out.
Do you see where this is going? Yes, I could not turn my vest (if you’re having trouble picturing this, it’s because the armholes were sewn as well as the shoulders. Imagine trying to turn a donut right side out without breaking it, and you’ll see what I mean).

So. I have carefully put this tutorial together so you won’t repeat my mistake. Because when done properly, vests are actually really easy to sew.
Here’s what you’ll need:
- 1/2 yard of main fabric and 1/2 yard of lining. I used a wool for the outer fabric and satin for the inner fabric, but you can use pretty much anything. If your fabric doesn’t have much body you may want to interface the main pieces.
- 3 3/4″ wide buttons (astute observers will note I only used 2 buttons. I’ll talk more about that later, but the pattern is designed for 3)
- The pattern, see below
How to Get the Boy’s Vest Pattern
This free pattern is in a boys size 5 (chest 24″). If you need to make the pattern bigger or smaller, check out this post. To get this pattern, click your preferred option from the buttons below as a newsletter subscriber or gallery access pass purchaser. Note that the free version of the pattern does not have printable instructions.
 |  |  |
Please note that all my free patterns are licensed for personal use only (no selling items made from this) and by downloading you are agreeing to this license.
***Note: I did not sew a straight size 5 for my boys. They both measure 22″ in the chest, so I used the methods in the post linked above to reduce width. I also lengthened Tater’s by 1″, since he’s a size 6 in length. That’s the beauty of sewing your own – you get to size things perfectly.
Use the instructions on the pattern to cut your vest pieces. Note that the back piece is cut on a fold for the main fabric and in two pieces for the lining – and that there are two different lines on the vest back so you can do that.
Seam allowances are all 1/2″ unless otherwise noted. Transfer button and upper pocket markings to the outside of the left front piece. Transfer welt pocket markings to the outside of the vest front pieces and the wrong side of the pocket pieces. Transfer dart markings to the wrong side of the main and lining vest fronts.
Optional first step: cut 1/8″ off the edges of the pocket lining and the front and back vest lining pieces. This will cause the lining to be ever so slightly smaller than the main fabric, which will cause the seams to roll toward the lining when the vest is turned and make for an overall neater appearance. This also makes the edges easier to press.
Place the two vest back lining pieces right sides together and sew the center back seam, leaving a hole in the middle of the seam for turning the vest later.
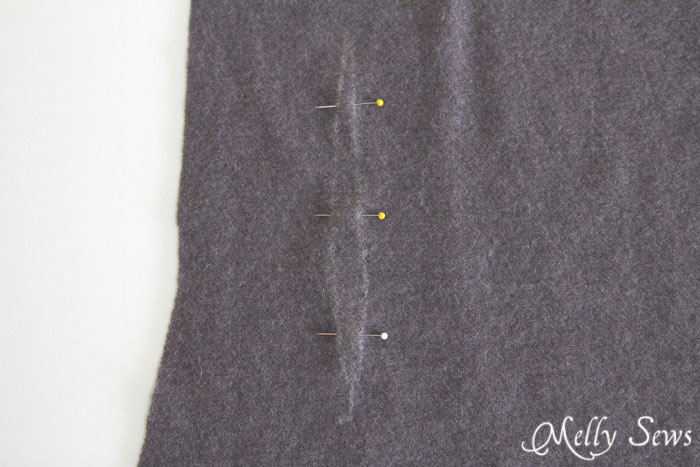
Pin the darts in the vest front and lining pieces. I like to place 3 pins straight across and then pinch the darts along the pins and finish pinning. Sew darts right on the dart marking lines.
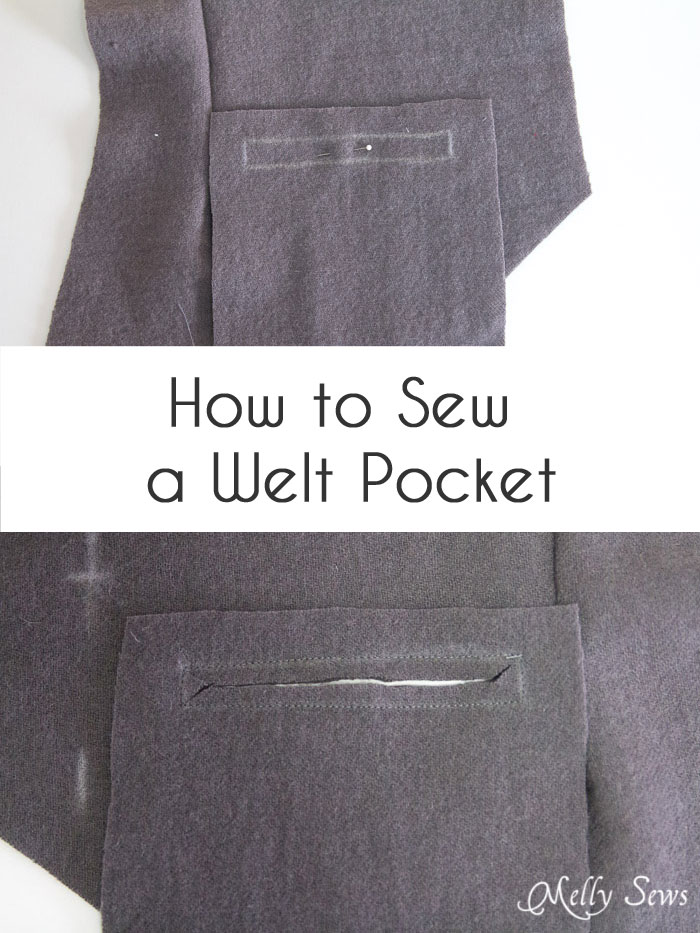
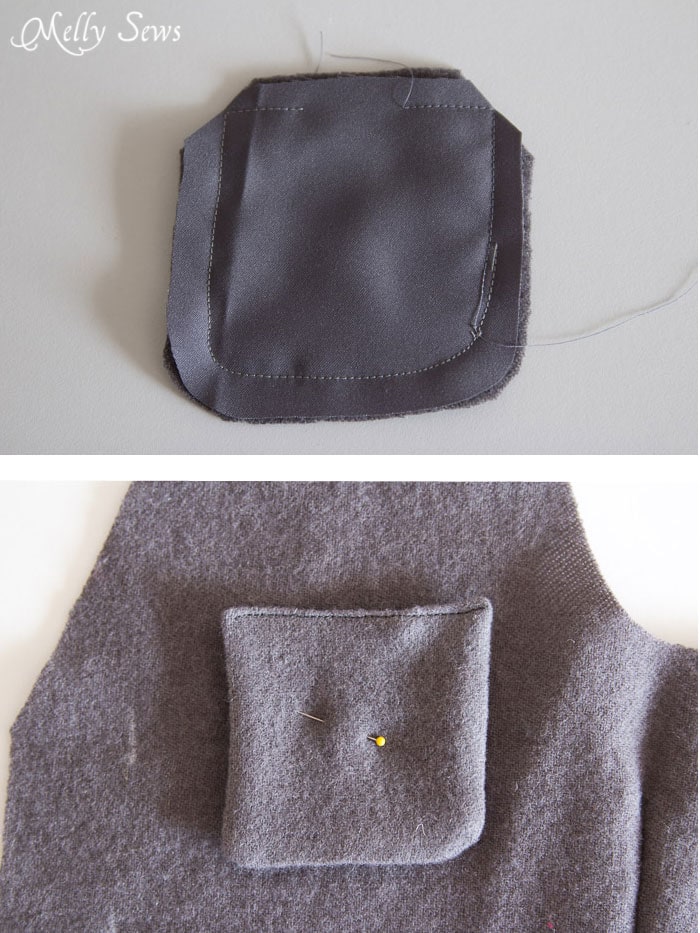
Place the welt pocket pieces right sides together with the vest fronts, matching the welt markings (I use pins through the corners to do this).
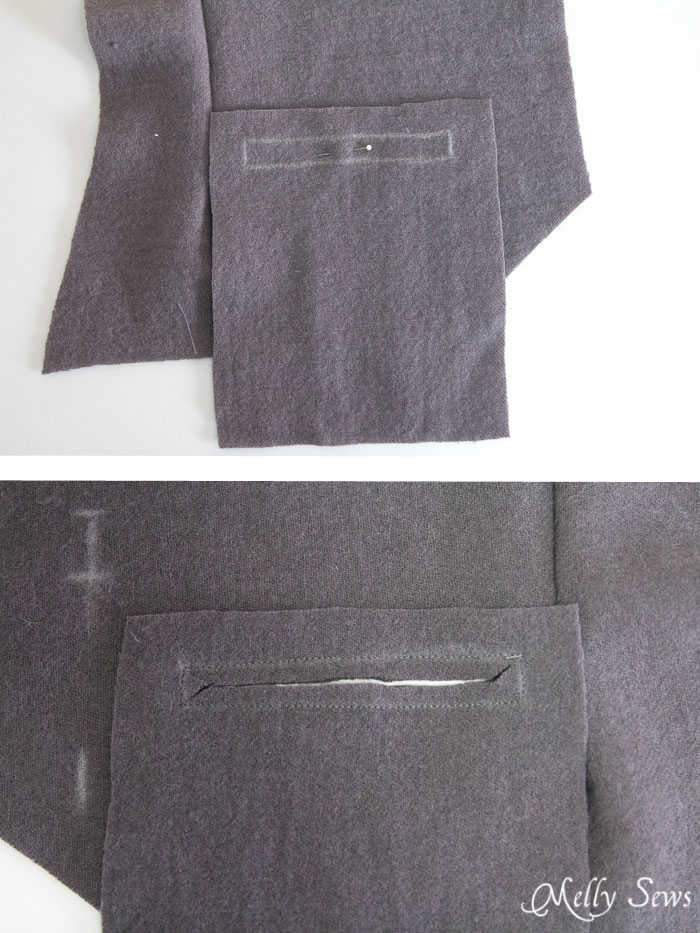
Sew right on the welt pocket outer line, stopping with the needle down to turn the corners, then cut along the dashed lines in the center. Cut all the way to but not through the stitching lines at the corners.
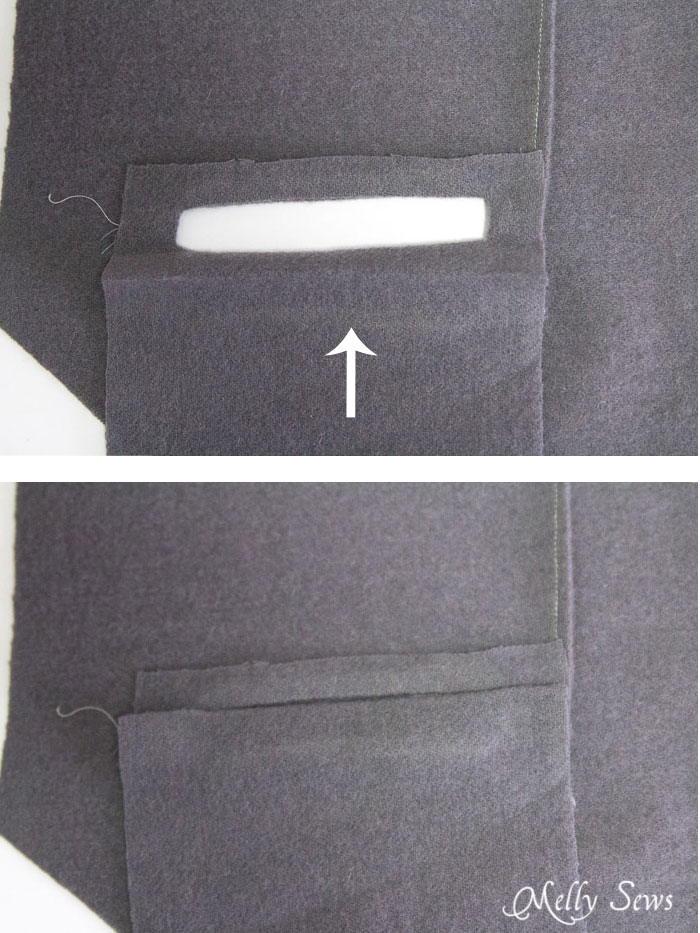
Turn the pocket to the wrong side of the vest front. The pocket and vest are now wrong sides together. Press the pocket opening.
Fold the lower part of the pocket up to cover the opening. Press.
On the right side of the vest, stitch around the welt to hold it in place, stitching very close to the pocket opening edges.
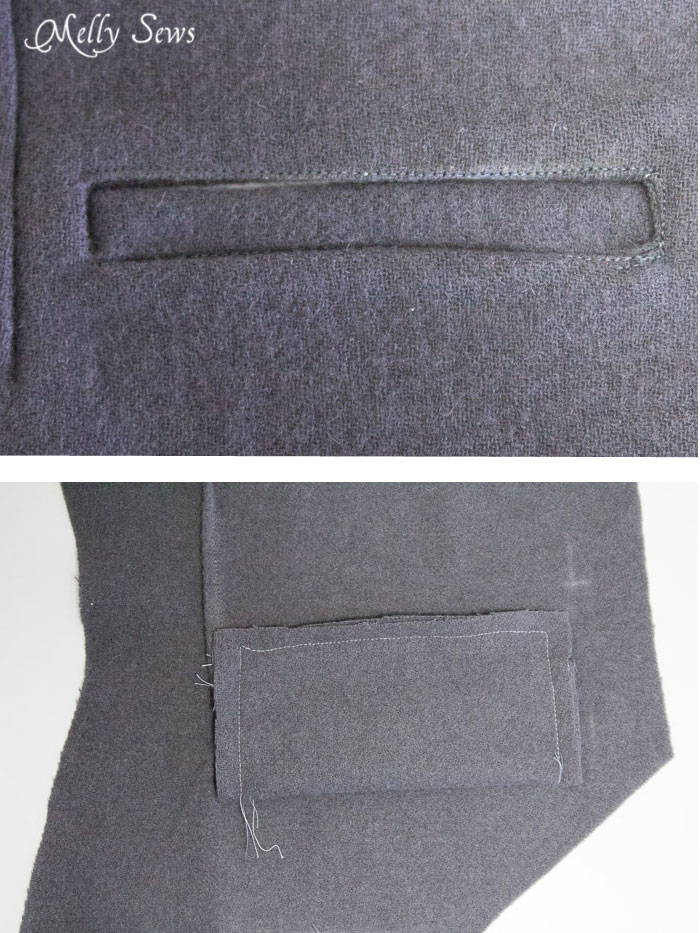
On the wrong side, fold the pocket in half and sew around the three raw edges, folding the vest out of the way so you are only sewing on the pocket.
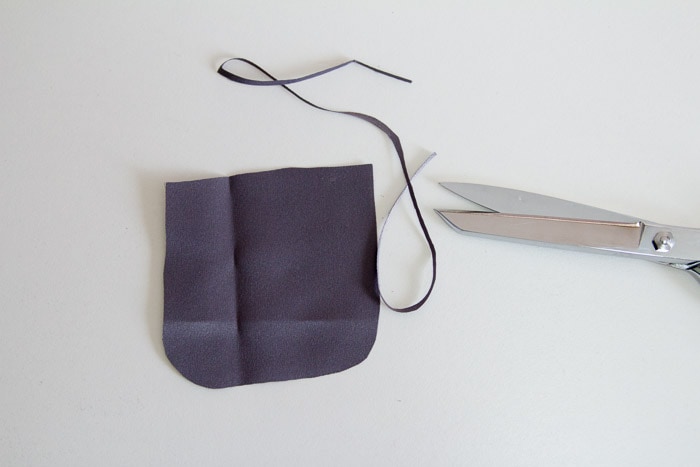
Sew the pocket to the lining, right sides together and leaving a hole on the straight edge to turn the pocket. Clip corners and curves, turn and press.
Topstitch the straight edge, enclosing the raw edges. Then pin the pocket to the left vest front and stitch it in place, backstitching at the beginning and end.
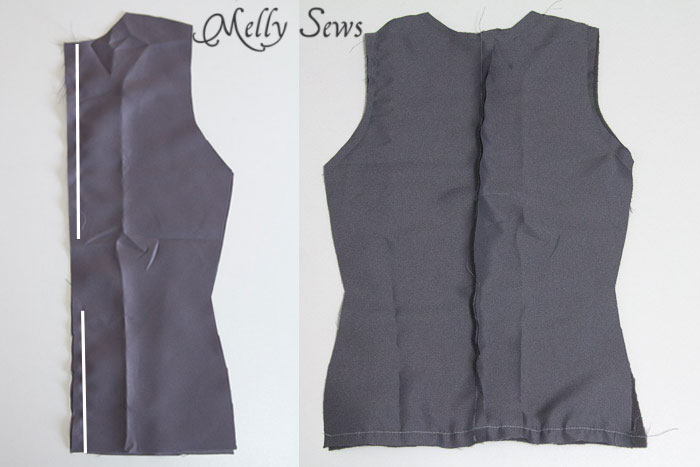
Place the vest fronts and vest front linings right sides together, and do the same with the vest back and vest back lining. Stitch around all sides EXCEPT the shoulder and side seams. Clip corners. Turn right side out and press.
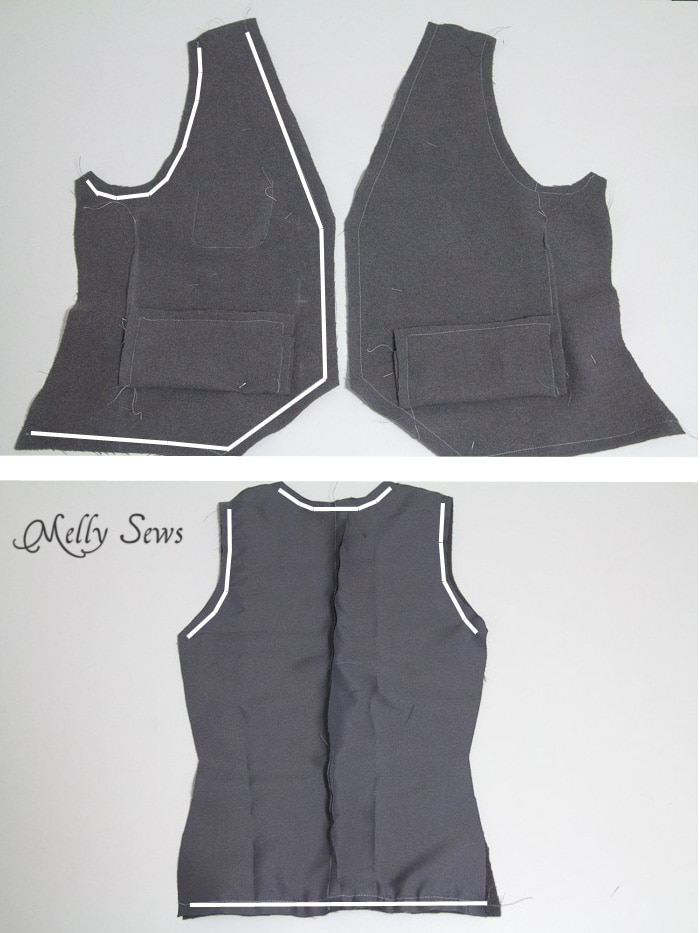
Turn the vest back wrong side out again. With the vest fronts right side out, place each one inside the vest back/lining. Match the side and shoulder seams.
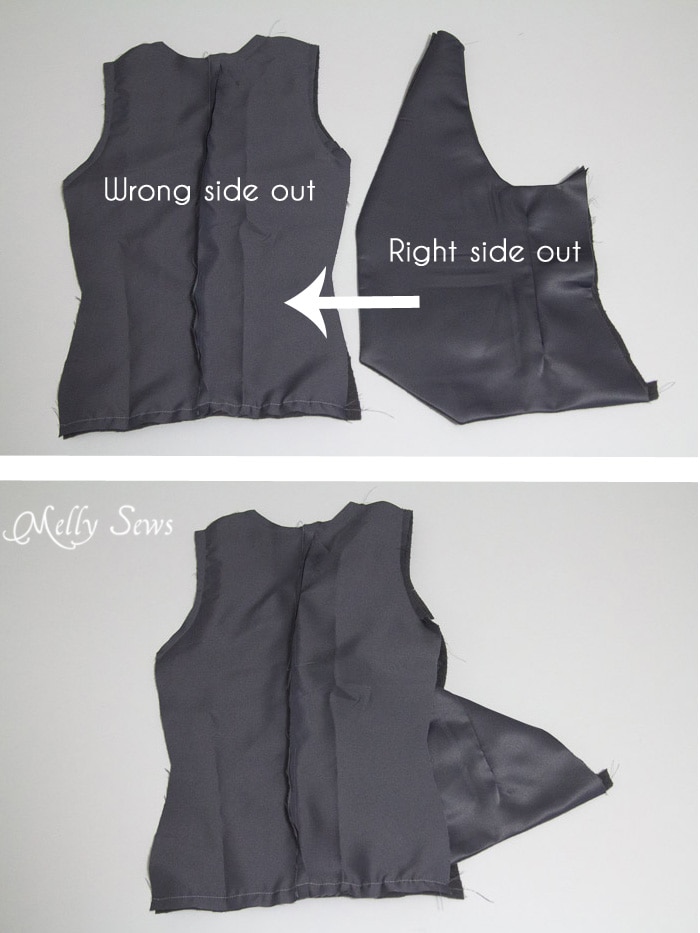
Stitch across the shoulder and side seams, through all 4 layers of the vest.
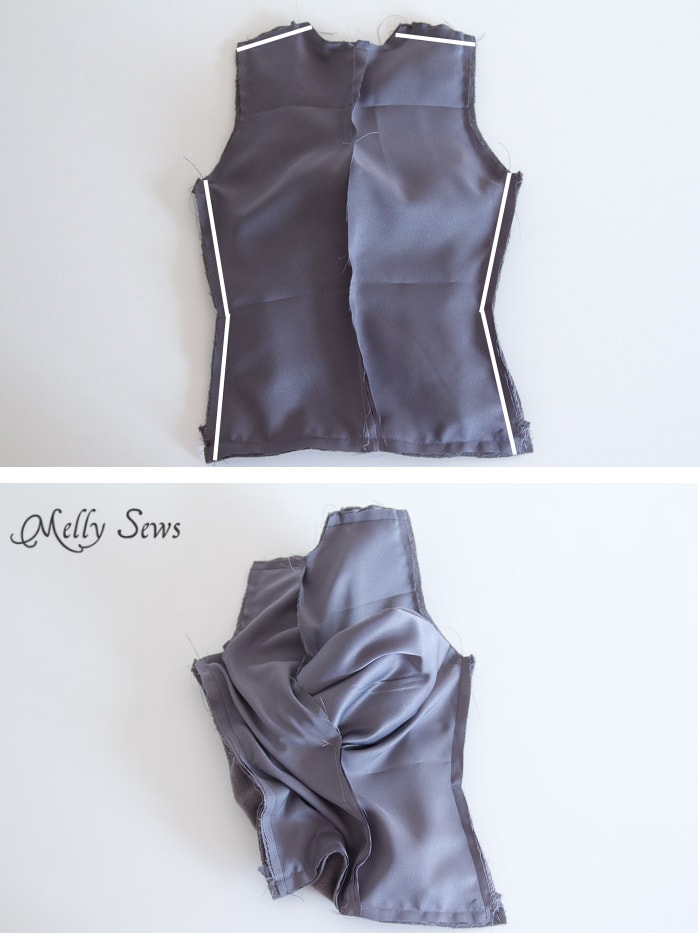
Turn the vest by pulling the fronts out through the hole in the back lining. Press the vest.
Sew the buttonholes and buttons. Note – I decided out of my stash that I liked these 1 1/4″ buttons the best, so I redid my buttonhole markings and only used two per vest.
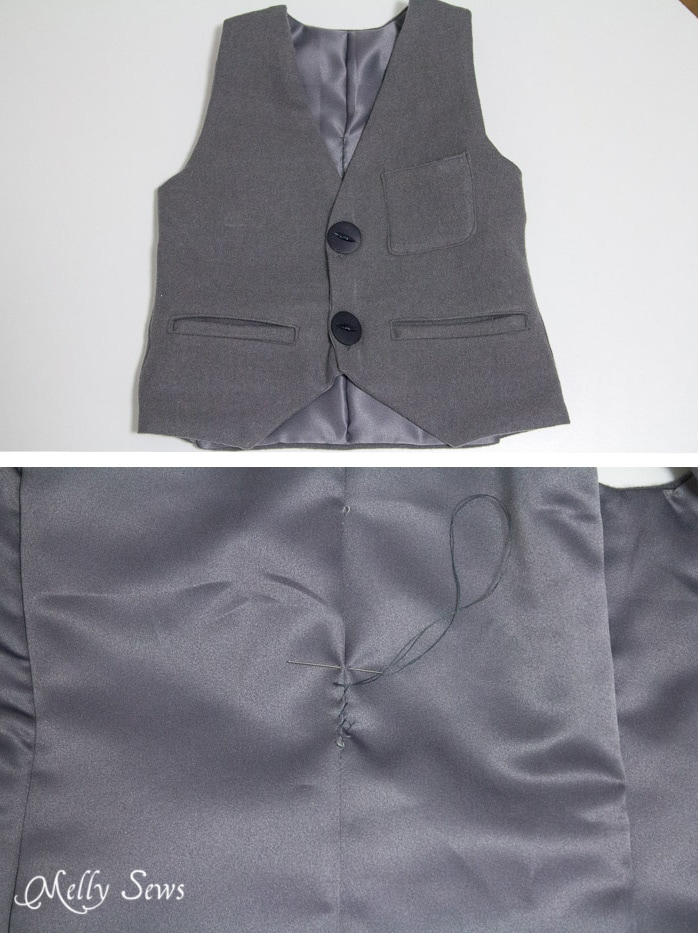
Hand stitch the opening in the back lining closed. I was being lazy and just used a whipstitch, but for professional results a blind stitch would be better. If desired you can also topstitch along all edges of the vest.
And that’s it! Dress up a dapper dude with his vest and snap some photos! By the way, if you’re interested in how I did these twinkle light photos I’ll have more specifics in a post next week.

Don’t those faces just say Merry Christmas?

Happy sewing!
nicki
So cute, thanks for sharing my son will love this! Now if only I could find some time to sew 🙂
Dottie K
Thank you, Melly. This is great and looks so smart.
Judy K.
So that’s how welt pockets are made! The photos tell all; it’s a good, solid tutorial, as always.
Needle, thread, stitch length and any offbeat machine settings (if necessary) would be appreciated at this end, but that’s just me, nailing down the variables.
Cindy
So smart! I love it. So will my son who loves to look spiffy for occasions.
Melissa Evans
I had to giggle about your turning problem. I had a similar problem a couple months ago on. It had been a while since I did a lined bodice and I had modified the pattern so much I wasn’t reading the instructions. I made it work, though after some wrangling.
Anne
I’ve done the same thing trying to turn a vest. More than once! You’d think I’d learn…. I’ve got a Craft Gossip post scheduled for this evening that links to your free pattern:
http://sewing.craftgossip.com/free-pattern-little-boys-holiday-vest/2014/12/09/
–Anne
Chelle Chapman
You’re so cute! Before reading blogs I would’ve never admitted project fails to anyone except maybe my Mom!! Y’all are AWESOME, not just for revealing mistakes but letting ME know it IS alright to fail as long as you LEARN from it, AND, it’s alright for every one around me to know I am NOT perfect! OMG, I wouldn’t have admitted that years ago! How silly, right?! Thanks for this one!!!
Kim
I would love to be able to print your tuts, as they are so wonderful. Would be great if you had a printing button to optimize the post for perfect printing 🙂 Thanks for all the great work! I can’t wait to make this one. I never get to sew for boys!
Colleen Gray
I’m a long time follower of your blog and have recently signed up for your newsletter. After getting the confirmation email I wanted to shout back at you that I love your blog, really like the email/newsletter and totally appreciate all the hard work that you put into your patterns, both freebies and those in your pattern shop. Keep up all the great work and have a wonderful Christmas with those little chuckleheads of yours:)
Holly
I just finished making this & absolutely love it! The directions were very clear & I appreciate the photos. It was my first time making a welt pocket, as well as sizing the pattern down. Everything turned out great! Thanks for this one. I’m looking into making a paperboy hat to go with the vest 🙂
joy
so cute can’t wait to try it …
Helen
This is so great. I am making one for my nephew for his bday and then one for my father for fathers day. Thanks for your blog!!!
Anne
Oh, those are so perfect! I will make one for my boy for Christmas this year… he loves dressing up…
Thank you!
Angie
This was a brilliant tutorial.. I never used the pattern but used your instructions to upcycle a Christmas Reindeer I had that had seen better days. He’s now got a smart new Tweed waistcoat with gold lining and gold trim welt pockets. It looks fab and very easy to do with your helpful blog.