
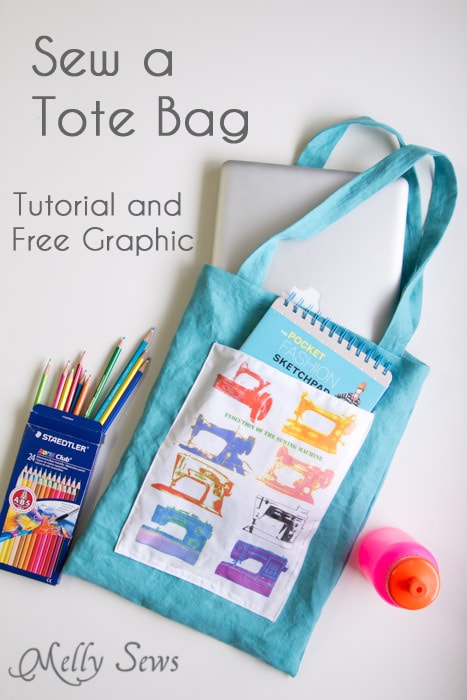
Hey y’all – today we’re going to sew a tote bag – with this cool Evolution of the Sewing Machine decal on it! And make sure you read the whole post – there’s a BONUS tutorial linked at the bottom!
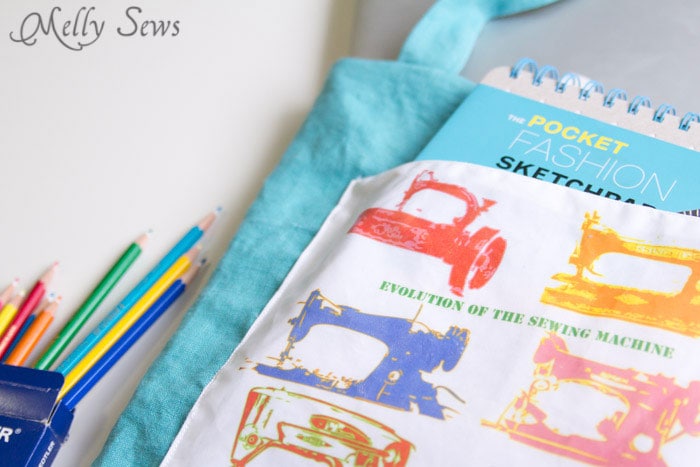
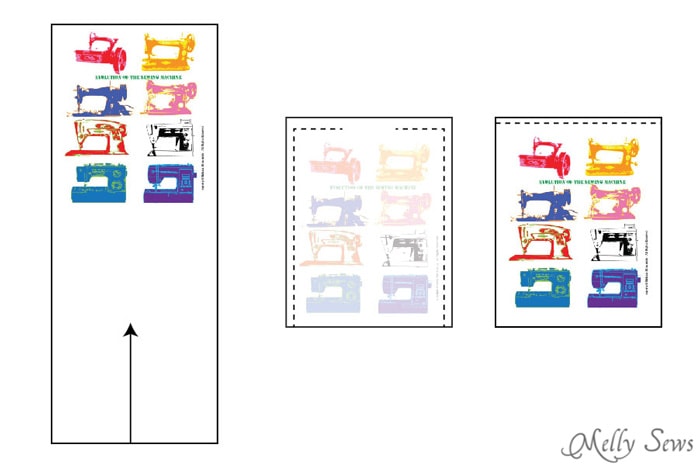
I originally made this printable for National Sewing Month last year. But since I used iron-on transfer paper (affiliate link) for this graphic, I needed to make a mirror image version so the text wouldn’t be backward. You can get the mirror image printable here. Follow the printing instructions with the t-shirt transfer paper to print and iron the graphic onto fabric for the pocket.
To make the tote bag, you’ll need to cut out the following pieces:
- Tote fabric – 14 in wide by 32 in long – fold this in half, wrong sides together, matching short edges. Iron the fold to create a crease mark for reference while sewing
- Lining fabric for tote – 2 pieces, 14 in wide by 16 1/2 in long.
- Straps – 2 pieces, 3 1/2 in wide by 22 in long
- Pocket – 9 1/2 in wide by 12 in long, cut with short side on fold – so the final cut piece is 9 1/2 wide by 24 long.
If you’d like to see the video tutorial on this, you can watch it below, or if it won’t load, you can watch the tote bag tutorial on YouTube here.
If you prefer the written instructions, keep reading.
Use a 1/2 in seam allowance unless otherwise indicated.
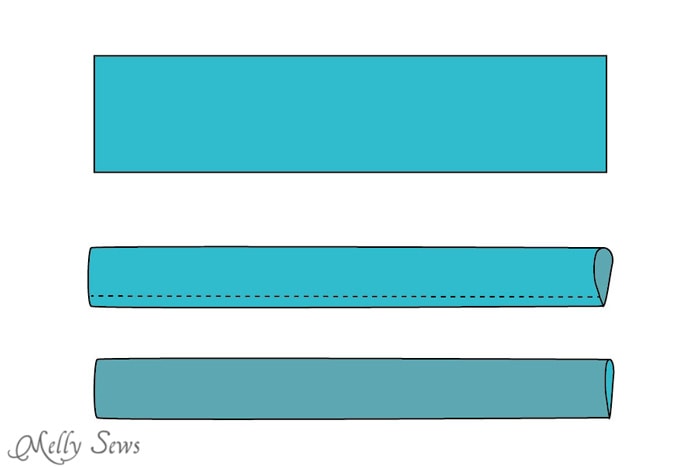
Fold the straps right sides together, matching long edges. Stitch. Turn straps right side out and press so that the seam runs along one edge.
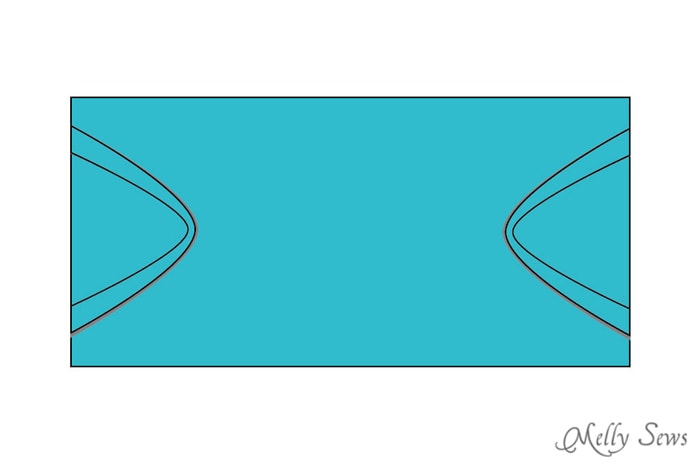
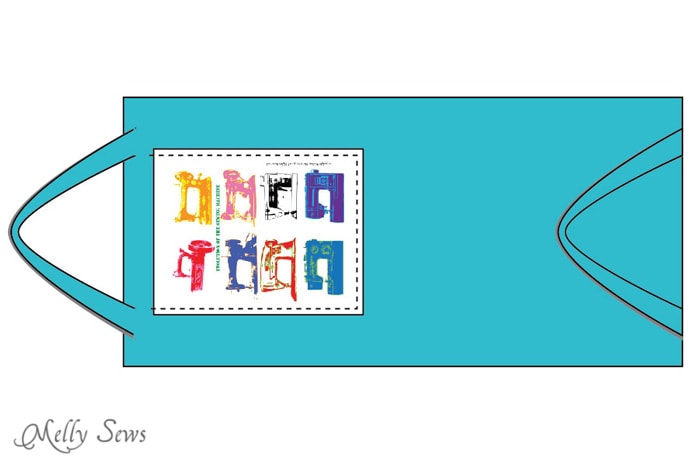
Pin the straps to the tote fabric on the short edges, 3 inches in from each long edge.
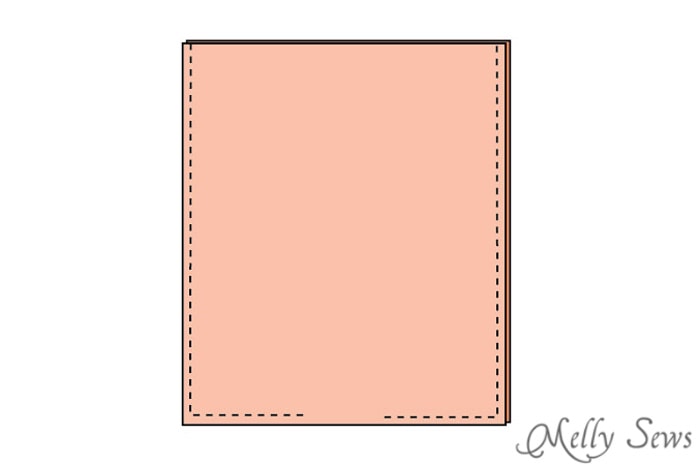
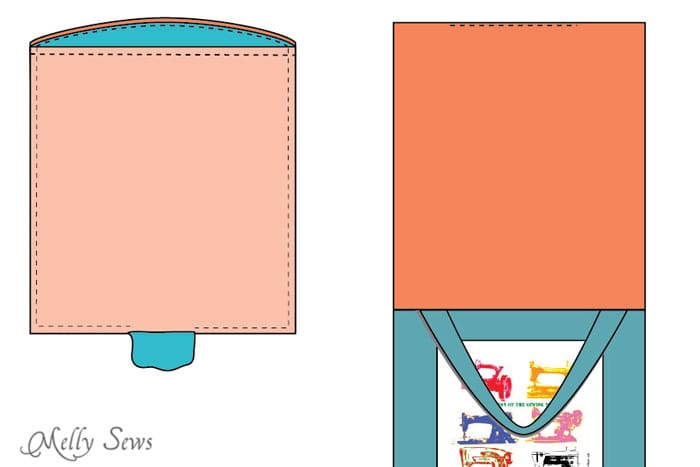
Fold the pocket right sides together, matching the short edges. Sew around the open edges, leaving a hole for turning. Turn the pocket right side out and press, pressing the raw edges to the inside. Topstitch the edge closed.
Pin the pocket to the tote bag, making sure it is centered. Stitch pocket in place, making sure to backstitch at the beginning and end to reinforce the pocket.
Place the lining pieces right sides together. Stitch around 3 edges, leaving a hole for turning the bag later.
Fold the tote right sides together. Sew the side seams. Turn tote right side out.
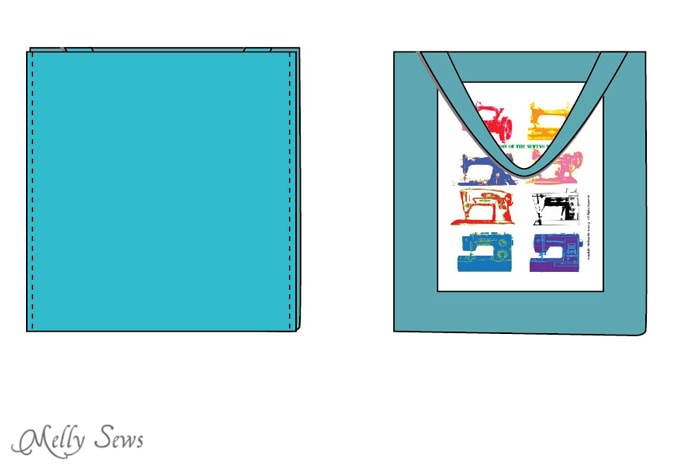
Place the tote inside the lining, right sides together. Sandwich the straps in between the lining and the tote. Pin around the top. Stitch the top.

Turn bag right side out through the hole in the lining. Stitch the hole in the lining closed. You can either topstitch this closed like you did for the pocket, or if you want to hide the stitching you can use a blind stitch.
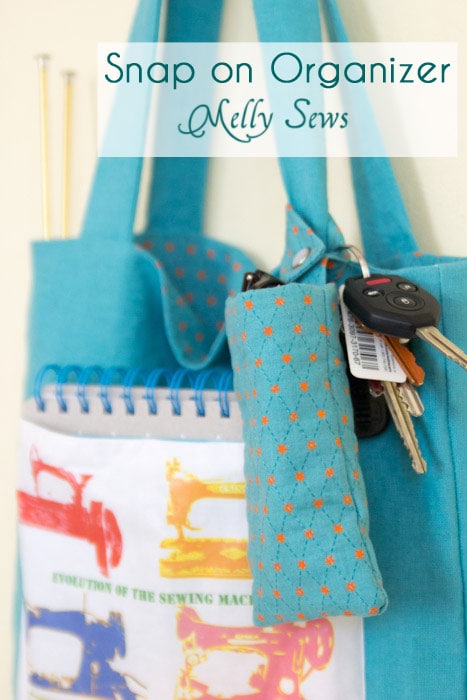
Want to make your tote more functional? While I love totes, I hate digging for keys and sunglasses in them. So head over to Flamingo Toes where I’m participating in her Scrap Busting Extravaganza and showing how to make this Snap on Organizer.
Anne
Love that graphic!! I’ve got a Craft Gossip post scheduled for later this morning that links to your tote tutorial and your snap-on organizer: http://sewing.craftgossip.com/tutorial-sew-an-easy-beginner-tote-bag-plus-a-snap-on-bag-organizer/2015/01/20/
–Anne
Ginger
Love the graphic. You could also upload it to Spoonflower and have them print it for you.
Julie
What a great graphic, thanks.
You made a great bag with it too, I’ve tried this “turn it out” method of lining a bag, it is so easy to do but so hard to describe isn’t it? Your little diagrams are great!
Dalis
Hi! Thanks for the tutorial, specially the video. My 9 year old sat down watch the video and we watched it together. I did the pressing and pinning but she did the entire sewing!
Liz Tolles
I have watched several of your videos. I just wanted to let you know you do a great job explaining and demonstrating how to make a project. I have been sewing for 40+ years. I am still learning something new every day. Thank you. Have a great 2017. Keep sewing.
Ruth
Is there a pdf file for this as well? I’m on lesson 4 and would like to have this printed and next to my sewing machine as I work. Love the lessons so far….very easy to follow! Thanks!
Kelly
Thank you so much Melly! This was my first sewing project in probably 10 years and it was the perfect easy project to get my back in the swing of things. You explained everything plainly and simply which was easy to follow. And bonus, it turned out so cute!!!
Tonya Steele
This is so cute. I am learning and I will try to make this one. I am bookmarking your site. Thanks for all the lovely ideas and tutorials.
Cam
I loved making it it was SOOO much fun