
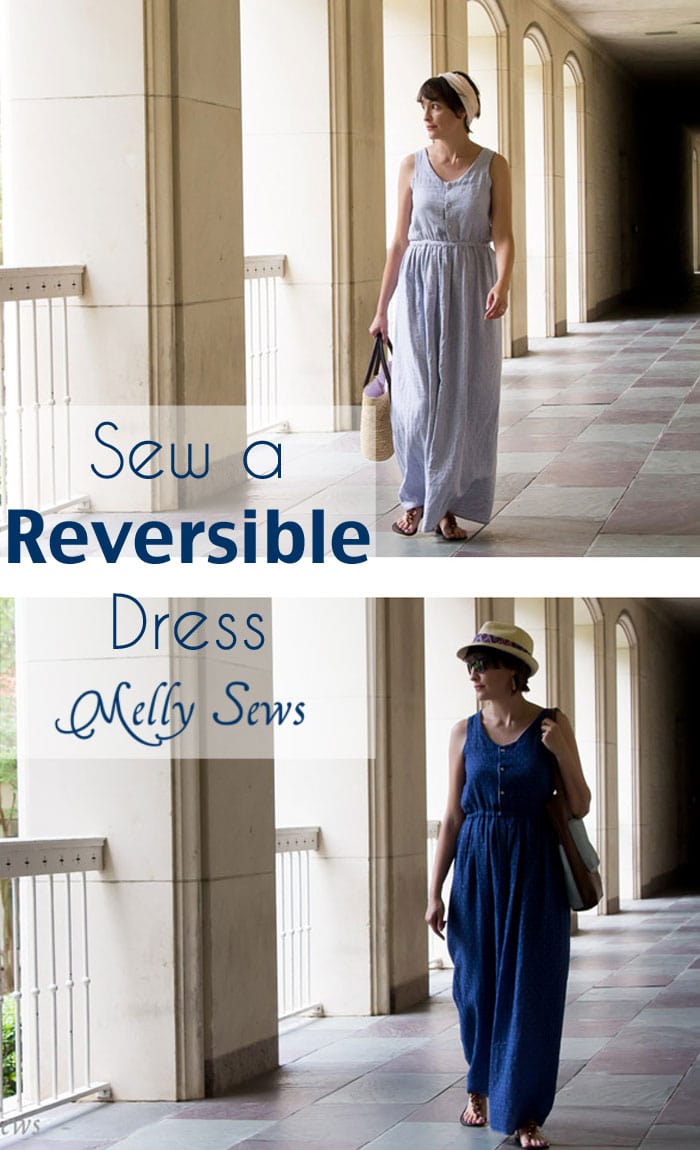
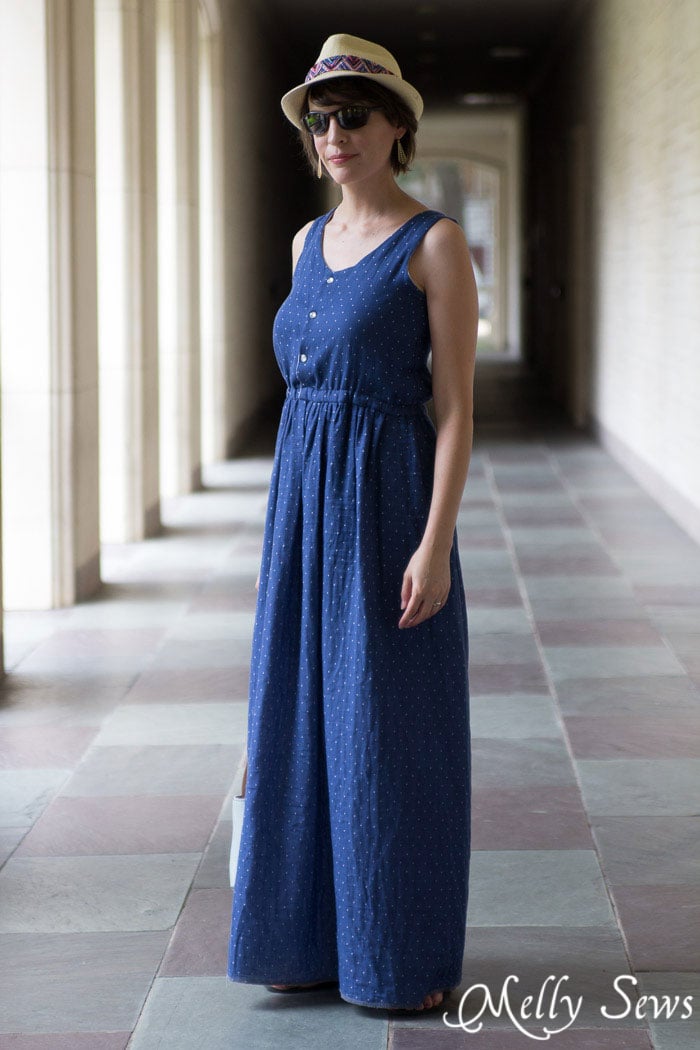
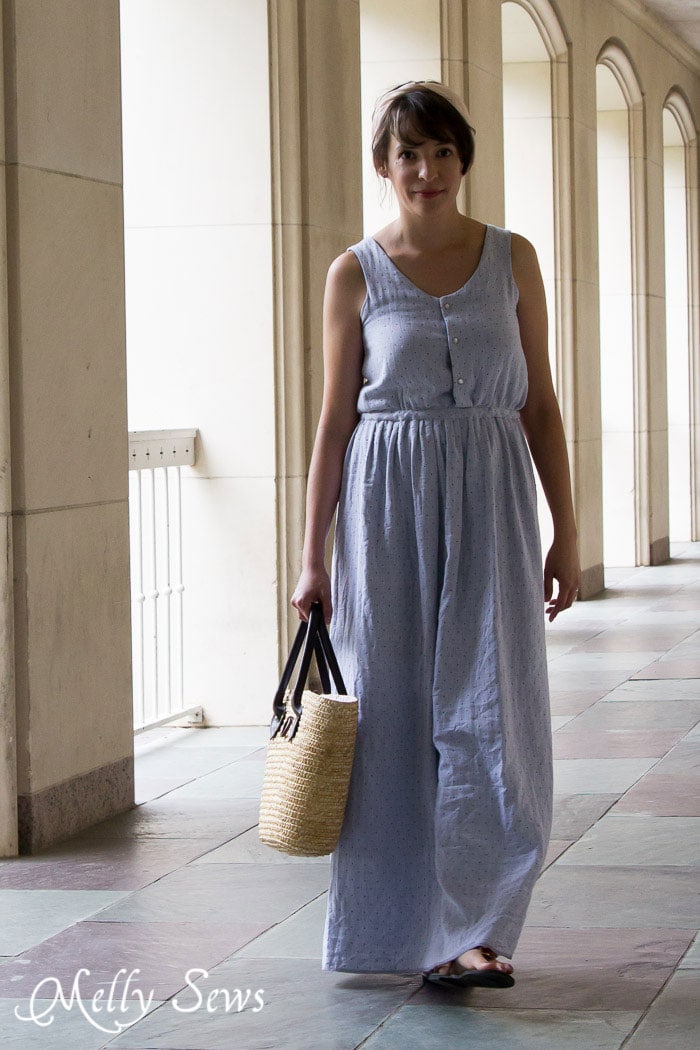
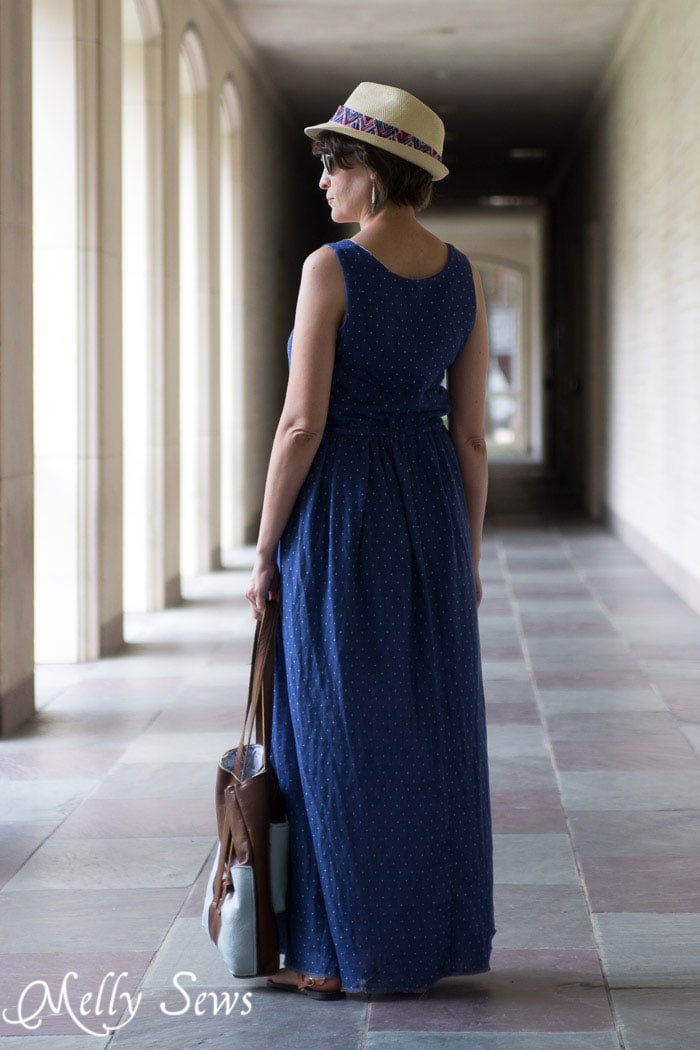
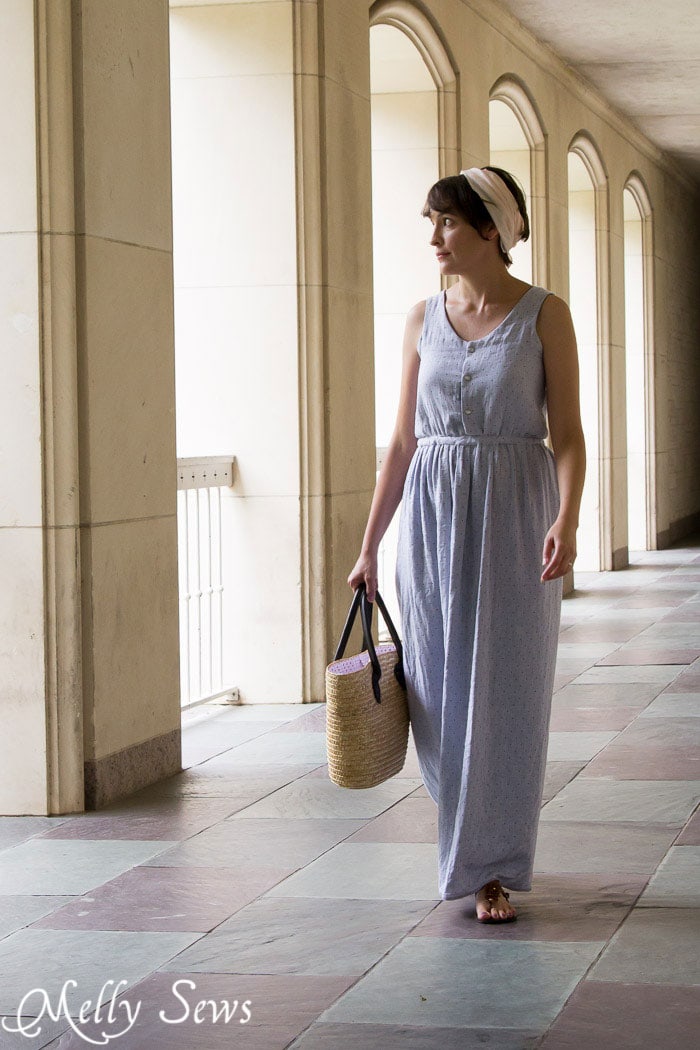
Hey all – today I have a pattern hack/tutorial on how to sew a reversible dress. I ordered this two sided double gauze recently, and I couldn’t make up my mind about which side I wanted to be the outside. So I used the Catalina Dress pattern and made both sides the outside!
And I LOVE the way it turned out! Here’s how to do it.
Start with your dress pattern. As mentioned, this is the Catalina Dress from my shop.
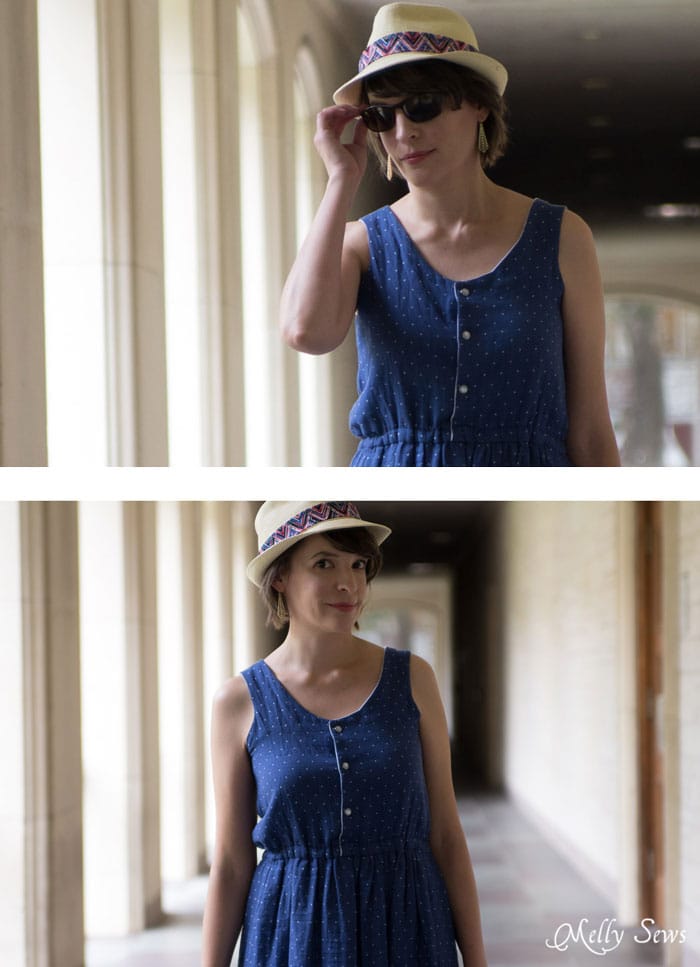
Start by adding 1 1/2″ to each front pattern piece. To make this reversible with all the seams inside, I needed the dress to have either a button closure or zipper – and I chose a button closure with snaps – it’s the easiest kind to make reversible.
You need to cut 4 bodice fronts (2 right, 2 left) and 2 bodice backs; this is a fully lined bodice.
Before stitching, I pressed the button plackets in 1″ (the other 1/2″ I added is for where the plackets overlap). This also helped me keep track of which side I was using for the right side of each piece.
Place two bodice front and 1 back piece right sides together and sew the should seams. Repeat with the remaining bodice pieces.
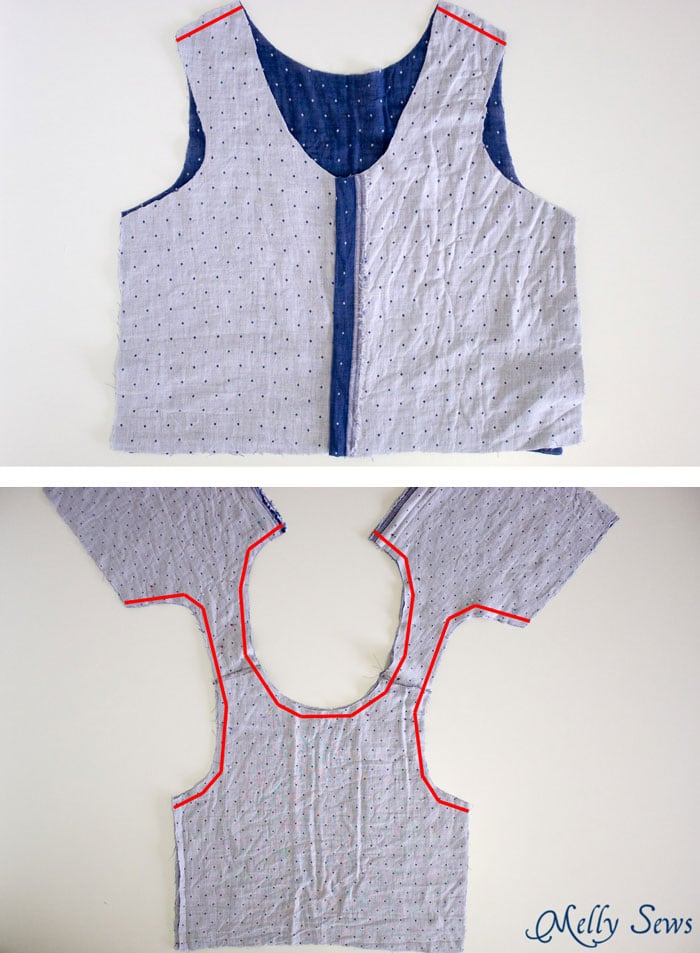
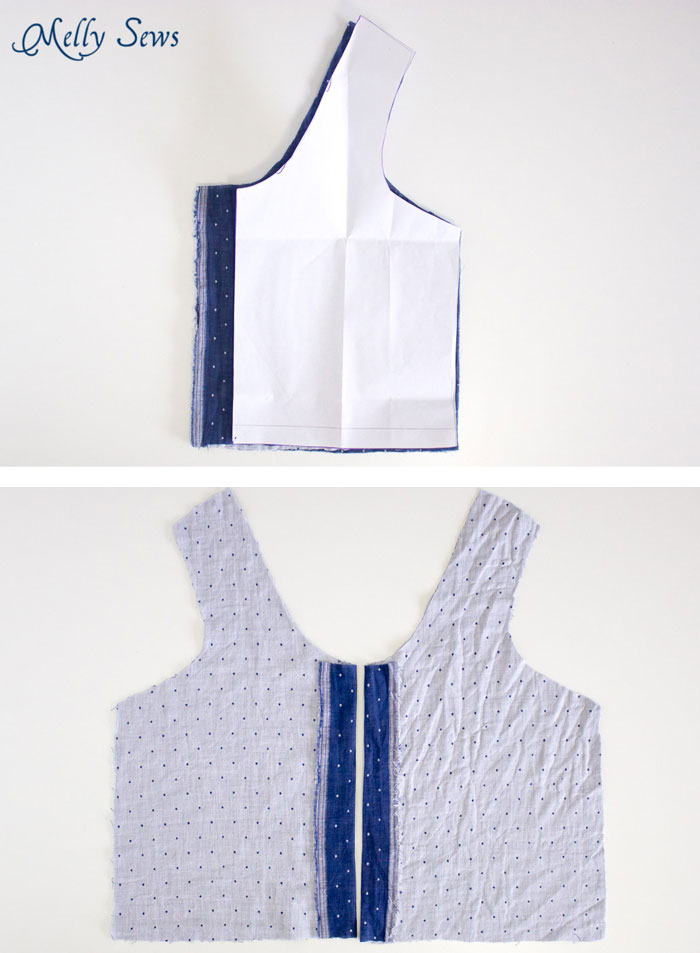
Unfold the plackets and place the two bodices right sides together. Sew down the crease line of the button placket, around the neckline and down the crease line of the other button placket. Then sew the armhole edges. Turn the bodice right side out and press. Note that in the image above I forgot to extend the red lines down the button placket creases, but you can see in the image below which edges have been sewn together.
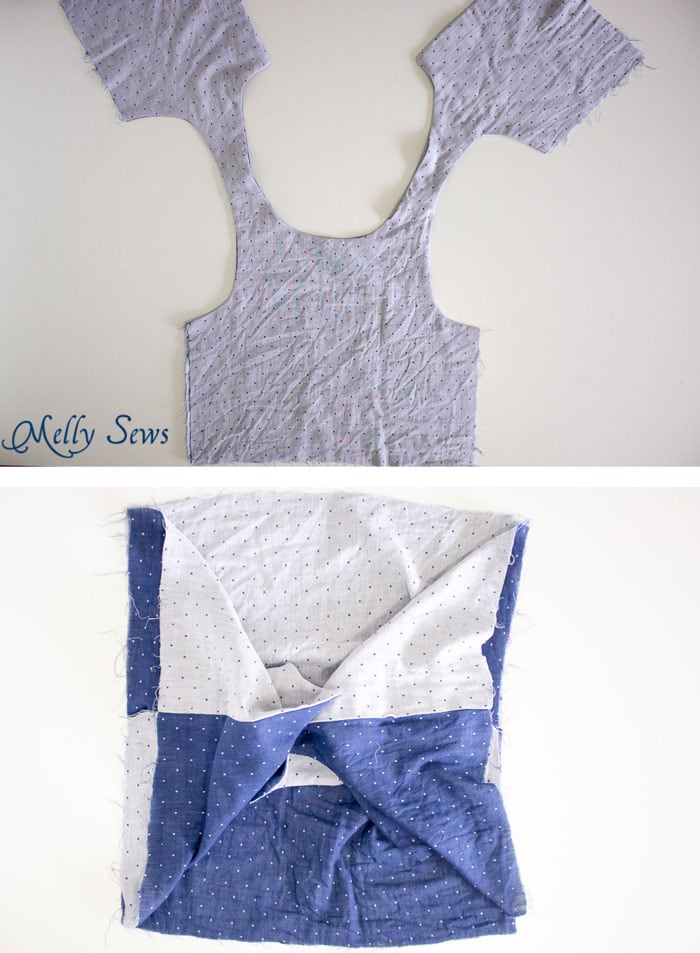
The image above is a little confusing, but what you’re going to do next is to pin the two front bodices right sides together at the side seams, and do the same for the two back bodices. Match the armhole seams, then stitch the side seams in one line on each side. When you’re done, all the seams will be inside the bodice and it will look like the image below. Overlap the button placket and baste (and by the way, if you want to be technical, I overlapped mine backwards. It should be the wearers right over left for women).
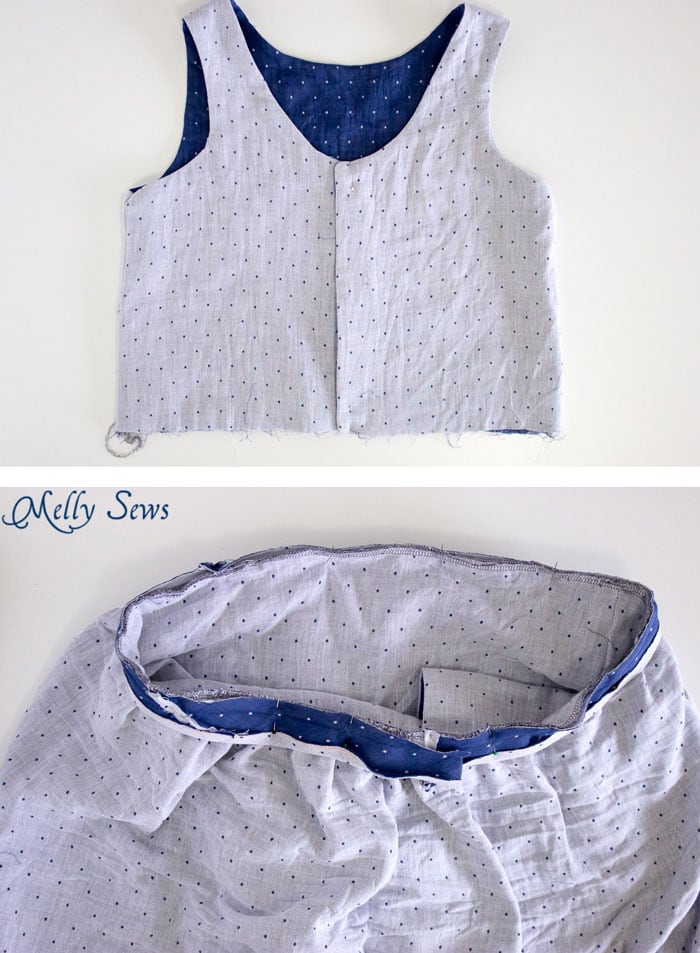
I cut the skirt in one layer and omitted the pockets – there’s no good way to make reversible pockets on a single layer skirt. I finished the skirt with flat felled seams, so there are no raw edges showing on either side. Then stitch the bodice to the skirt right sides together at the waistline, sewing through all 3 layers (skirt and both bodice layers)
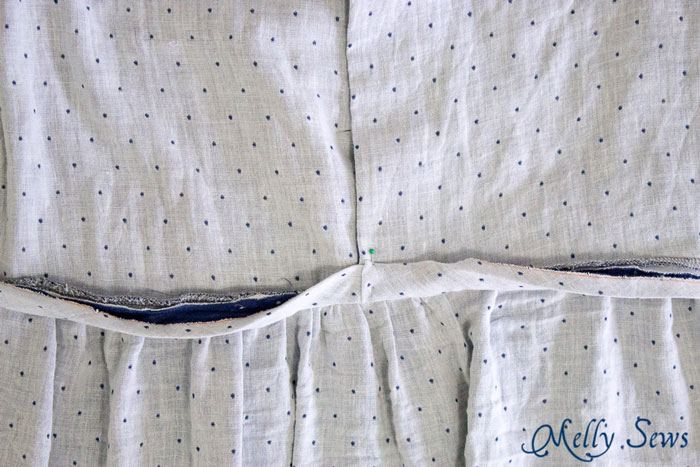
Finally, I made a strip of 1″ wide bias tape a little longer than the waist circumference. Pin it around the waist seam as shown above. Fold the short ends 1/4″ to the wrong side at the beginning and end, then stitch in the crease line closest to the raw edge.
Then fold the bias tape up, covering the raw edges and stitch down the other side of the bias tape as shown below. Feed elastic through this bias tape casing.
To hem, I serged the bottom raw edge so that I wouldn’t have a stripe of the other side of the fabric on the bottom edge of one side of the skirt like a turned hem would have caused.
Don’t forget to enter this week’s giveaway – TWO lucky people are going to win Blank Slate Patterns. Go here to enter.
Join in the fun! Share your handmade sundress goodness on Instagram (and please follow me! @mellysews) using the #30DaysOfSundresses hashtag.
And in case you’ve missed any of the posts so far, you can click on any picture below to go to the post.
 |
 |
 |
 |
 |
 |
 |
 |
 |
 |
 |
 |
 |
sorahart
You have been nailing the photo shoot locations. These are great shots!
Autumn
Looks great Melissa! And I love the hat on you – that last photo is gorgeous!
Ginger
You are so cleaver! This dress would make a great addition to a travel wardrobe.
dara
VERY CUTE!! Happy Sewing!!!
Jane on Whidbey
This is great, and I plan on making a couple. Thanks so much. I’m using linen, and can t wait to see how it turns out. I’m guessing it will take me a couple of months, since I just moved and broke my ankle and wrist. Slowing me down a bit!! lol
judy
I love the Catalina Dress, and the reversible idea. Genius! thanks for sharing your talents with all of us.