
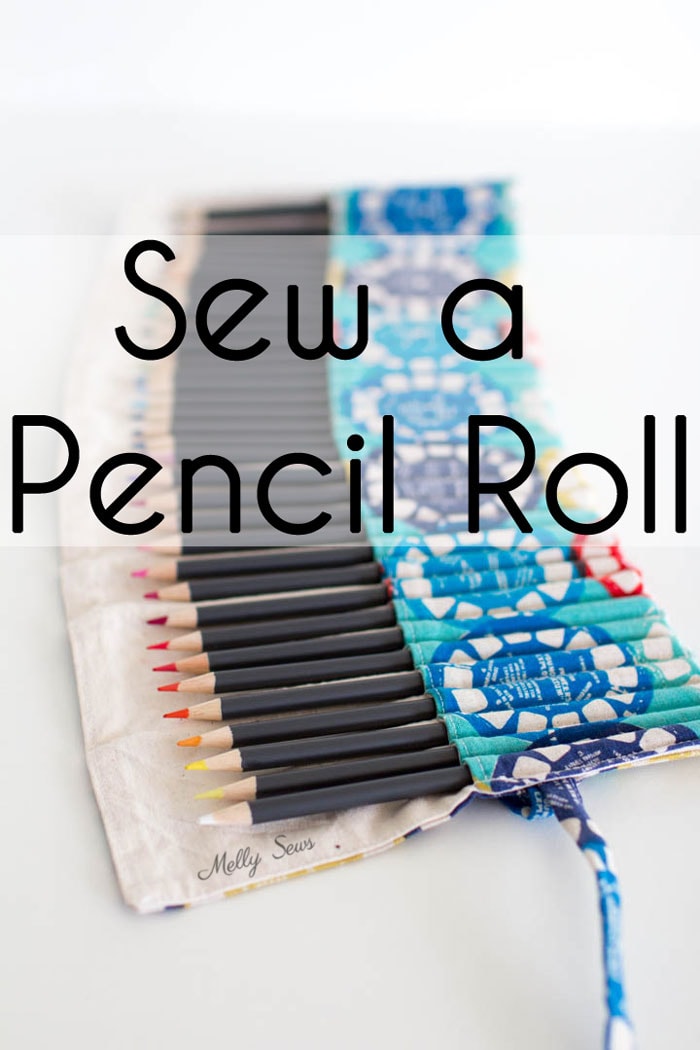
Hey y’all, the theme for December is gifts, and I’m kicking off the month with a gift I made for myself. Today’s tutorial is how to sew a pencil roll, which can also be a crayon roll, a holder for knitting needles, a brush roll for paint…lots of creative tools can be stored this way!
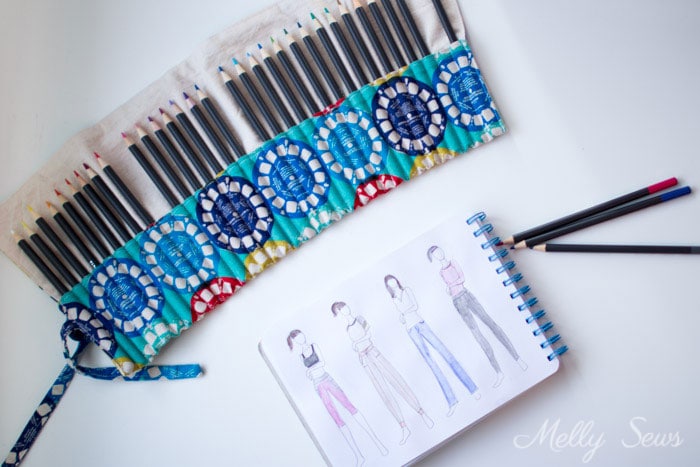
I like to use mine along with this (affiliate links) fashion sketchbook and watercolor pencils to dream up new patterns while I’m at sports practice with the kids.
Want to make your own? You’ll need:
- Fabric. For this one I used plain and printed canvas. (And the printed canvas is from my stash and out of print, so I can’t tell you where to get it). My roll holds 34 pencils and the fabric pieces measured 22 in x 14 in. If you’d like your roll to hold more or fewer pencils, you need to add or subtract 5/8 inch in width for every additional or less pencils.
- 21 inches of ribbon, bias tape, strips of fabric or twill tape for the ties. I used a 2 inch wide strip of fabric that I pressed like double fold bias tape. Not sure what I mean by that? See this post on bias tape.
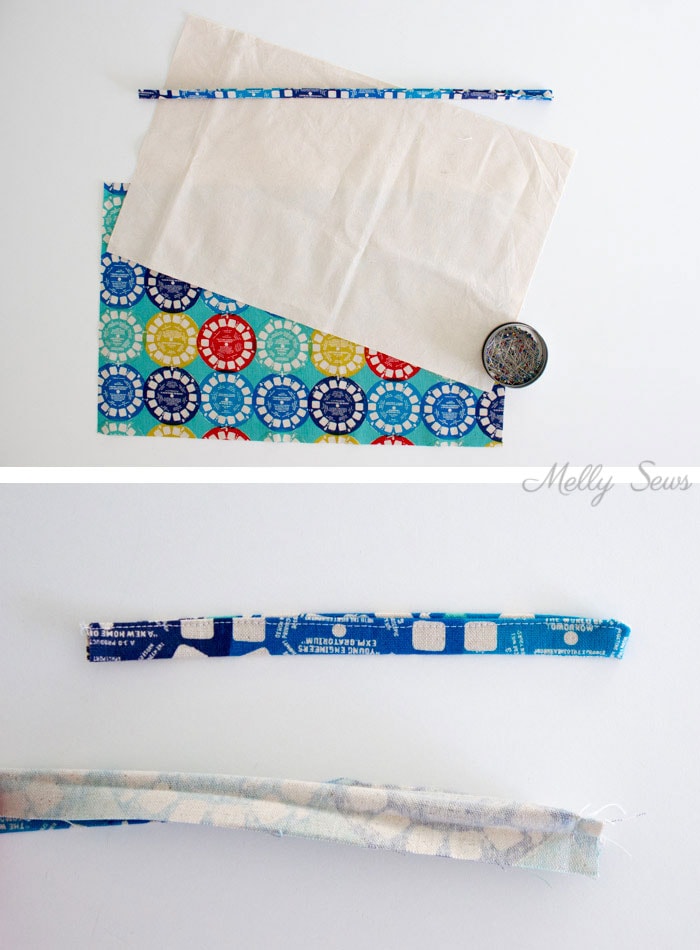
Cut your tie into a 14 inch and 7 inch piece. If you’re using strips of bias or fabric for the ties, fold one short end right sides together and stitch across as shown above, then turn right side out and fold all raw edges to the inside and topstitch the long edge closed.
Center the ties on one of the short edges of the right side of the fabric. They’re hard to see below, but they’re there. Put one tie right on top of the other on the outer fabric, then place the lining fabric right sides together on top.
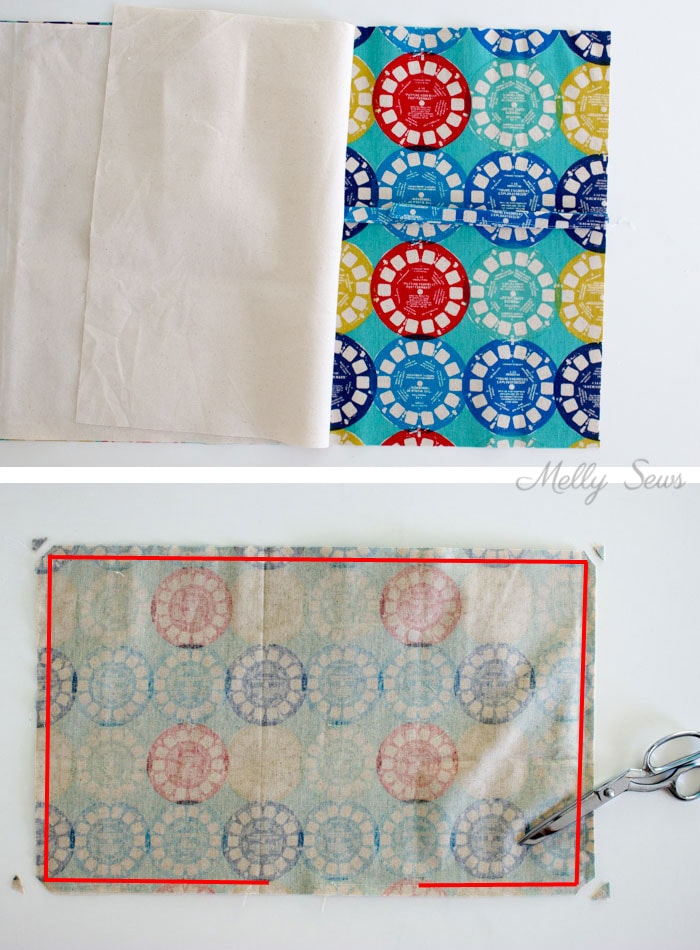
Stitch around the edges of the fabric, using a 1/2 inch seam allowance and leaving a gap for turning in one long edge. Clip the corners and turn the fabric right sides out. Press the edges. Topstitch all around the edges, closing the opening.
Fold one long edge to the wrong side of the fabric, forming a pocket. Topstitch on the edges, then mark vertical lines every 5/8 inch. Topstitch on those lines to create the pencil slots, making sure to backstitch at the beginning and end of each line.
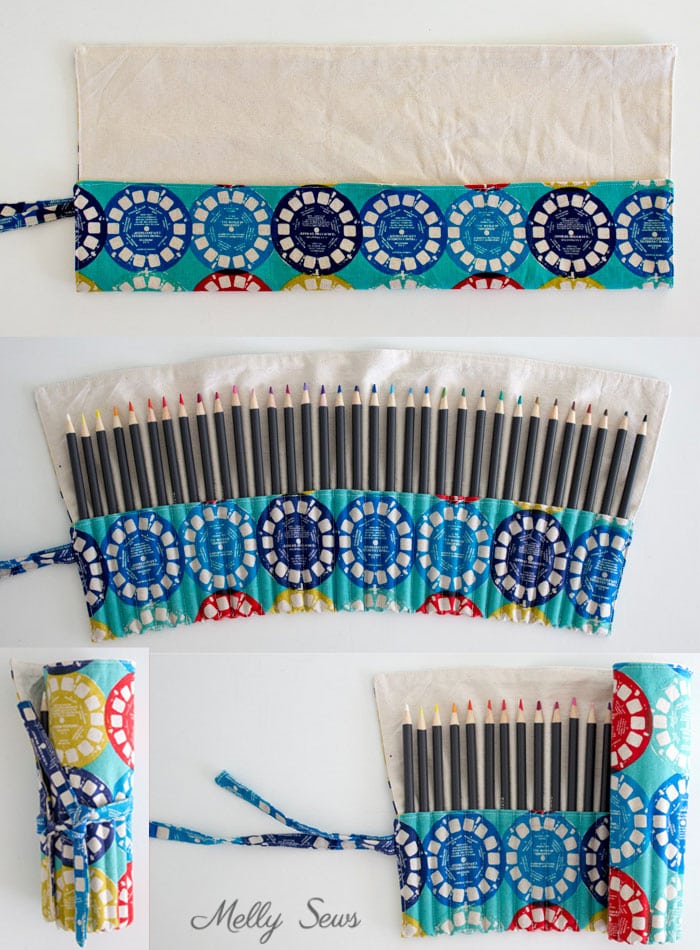
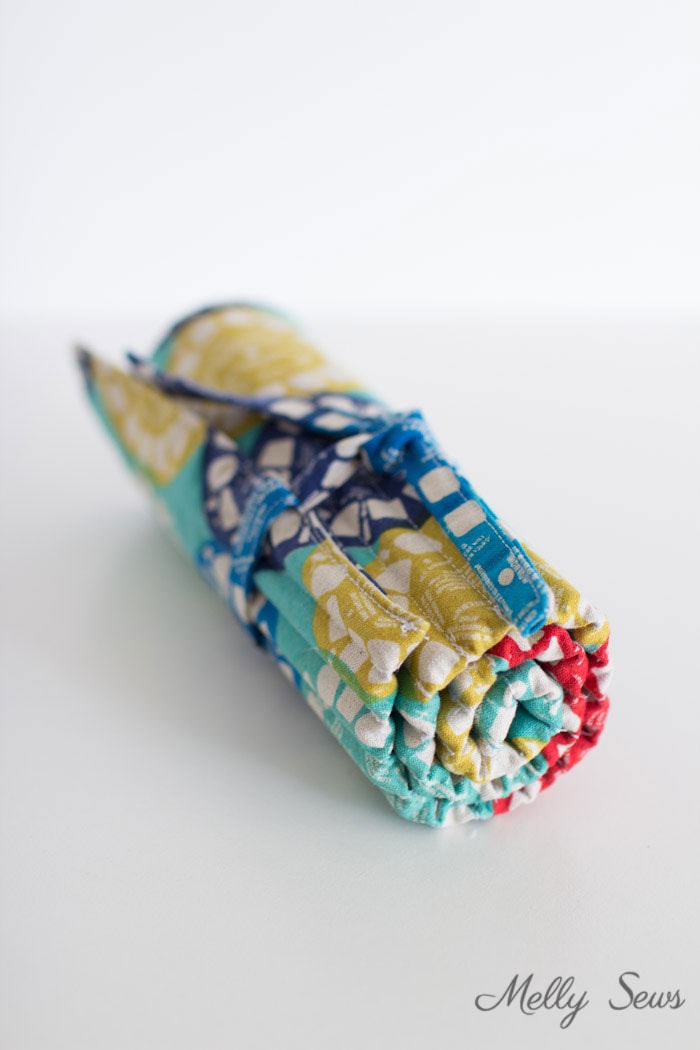
Add your pencils, and then roll them up and you’re done!

I made this roll instead of a pouch for taking my pencils with me to sketch, because this way I can see all the colors at once without having to dig through them. Much more convenient for sketching during the kids’ sports practices!
Christine
Wow! Just what I need!
Love it and your directions are so simple to follow…thank you so much.
Matt
Thank you for sharing this! Your tutorial is spot on. I made my pencil roll today to hold my urban sketching supplies. Mine has 15 slots, and is made to perfectly fit my longest paint brush. I also made two slots oversized to accommodate my water brushes. No commercial pencil roll would fit my needs perfectly, so I made my own. I couldn’t have done it without your tutorial, Melissa.
Lee Austin
lovely <3