
Learn about sewing pajamas; DIY a basic and easy pair of pants with elastic waistband and variations such as cuffs.
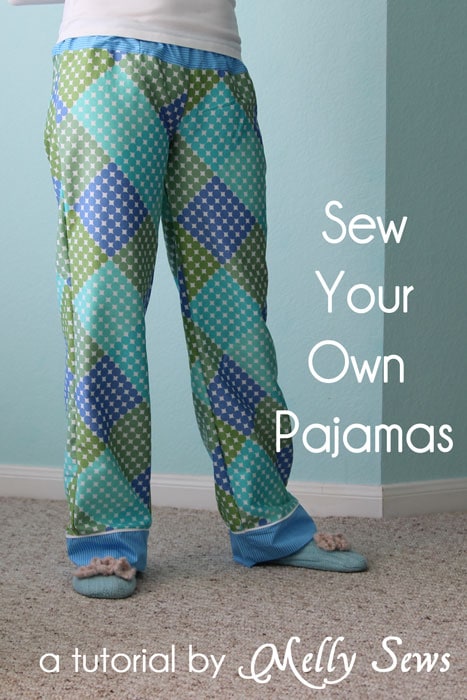
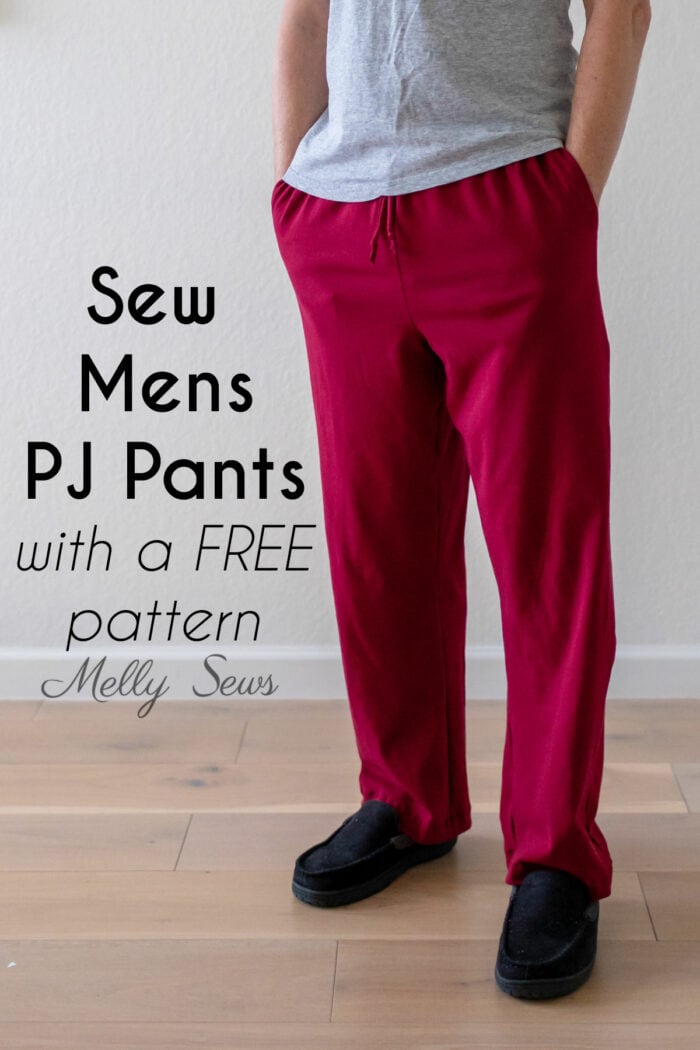
Hey y’all, today I’m going to show you how to sew up a pair of pajama pants. Pajamas are a great sewing project for beginners who are ready to progress from straight lines and actually sew a thing. And if you’re not a beginner, these are a quick sew project. I can whip up a pair of these in under an hour now. This post will cover how to make pajama pants for kids or adults.

Make a Pajama Pants Pattern
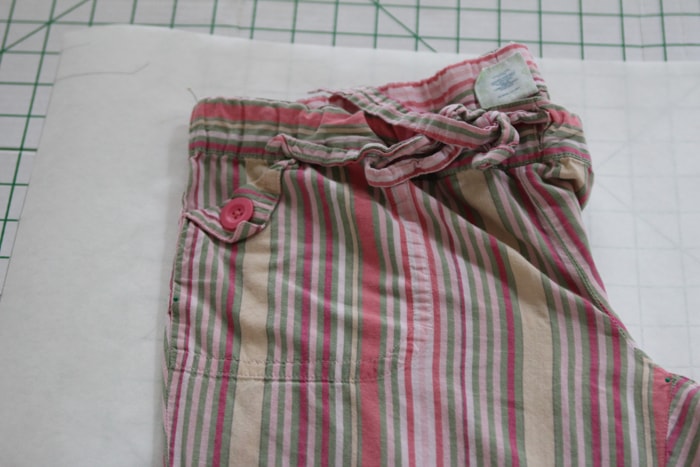
There are two main ways to make a pajama pants pattern – based on a pair you already own, or from scratch. When you start with a pair that fits, you have a better expectation of how the final product should look and fit. But if you don’t have a pair that fits, you’ll need to start from scratch.
This post covers how to make a pattern for pajama pants based on your favorite pair. This is called the rub off method of patternmaking.
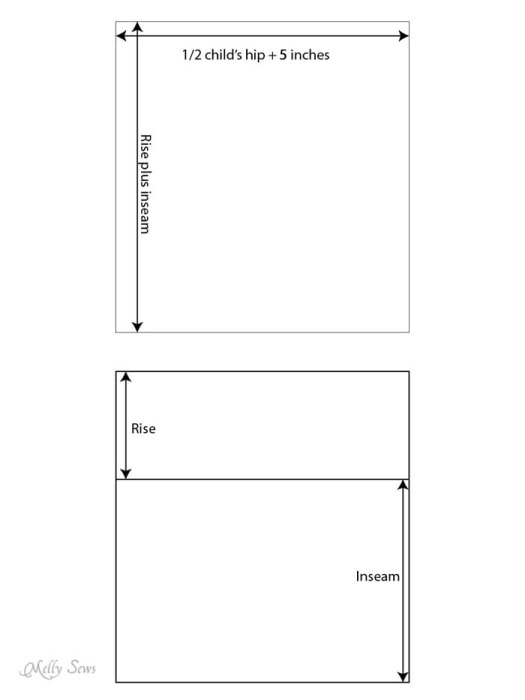
If you’d prefer to make a pajama pants pattern from scratch (without a loved pair to start with) see how to do that here.
Sources to Get a Pajama Pants PDF Sewing Pattern
If you don’t want to draft or make a pajama pants pattern, I’ve got sever options for you. First, if you’re a newsletter subscriber, you can check out some of the options in my free pattern gallery. If so, open the gallery with the button below. If you’re not a subscriber, you can use the other button to subscribe.
 |  |
If you’d rather shop for a pajama pattern, I have several multi sized options in my shop. You can browse and buy here.
Materials for DIY PJ Pants
This post contains affiliate links. As an Amazon Associate I earn from qualifying purchases. All affiliate links are identified with (affiliate link) after the link or a commissions earned statement above the link(s).
Here are the supplies you’ll need to sew a pair of pajama pants
- Fabric. The amount will depend on what size you’re sewing. You could need anywhere from 1/2 yard for baby pants to 2 1/2 yards or more for adult size pants. To see how to estimate the amount of fabric you’ll need, check this post. Quilting cotton and flannel are the easiest fabrics to work with for beginners.
- 1 inch wide elastic equal to the waist measurement of the person the pants are for. For more about types of elastic to help you choose, see this post. I generally prefer knit elastic for pajamas.
- Sewing machine, thread, needles, seam ripper, scissors and other basic sewing supplies
- Safety pin or bodkin (affiliate link) for inserting the elastic
- Optional – piping to add detail to the cuffs
Video Tutorial to Sew Pyjama Pants
I have a video tutorial below that you can also watch on YouTube here showing how to sew up a pair of pajama pants with a separate waistband and cuffs. Note that the pants in this video don’t have side seams, so if your pattern has a side seam you’d sew each front to the corresponding back at the side seam first and then follow the video.
Written Instructions to Make a Pair of Pajama Pants
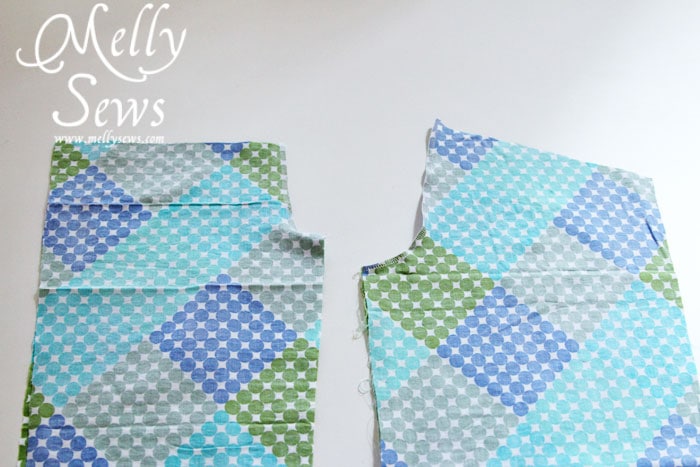
You need to cut 2 fronts, 2 backs, 1 waistband and if you’re adding cuffs, have fabric left over for that (we’ll measure for those in a little bit). If your pattern doesn’t have a side seam then you just need two legs. Make sure you have your fabric folded while you cut, so that you get a right and left for each pattern piece that are mirror images.
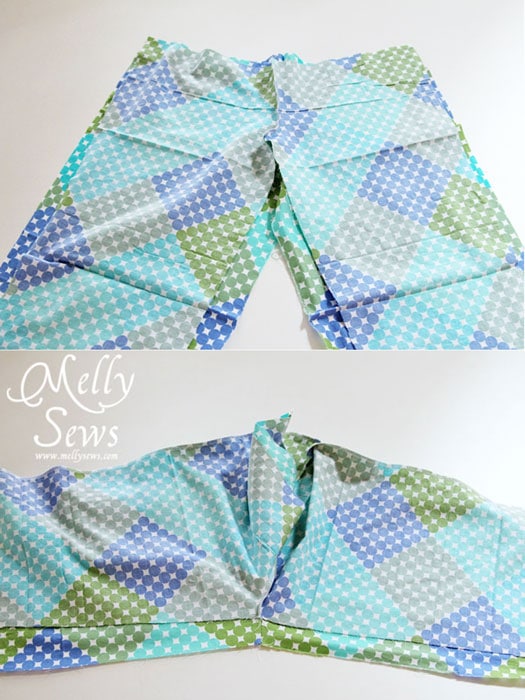
Start by sewing your front pieces together along the crotch curve, right sides together. Do the same thing for the back rise.
Now lay your pants front on your pants back, right sides together, matching the outseams. Sew down these side seams, then line up your crotch seam and inseams and sew down this all in one long seam. Your pant front may be narrower than your pant back, and this is normal. After all, you’re not shaped the same in the front as you are in the back. So match the fabric edges and don’t freak out if the pieces aren’t exactly the same.
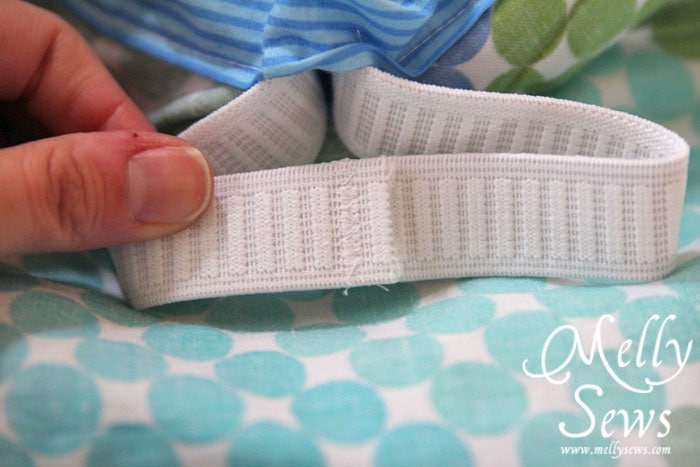
Now let’s create the elastic waist. Sew short ends of the waistband together to form a loop. Line this seam up with the center back seam, and pin your waistband around the top of your pants. Stitch in place.
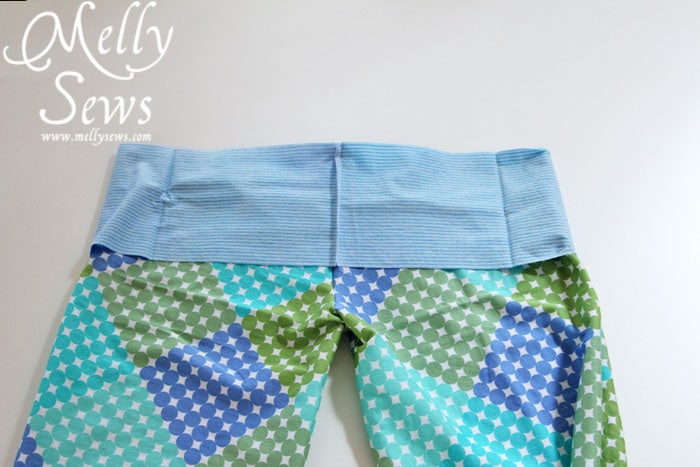
Iron the raw edge of the waistband under slightly, then pin it on the inside so it barely covers the seam joining the waistband to the pants.

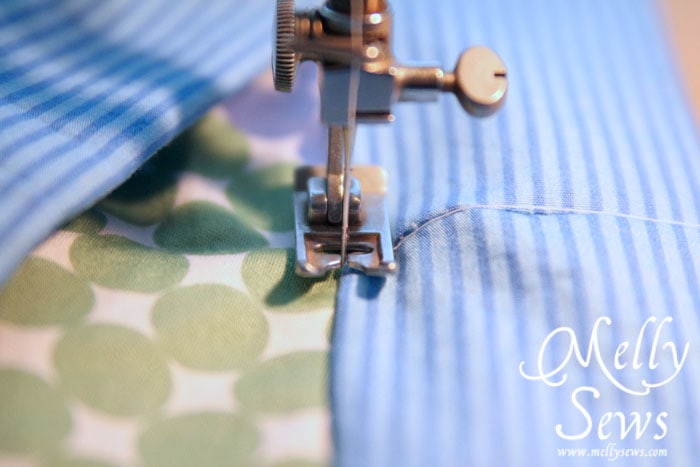
Stitch right next to the waistband to secure it in place, leaving an opening to insert elastic. Keeping your needle in the seam line between the waistband and the pants is called stitching in the ditch.
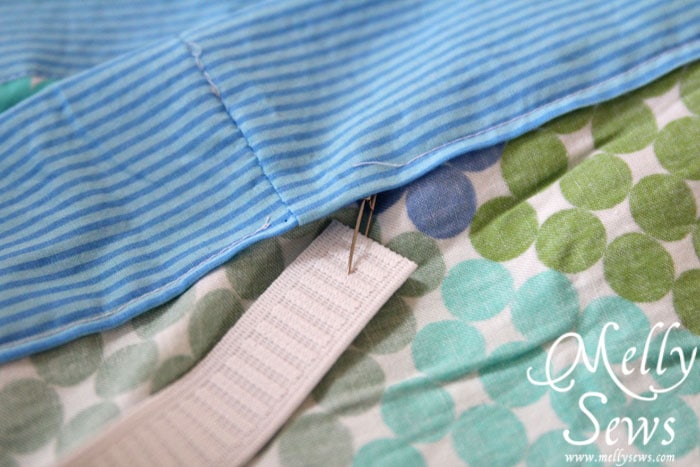
Insert your elastic using a safety pin or a bodkin.
Sew your elastic into a loop and sew the opening closed.
Now, you could hem your pajamas and be done, but if you want some variations, keep reading.
Variations on the Basic Pattern
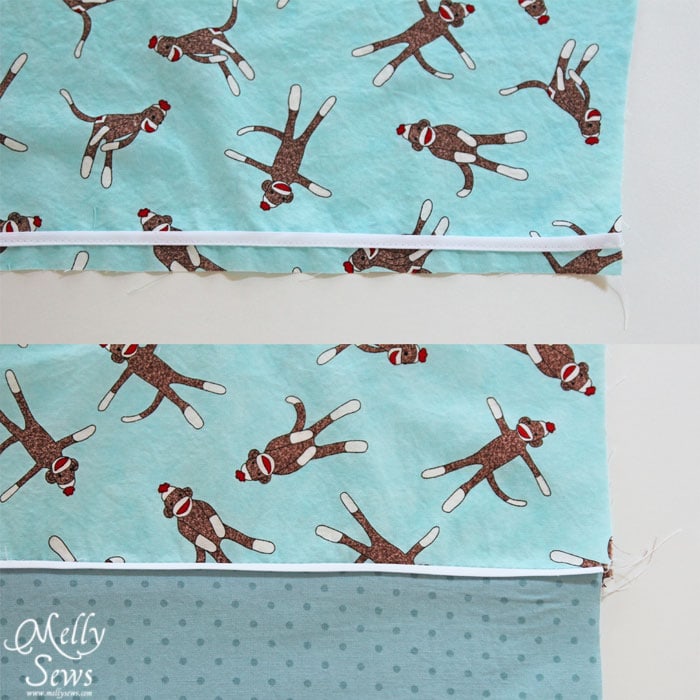
If you are adding cuffs to your pant legs, now is the time to measure and sew. These get made and sewn on the same way as the waistband, without the elastic. Unless that’s the look you’re going for.

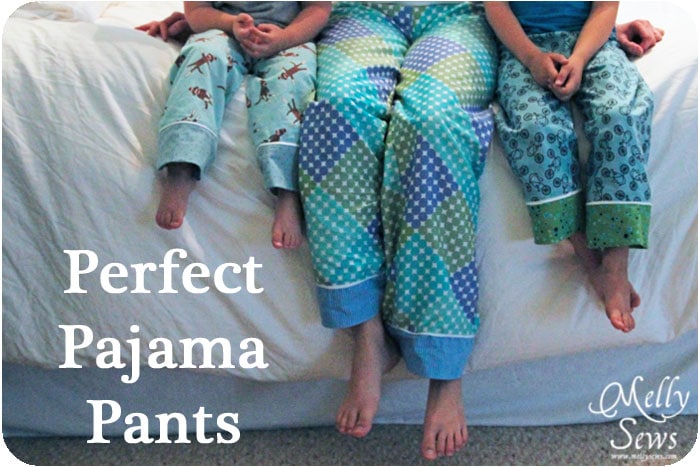
You might want to add piping into the cuff seam, or as I did on this pair, a little bit of double fold bias tape peeking out.
To add it, I basted the bias tape with the open end on my seam allowance (so towards the bottom edge of the pants) and then sewed on the cuff piece. I pressed it flat before sewing the legs closed.
What if you want a drawstring waistband instead of elastic? It’s a very easy switch. Before attaching the waistband, you’ll add buttonholes on either side of the center front, like this: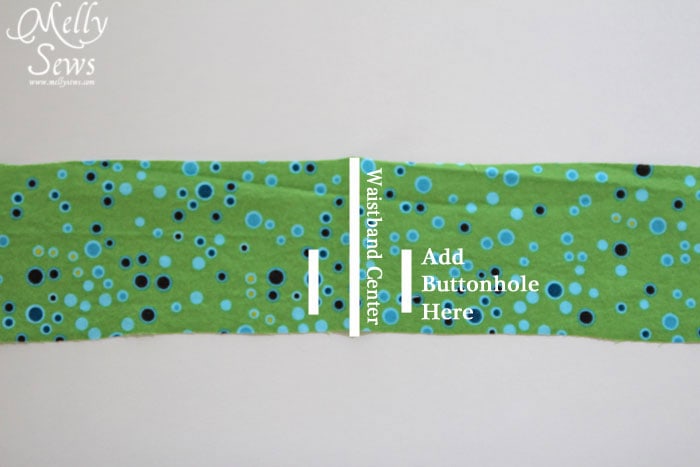
Sew the waistband in the same way you would for an elastic waistband and then thread your drawstring through the buttonholes you made. I also find drawstrings more comfortable when I cut the drawstring in half and sew a couple inches of thin elastic to the cut ends – this gives the drawstring a little bit of give and makes it more comfortable in my opinion.
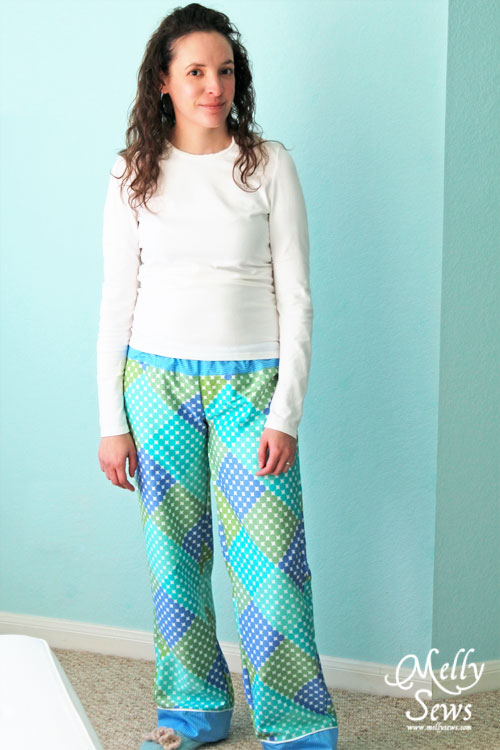
Try on your pants – you’re done
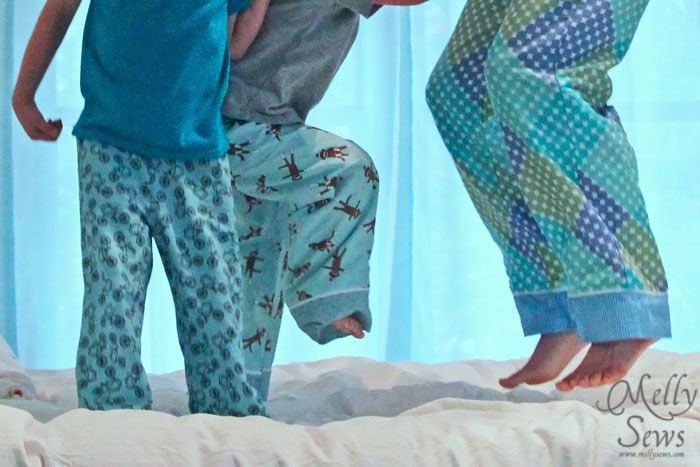
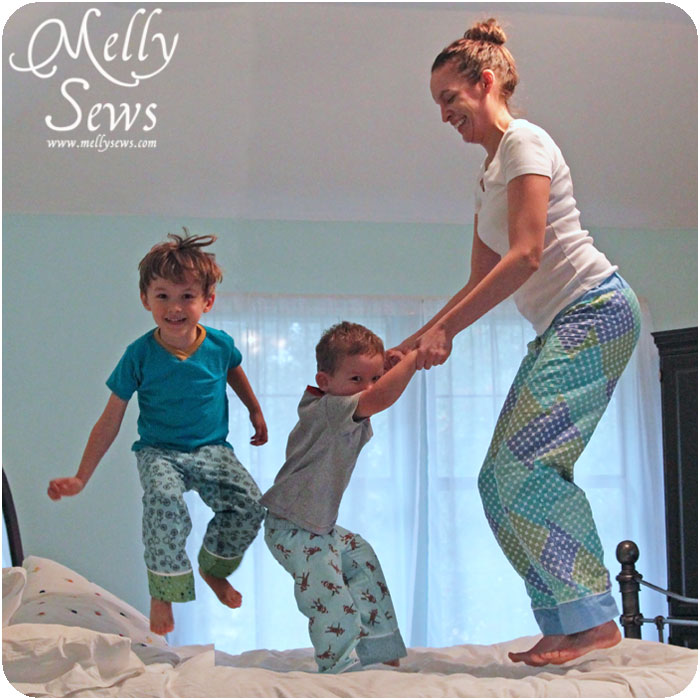
And then celebrate by jumping on the bed!
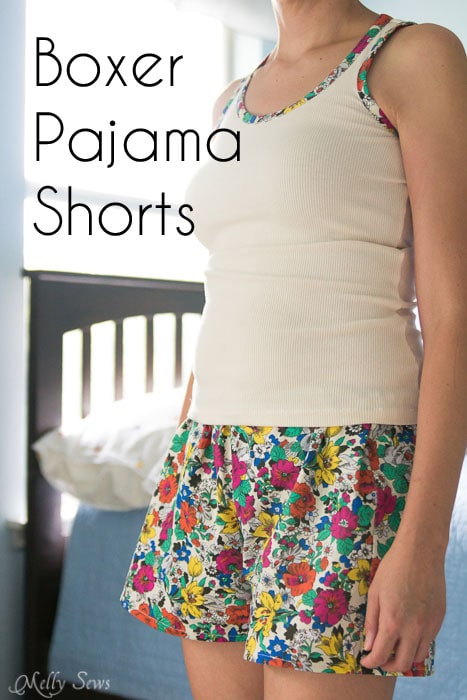
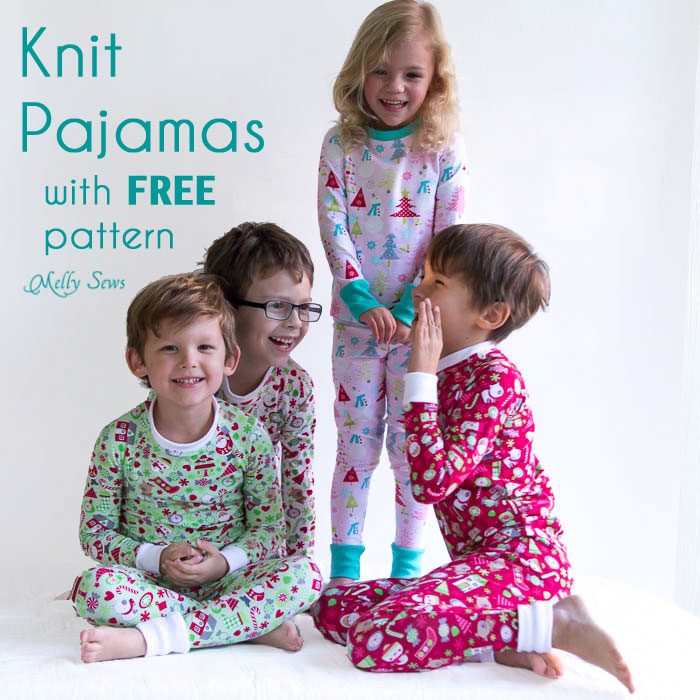
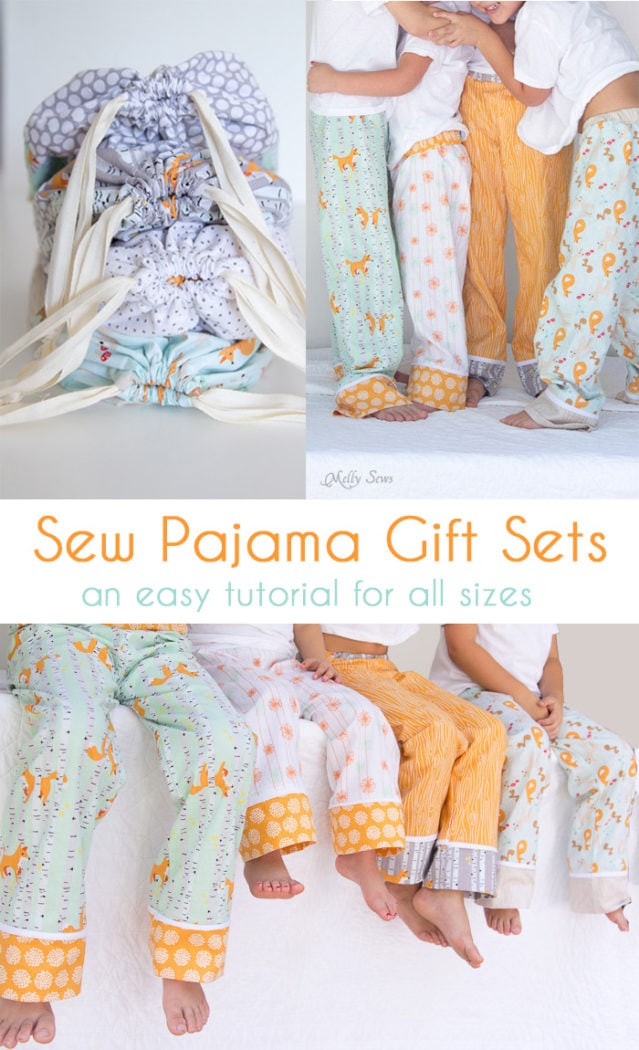
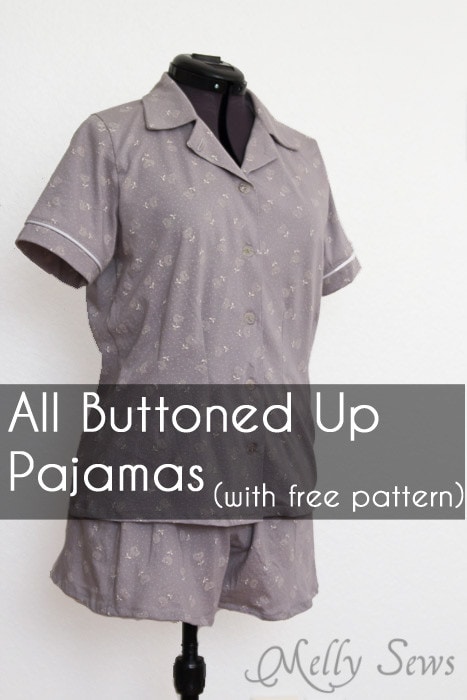
More Pajama Pants Tutorials
There are a lot of pajama tutorials on this site, so check out some more variations by clicking on the pictures below.
Ajaire
I love that pic of you guys jumping! So cute 🙂
Ann
Hahaha. Fun times in your new jammie pants.
Kristin @ Little Corbin Hill
These are soooo cute! Definitely going to try and make a pair =)
Emily
Love your fabric choices! I’ve still plotting what to do with my polka dot fabric. . . . Great tutorial and fun pics!
Carol Urban
Reminds me of the song I used to sing with my boys, “No More Monkeys Jumping on the Bed!”
Jenny - Seamingly Smitten
I love that sock monkey fabric! Super cute pajamas!!
Jenny
Delia
I love those pics of you with your kids on the bed. Adorable!
Laura
I enjoyed your idea of using the bias tape and adding another fabric. Made the PJ’s I made for my kids super cute!
Alyssa
Hi there – can you explain how you attached the cuffs with the bias tape in a little more detail? did you stitch “inside” the bias tape fold then simply fold it down over the stitches which attach the cuff (any worries when you wash them the “piping” wont lay flat?) – or did you stitch over the tape once folded? Did you layer the pant leg, tape and then the cuff (right side all facing up) when you attached them?? i cant quite tell where you stitched on the bias (is it at the bottom of the bias then your ironed the rest down?) or how exactly you attached the cuff. I am (obviously) a beginner and I am making pajamas for everyone this Christmas with contrasting cuffs and I am interested in hiding the stitching as much as possible (b/c i can never seem to sew in a straight line:). thank you so much!
Lindsey
My question concerns the cuff and the bias strip as well (I too am a beginner). Melly, did you use 1/4 inch double fold bias tape? And if you could explain a little more about how you attach the second fabric, the cuff fabric, beneath the bias tape it would be most helpful. Thank you!
Munira
I love to learn
Janis Dressler
I’m so happy to have made my own pattern for PJ bottoms based on your instructions! My first pair came out just as I had hoped. I actually used a bed sheet for the fabric! I’m going to be making my own PJ pants from now on. Thanks, I loved this project!
Sheridan Anne
Hi! I’m new to your blog but I’m really enjoying what I’ve read so far. Thanks for the great tutorial
p.s your family is adorable!
Amira Leigh
I’m planning to make a pair of muslin “bloomers” and couldn’t find a decent tute. Until now. Thank you for such a well written tutorial. I’ve read many others that don’t explain the differentiation between the front and back of the pants and how to mock the pattern for this.