
How to sew boxed corners – make a flat bottomed zip bag
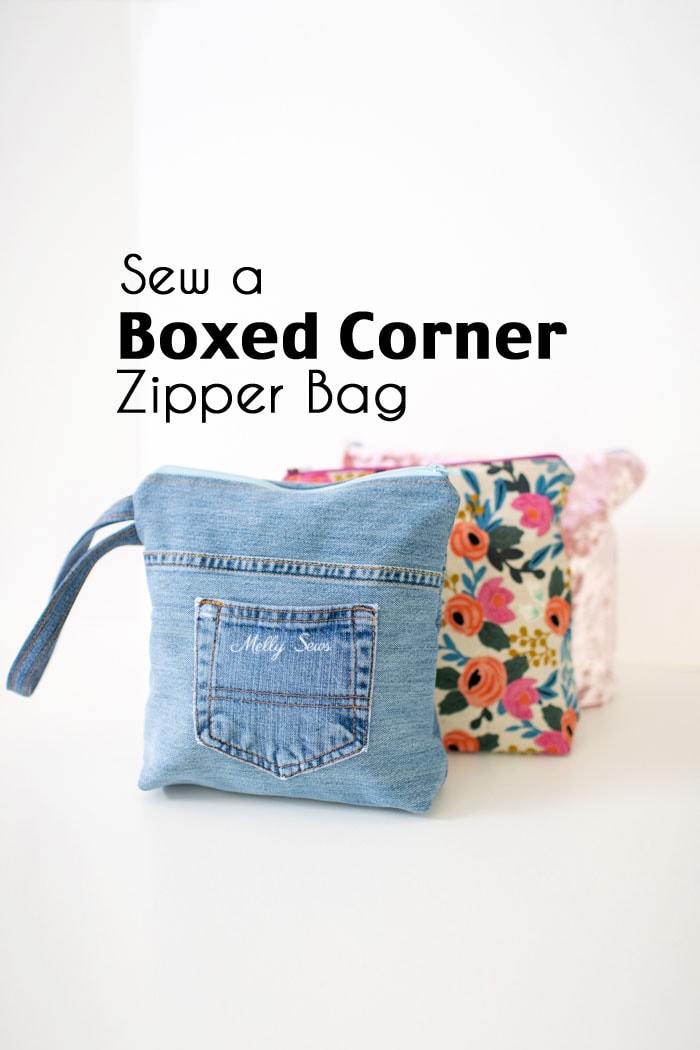
Hey y’all, I had a vote in my YouTube Community about which tutorial people wanted to see, and this flat bottom zip bag DIY project won by a lot. So today I’ll show you how to sew a zipper pouch with a flat bottom, by making boxed corners. It’s a little detail, and an easy one to add, but it takes a basic flat zipper pouch to a new level – and lets it stand up!
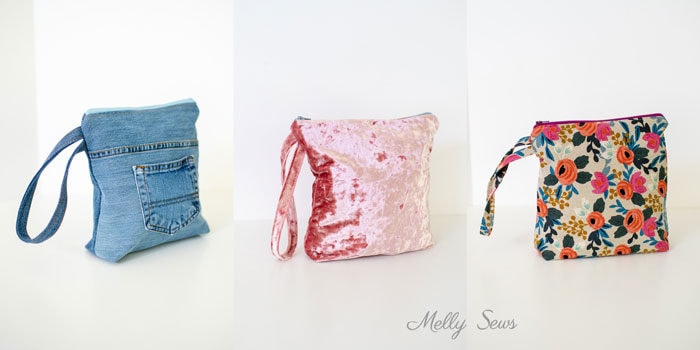
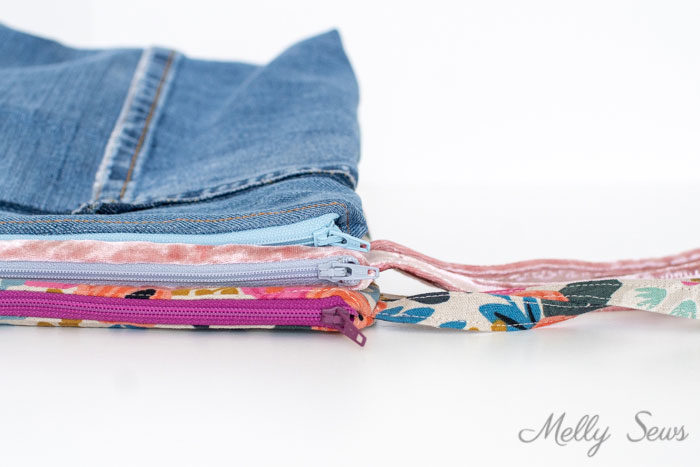
I had fun using different fabrics to sew up these bags. The first is recycled denim from jeans my kids’ destroyed jeans (my boys are really good at destroying jeans). I just patched a bunch of pieces together before cutting out the bag shape. I topstitched on the pocket before I sewed anything else. If you do this, pay attention to where your seams end up – you don’t want a seam crossing where your zipper goes if you can avoid it.
I’ve got a video tutorial showing exactly how to sew this below. You can also watch on YouTube here if it won’t load below for some reason. And this is a zip bagapolooza because I also paired up with Beth from Sew DIY and she shows a slightly different take on the same project. So between the two of us you should be able to sew alllllll the zipper bags.
Want to make your own zipper bag? For this one you’ll need
- 1/3 yard of fabric for the outer bag and another 1/3 yard for the lining
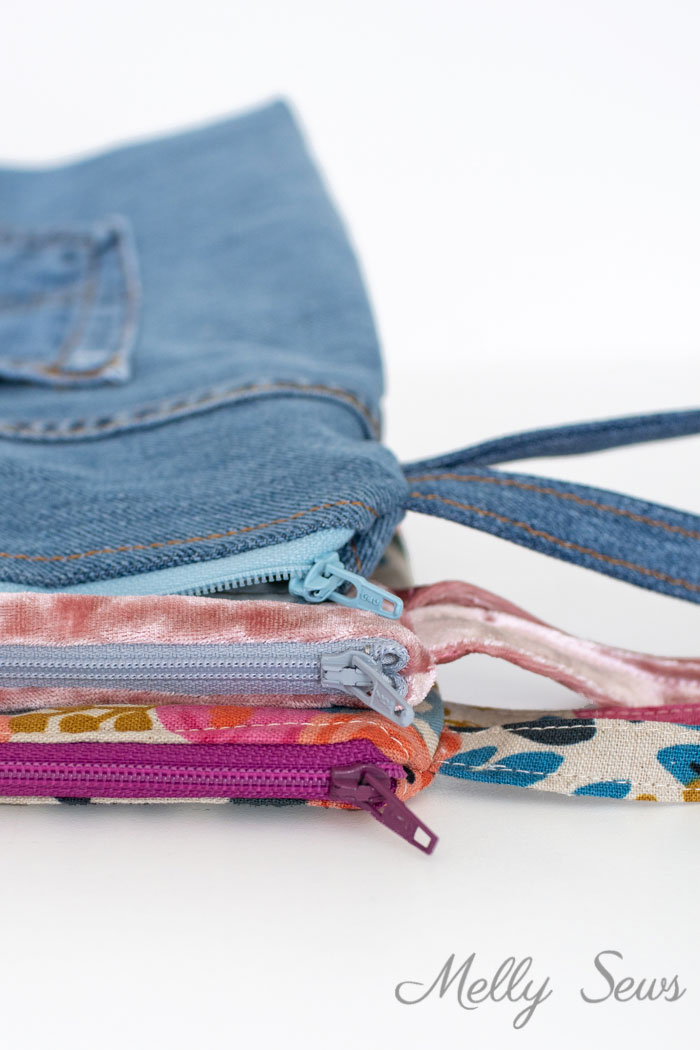
- A zipper cut down to 11 inches (see this post if you don’t know how to shorten a zipper, I demonstrate in that video)
- Optional – fusible interfacing to give fabric more body
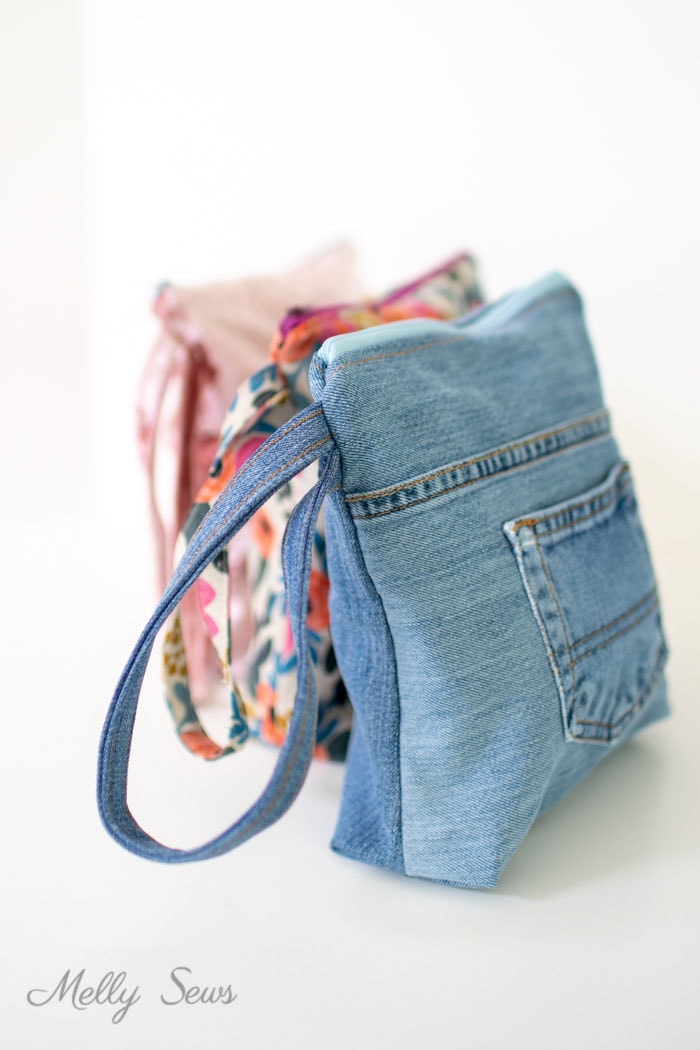
If you’d like a bag with different dimensions, feel free to adjust. This one gives finished measurements of approximately 8 inches wide by 9 inches tall and 2 1/2 inches deep on the bottom.
Time needed: 30 minutes
How to Sew a Boxed Zipper Bag
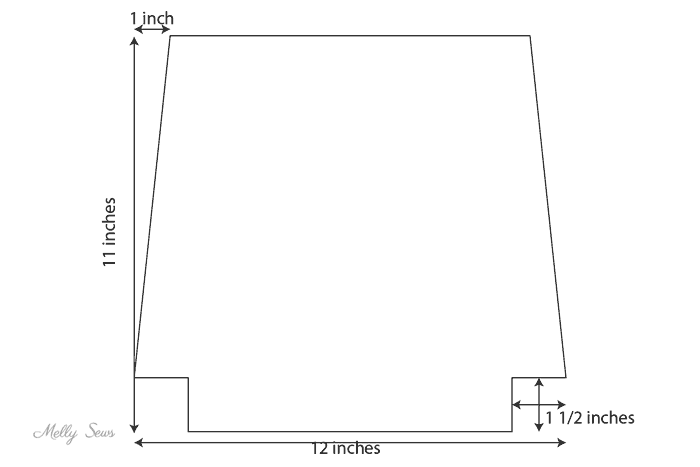
- Make your pattern
For these I cut fabric to 11 inches tall and 12 inches wide. Then cut out 1 1/2″ of each bottom corner. Then angle 1 inch in from each top side down to the bottom corner.
- Cut fabric
Cut 2 outside, 2 lining or pattern. If wrist strap is desired, cut a 16 inch by 2 in piece of fabric for that
- Sew wrist strap
Fold strap in half, matching long edges, then in half again so all raw edges are enclosed. Press. Topstitch both long edges.
- Sandwich zipper
Sandwich one side of zipper between lining and outer fabric, matching zipper edge to top edges with outside of zipper right sides together with outer fabric. Stitch. Repeat on other side. See this tutorial for more help.
- Sew corners
Fold each boxed corner with cutout edges right sides together and stitch. Cut into point of corner so that seam allowances can open.
- Pin wrist strap
Fold wrist strap in half, then pin to outer fabric about 1/2″ below zipper, matching raw edges.
- Sew sides and bottom
Unzip zipper halfway, then fold bag so outer fabrics are right sides together and lining fabrics are right sides together. Match corners. Stitch around edges, making sure zipper teeth are folded toward the lining fabric. Leave a 2-3 inch gap in the bottom of the lining fabric.
- Turn bag
Use gap in lining fabric to turn bag right side out.
- Stitch gap closed.
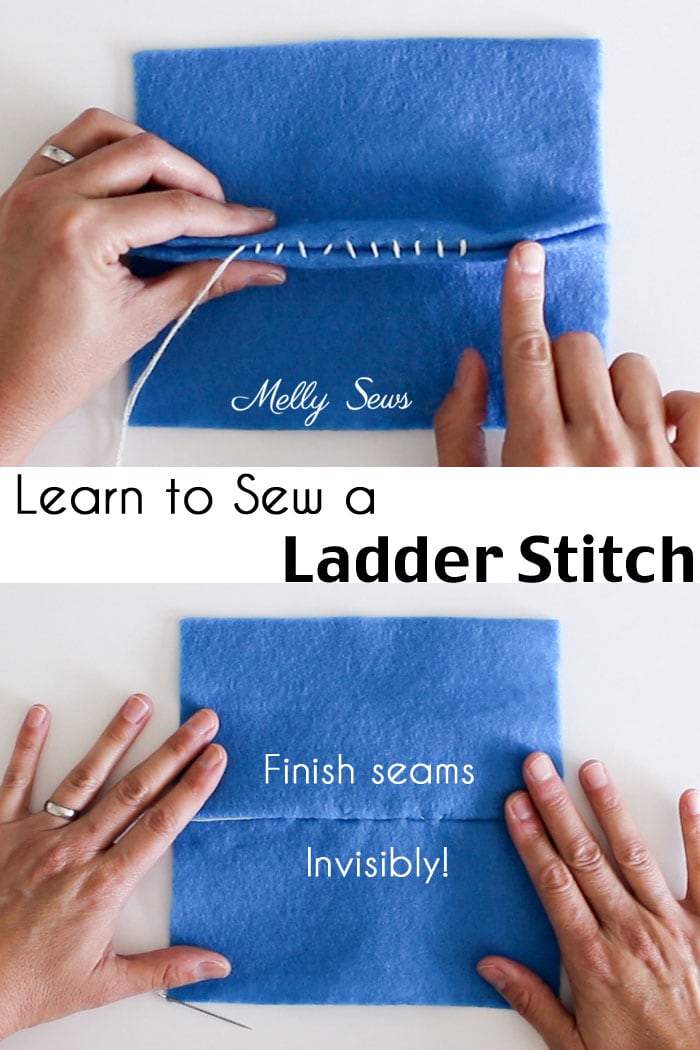
That’s it! These are quick sews and great for sewing gifts.
Want to go back to basics with a simple zipper pouch? Check this post for a photo tutorial or watch the video below.
MonicaAD
You can NEVER make too many of these 🙂 Thanks for sharing … FIESTA
Cindy Smith
Love the bluejean bag!
Annette
These are so easy to stitch up and make perfect gifts! Thanks for the easy tutorial.
Claudia Dimond
Love it, I have been saving jeans, now I have a project. Thanks.
Margaret Axford
Love this bag can’t wait to try it. Thank you for the pattern.
Margaret
Neeli
Video was so helpful. Thank you for this!
Rebecca Hamby
Thanks for posting this tutorial – I made two bags for our standard and super Scrabble games! 🙂
Marnie Johnk
Thanks for the link from zipper pouch!!! You are Wonderful!!! I made one for my son’s fiancé for Xmas, then whipped up mug cozies and cord keepers from my scrap bin(s)! Great, easy projects!!! Thanks so much!!!!
Paula Priaulx
Thanks for sharing this wonderful pattern and tutorial. I have made totes from old jeans, but I think my 3 granddaughters will love these handy bags. With a few additions of embroidery, beading and other “bling”, to make each one unique, I think they will become perfect gifts.