
A DIY beach cover up tutorial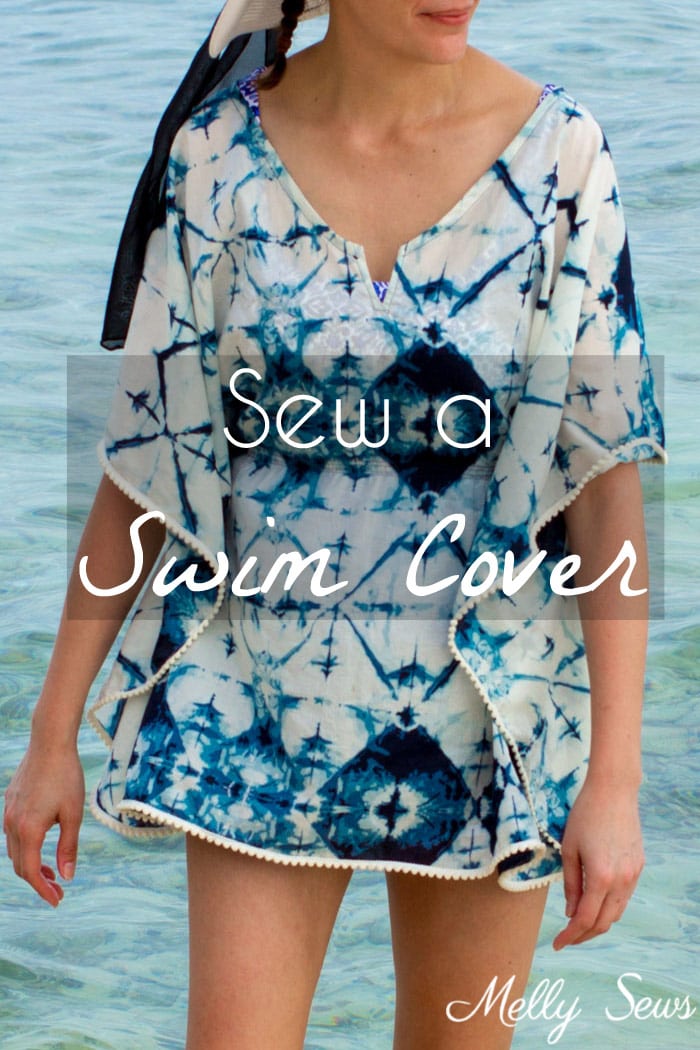
Hey y’all, welcome to Travel month on the blog! As many of you who follow on Instagram know, I travelled to Thailand earlier this year. So this month’s theme is partially my way of making myself edit and post photos from that trip. But also, vacation season in the U.S. starts soon, and so this month will also be packed with tips and projects to help you travel smart and handmade.
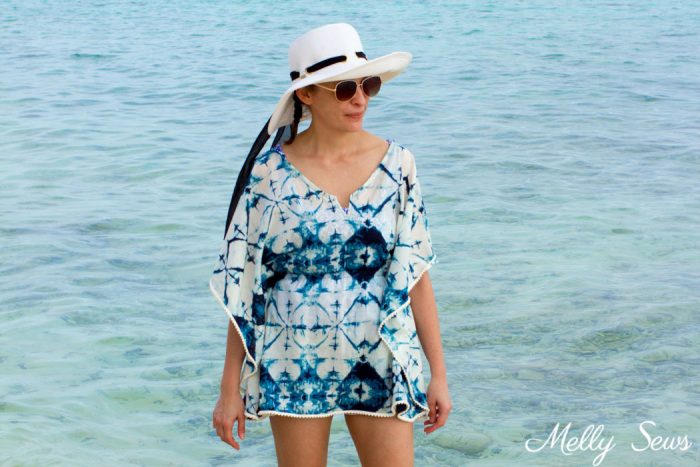
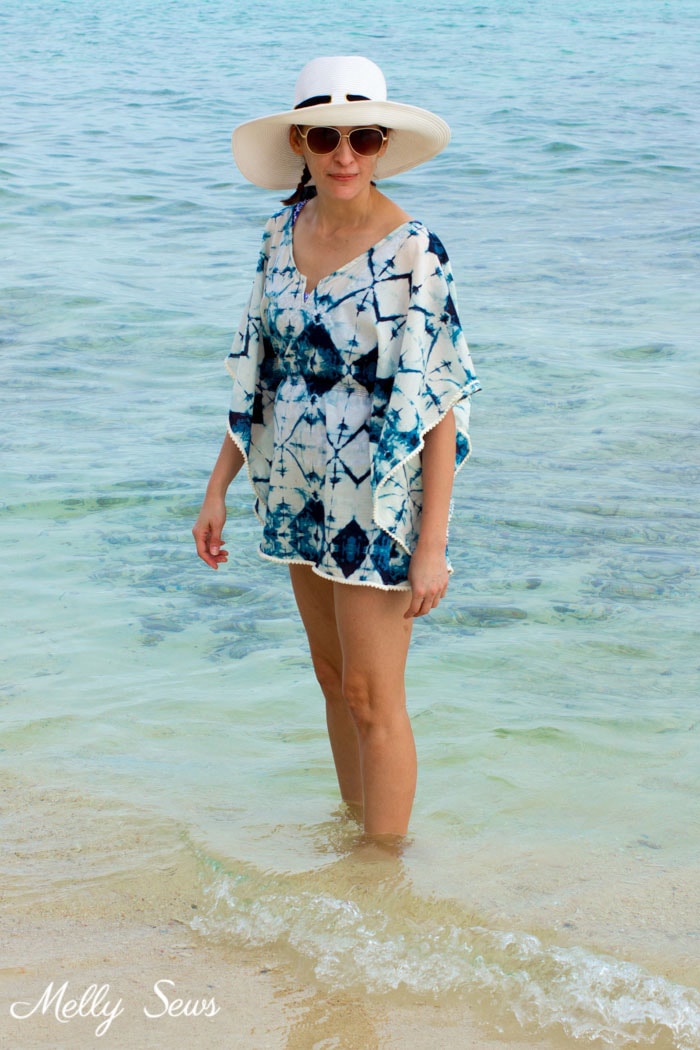
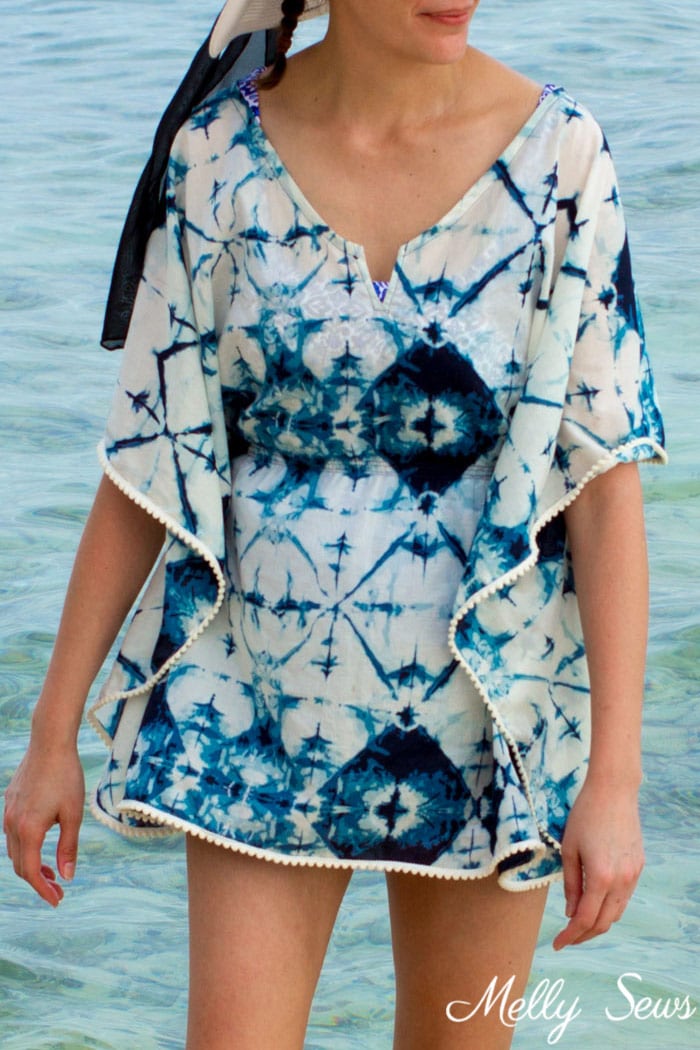
So today’s project is a beach cover up, because it seems that everywhere I travel there’s at least a pool or hot tub and so the swimsuit and a cover hop into my suitcase. This particular cover also got worn as a blouse one night on my Thailand trip.

It just barely covers my suit, and that’s OK with me but if I had the choice I would have made it a teeny bit longer. But I used every last bit of this fabric that I had left, so this is a win in terms of using my stash to sew!
I also can’t write this post without thanking the lovely Susan who not only took these pictures but also was the impetus behind this whole trip and planned and led us on the perfect itinerary. This was one of the best trips of my life and I can’t thank Susan and Stacey enough for all they did to make that true.
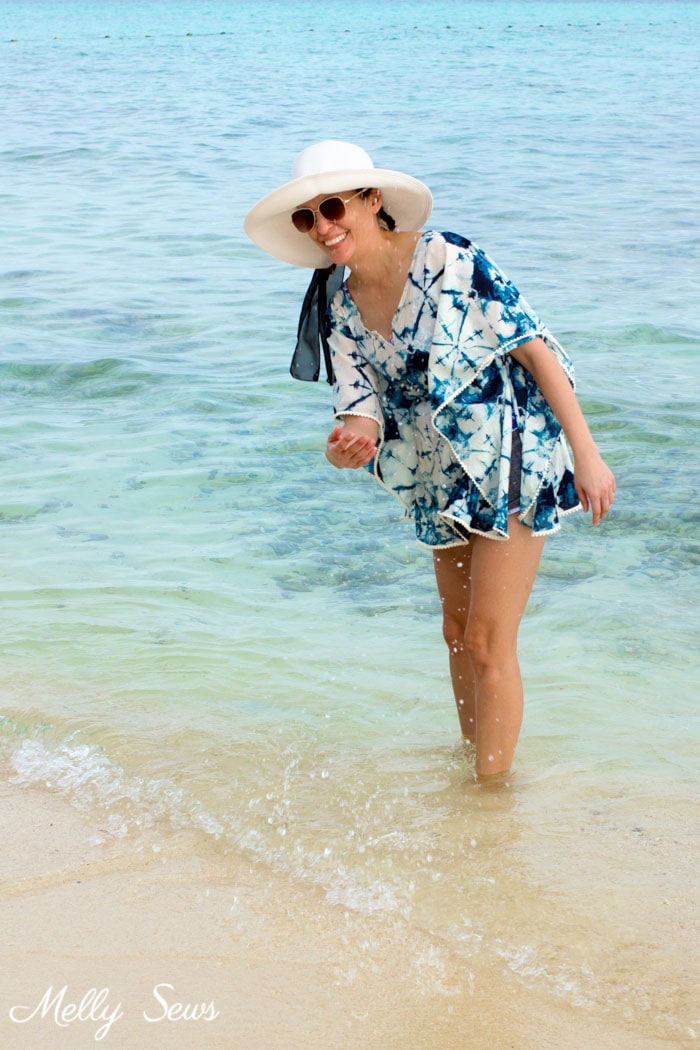
We stopped on this beach in the Phi Phi islands as part of a day long trip around them. We had a charter boat and spent the day on it and stopping to check out different beaches, snorkel and swim. It was amazing and beautiful and I want to go back.

Want to make your own cover like this? You’ll need:
- About 2 yards of fabric, depending on your size and how long you want your cover to be
- Elastic thread (affiliate link) Learn more about sewing with elastic thread in this post
- Pom pom trim (affiliate link)
- About a yard of single fold bias tape – make your own with this post
- The triangular cutout piece and instructions from this post.
Start by measuring both your waist and the width of your shoulders. Take your shoulder width and add 20 inches, then make sure that measurement is at least 13 inches bigger than half your waist measurement. So for example, my shoulders are 16 inches wide, so I added 20 inches to get 36. Half my waist is 13.5 inches, so 36-13.5= 22.5, which is bigger than 13 inches so this works for me. But if you have narrow shoulders in proportion to your waist, you may need to make your piece kind of trapezoid shaped, getting wider at the bottom, than the rectangle I used.
Now that we’ve done that math, also measure from the base of your neck to however long you want the cover up to be. Again, I was working with limited fabric, so I could only make mine 27 inches long. Double your length, then cut a piece of fabric that is your width by length. If you’re doing a trapezoidal shape, fold your fabric like I show below in the first step before cutting, then cut with your fabric folded so that it’s narrower at the fold and wider at the opposite end, which will be the hem.
Fold your fabric as shown below, once horizontally and then once vertically so that you have 4 layers of fabric.
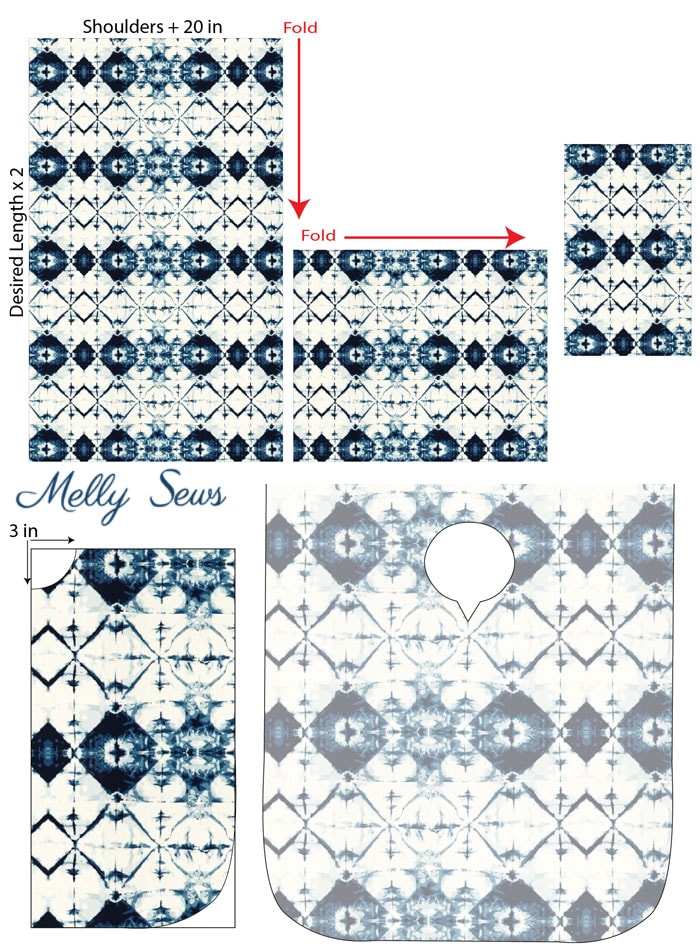
In the upper corner that is folded edges of fabric only, cut out a 3 inch circle for the neckline. On the diagonal corner which should be all fabric raw edges and no folds, round off the corner.
Mark the center front and then open the fabric out flat. Line up the triangle piece from the knot shirt with the center front, right sides together, and stitch, then cut out, then wrap around the the back side to create the facing as shown in that tutorial. Then finish the neckline with the bias tape, as I show in the Blanc T-shirt video.
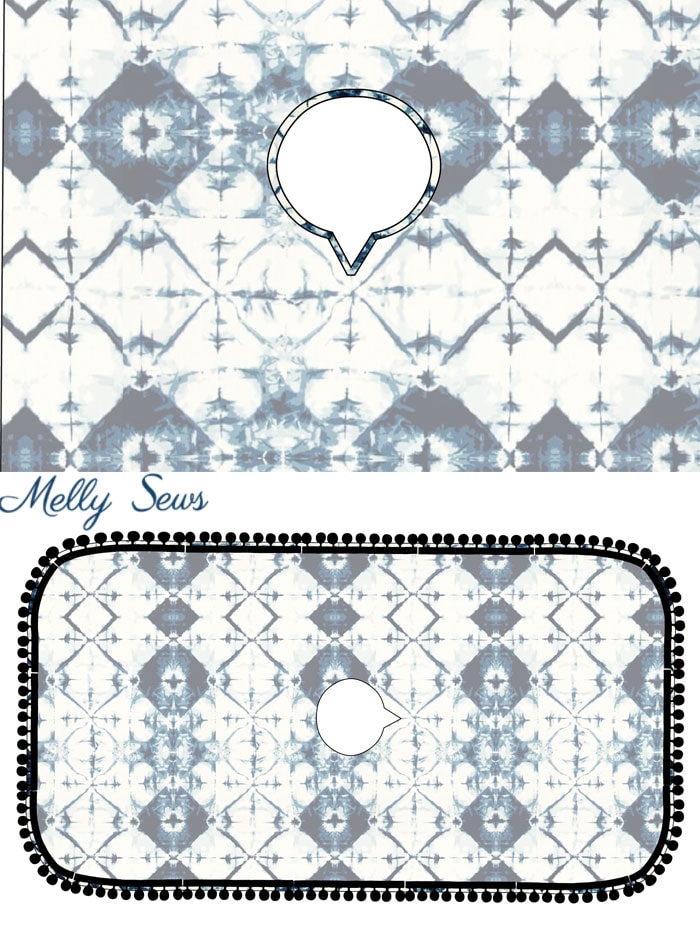
Sew the pom pom trim all around the front of the fabric, with the poms facing away from the edge. Then flip the trim to the wrong side, so the poms point away from the edge, and stitch again. There are pictures of this in the pom pom shorts post I wrote.
The last step is to sew the waist elastic. First, try the cover up on and mark where you want the waist to sit. Then open it up flat and mark three lines on the right side of the front and the back with something that will wash out. These lines should be centered on your fabric at your marked waist level, and they should be 1/2 your waist measurement + 3-4 inches long. Make sure that there is at least 5 inches between the ends of the lines and the edge of your fabric. Stitch on these lines with the elastic thread in your bobbin, sewing through only one layer of fabric at a time.

Once the front and back elastic lines are sewn, fold your cover up in half wrong sides together, matching the elastic lines. Stitch vertically across the elastic lines at each end of the waist, making sure to backstitch before cutting the thread. Then pop your swim cover on and head for the beach or the pool!

Jena
I love this idea! Thanks for the helpful tips on how to measure for a great fit. I think I will start sewing now.
Kay S Ostermann
Thanks, just in time to whip up a hostess gift for beach friend we visit! Much like the ponchos made from wide scarves, but the extra side overlap is a nice extra for a blouse.
Judy Hayes
so cute and I love that I can learn many new things even though I have been sewing personally and Professionaly for a long time. The post you show I called ” Sewing Graphicly ” using the actual fabric as the teaching part is kind of like a power point. The diagrams above make it so much nicer to sew with the eyes and them Sew the actual fabric. Thank you! Judy
Nadee
Tank you very much.
Joanne
Hi Mel,
I’ve just finished two versions of your cover up, a practice version in flow’y poly & a second one in a rayon batik. Love how both turned out, tho I learned skills & the 2nd one fits perfectly.
Wish I could send you photos!
Thanks for the instructions! Joanne