
Make this adorable t-shirt for babies to wear
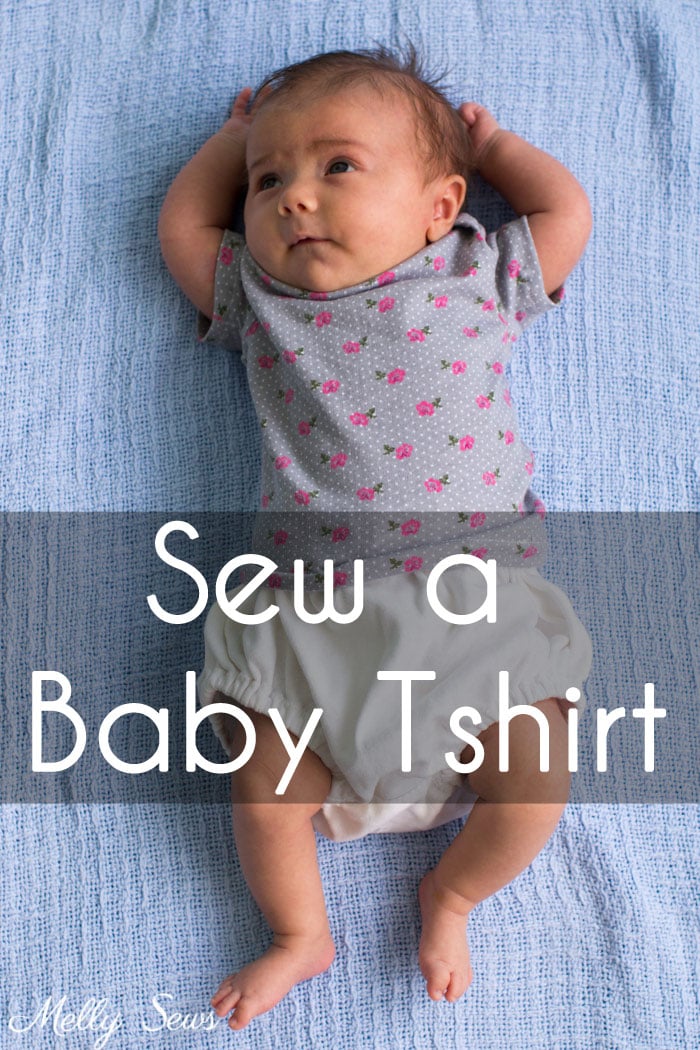
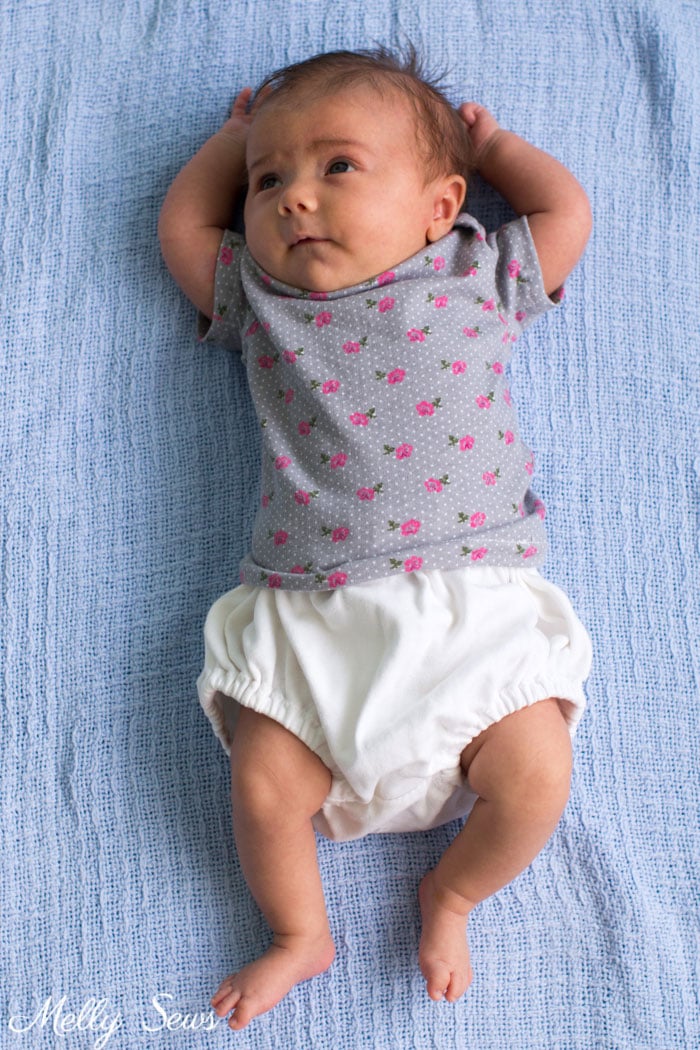
Hey y’all, today I’m sharing the pattern and tutorial to sew a baby tshirt. You may be beginning to suspect at this point that the whole reason I decided on this month’s theme was to be able to take and share pictures of my new niece, and you’d be right. But she’s such an adorable little squish!
Baby t-shirts are a staple of baby wear, particularly if you live in a hot climate like I do – then a tshirt and a diaper can be a preferred outfit for the day – or as long as the baby can keep it clean before needing a new outfit. And those envelope necklines are surprising easy to sew. Why a tshirt instead of a one piece? Well, it’s easier to sew, and in the summers here every little bit less fabric is important. You can even skip the sleeves and just bind the armholes of this (much like we’ll do for the neckline) for a tank top version.
Want to make your own? You’ll need
- 1/2 yard of knit fabric. I used this Girl Charlee Bolt print (affiliate link).
- The pattern. See below for options to get it.
I’ve got two options for you to get the pattern, which is for size 0-3m. If you need to make the pattern bigger or smaller, check out this post. Before using this pattern, you may wish to visit the CPSC standards to make sure your finished product will be safety compliant with current standards.
Option 1: Download for free.
To download the pattern for free, subscribe to the Melly Sews Weekly Newsletter. AFTER you sign up, you’ll get a confirmation email – and you have to confirm or my email service can’t send you the free pattern access email. But once you do confirm, you’ll get another email with instructions to access to not just this but several other free patterns. Woot! Note – if you already subscribe to the newsletter, just find your most recent one and follow the link and password instructions at the bottom of the newsletter. Resubscribing is not necessary and doesn’t re-send you anything. (PS – if you have trouble finding the pattern as a subscriber, check this post) Please note that all my free patterns are licensed for personal use only (no selling items made from this without a limited production license) and by downloading you are agreeing to this license.
Option 2: Purchase this size 3m-12y pattern for $7.95.
Use this link or the button below to purchase a pattern file, which includes short and long sleeve options as well as pajama pants. You’ll be emailed a download link for a file that includes the instructions in this tutorial and the pattern pieces. You’ll also be able to download this file in my shop.
Ok, I’ve got a video tutorial for how to sew this, but if you like written tutorials better, scroll on past it. You can also watch the video on YouTube here if the one below won’t load for some reason.
To start, you should have a front and a front binding (dimensions for the binding are on the pattern, make sure it stretches lengthwise), a back and a back binding, and two sleeves. Make sure you cut or mark those notches on the front and back pieces, you’re going to need them later. This pattern includes 1/2 inch seam allowances unless otherwise noted.
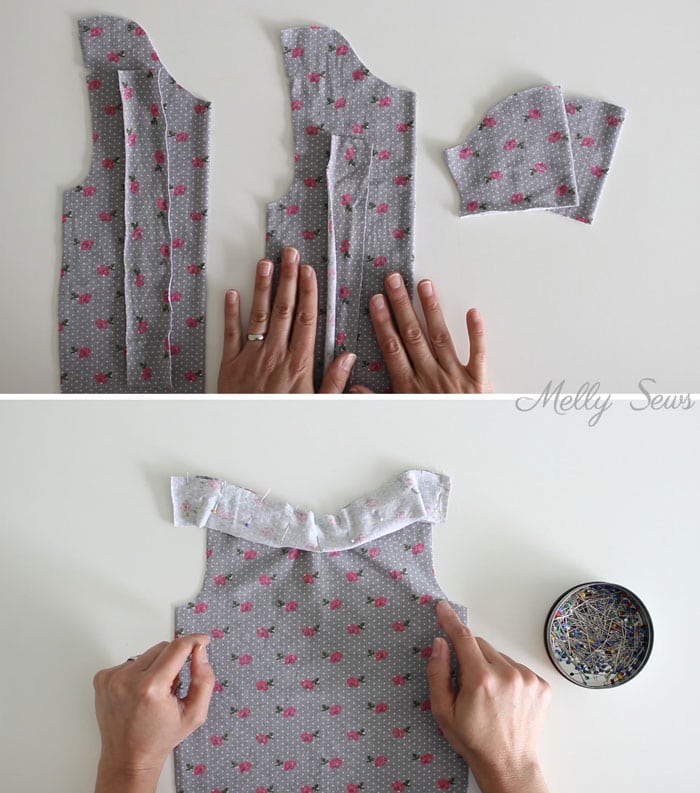
First, pin the front binding right sides together with the front neckline and around the shoulder extensions. Stretch the binding slightly to fit; you want to do most of your stretching on the curves and less stretching on the straighter parts of the neckline. Stitch, using a stretch stitch. Need to know more about stretch stitching? See this post. Repeat this process with the back and back binding. Next, fold the binding around the seam allowance and to the wrong side of the shirt. Pin it in place, then flip the shirt over with right side up and replace the pins onto the right side. This is because we’re going to sew on the right side, and you don’t want to zig-zag stitch over pins.

Set your machine for a medium length, medium width zig-zag stitch. Sew with the seam centered under the presser foot, so one side of the stitch lands on the binding and one lands on the shirt. Repeat this with the back/back binding. Then trim the excess fabric off the bindings on the wrong side, being careful not to cut the shirt. Below is what the finished and trimmed binding will look like.
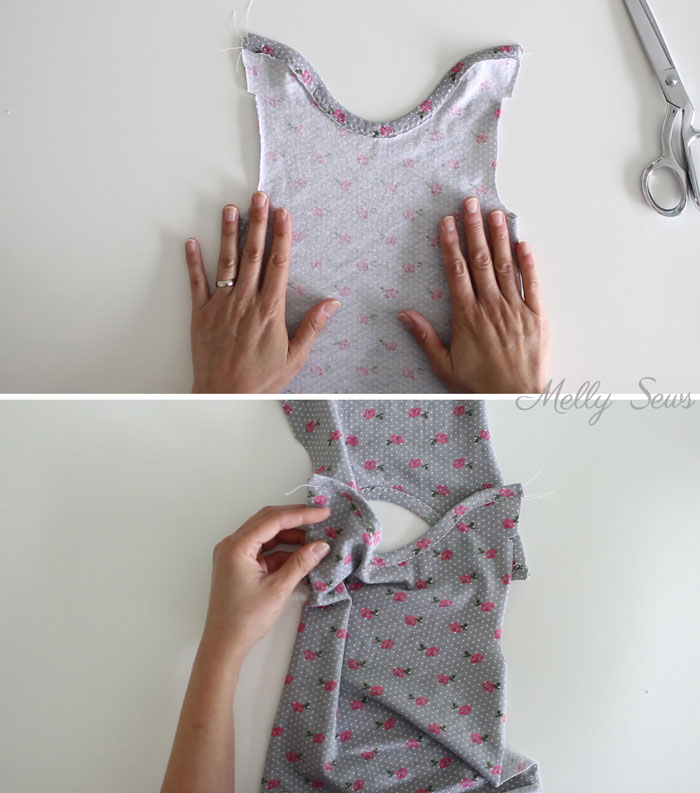
Lay the front of the shirt right side up on the table, then overlap the back of the shirt on it at the shoulders. The wrong side of the back should be against the right side of the front. Match the notches, then pin the armholes with the raw edges even. Next, match the center of each sleeve to the notch, right sides together. Pin through all 3 layers, then pin the rest of the sleeve in place. Stitch the sleeves, using stretch stitch.
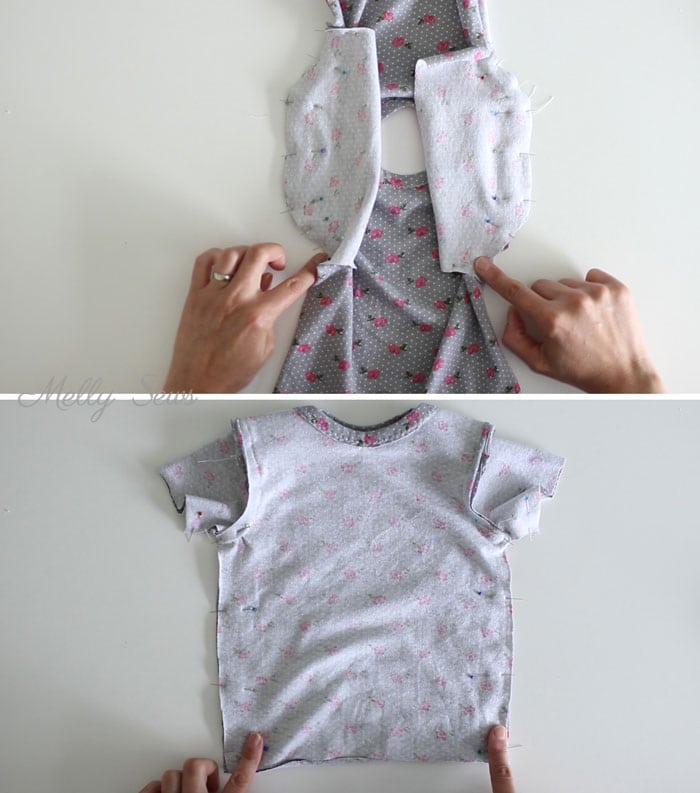
Fold the shirt right sides together, matching the underarm seams. Pin down the sides so that you can sew the sleeves and the side seams in one pass. Fold the sleeves under 1/2 inch to the wrong side, and then fold the bottom hem 3/4 inch to the wrong side and hem. Need more help with hemming knits? See this post.
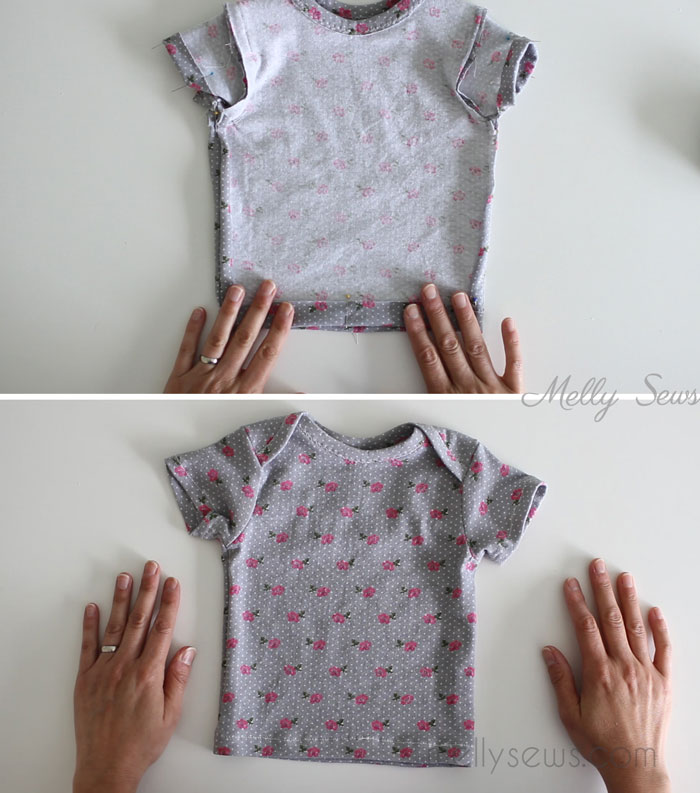
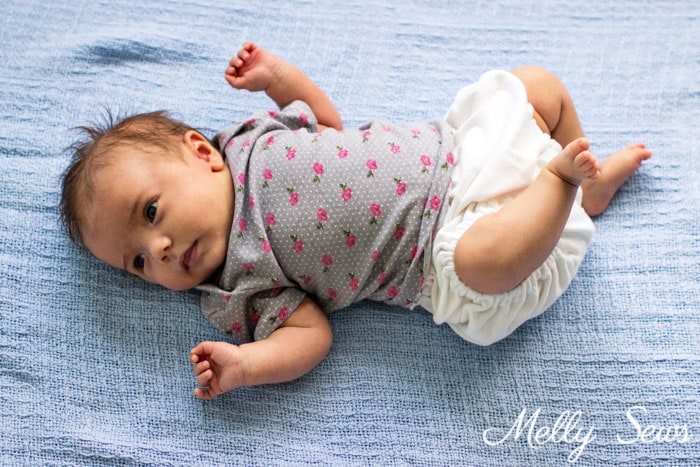
And you’re done! Wasn’t that fast? Now you can make a whole closet full for a cute babe.
Alice
She’s a beauty!
E& E Touch
Nice one. I love it.Thank you
fany
Thank you! I love it! You are amazing! :))
Melissa
I signed up for the newsletter but never received an email
Lavanya Mithun
Made one following ur free pattern , so proud of my work
Candy Rude
I love your site. I am 74 and learning new things while making gifts for my great grandchildren. Thanks you!
Gayle Gissing
This is marvellous, how much do you add to the bottom of the baby’s Tshirt. My apologies if you have noted this in your blog. I sew for young single mum’s who have nothing and this is perfect. Do you have just the baby’s pattern on its own?
Very much appreciate your blog
Thankyou Gayle
Gayle Gissing
Hi agIn I shall try to explain, a T-shirt finishes at the hips. The newborn sleeping bag finishes under the feet. Could you tell me the measurement from the bottom of the T-shirt to the bottom of the elastic