
This tutorial is going to cover how to make a raglan style muscle t-shirt from a basic t-shirt pattern, and then I’ll show you how to sew that shirt. This is the same way I made the Squirrel T-Shirt. If you don’t already have a t-shirt pattern, visit this Post. Go ahead, I’ll wait until you get back.
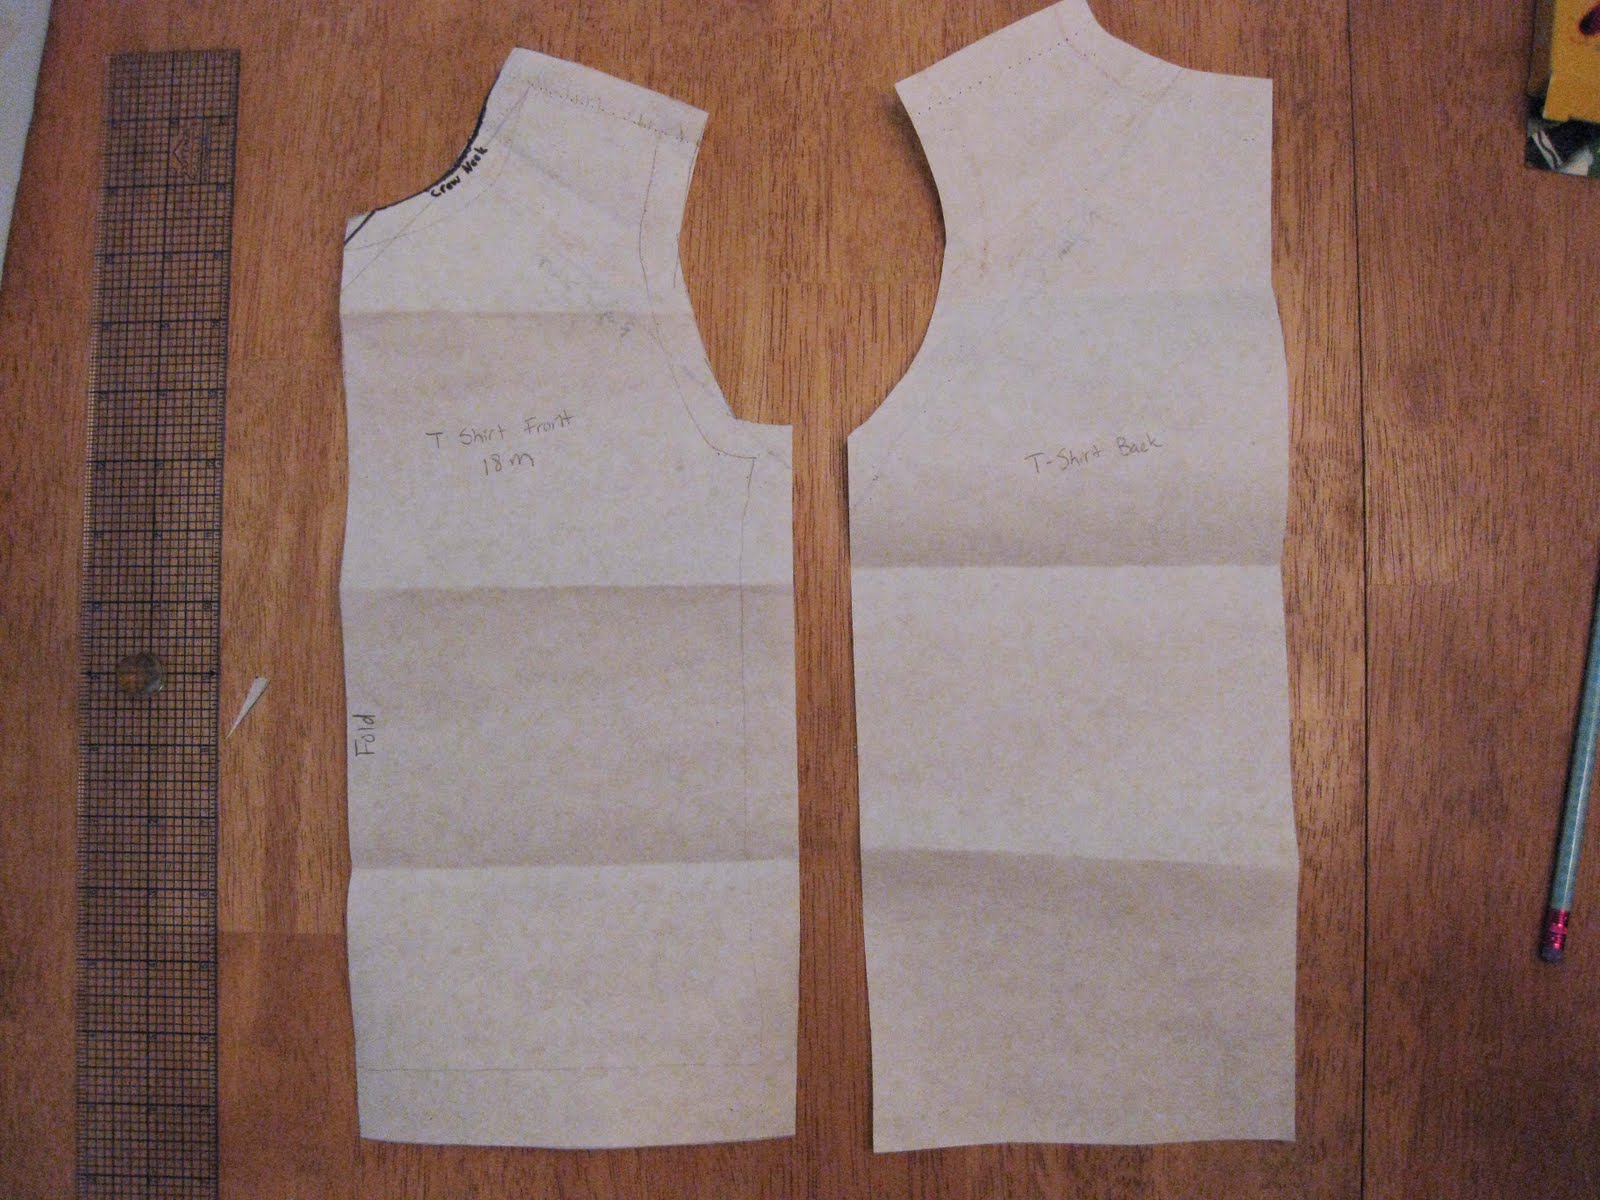
OK, so now that you have your paper t-shirt pattern, let’s get started. You will be using your front and back pieces, which should look something like this:
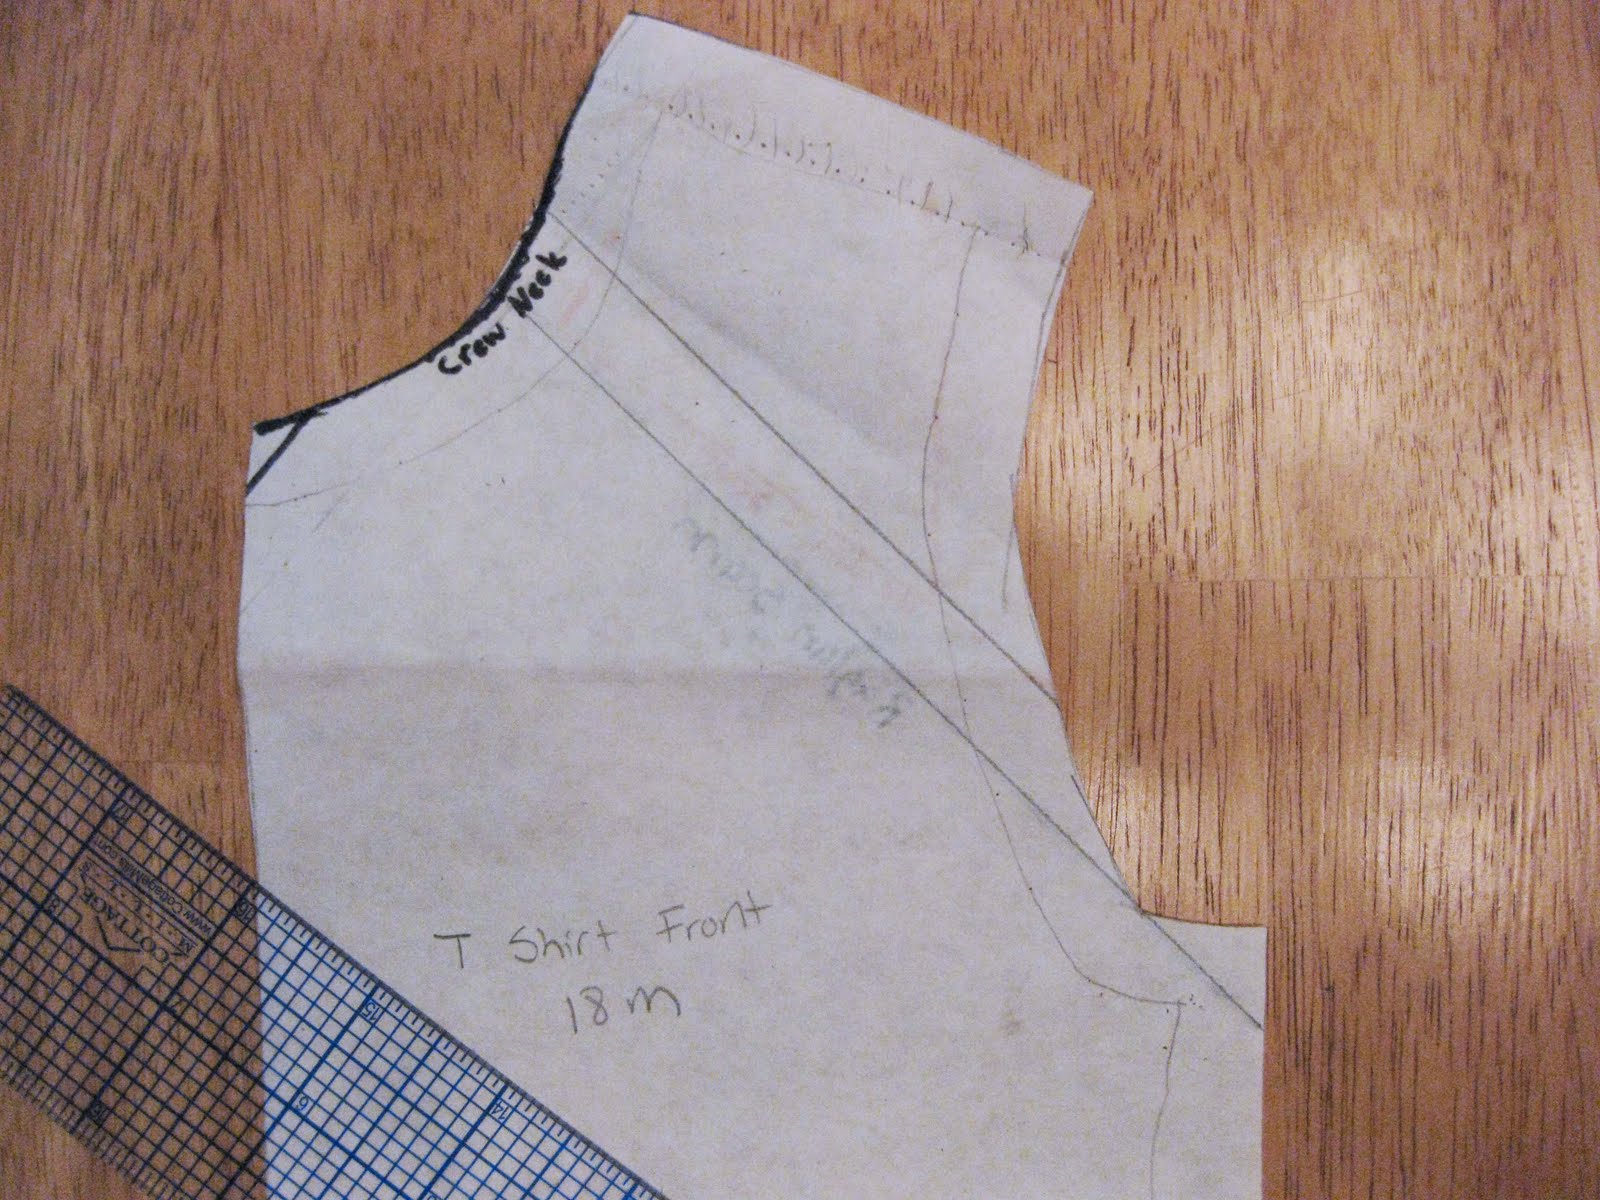
Lay a ruler across the sleeve area approximately where you want the raglan seam to be. Like this:

Draw a line on the top edge of your ruler. Then we need to add a seam allowance, so draw a line 1/2 inch above your first line (or whatever your preferred seam allowance amount is). You should then have something that looks like this:
Repeat this on the back piece.
Now, to make the sleeve, you need to pin the shirt front to the shirt back at the shoulder. Make sure you have one stitching line directly on top of the other. This may look like a lot of overlap. If it’s easier to wrap your brain around, what I did the first time I made a pattern like this was to actually sew the shoulder seam on the paper pattern. Whatever you decide to do, it should look like this (see the pin in the middle where I overlapped them?):

Now all you have to do is lay this down on your paper and trace the curves in the area between the raglan lines you made. Trace all the way from the topmost raglan line the the bottom most one and you will have your seam allowances added in. Use your ruler to draw in the straight edges after you pick up your front and back pieces. You should have a piece that looks like this now:
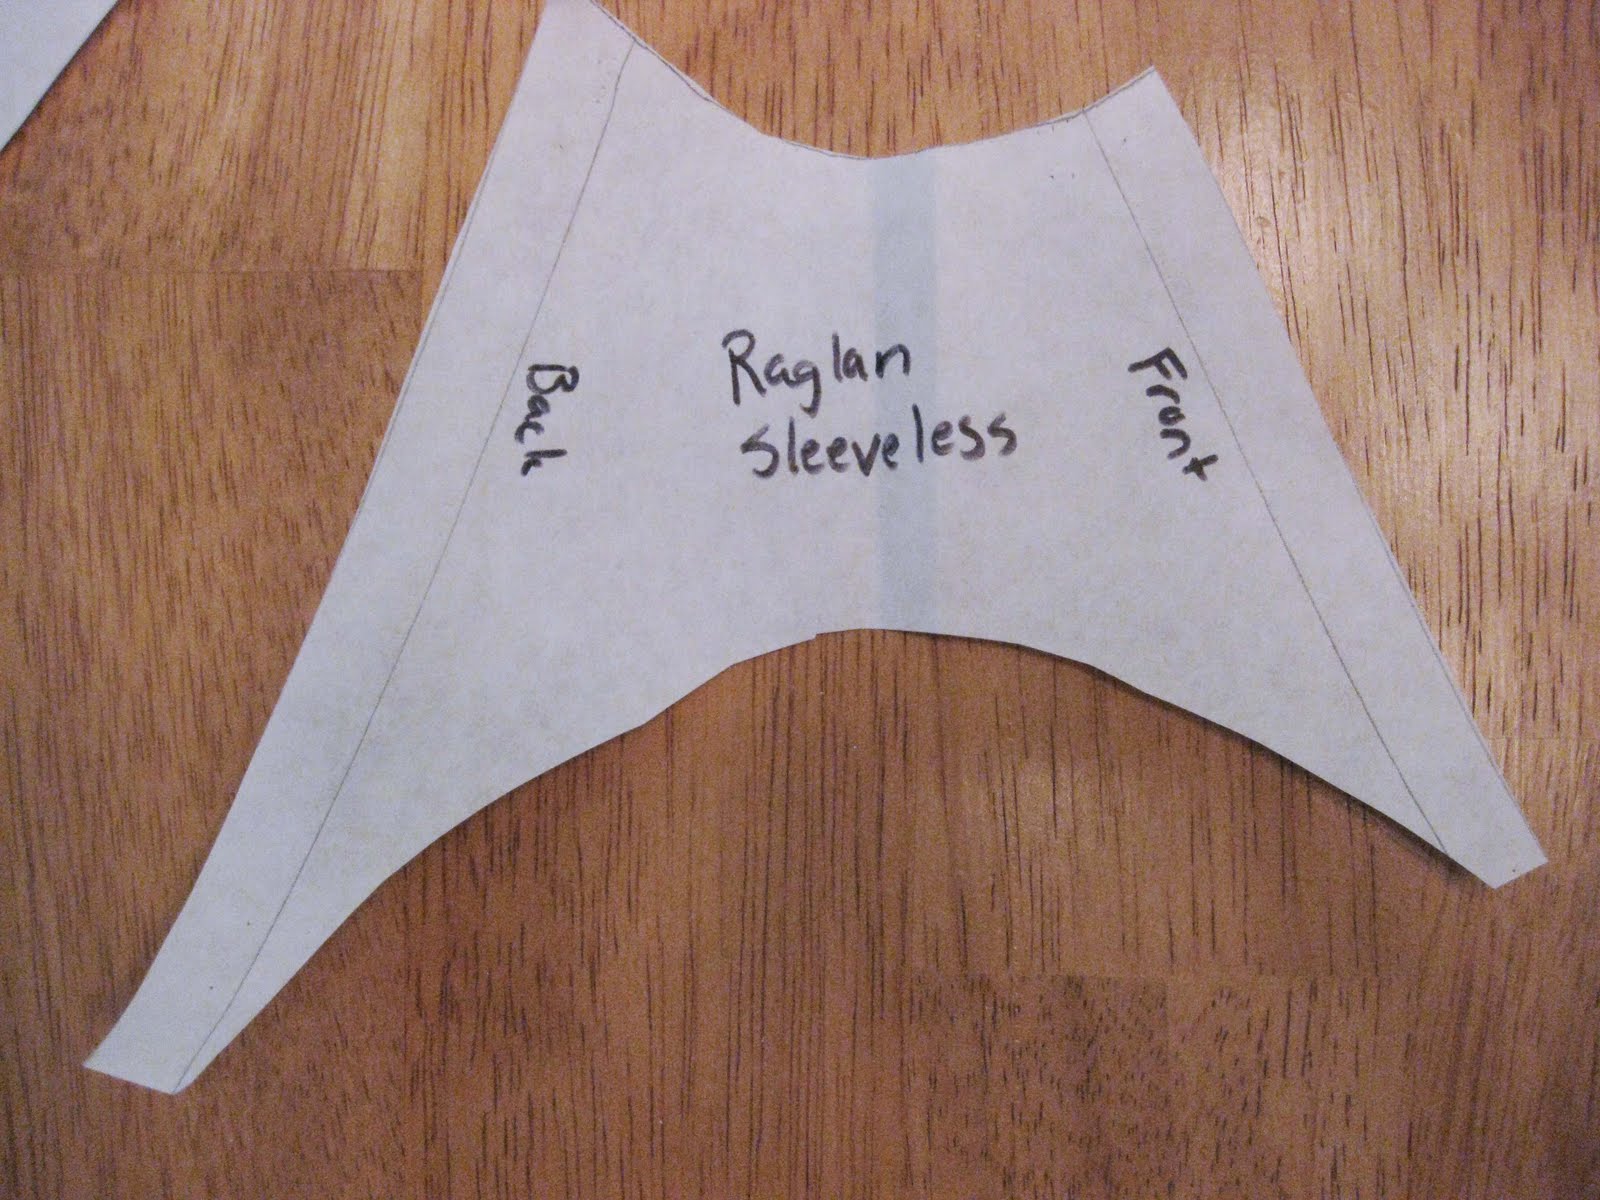
Notice that this is not a symmetrical piece. That’s OK, all is as it should be. However, you will probably want to label which side should be sewn to the front and which side should be sewn to the back.
On your front and back pieces, you should fold down along the topmost raglan line. You could cut the paper, but why mess up a perfectly usable regular t-shirt pattern? If you fold, you have 2 patterns in one. Now you should have 3 pieces that look like this, and you’re ready to cut your fabric.
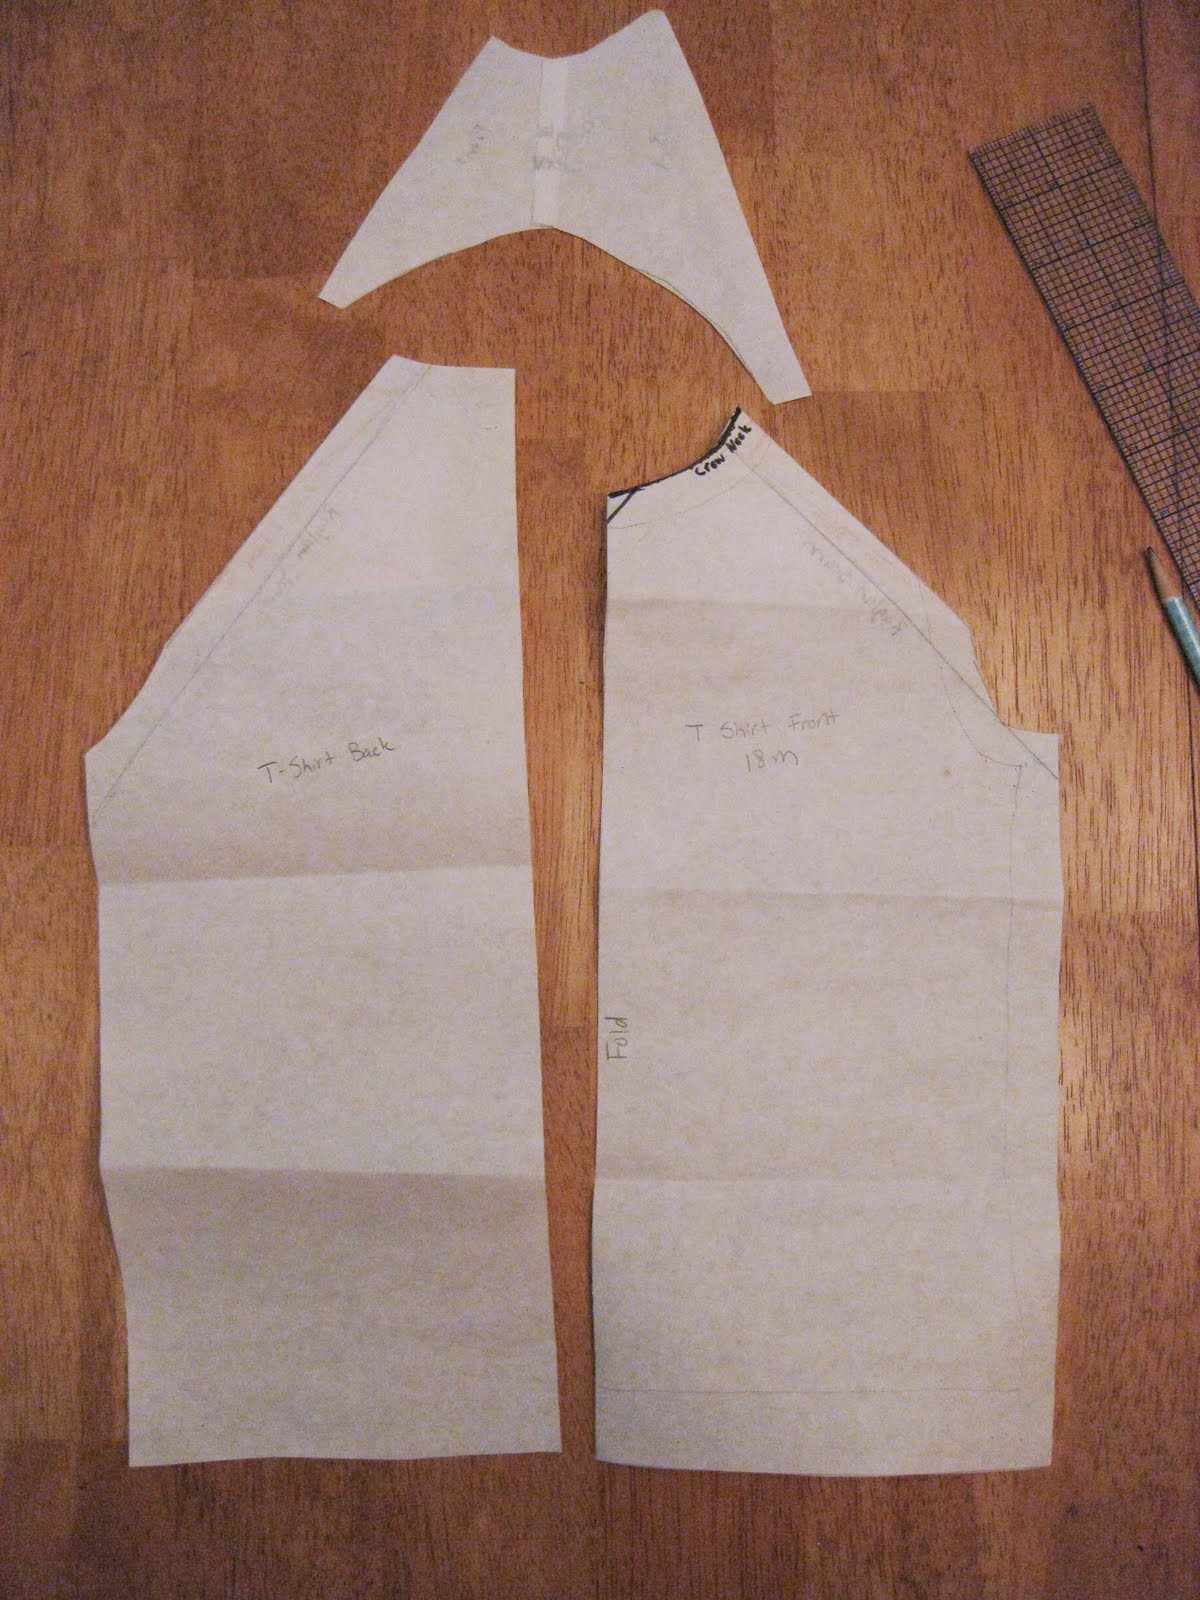
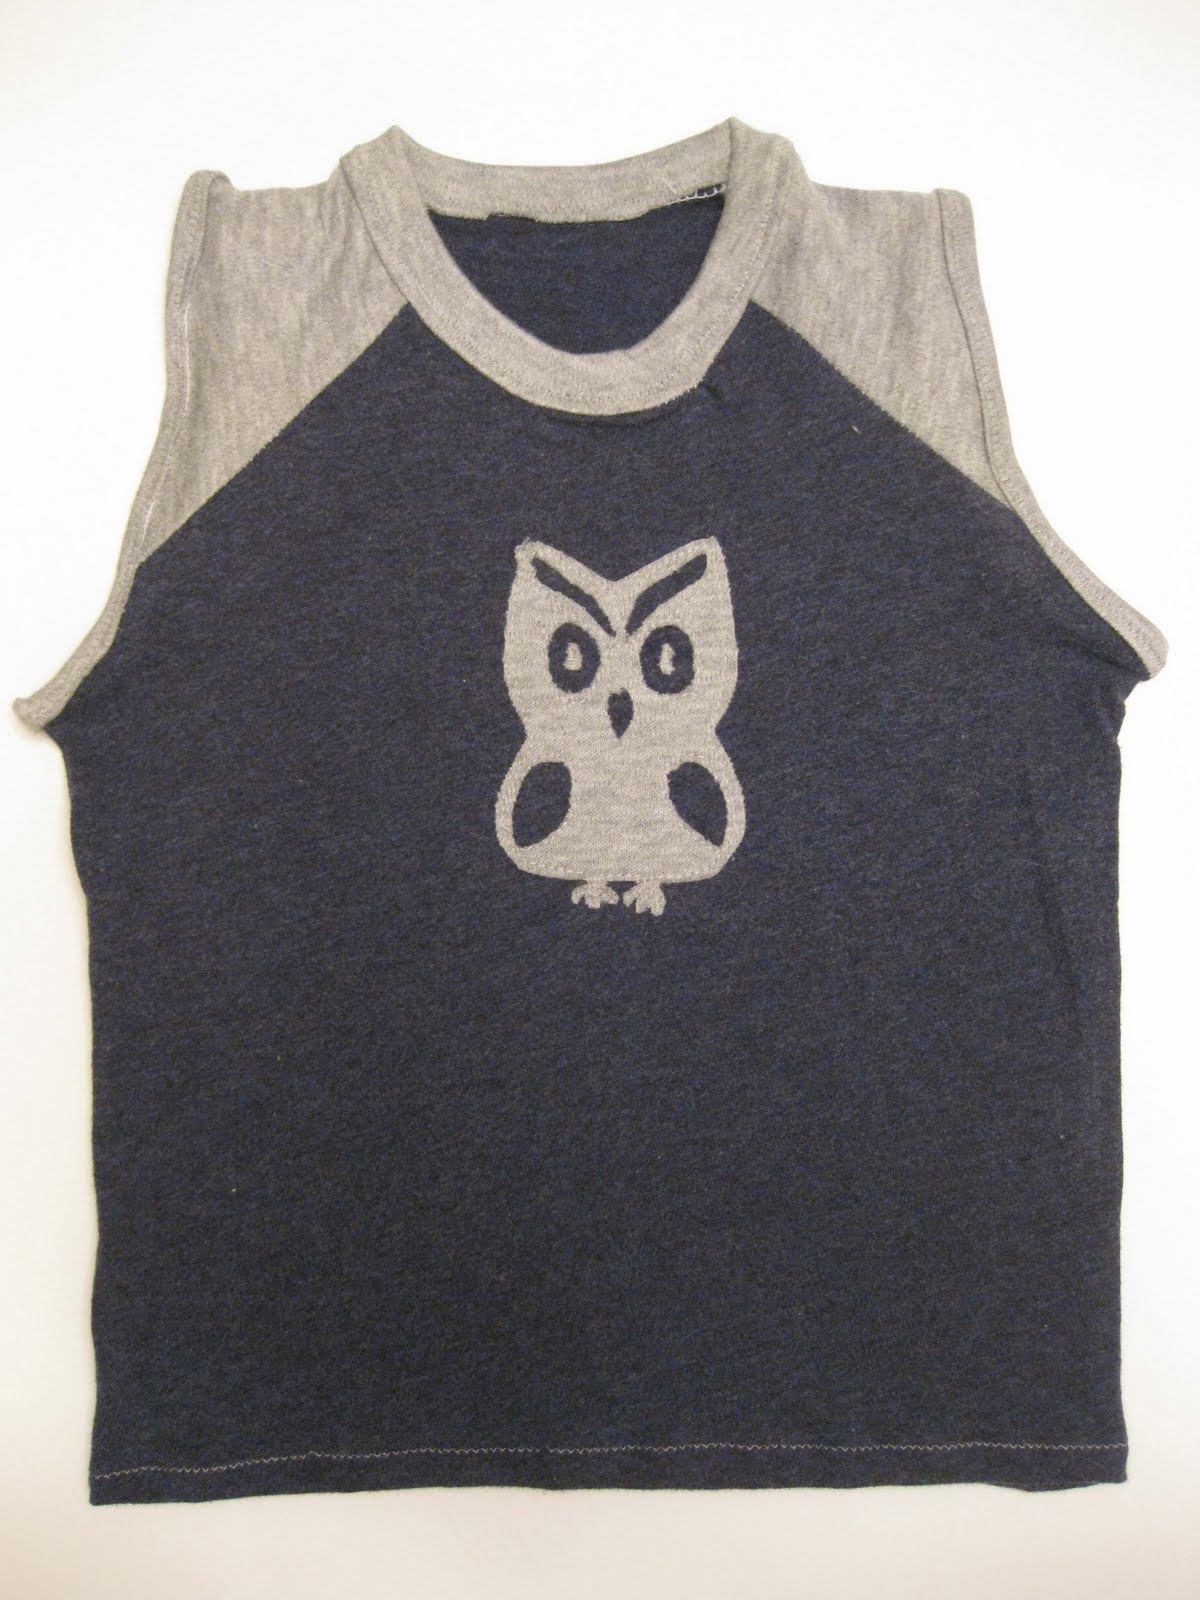
Notice that a small portion of the armhole curve remains at the bottom on the front and back pieces under the raglan seam. This is also as it should be. When you cut out your fabric, you will put the front and back on a main color, and cut the sleeve on a contrasting color. You will also cut your applique out of the contrasting color, and in addition you will need 2 inch wide strips of the contrasting color to make the binding for the neck and armholes. For now these should be the same length as the neck and armhole edges including seam allowances on the pattern.
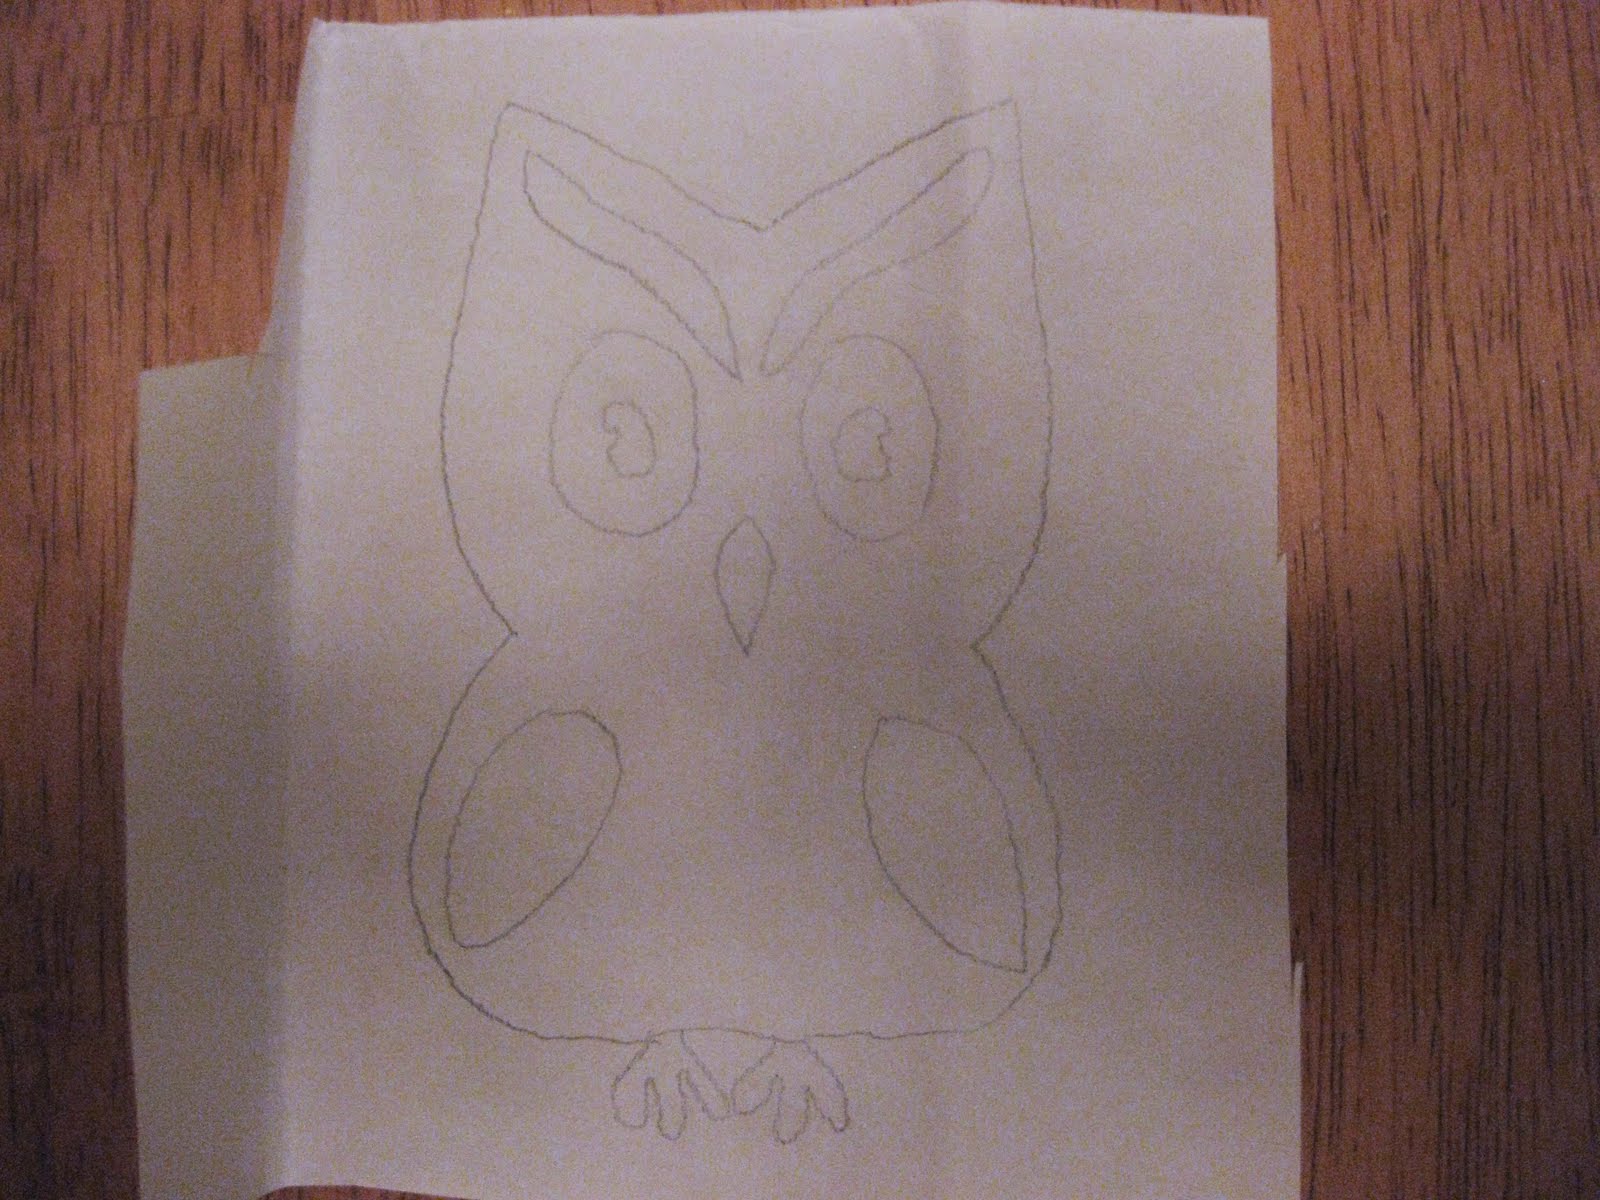
Once your pieces are cut out, applique your chosen graphic to the front piece. If you want to use my owl or squirrel, you can find a pdf with the pictures here
Melissa from Sew Like My Mom has a great tutorial on how to do appliques here. One tip I have – when tracing the picture onto the Heat and Bond, I use my laptop screen as a lightbox. You’re probably not supposed to do that, but I just tread lightly with my pencil.
For this project I also deviate a little from Melissa’s tutorial in that I don’t zig-zag. I use a straight stitch close to the edge. I do that because there are some tiny detail areas on the designs I made, and because this is knit fabric I use to applique on this project, so I don’t have to worry about raveling. If you use woven fabric to applique this, you’re going to want to zig-zag. Anyway, mine looks like this:

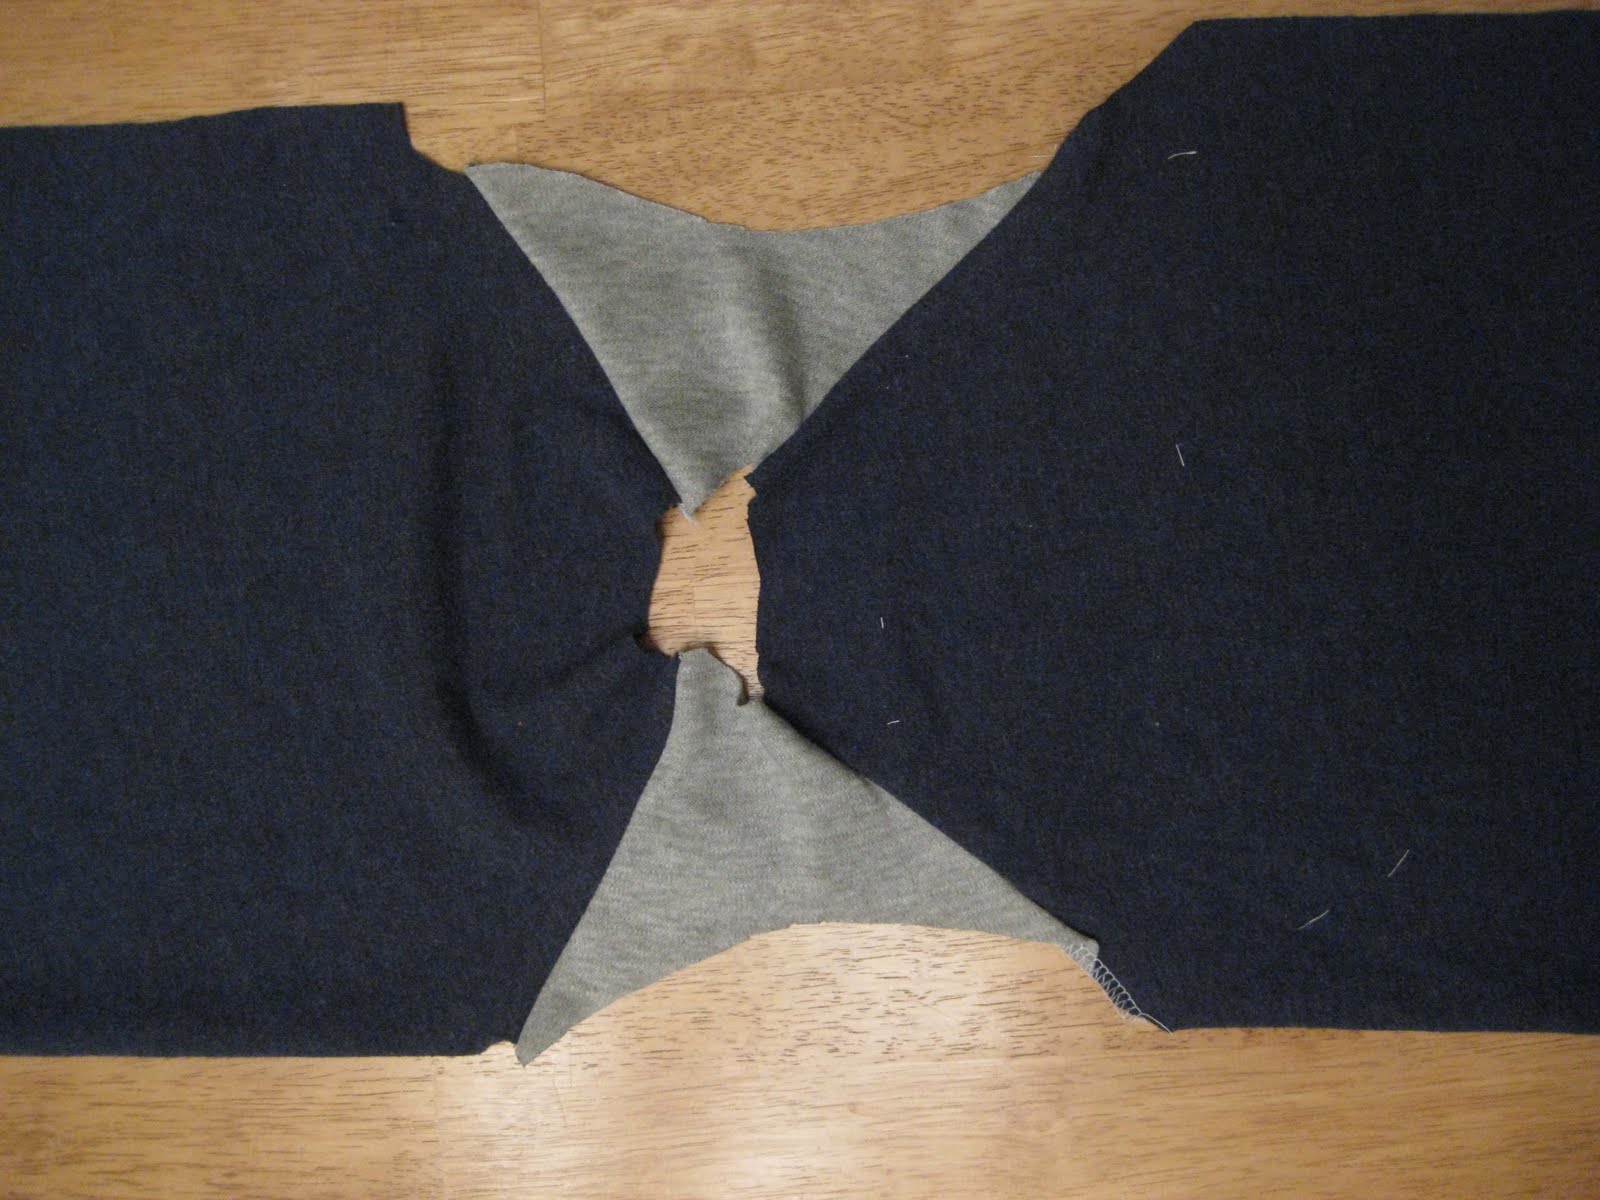
After you get your applique on, it’s time to sew the shoulder seams. Line up the straight front edges of your raglan pieces onto each side of your front and zig-zag or serge. Then do the two back should seams. You should then have something that looks like this:
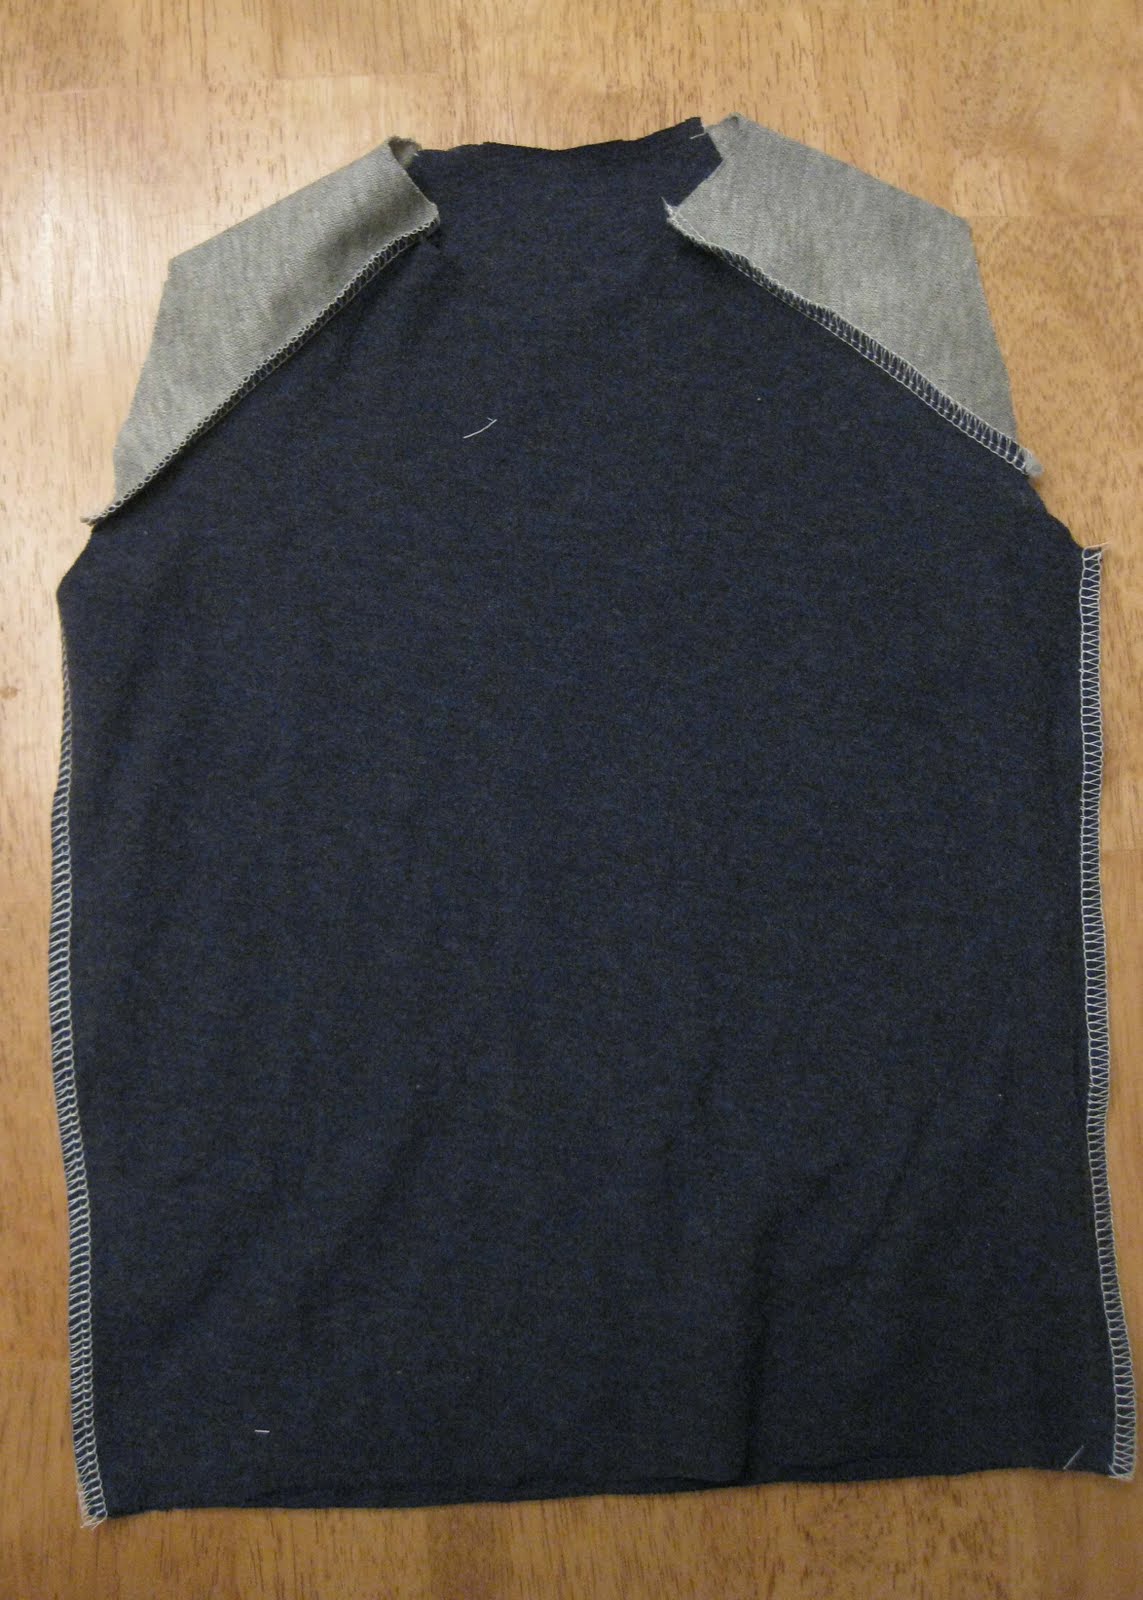
Now fold the shirt inside out and serge or zig-zag down the side seams. Here’s my inside out shirt:
When you get to the binding, follow this tutorial from Naomi at Omi Creates. Once you do the arm and sleeve bands, you’ll have your shirt. I did about a 3/4″ fold showing for the neck, and I did very narrow binding (basically the width of my serged edges) on the arms. You can either fold up the hem and finish it or leave it unfinished; that’s the great part about knits.

That waviness can’t be ironed out; I’m either going to have to redo or hope Bean’s chubbiness covers it up. I’ll try it on him and see which fate is in store for the shirt. Here’s another shot of the squirrel design (with a different sleeve finishing technique):

Interested to see the fate of my wavy binding (and learn how I did the sleeves on the squirrel shirt)? Then click here to continue the Raglan T-Shirt Part 2
luvinthemommyhood
Adorable! You did a great job. That squirrel one looks so cute on your little guy!
MammaNene
Hi Melissa!
I hope you don’t mind if I linked to this tutorial from my last post, where I share a raglan pattern 🙂
Thank you,
MammaNene
SergerPepper.blogspot.it