
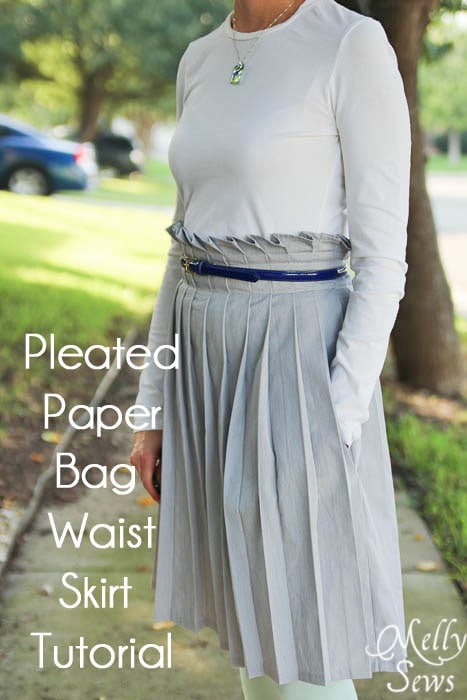
So, with Halloween and Kids Clothes Week last week, who’s feeling the need to sew something for themselves? I sure was. So I made this pleated paper bag waist skirt tutorial to show you how to sew what I sewed. You don’t need a pattern or even my How to Draft a Skirt post to make this – it’s a rectangle that gets all its shape from the pleating.
Want to make your own? You’ll need a 9″ zipper and at least 1 1/2″ yards of fabric, plus your waist measurement.
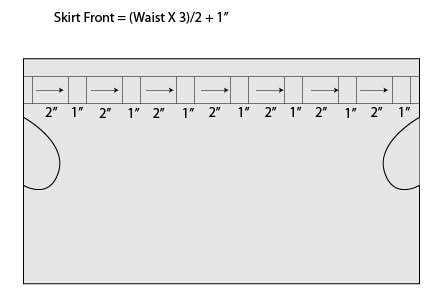
Start with some simple math. Measure your waist. Multiply x 3 to add the extra fabric for the pleating. For example, my waist is 28″, 28×3 = 84. Now take that number and divide by two – so you know how much fabric you need for the front half. 84/2 = 42. Add 1″ to that for seam allowances – so my skirt front is 43″ wide.
To figure out length, measure from your waist to where you want the skirt to hit. Add 2 1/2″ to this measurement. 1 1/2″ will be used at the top for the paper bag effect, and the other 1″ is for the skirt hem.
For the skirt back, take your skirt front width and divide by 2. 43″/2 = 21.5″. Add 1″ for seam allowances, and cut two skirt back pieces.
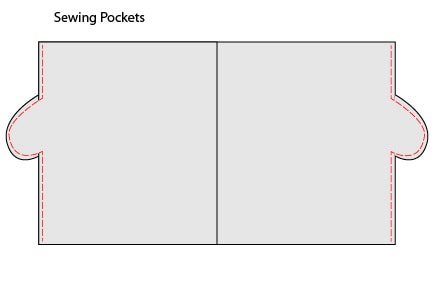
If you want pockets, you’ll also cut 4 pocket shaped pieces. Start by sewing the pockets to the sides of the skirt front and the skirt backs (you can ignore the pleat marking on this diagram for now) with the wrong side of the pocket to the right side of the skirt.
Next sew the side seams of the skirt backs to the skirt front, right sides together, stitching around the pockets like pictured below.
 Now you have one long piece of fabric. Hem the top of the skirt with a narrow 1/4″ hem (fold 1/4″ to the wrong side twice) and the bottom with a 1/2″ hem. Leave the last one inch of each edge unsewn, so we can make the center back seam later.
Now we mark the pleats. From the top hemmed edge on the wrong side, draw a line 1″ down all the way across the skirt. Then draw another line 1″ below that. Mark pleats between these two lines. Make your first mark 1/2″ (seam allowance) from the center back edge, then alternate marks 2″ apart and 1″ apart. Go all the way across the skirt.
Note – you want to end with the opposite gap that you started with. So if you made a 2″ gap first, you need to end with a 1″ gap. You can fudge a few pleats near the edge – making them slightly wider or narrower than the true measurement – to make sure you end up with the right gaps.
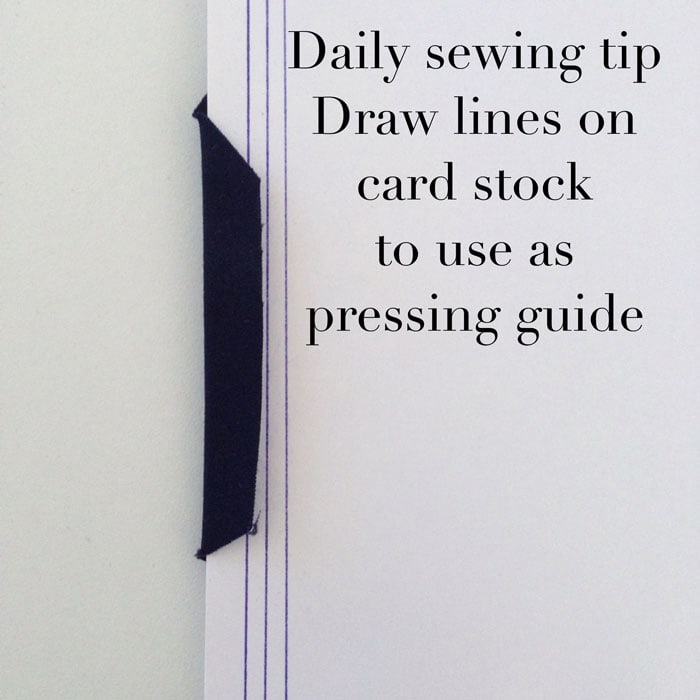
Fold your pleats and press, then pin – as indicated by the arrows in the diagram. I like to use a piece of cardstock for pressing, like this. (By the way, for more daily sewing tips like this, follow me on Instagram)
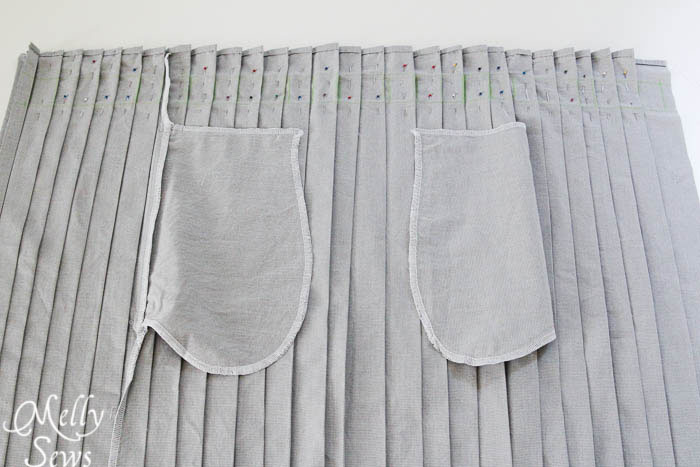
When my skirt was all pleated and pressed, it looked like this. I fudged the pleating as necessary to make sure the pockets were going to be facing the right direction when I wore the skirt.
Sew twice over each line you drew on the skirt waist, securing the pleats in place. The stitch the center back seam and add the zipper. Finish the hem at the top and bottom of the center back seam.
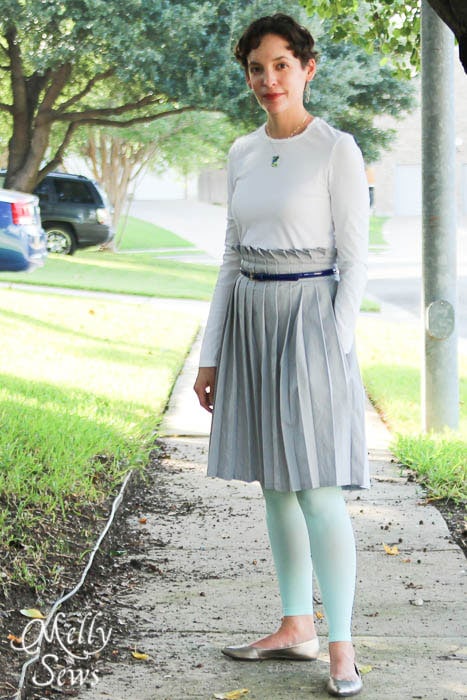
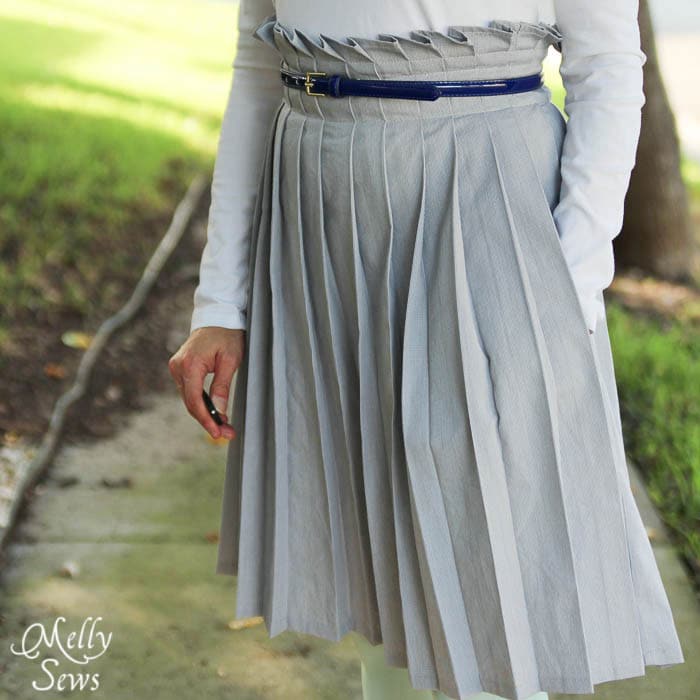
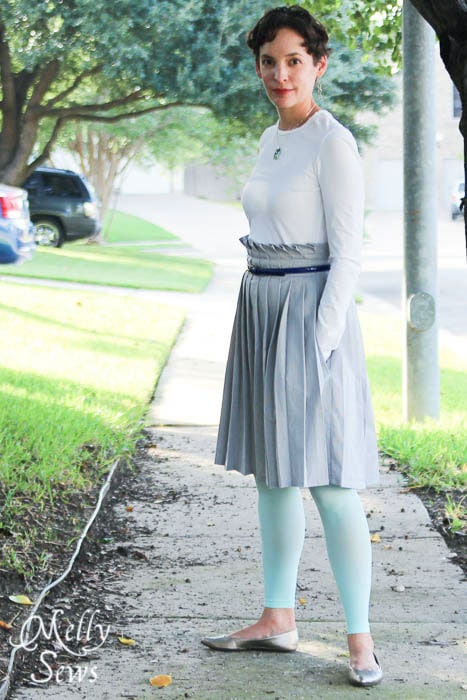
And then wear your skirt! I added some mint leggings and a cobalt blue belt to mine – I think this kind of skirt looks best with a belt. I still need to play with other accessories, though. I feel like this needs something at the neckline. Any suggestions?
Hope you have time to sneak in some sewing for yourself!
yvonne
Wow, Melly,
very cute! The look is very nice with the too cute hair cut. I can’t wait to try this. Did you use
a cotton-like fabric to do this?
Rachel
Very cute! I am itching to do some sewing for me- I’m not through Halloween costumes yet. Sooooo close.
Anne
It’s a lovely skirt! Loving your new hair!! I’ve linked to your tutorial on Craft Gossip:
http://sewing.craftgossip.com/tutorial-pleated-paper-bag-waist-skirt/2013/10/29/
–Anne
Tanya
Gorgeous, you could go all out cute and add a removable Peter pan collar – ooh there’s a nice deer fabric in the same silver grey that if in the right scale could be funky
brenda
this is really gorgeous and would look cute for a lot of different ages. the tutorial was quite explicit and well done.
marie martinez
Mellysews is one of my favorite sewing sites: creative and wonderful tutorials. Thanks Melly!
Leone
How do you keep the pleats after laundering? do you need to re-press them all each time?
Autumn
I’ve read that if you spray your pleats with a 2:1 mix of water and white vinegar before pressing it will hold the pleats in through a couple washings…never tried it but it seems like a great trick. The water/vinegar is also supposed to help release stubborn wrinkles while pressing too.
delia
I love this skirt! So pretty!
Enid Mejias
Love the skirt thanks! I’m looking on how to make a turtleneck dickie. Can you do a tutorial thanks!
Autumn
very pretty, Melly! I can see it attached to a bodice with a zipper all the way down the back for a cute dress – might have to try it sometime!
sheethings
What kind of fabric do you suggest will hold the pleats in place? With the above measurement, It came out as 2.5yards of fabric or do I have my math wrong? Lovely pleated skirt!
Freya
I think whats missing is a bit of color, or a bit of ruffle at the neckline. This skirt would have been lovelin in a delicatly floral patterend fabric, with a white lace blouse or shirt. Thank you so much for this tutorial. Its very well made. I’ve longed to make a skirt like that for ages. No I finally have an idea how to make one. Well, it’s not hard, isn’t it? But sometime I still have problems planning my sweing projects.
Diane
What a beautiful skirt! Great job.
Diya
Hi melly.. thanks for this awesome tute.. can u tell me if this kind of pleating willk work with crepe fabrics ? Will the ironed pleats tending after hand wash ?