

This is one of those projects that a) took me too long to get around to doing and b) made my boys very happy when I did.
Tater came home from daycare last spring with a chef’s hat project they had made in class. It had a paper brim and the poufy part (technical term) was made of some kind of paper/fabric hybrid (another technical term). The hats were obviously pre-purchased, and then the kids decorated them at school. After much play by him and his brother, Tater’s hat started tearing, and he brought it to me to fix. Tape wasn’t going to cut it. So I took it, took it apart (it was stitched with thread that reminded me of the thread dog food bags are stitched closed with) and saved the pieces, promising Tater I would sew him a new one.
Well, I finally go around to it, and of course Bean had to have one too. While I was looking at the “pouf” I realized it reminded me of non-fusible interfacing, and that I happened to have a large piece of that very fabric, and so I decided to turn the chef’s hats into art projects.
These are super easy. Supplies:
- 1 yard of heavy, non-fusible interfacing.
- White fabric (broadcloth, muslin, etc) measuring 6.5″ wide and as long os your child’s head circumference, plus one inch.
Make a 20 inch diameter circle on your interfacing.
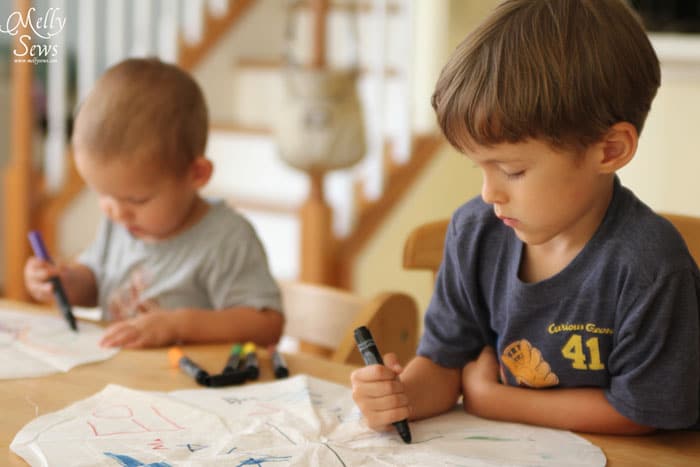
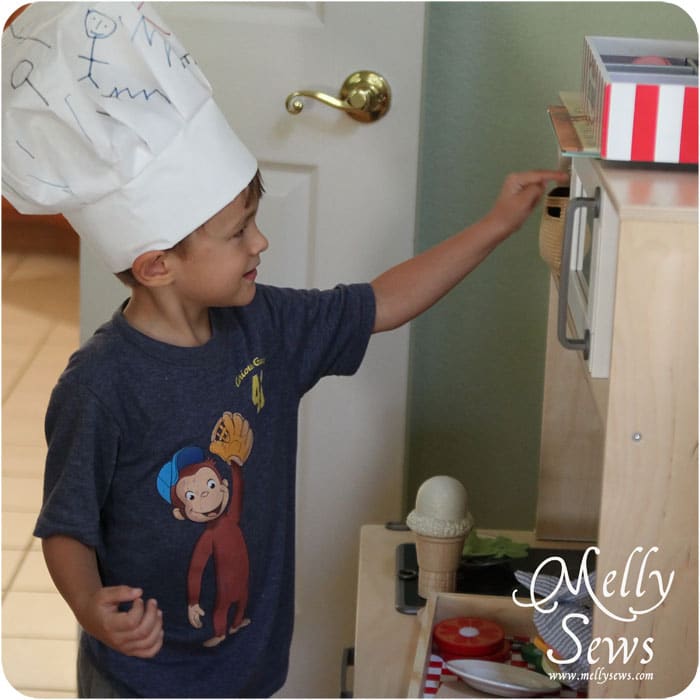
Let you kid color their circle with markers.

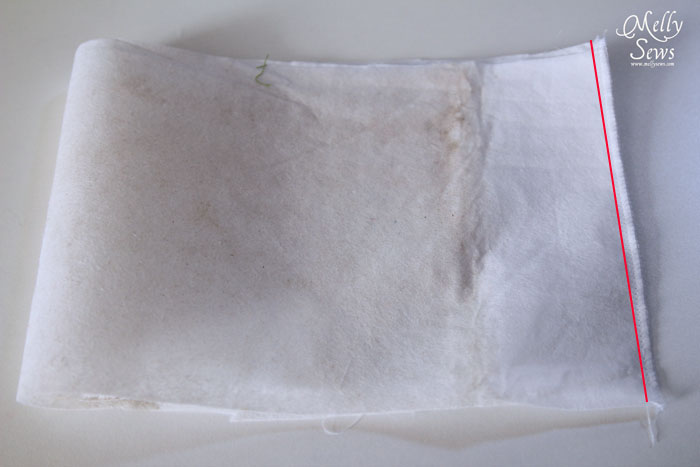
Stack your fabric rectangle on the interfacing and cut out a matching rectangle of interfacing. Hold these two pieces together and treat as one piece of fabric. Fold in half, fabric right sides together, matching the short ends and stitch.
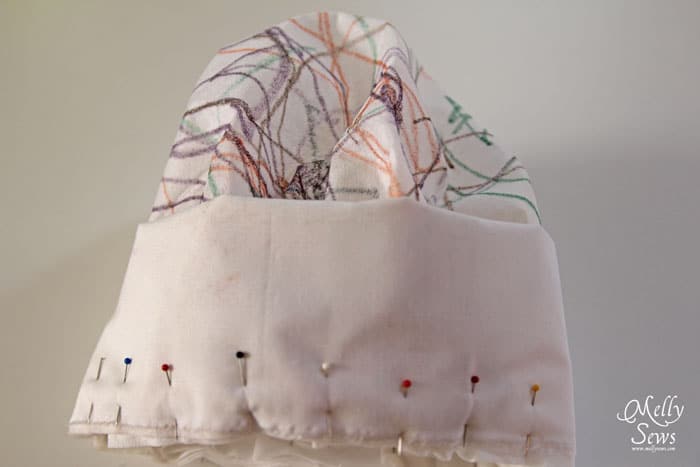
Fold the brim in half again, this time matching the long sides, so you now have a band with fabric facing out on both sides. With pins, mark the brim into quarters.
Mark the circle into quarters as well, then bunch it up and stick it inside the brim, with raw edges even and the right side of the circle facing out. Match your quarter pins on the circle to the quarter pins on the brim.
Pin the circle in big pleats all around the brim.

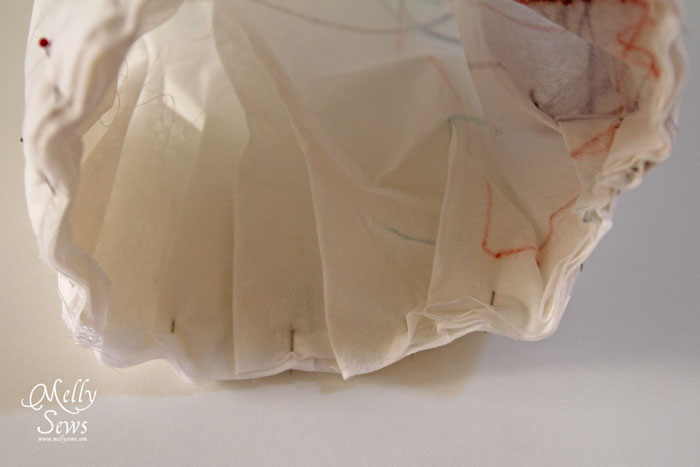
Stitch the brim in place, remove pins and turn right side out. You’re done!

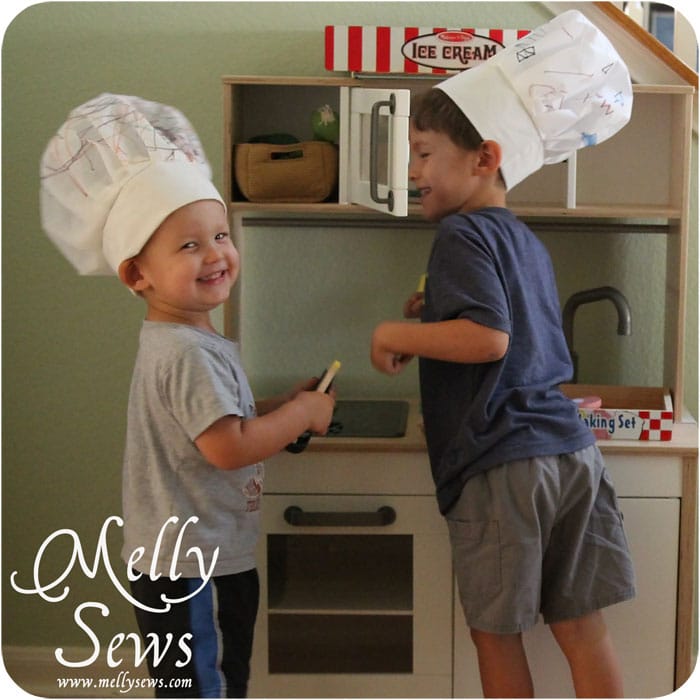
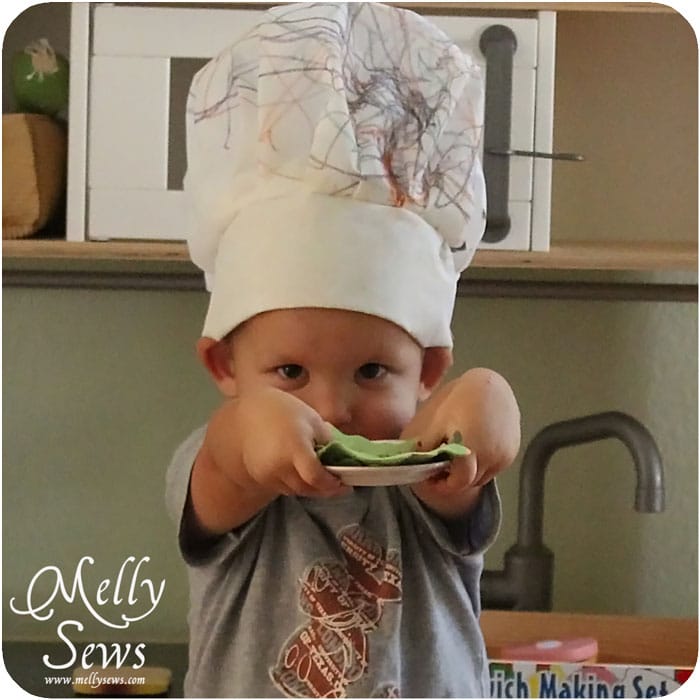
Force your children to “cook” you dinner while wearing their new hats.
Bon apetit!
Marnie
That is brilliant. Thanks do much for the tutorial
My name is Jessica
Thanks for the tutorial! And good timing too as my little girl needs a chef hat for her Halloween costume!
Sharlyn
Soooo cute! Pinning for my niece’s birthday 😉
Liz
Your blog is wonderful and your kids are precious! Although they must be teenagers by now! What a cute pattern. Your article on how to make a fedora led me here. Now I’m looking at EVERYTHING! – you’re so talented! I turned off my ad blocker, so you should a a few cents from my surfing 🙂 Keep up the great work!