
This post originally appeared on Keeping it Simple. Today I’m going to show you how I modified a pattern based on a pair of shorts that fit me to get the perfect pair of shorts for me.
I started with McCall’s 5391 pattern, which I bought ages ago.

Now most of the stuff you’ll find on my blog is stuff I patterned myself, but before I knew how to do that, I sewed from store-bought patterns. And I learned a lot, including the fact that you should always make a muslin the first time, and that the patterns never fit me “as-is”. With that in mind, I took my former favorite pair of shorts out.

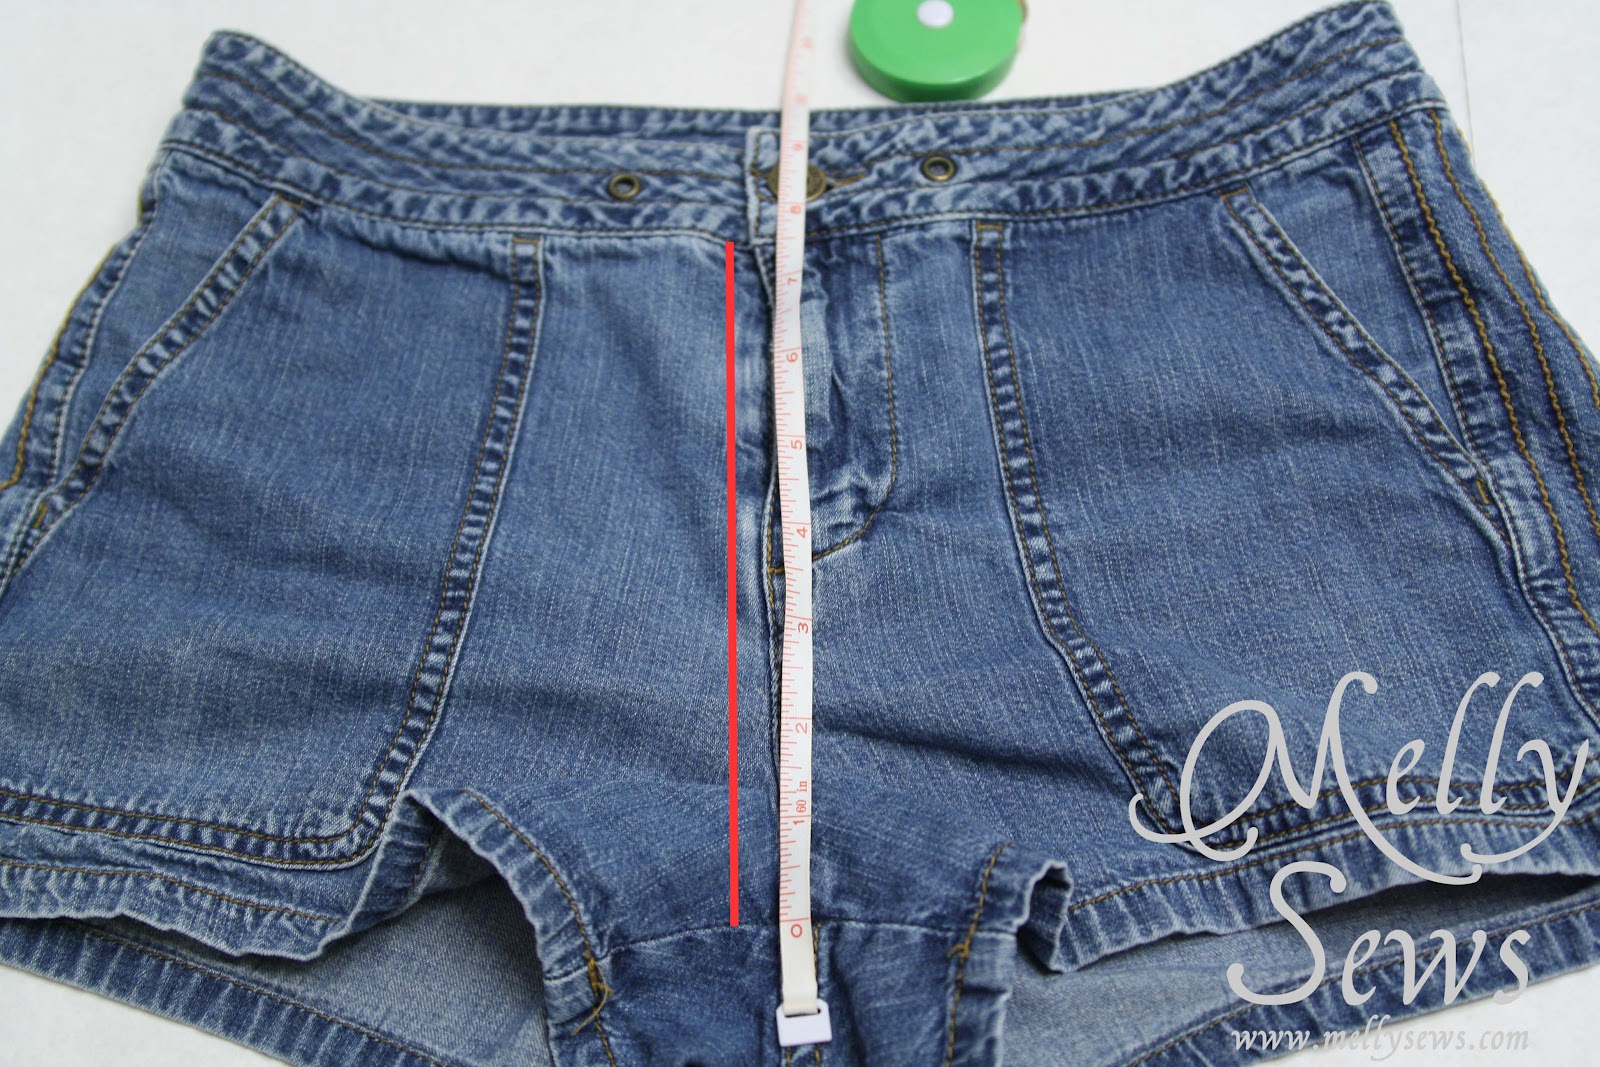
Can you guess why they’re my former favorite pair? Well, they have about a 2″ inseam, and obviously I wore them before kids. And before I was 30. So I think they’re too young for me now – sure sign that you’re getting old is when you start worrying your shorts/skirts/dresses are too short. But I still loved the way they fit. Maybe it’s just my strange body, but even before kids I had a hard time finding ready to wear shorts. The back center seam always seems to want to disappear into my behind, and that is NOT a flattering look, as we all know. Now post kids, with more junk in my trunk, it’s even harder to find shorts without that issue. This pair miraculously fits the bill, even post kids. Now why couldn’t they be a couple inches longer?
Anyhoo, I took out a measuring tape and measured the front rise and the back rise. I discovered that especially in the back, the rise on my shorts was longer than the rise on my pattern.
You can see what I mean when I lay the pattern on the shorts themselves.
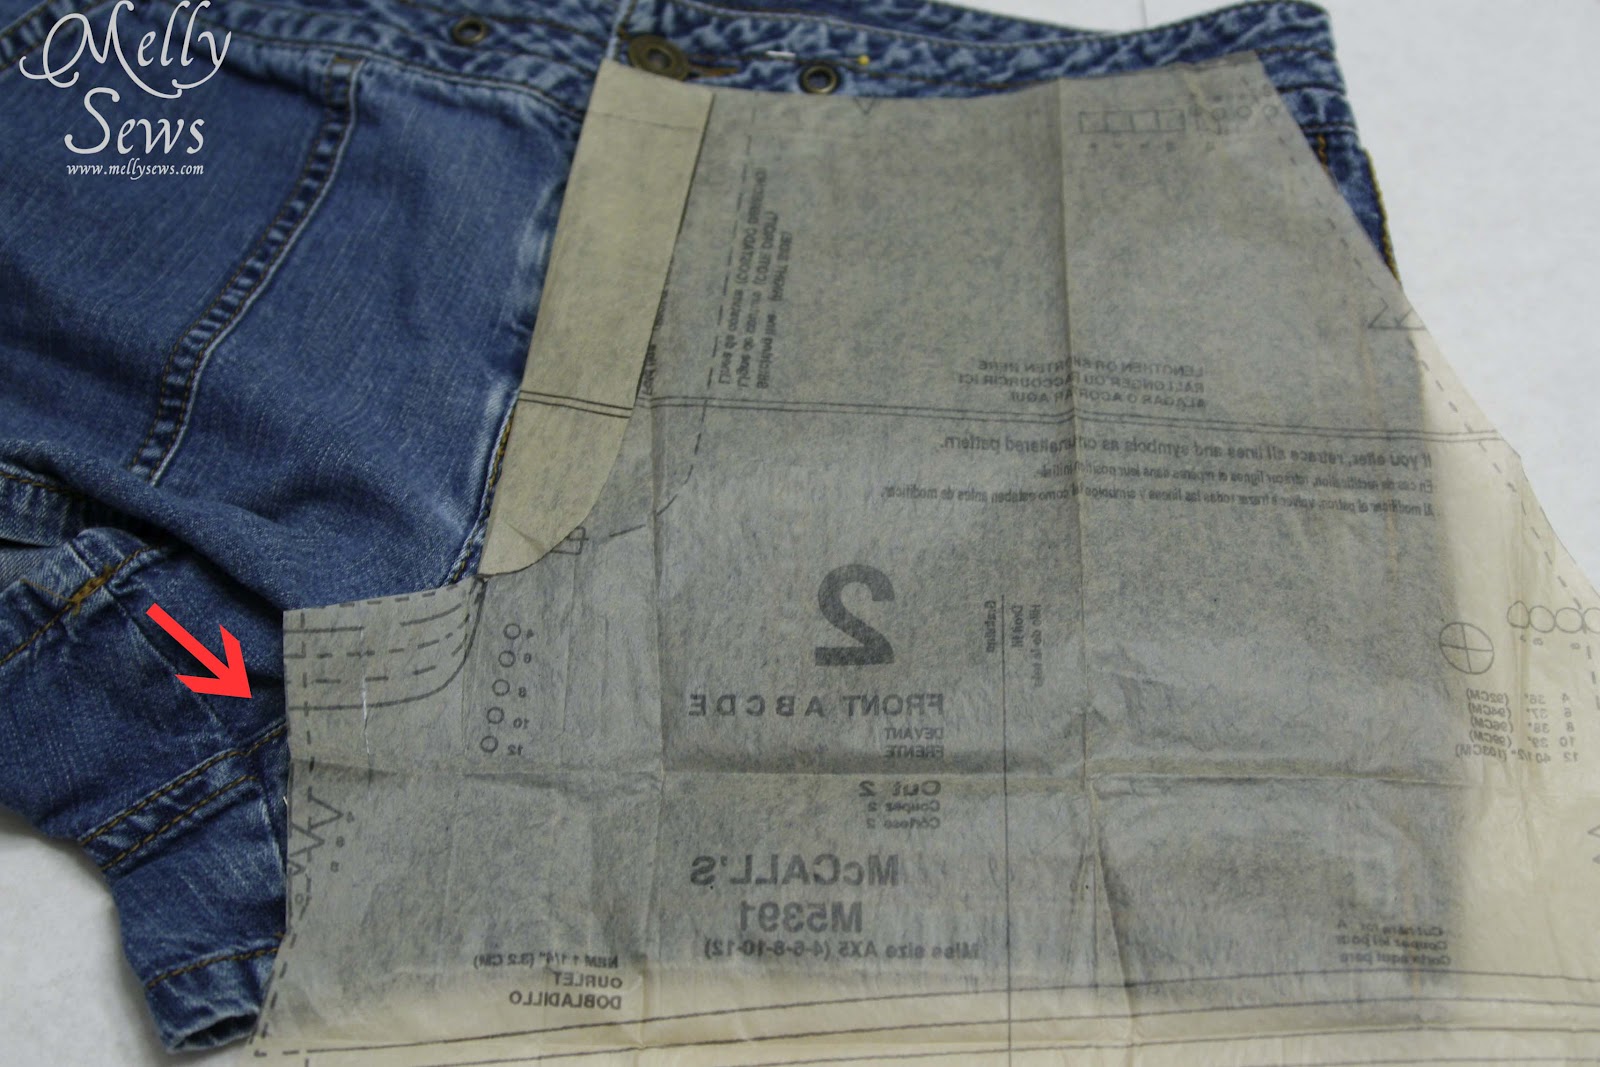
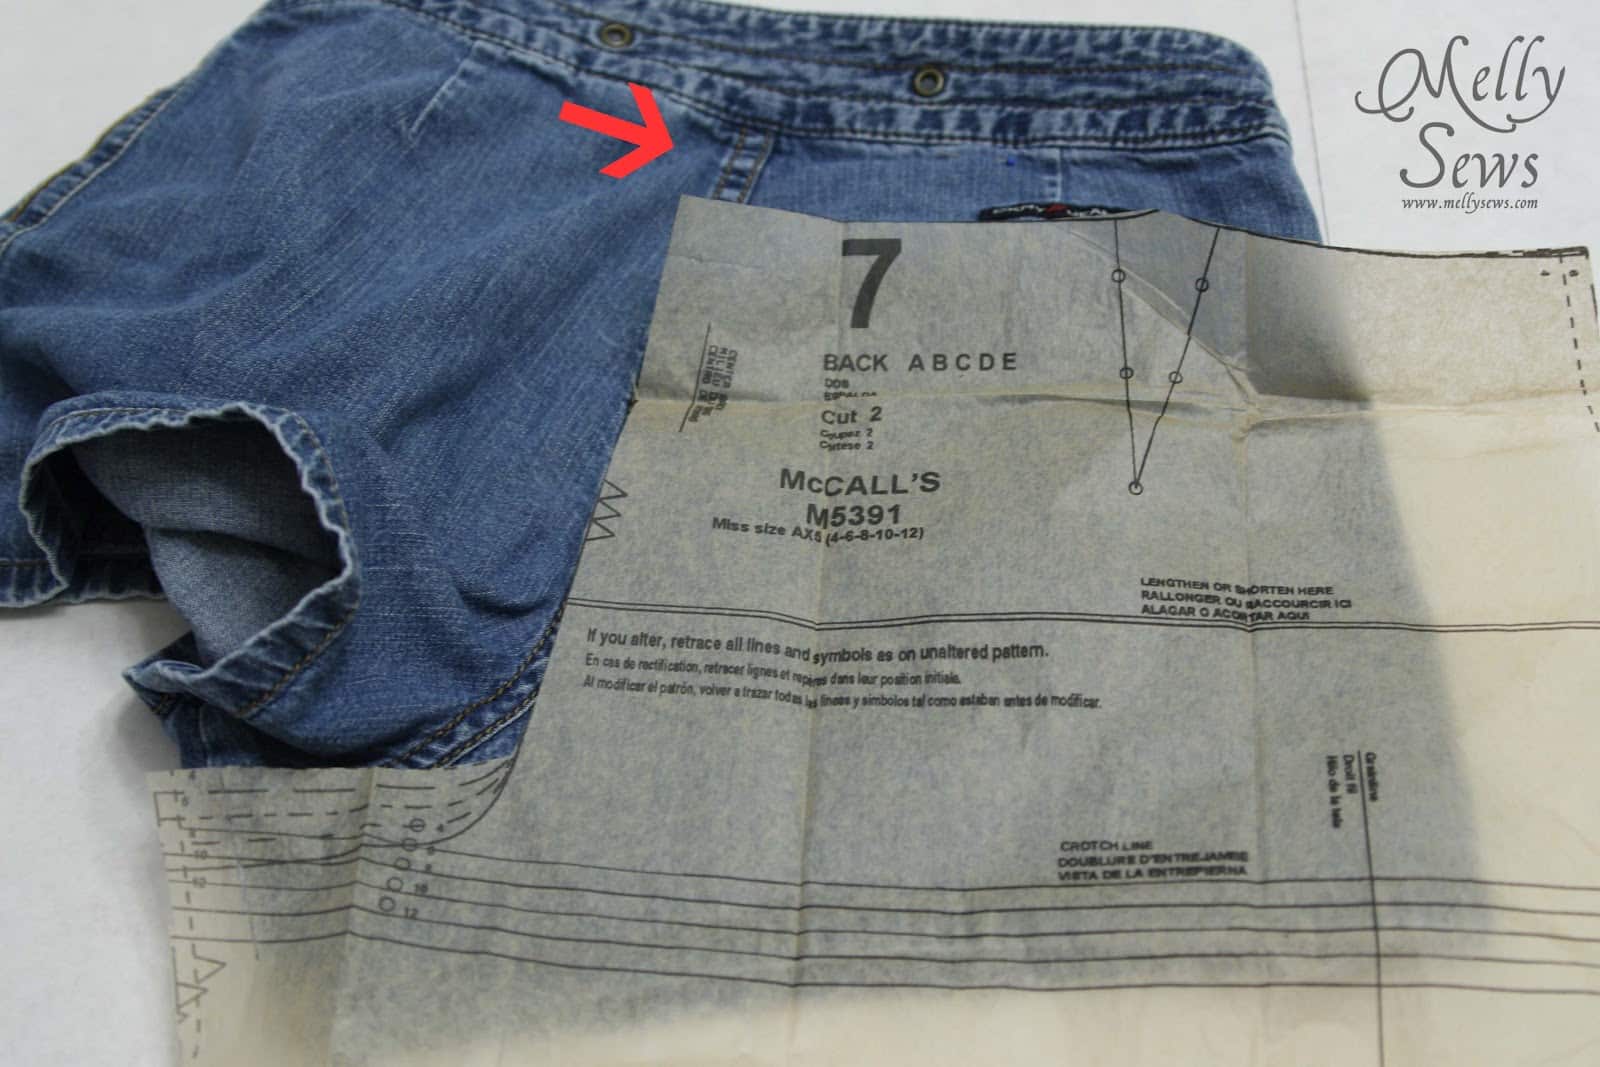
So, I made an adjustment to the rise. You can see the lengthen or shorten here lines on the pattern. I cut along those lines and added the amount I needed to the rise.
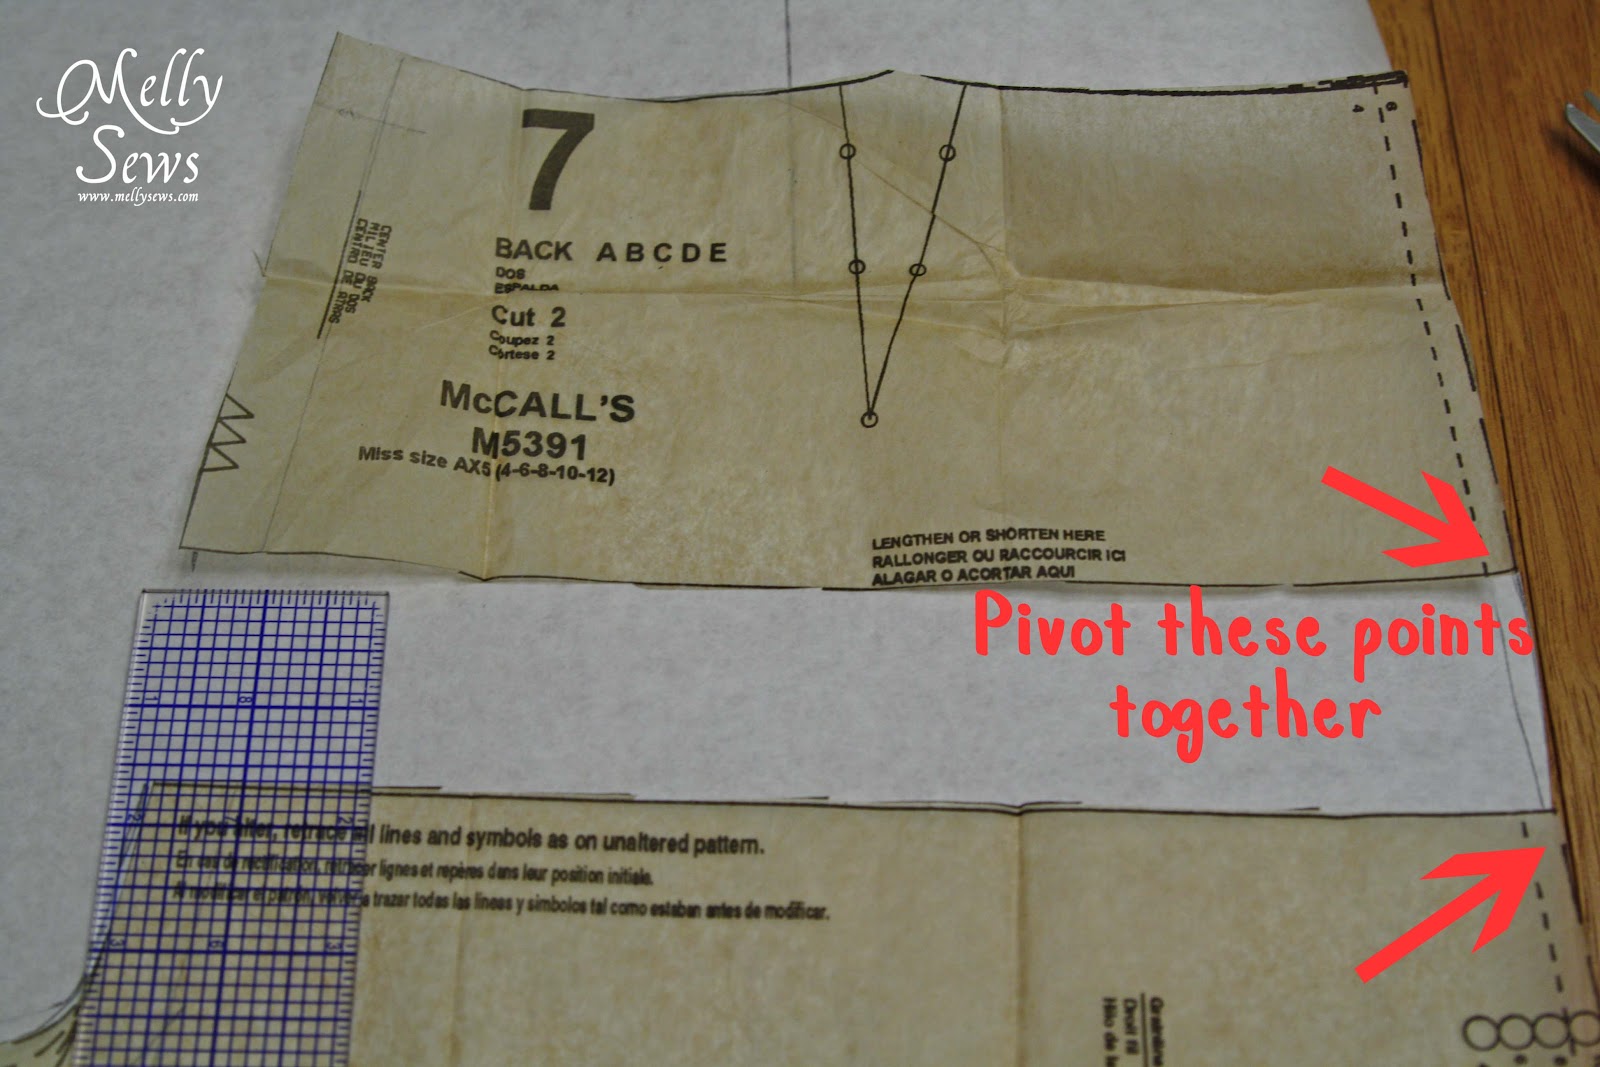
Because I was adding so much to the rise, I also had to redraw the side seams somewhat, making sure the front and back pieces would match along the side seams.
I still made a muslin with my new pattern pieces out of scrap fabric, to double check the fit. You can see my muslin pieces here – they don’t look like shorts are “supposed” to at all.

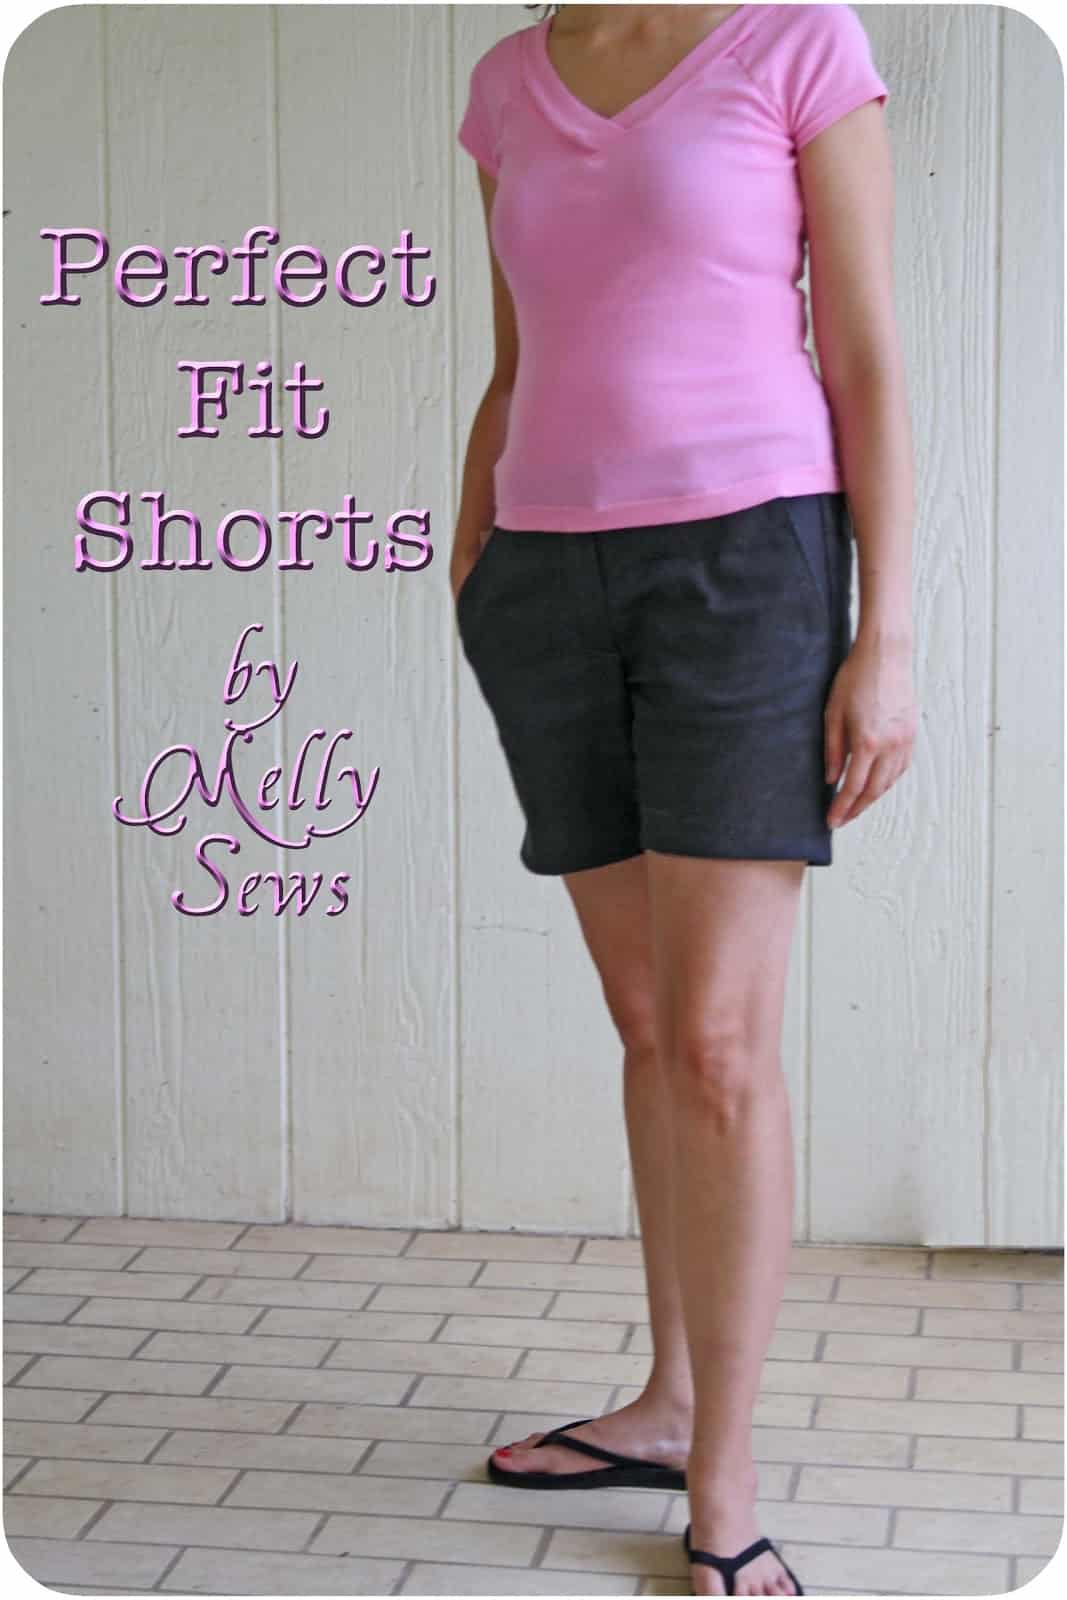
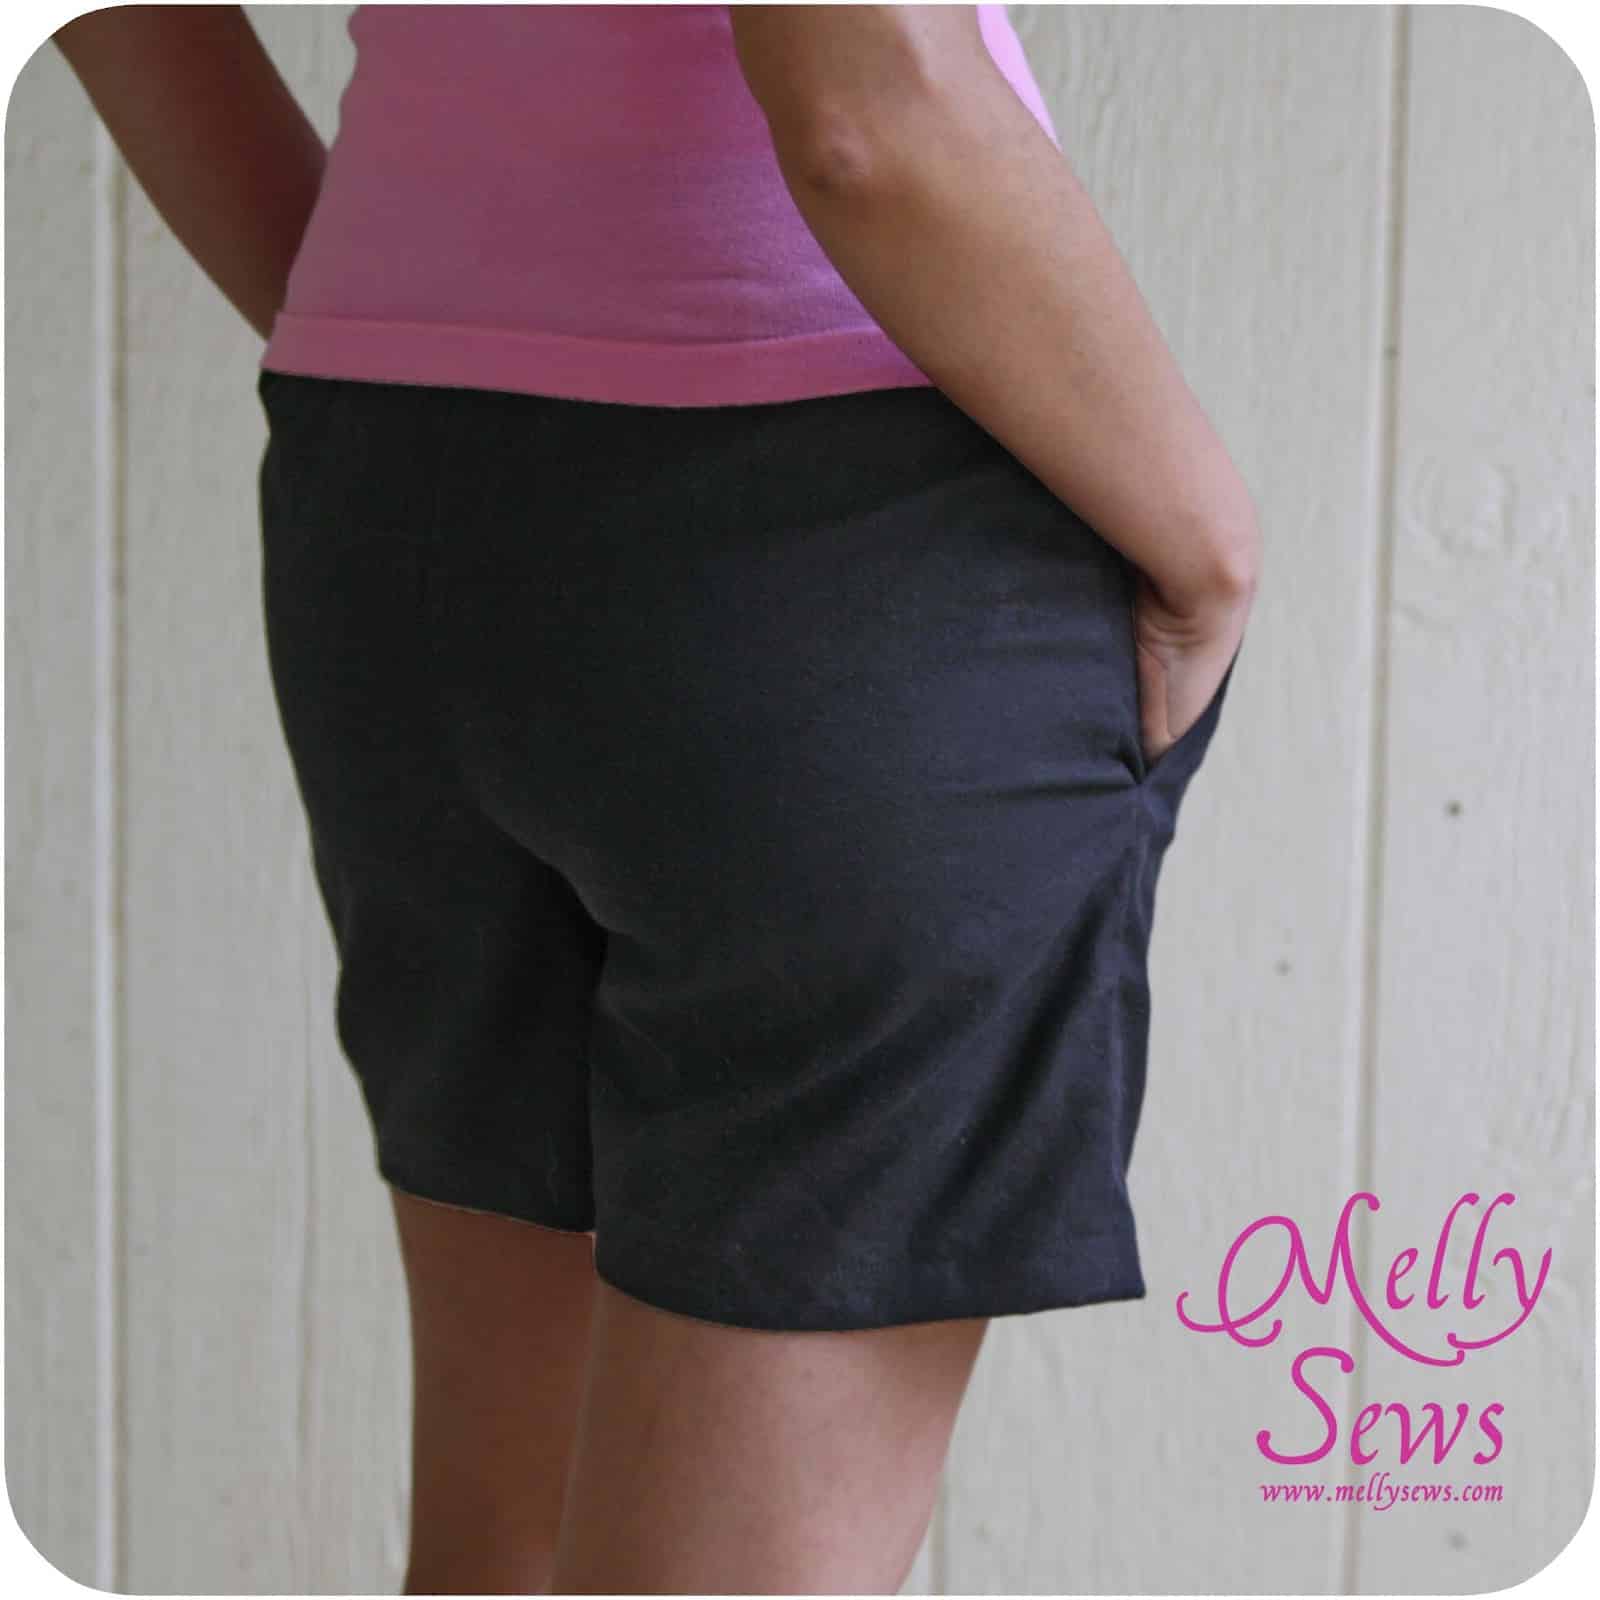
BUT – they fit just like my favorite old shorts! So, I moved on to making them in twill, and here’s what I have now.

Comfy, loose fitting, but not baggy in the behind. Perfect for me.
One other word of caution – there seems to be a pattern error in the waistband piece on this pattern – it is waaaay too short. Give yourself like 5-6 extra inches in length if you use it; you can always cut off the extra.
Justine of SewCountryChick
Super idea Melissa! I’m pinning this to my pattern board.
Laura J.
Wow. Thanks for sharing! This is so helpful!
Kibba
Hey, I bought this pattern a year or more ago and haven’t tried it yet. I pinned your tips for when I do. Thanks!
Stephanie
Thanks for commenting on my shorts muslin and providing me with your blog post. Yours turned out really well! I liked how you compared the inseam you wanted with your jean shorts.
Lucy Stone
Why don’t you add a little cuff on the bottom of your favourite shorts, so you can still them too?
Veronica
I decided yesterday to do the exact same thing, except I had no pattern to go by at all. I used a favorite pair of shorts, traced out the pattern pieces, even made a muslin that I thought fit. Well, this morning, when I tried on the final pair (minus the waistband), they don’t fit! They are too snug across the hips. I’m so disappointed and have no idea why they aren’t fitting! Now to see if I can devise a clever way to save all the work I’ve done and end up with a pair of shorts I can wear! I’m now searching for the pattern you used! Thanks for the tips.
Christina
I know this is an old post but I had to tell you that you saved me from post baby short hell. I bought 2 patterns, the resulting shorts were a nightmare. I used my fave pre baby shorts, made a couple adjustments and Yay!
I also wanted to say I am famous for adding a 3 inch lace piece to skirts and shorts that are too short. Looks couture and easy to do, saves old faves that still fit fabulous. Would look great on those denims………