
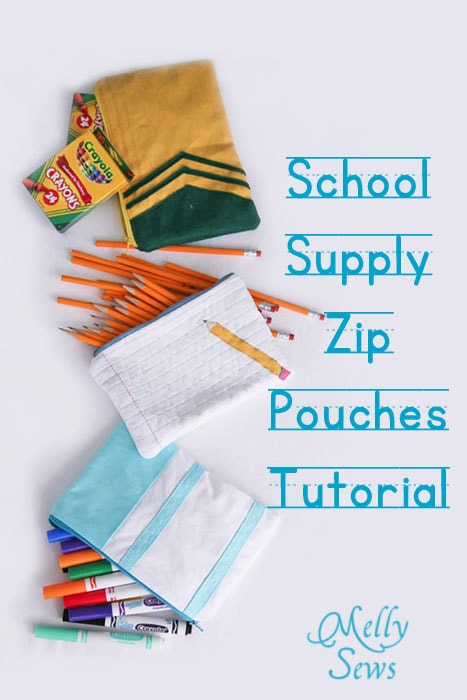
Today I’ve got the zipper pouch tutorial for the notebook paper and pencil zipper case I showed yesterday.
To make this one you’ll need the following:
- White fabric
- Lining fabric (I used some Carol Friedlander Architextures left over from the Math Geek shirt)
- Pellon Fusible Fleece
- Vinyl (I used the same kind I used in the iPhone armband)
- Blue, dark gray and pink thread
- Zipper
- Scraps to applique the pencil on

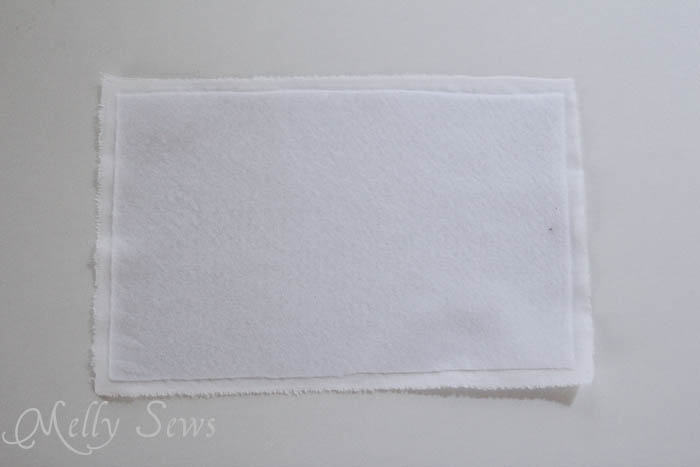
I cut my rectangles for the outside and lining to be around 9″ x 6″. But you can use whatever size you want. Just remember to cut your fusible fleece smaller, so the seam allowances don’t have fleece in them. Fuse the fleece to your white fabric.
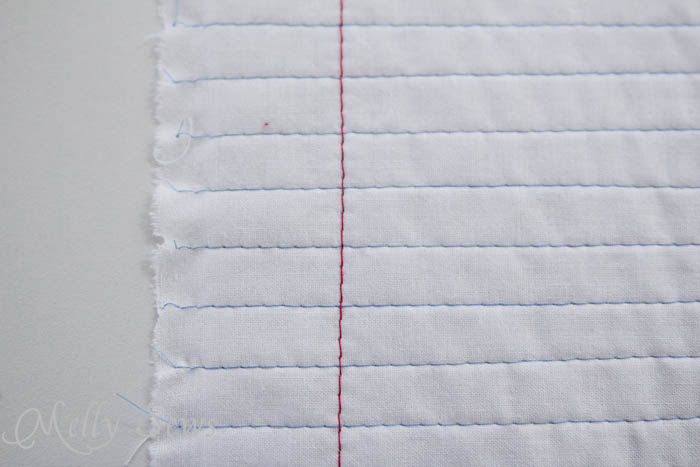
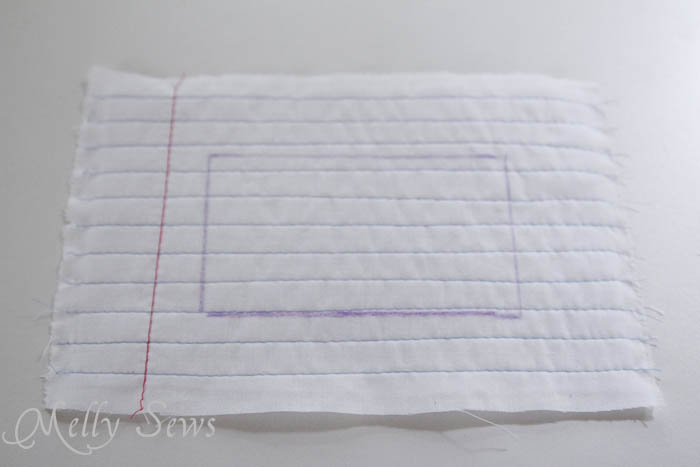
Stitch blue lines across (mine are 1/2″ apart) and one pink line down (mine is 1 1/2″ in from the edge). Repeat with other outside piece.
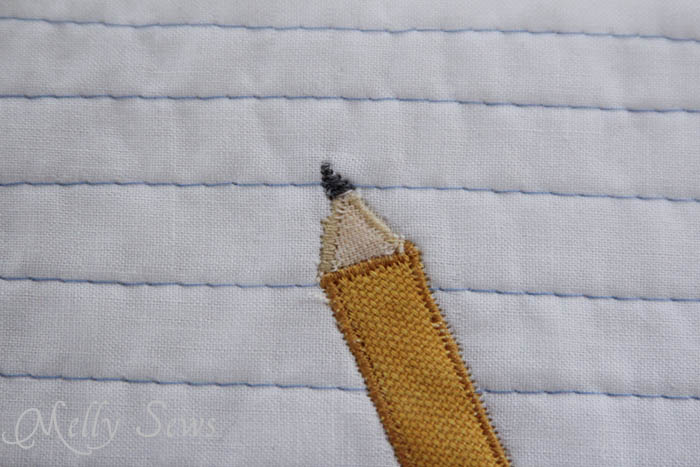
Cut out your pencil pieces and applique using a very short zig-zag stitch. I chose to change thread colors for each piece of fabric. I did not use Heat ‘n bond to fuse the pencil in place, but you could.
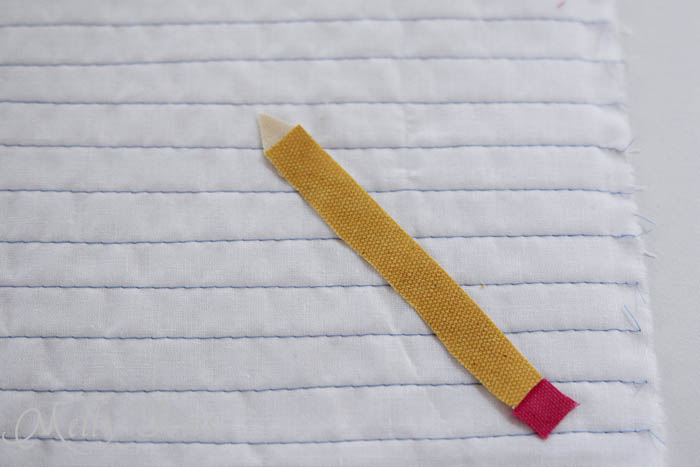
The pencil “lead” and the metal piece between the eraser and the pencil were made with zig zag stitches. For the lead I started with the narrowest stitch, handcranked a couple stitches, then adjusted to a wider zig-zag, did a couple more stitches, etc.
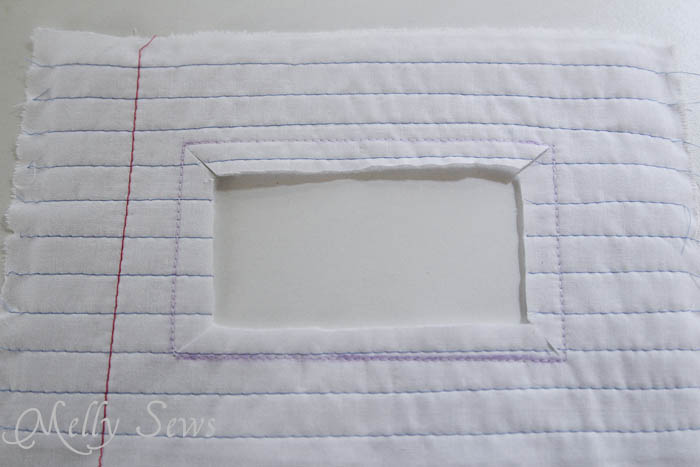
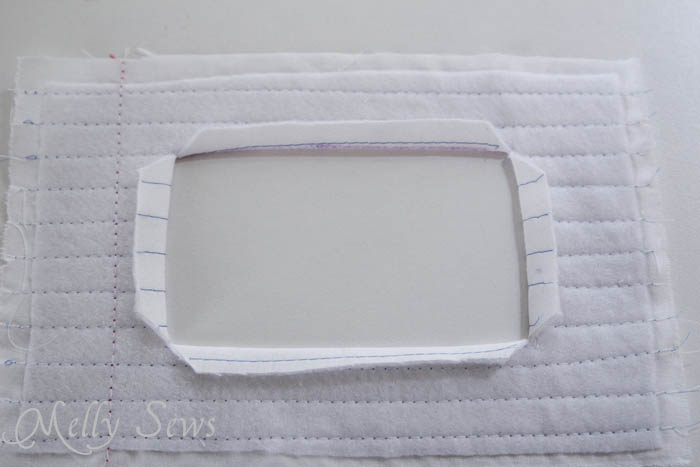
On the other outside piece mark a window that is 1/4″ smaller all around than your vinyl piece. Stitch on your marked line, stopping with the needle down at each corner and turning.
Cut out the middle of the window 1/2″ towards the inside from your stitching line. Clip into the corners, cutting close to but not through the stitching.
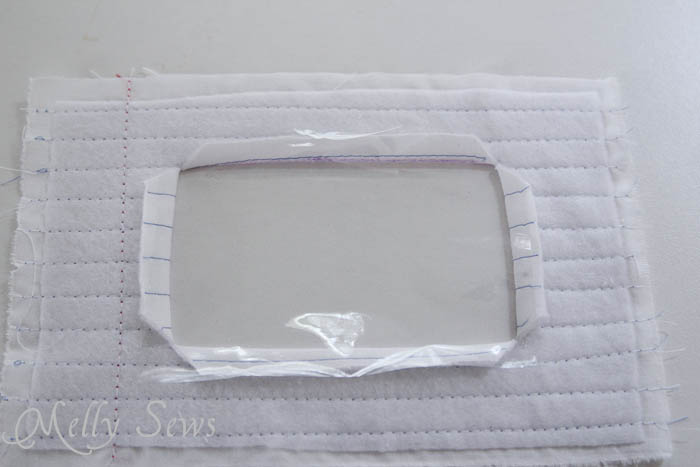
Fold the window edges toward the wrong side and press.
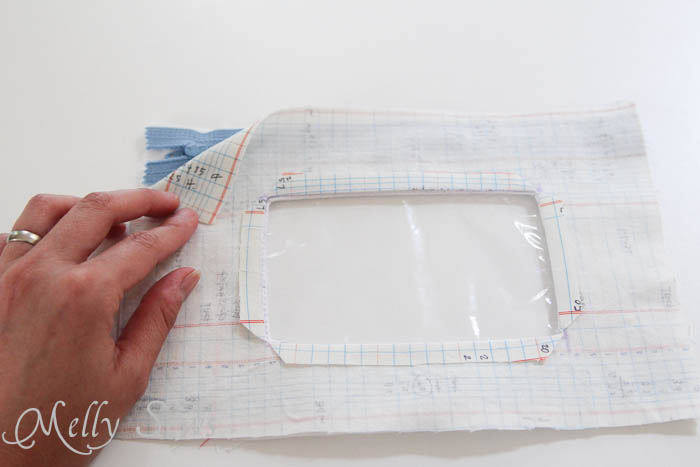
Place the vinyl over the window. You might want to use a couple piece of transparent tape to keep this in place.
Flip to the right side and stitch close to the window edge to secure the vinyl. Because vinyl often sticks to the feed dogs on your machine, it’s a good idea to place tissue paper or tearaway embroidery stabilizer under the vinyl so it isn’t touching your machine.
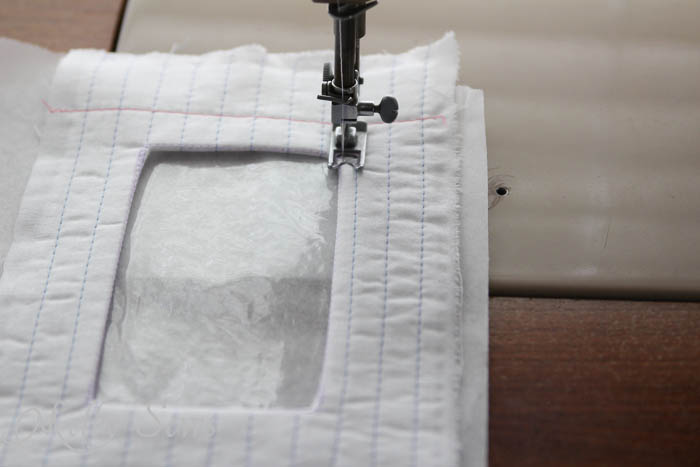
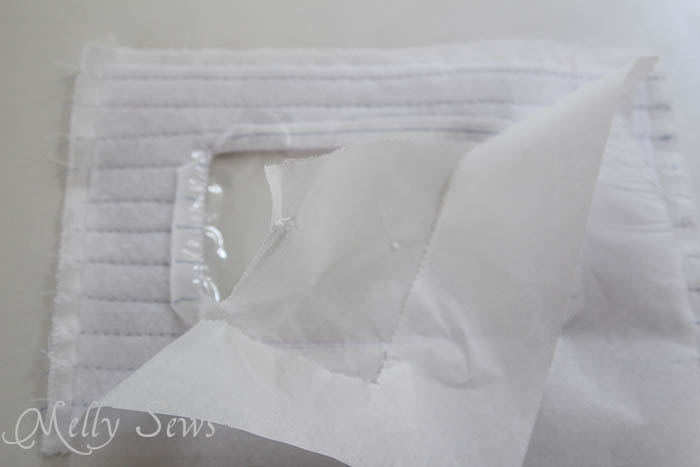
Then simply tear away the tissue after you’re done stitching.
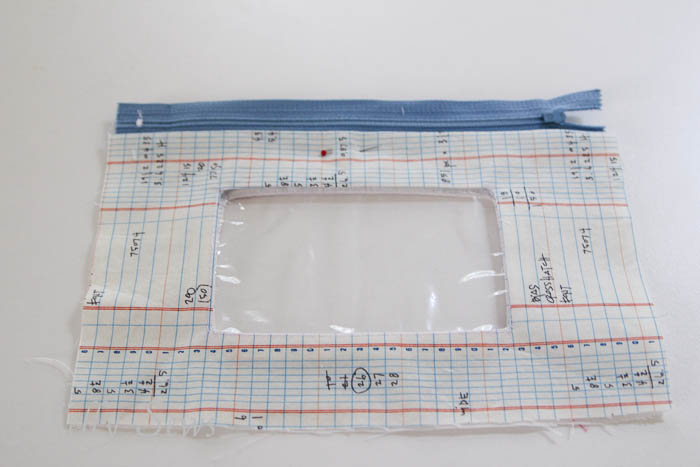
Repeat marking, stitching, cutting and pressing the window on the lining fabric. Then make a sandwich like this: outside fabric right side up, zipper wrong side up, lining with window cut and pressed wrong side up. Align the edges with the zipper edge as shown.
Stitch with a zipper foot close to the zipper teeth, then flip the lining so that the wrong side of the lining is against the wrong side of the outside fabric with the vinyl sandwiched between the two. Press. On the right side, stitch over your stitching line around the window again to secure the lining to the window.
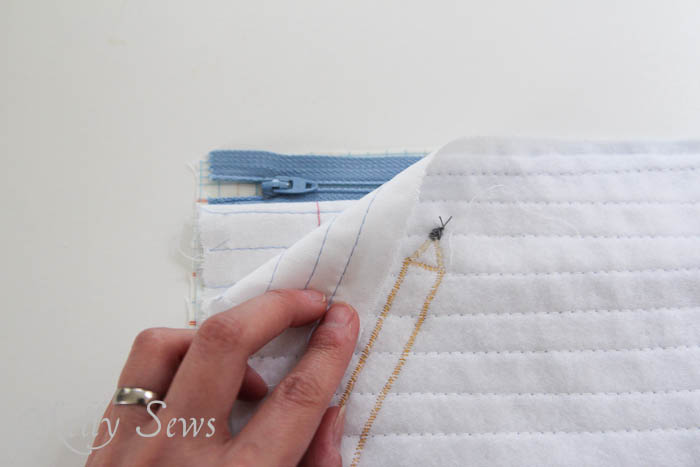
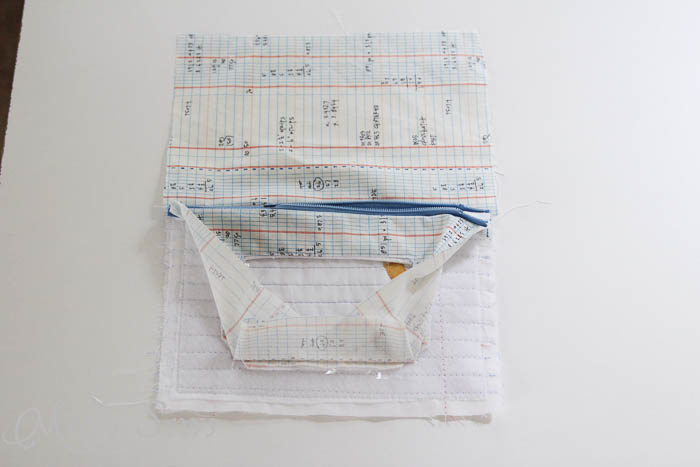
Make another sandwich – other lining piece right side up, zipper right side up, other outside piece wrong side up. Align with zipper edge and stitch close to the zipper teeth.
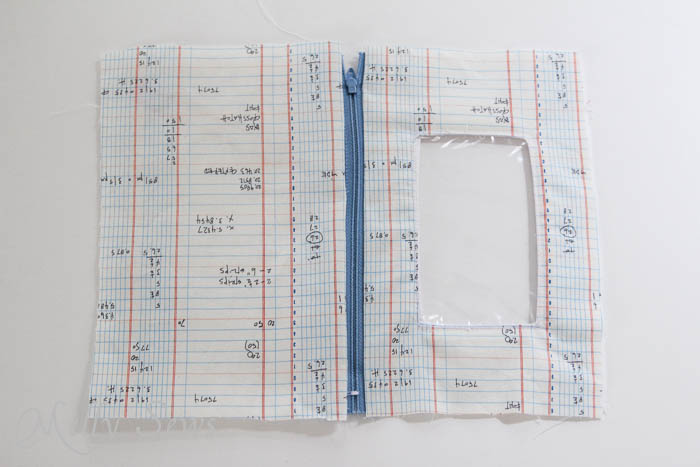
This is what your pouch looks like now on the outside.
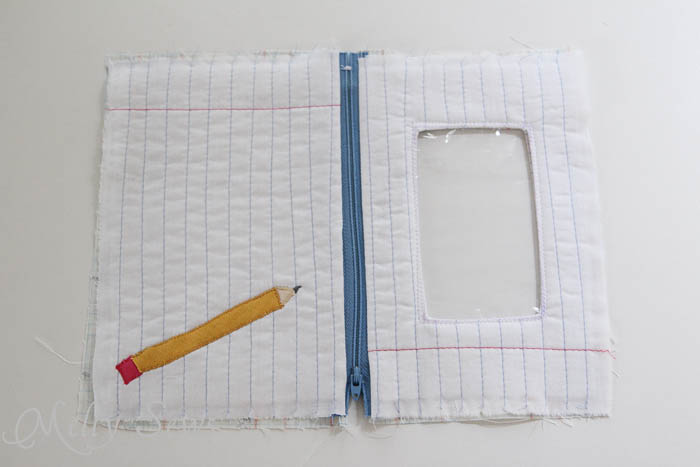
And this is the inside.
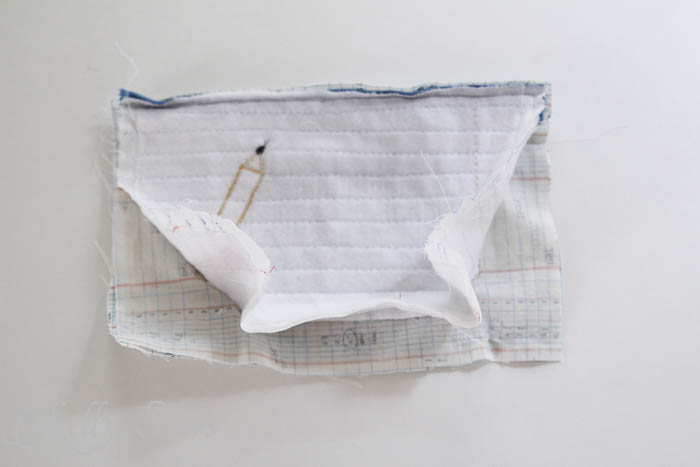
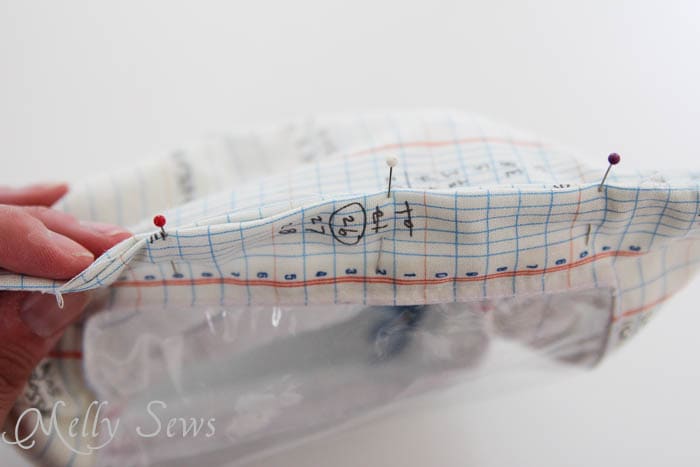
Fold the pouch so the right sides of the outside are together. Holding or pinning the lining out of the way, stitch around three sides, getting close to the zipper.
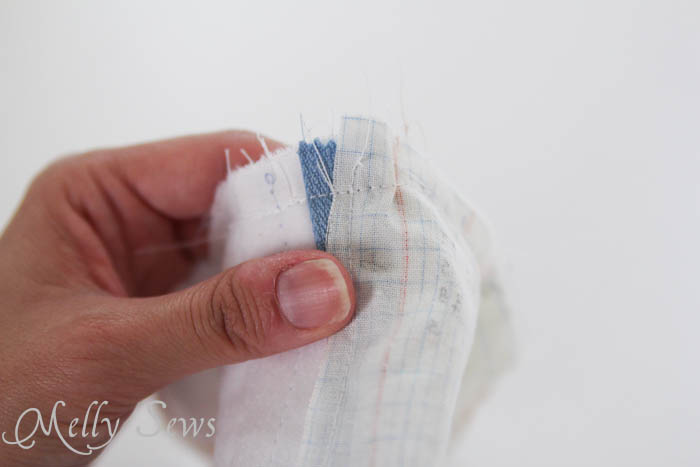
Next fold the pouch so the linings are right sides together. MAKE SURE THE ZIPPER IS AT LEAST HALFWAY UNZIPPED AT THIS POINT. Stitch down one side and around the corner, stop, leave a gap to turn along the bottom edge, then stitch around the other corner and back up the side ending close to the zipper.
Stitch across each side from outside to lining, making sure the zipper teeth are folded toward the lining.
Turn the pouch right side out through the opening in the bottom of the lining. You could blindstitch the lining, or you could just pin the hole with the raw edges tucked in and topstitch it shut close to the edge.
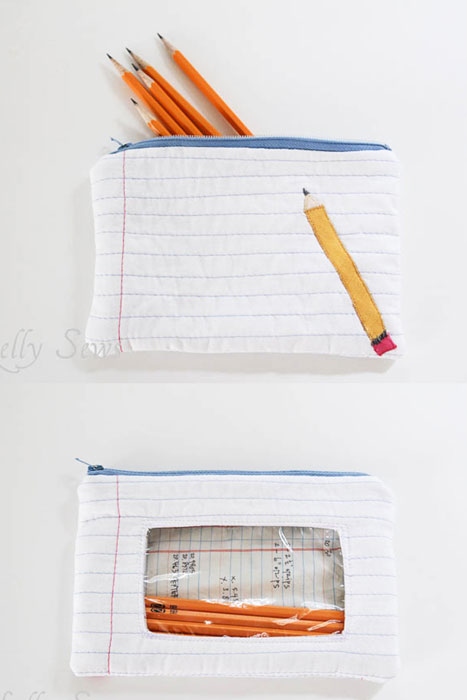
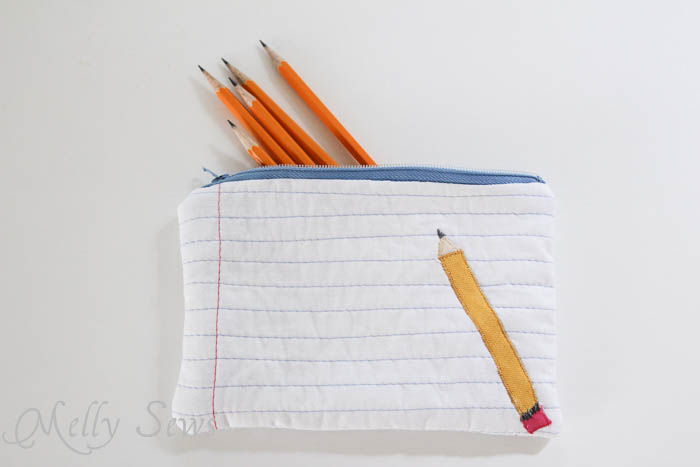
And now you have an adorable pencil pouch…
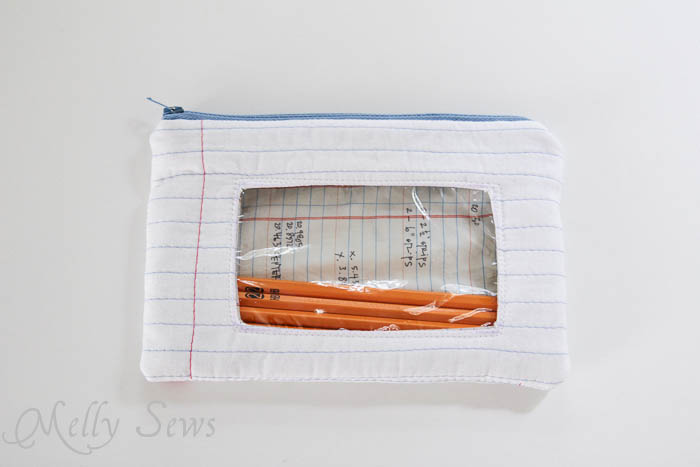
With a window so you can see what’s inside!
Tasha
How funny; I’m working on making a notebook paper shirt right now! Love your result!
emilia
It just looks fun to do!!! And put stuff in!! My boys would love the window.
Rhondda Mol
Fabulous! Thank you!
Kristy
Love these! Thanks for sharing!
Anne Weaver
Cute!! I’ve got a post on Craft Gossip scheduled for later this evening that links out to your tutorial:
http://sewing.craftgossip.com/tutorial-notebook-paper-zippered-pouch/2013/08/28/
–Anne