
 Hey y’all – today I’m sharing my 2015 Blog Planner pages and how to make a blog planner.
I love to organize. I love lists. When I was teaching I was the type of teacher that had a clean desk with in and out boxes of neatly stacked papers, a to do list and an otherwise clean and empty and beautiful blank space. And the list and boxes had to be aligned with the edges of my desk. Now that I work for myself, my space would still be recognizable to any of my former students for the large, empty table. I even wrote an ode to it.
And I realize this goes against the grain of many, maybe even most creative types. But the good news is if that you are a more typical disorganized creative, I LOVE sharing my organization strategies!
So, on to the blog planner. Last year I created this blog planner. It has served me well. But throughout the year I noticed myself making some changes to it every month, wishing for things I didn’t have, and not using parts of it. So I revised this year. Depending on you, last year’s pages may serve you better. Or maybe you want the slimmer (40 pages less!) version I made myself this year. Do what works for you – some system is better than no system for organization, always.
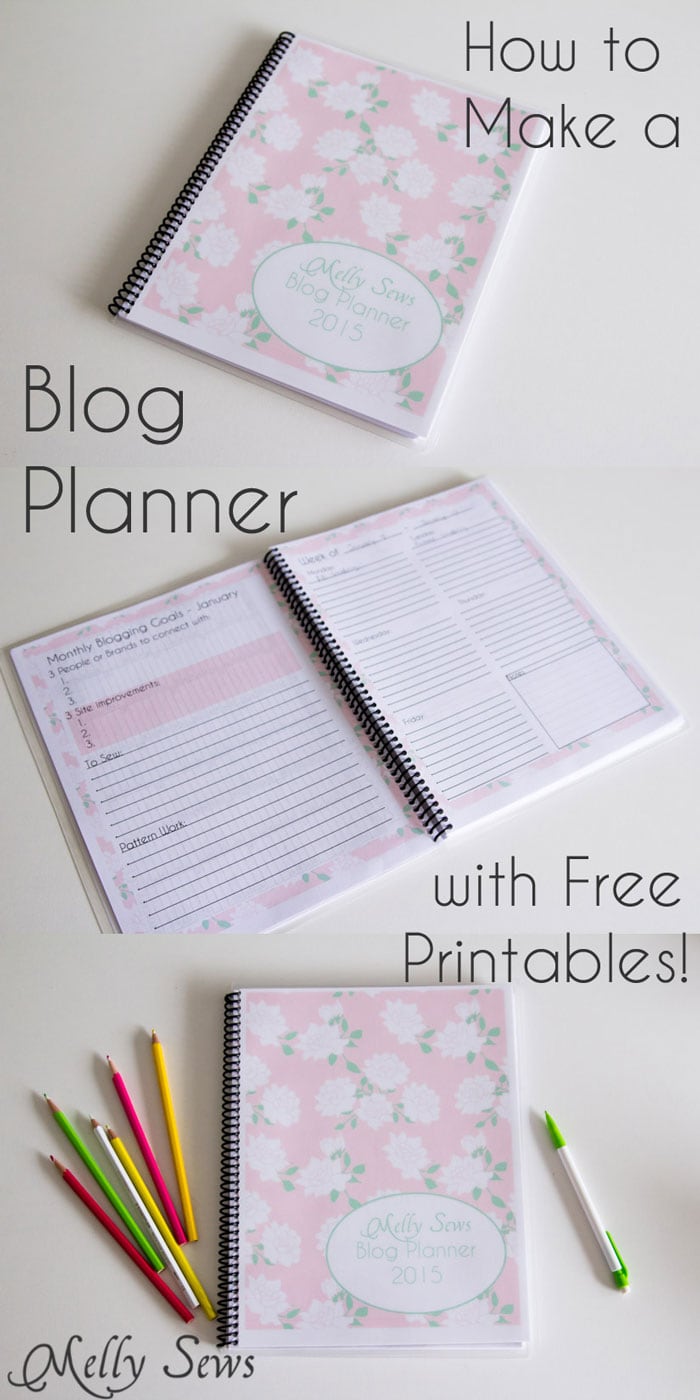
How to Make a Blog Planner
- Print a front and back cover on cardstock
- Print all the pages you need for the year. I printed:
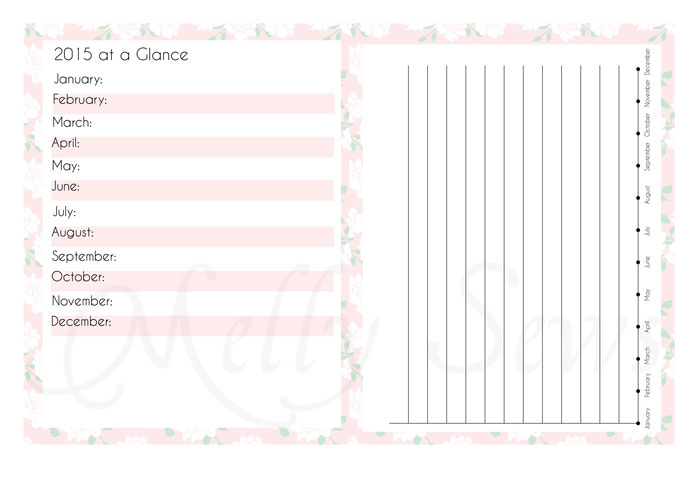
- 1 Year at a Glance
- 3 Bar Graph Charts
- 12 Monthly Blogging Goals
- 12 Social Media Calendars
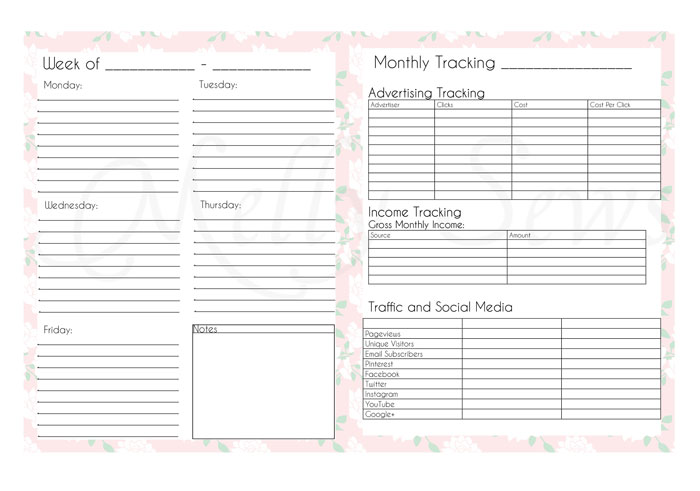
- 52 Weekly To-Do Lists
- 12 Monthly Tracking pages
- To save paper, I set my printer to print some of the pages front and back. You could also print half the pages and reload them to print on the back sides.
- I also added some blank pages to the back of the planner for list making, sketches, etc. It’s just nice to have blank paper close at hand.
- Once you have the covers and pages printed, stack them in the order you want them and take them to an office supply/custom printing shop. I went to Fedex Kinkos. For under $10, they laminated the covers for me so they’re thick and durable, and spiral bound the whole book. Voila!
So the differences this year. First of all, I added a Year at a Glance page so I could put all my monthly themes in one place. Then I added several pages to make bar graphs to compare stats month to month. Since I was tracking numbers at the end of each month anyway, I kept finding myself flipping back to the previous month to compare. And then the lightbulb went off that I should have a page like this so I could see the stats visually over time (going up, I hope!). I printed three of these pages and plan to use them to track income, pageviews, social media.
 Speaking of social media, I found myself scheduling posts and pins ahead a lot and forgetting what I’d shared where and when it was scheduled to share. So I started printing one of these calendars every month and filling in the blanks when I scheduled my social media. The Monthly Goals page is the same as last year, just in this year’s color scheme. I printed one of each of these pages for each month (sometimes two of the social media page if the month needed 5 weeks instead of 4).
 Finally, I noticed that I didn’t use the checkboxes from last year to keep track of where I was on each post. Instead I tended to refer to my monthly calendar for posts and then in the “Notes” section for each day, I’d write down 3-5 things to do that day and they were often duplicating checkboxes – like “Take photos for X post”. So I got rid of the boxes and just left myself the lines to write tiny daily to-do lists. This is what cut most of the pages out of my planner this year – the fact that I was only printing one side of a page for each week instead of a whole front and back page for each week. I also eliminated the running to do list pages from last year because like I said, I found myself making daily lists instead. And I added tracking for Cost Per Click on advertising, since I was drawing that column in every month to determine how effective ads were. I also went ahead and added charts to keep my income figures and traffic and social media numbers in line.
So, if you want these pages, you’re welcome to print them for personal use from here. Here’s to an organized and productive year in 2015!
Scooter
What a helpful idea! My plan for 2015 is to blog more & this tool seems like a great way to plan, brainstorm & track seamlessly! Thanks for sharing. I’m tagging my friend in this one.
Melissa Evans
Thank you for sharing. This idea is right up my alley. I prefer to do my list and schedule digitally, but I do have to go from page to page often in the app I use. I’m tempted to try this so I can see everything together.
Elisa
This is such a great tool! Thank you for sharing it!
Amanda
Thanks so much for wonderful blog calendar.
Pennyp
I don’t blog, but that’s awesome that you are sharing such a valuable tool! I can see how I could adapt it to my own personal schedule for me and the family though…. nice to know I can get a really nice, professional looking calendar EXACTLY the way I want it!!! Thanks for the inspiration!
Lynn
Thanks, Melly! Have a great year and we will all be right here with you!
M B Pazdernik
I am not a blogger either, but am planning to make a calendar /notebook to help me track progress on prioritizing and meeting my sewing goals. I want make progress each month sewing charity items (gowns for girls undergoing chemo and items for my church’s Nov bazaar), gifts, quilts and clothing for myself. I see lots of possibilities tweaking your pages to suit my needs. Thank you!
Mary An Preckol
Incredible idea!!!!!! Could tell you were an educator.
Ann
Thanks for sharing such a useful tool…I don’t blog, but this will really help in my sewing business…to keep on track with my orders and planning of different projects…
I am curious how to start a blog…how to get advertisers…etc…any help or advice would be appreciated…