
When you can’t find your perfect travel bag, sew it!
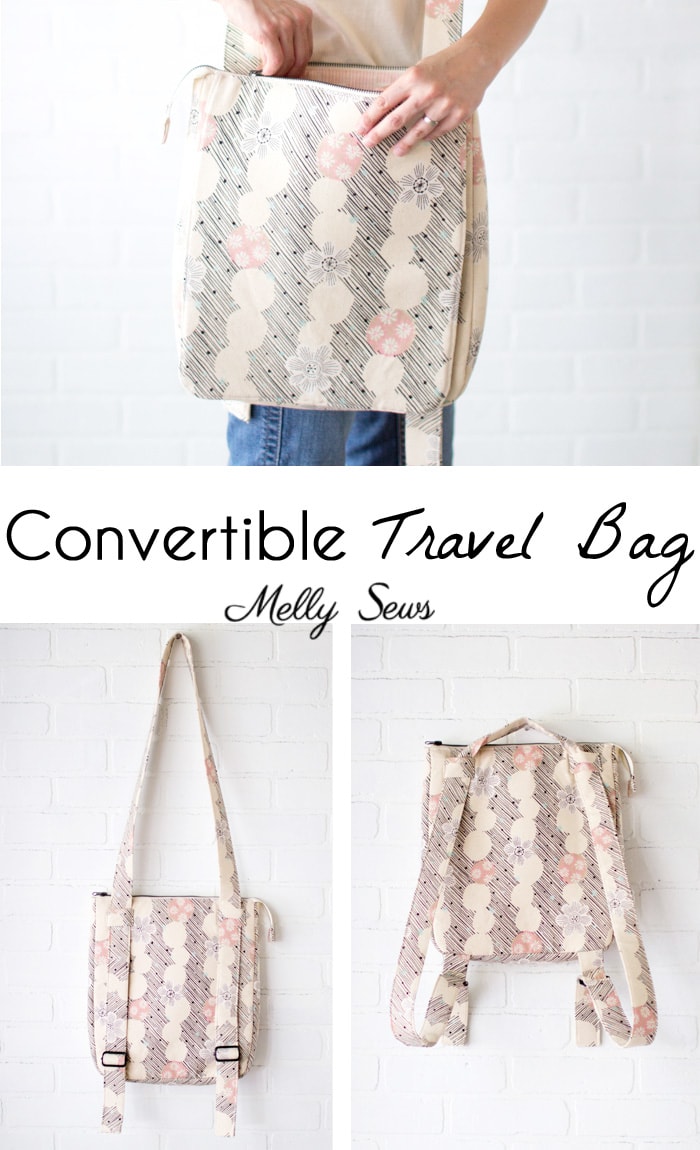
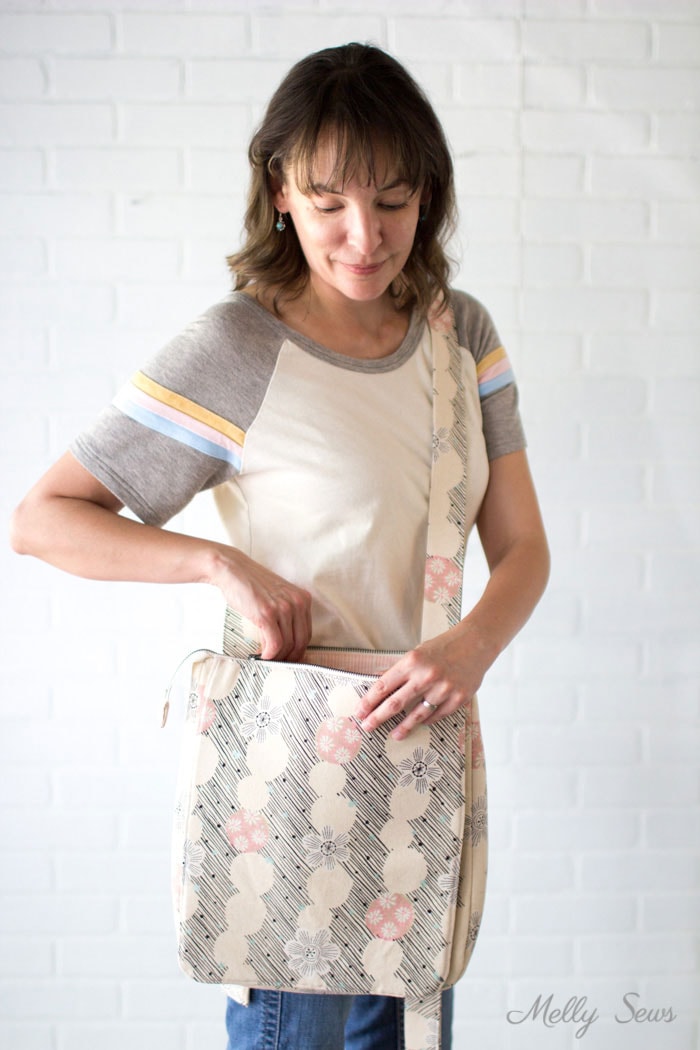
Hey y’all, today I’m sharing my perfect travel bag. Lately when I’ve travelled I’ve found myself wishing for a messenger style bag to organize my things in for the day of travel; my purse doesn’t quite cut it with the extras I take on the plane. I wanted something that will fit the iPad I always travel with and sometimes my laptop, though I find myself taking that with me less and less. I looked around to buy a bag, but as usual couldn’t find exactly what I wanted.
So I started looking at patterns online, and though I didn’t find exactly what I had envisioned, I found something close – the Sew Sweetness Hyacinth Bag (affiliate link). Sara was kind enough to provide the pattern for me to sew for this post, but all opinions and modifications are my own.
I used a Japanese cotton oxford, which really felt and handled like canvas, for the exterior of my bag. For the lining I used Sienna Hearth in Peach (affiliate link).
The first thing I modified was the height of the bag. The bag as designed finishes out at 12 inches tall, but my laptop is 12 3/4 inches tall. So I decided to add 1 1/4 inches to the height of the bag so that I’d have enough room to put my laptop in and still zip it closed.
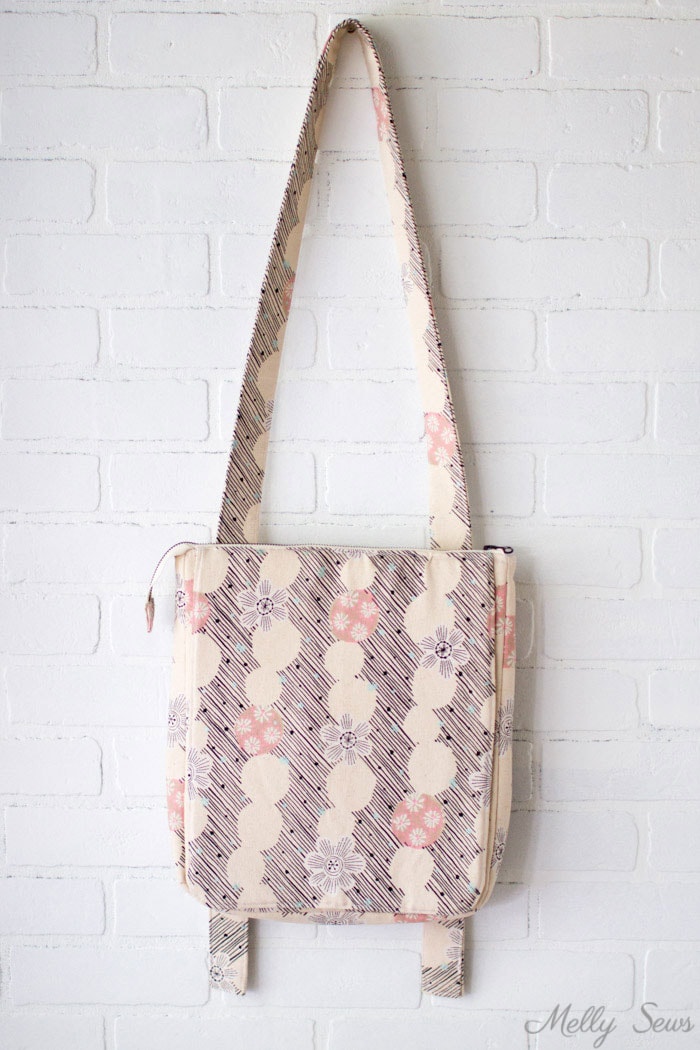
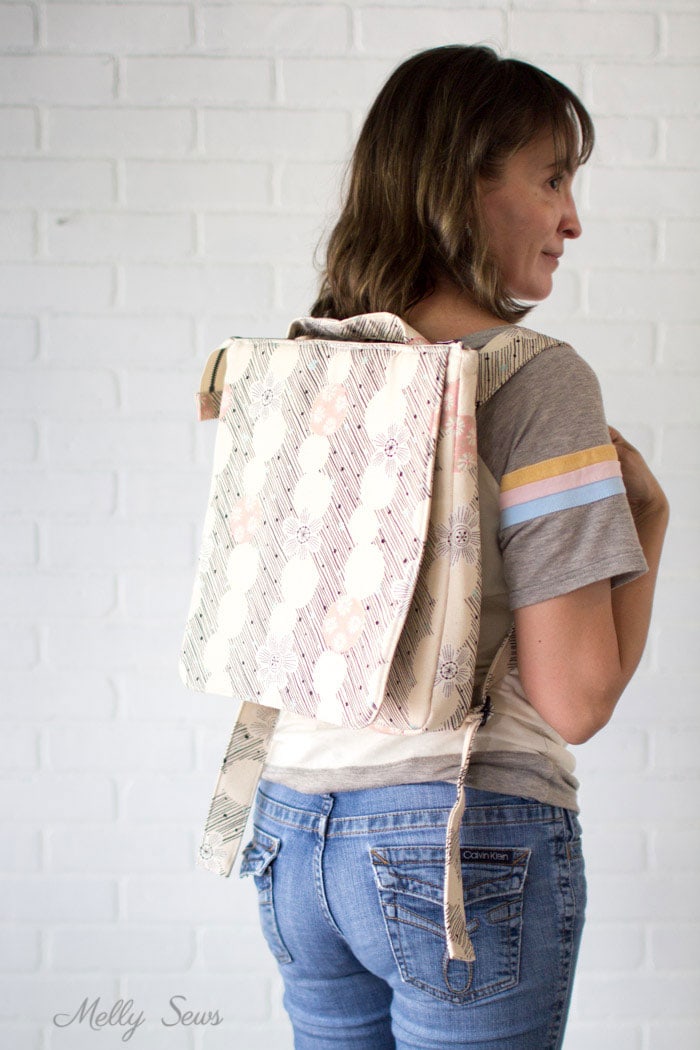
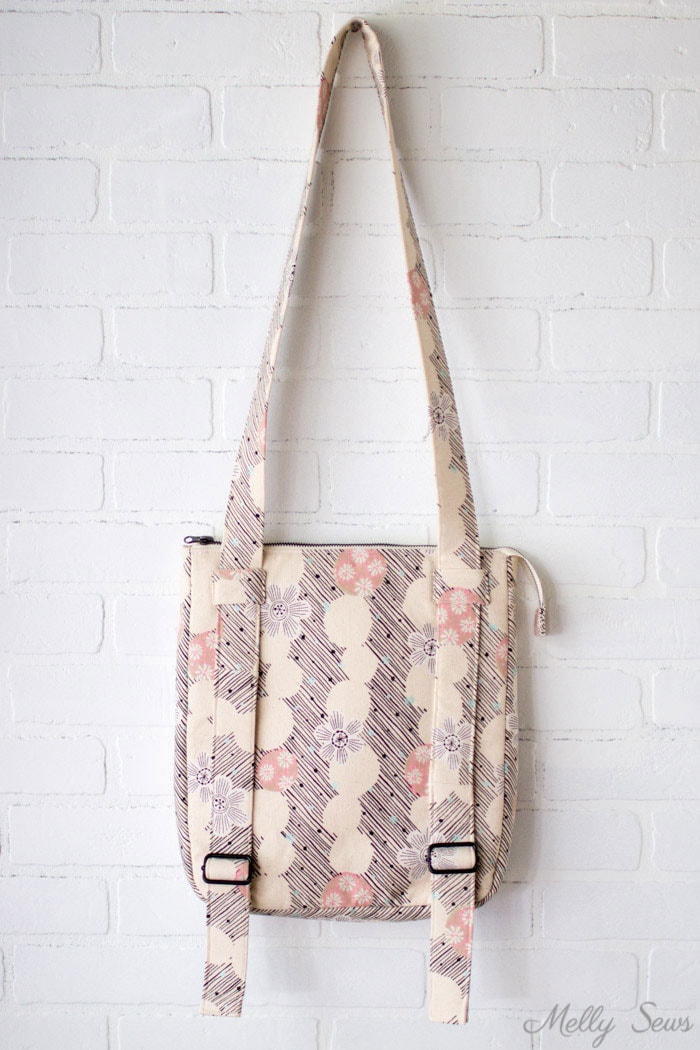
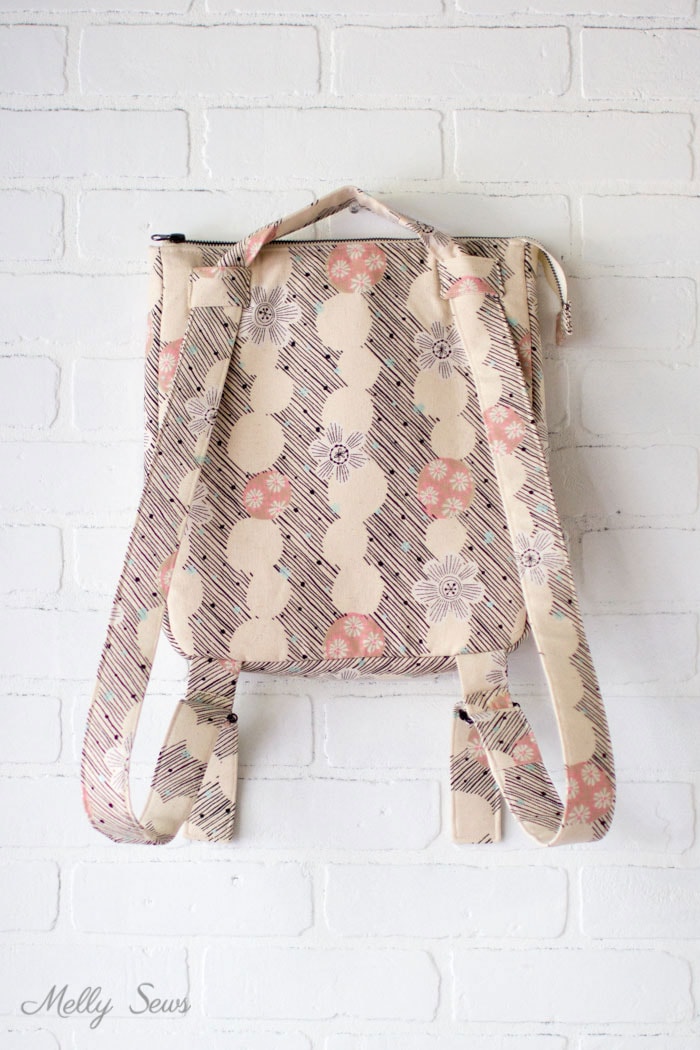
The big modification I made was to the to strap. I left off the strap extender and top panel and instead added sliders and tabs to the back that help convert the bag from a messenger style crossbody bag to a backpack. This is something I wanted in a travel bag – especially for getting on a plane. I hate walking down the small aisle with something on my hip that I have to watch to make sure I don’t bump into anyone. A backpack solves that problem for me.
To sew your Hyacinth Bag (affiliate link) like mine, you’ll need to buy two 1 1/2 inch slider buckles and skip buying the metal rectangle listed in the supplies.
Then make the following alterations to the cutting list:
- Add 1 1/4″ to the top of the main panel and flap pattern pieces
- Add 2 1/2″ to the length of the exterior and lining side panels
- Don’t cut out the top panel or strap extender
- Lengthen the strap to a total of 72″ long – you will have to piece fabric to make it this long
- Cut (2) 2 1/2″ x 4″ pieces of the exterior fabric and interfacing for the slider tabs
- Cut (2) 3″ x 3 1/2″ pieces of the exterior fabric for the strap tabs
The other alterations I made had to do with the placement of elements from the pattern. I loved the credit card holder, but wanted it more secure inside the bag. So I sewed around 4 sides of each credit card piece, leaving a gap for turning. Then I stitched them onto a lining panel, two inches down from the top. I also put the zipper pocket onto the same side of the lining (instead of having this on the exterior back of the bag) so that the backpack straps wouldn’t interfere with access to this pocket.
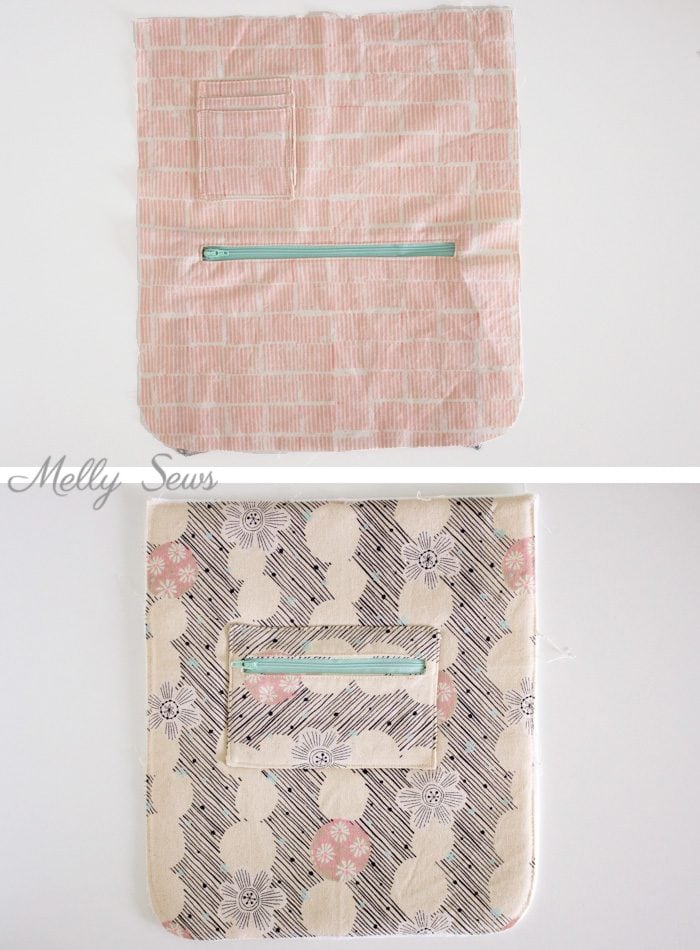
Because I moved the credit card holders, I just centered the zipper pocket designed to go under the flap on the other side of the exterior, as shown above.
Because I was using canvas like fabric, I only added interfacing within the seamlines of the slider tabs. Fold then in half so that the short edges match, then stitch the sides. Trim seams down to 1/4″, then turn right side out and press. Fold the finished edge around the center bar of the slider and stitch back and forth.
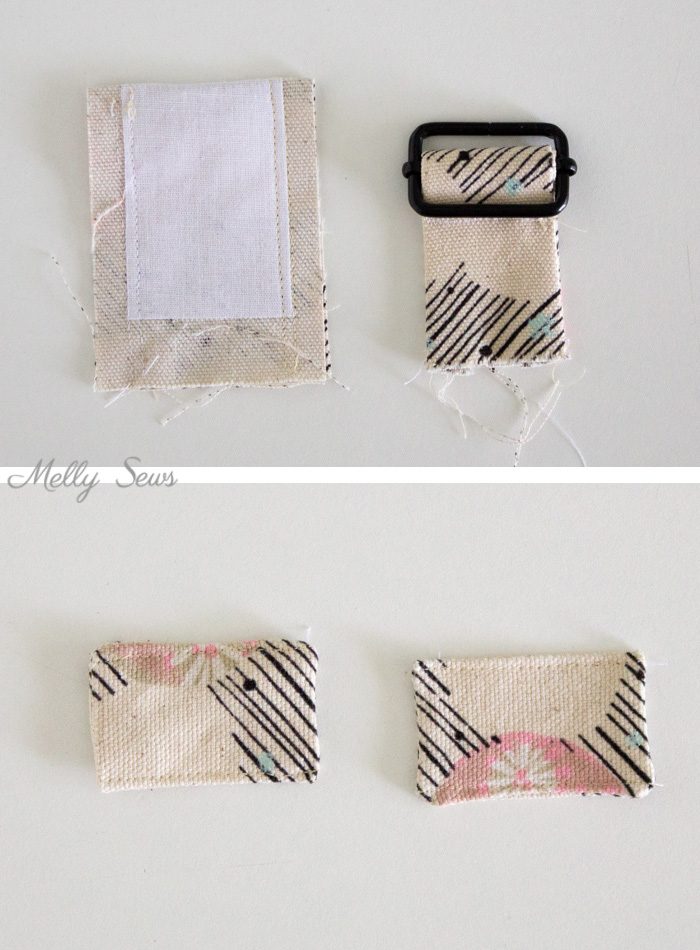
To make the strap tabs as shown above, fold parallel to the 3 1/2 long edges as you did to make the straps. Then tuck the raw short ends of the straps in 1/2″ and then press and topstitch all the way around the tabs.
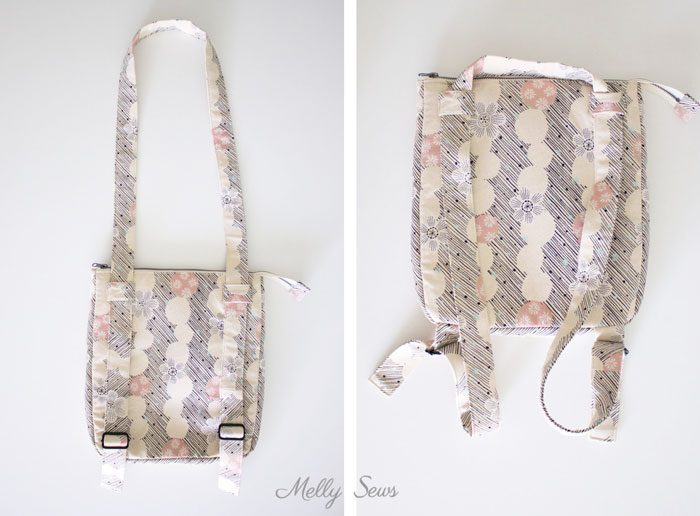
Position the tabs 1 inch in from the side edges and 1 inch down from the top edge on an exterior panel. Stitch down the side edges, backstitching to reinforce. Baste the slider tabs 1 inch in from the side edges along the bottom edge.
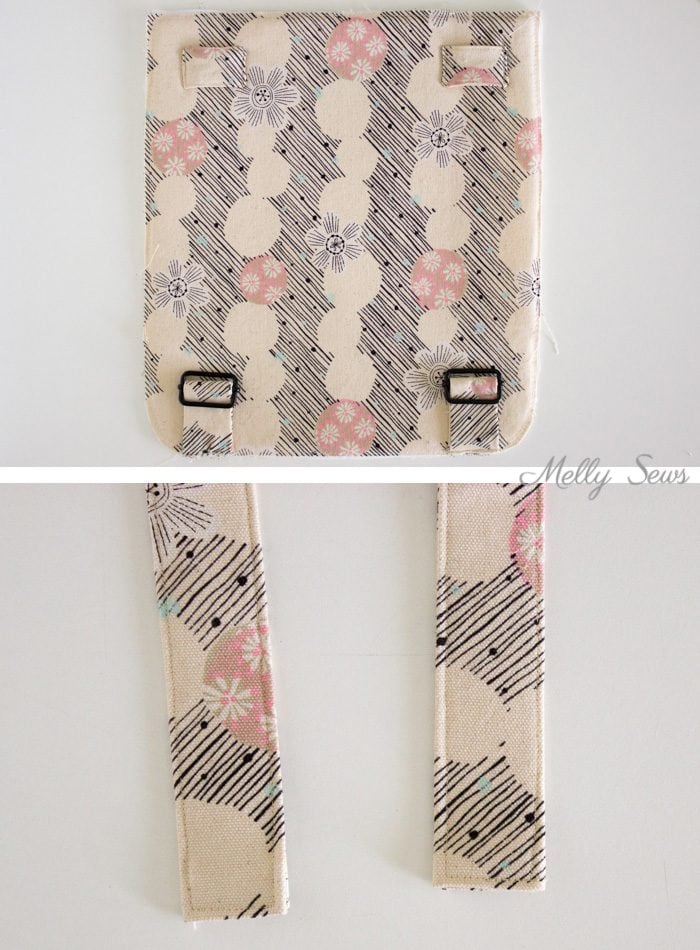
When you make the strap, leave it free of the bag and fold the short ends 1/2 inch to the inside and topstitch them closed, as shown above.
Finish the bag, then thread the strap up and down through one slider, then up under the strap tab, over and down through the other strap tab, and up and down through the other slider. To convert to a backpack, pull the straps down evenly through the tabs; you may also want to shorten the straps using the slider buckles.
I haven’t traveled with my bag yet, but I can tell this is going to be just what I was searching for! And by the way, if you’re a newbie to bag sewing, Sara has added video instruction to this pattern that you can purchase for more step by step help.

Leigh
Brilliant! I modified a backpack pattern tone a messenger bag but wasn’t quite happy with it. What you did with the stap was what it needed but I didn’t know that.
Thanks! Back to making another bag!
Daniela
Love the strap conversion, great work
Penny Williams
Awesome bag
Antonella Cattaneo
lovely! I’ll try to make it! Thanks