
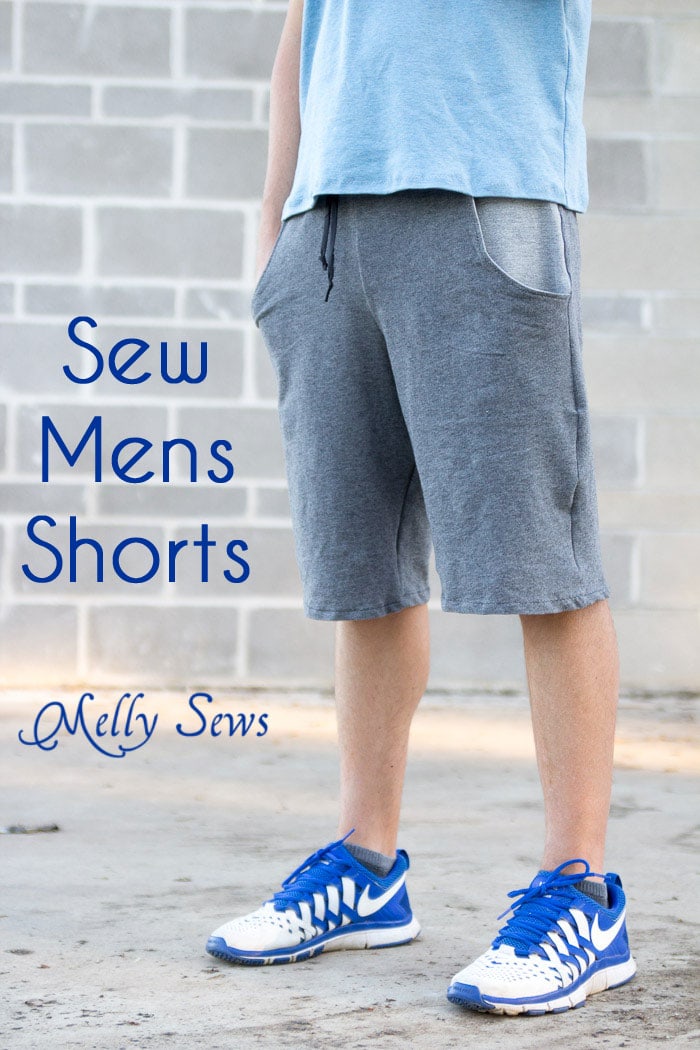
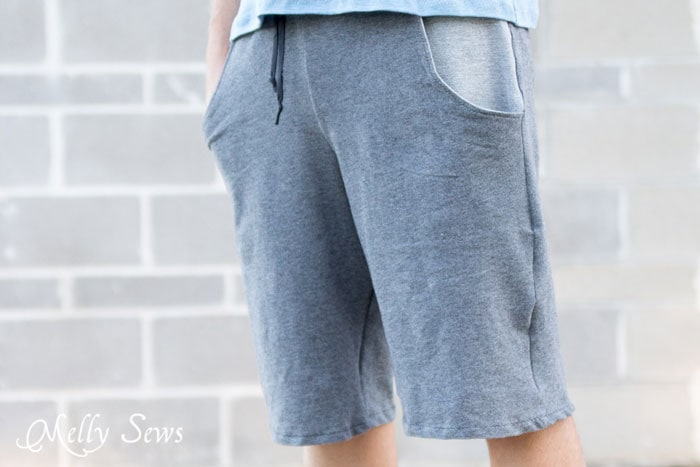
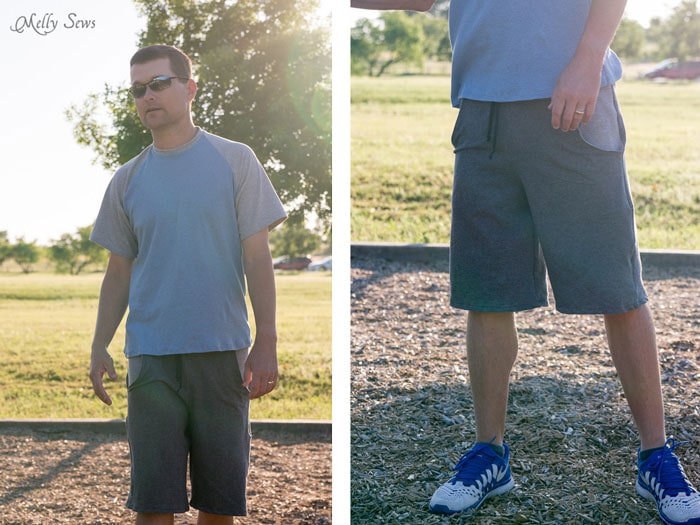
Hey y’all – we’re back with more sewing for men this week, and I’ve got a shorts tutorial to share with you. Like I said last week, the Coach pretty much lives in t-shirts, easy shorts, and track suits, even for work. But he does like to have pockets, so with this pair I added them.
These shorts are made out of a knit French terry fabric and I got the subtle contrast in the pockets/waistband by using the wrong side out the fabric out there.
Want to make a pair? First, start with this how to draft shorts tutorial from last year. Once you’ve got that pattern piece drafted, we’ll modify it to get these shorts.
Start by cutting the waistband off as shown below. Set this piece aside for later.
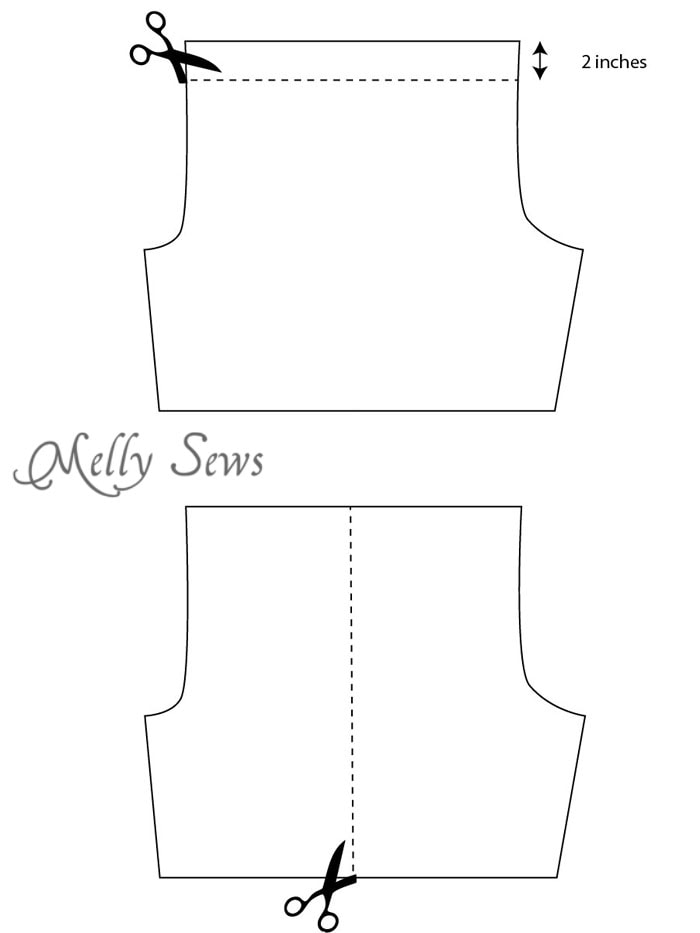
Next, cut the shorts on the center line, so you have a front and back piece as shown above. Add a seam allowance to the cut line.
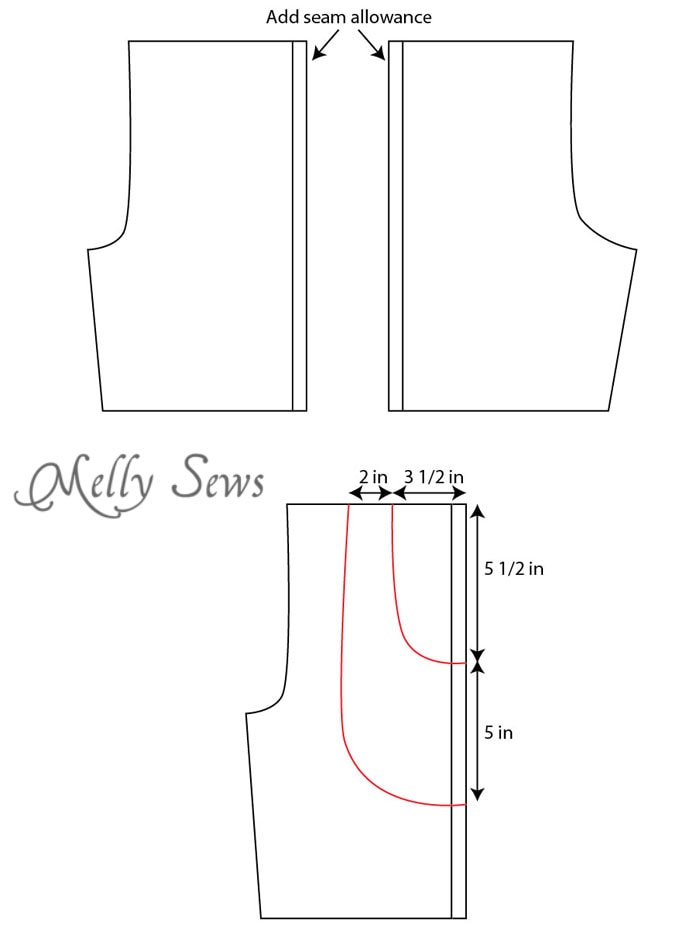
To draft the pockets, draw two curved lines as shown above. Then trace off the pocket and pocket lining as shown below, before cutting the shorts front on the pocket line.
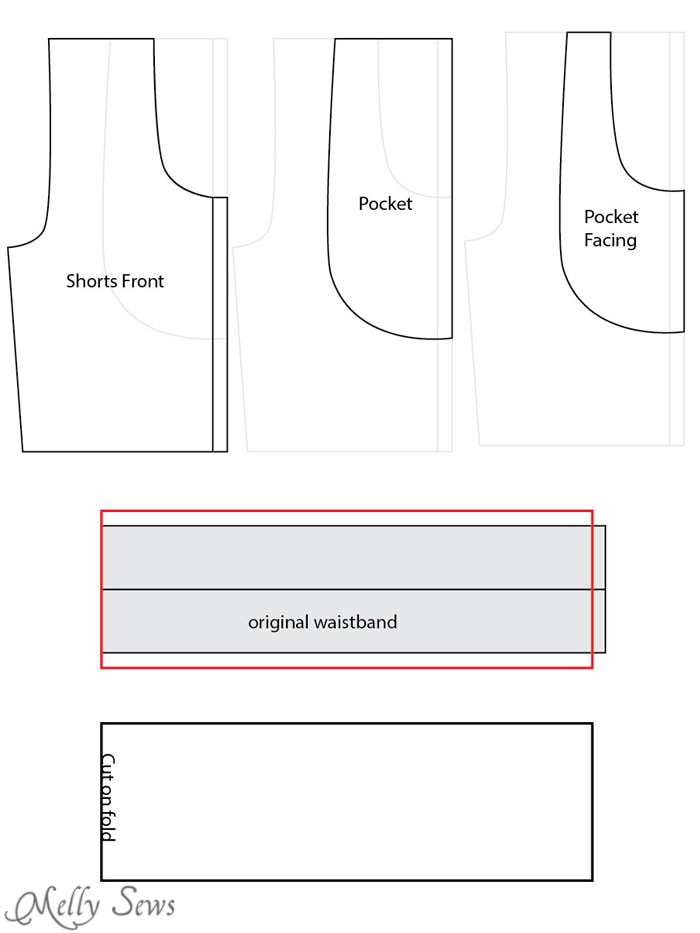
Finally, take the original waistband as shown above. Remove 1/2 inch from the short end, then double the width of the waistband and add 1/2 inch seam allowances to the long edges. When you cut out this pattern piece, you’ll cut it on the fold.
Cut your fabric; you’ll need:
- 2 Shorts fronts (mirrored)
- 2 Shorts backs (mirrored)
- 2 pockets (mirrored)
- 2 pocket facings (mirrored)
- 1 waistband cut on fold
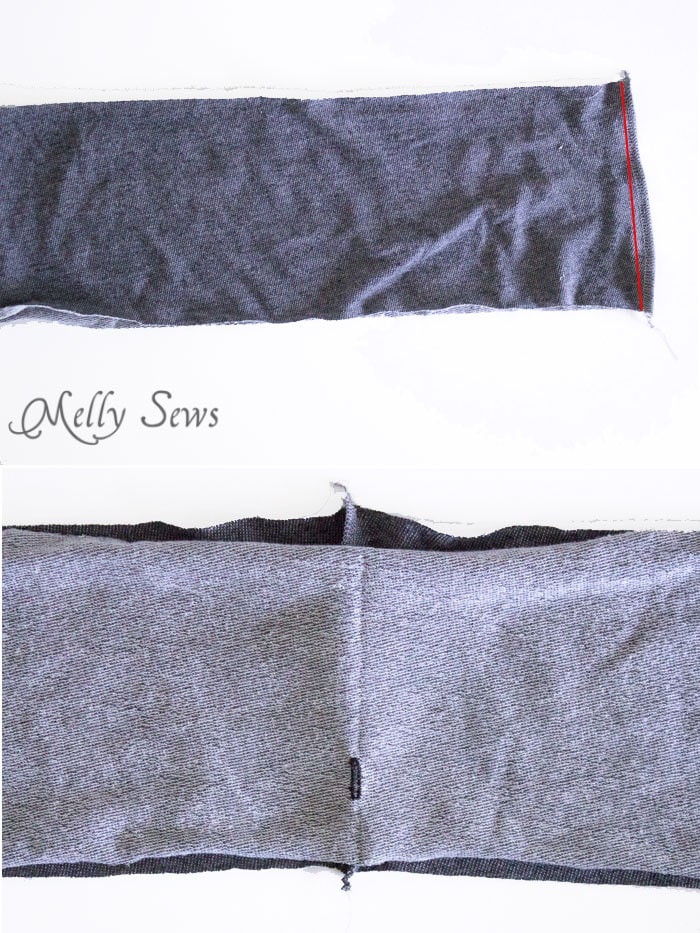
To sew, start by stitching the pocket facing to the pocket edge, right sides together. Repeat on other leg.
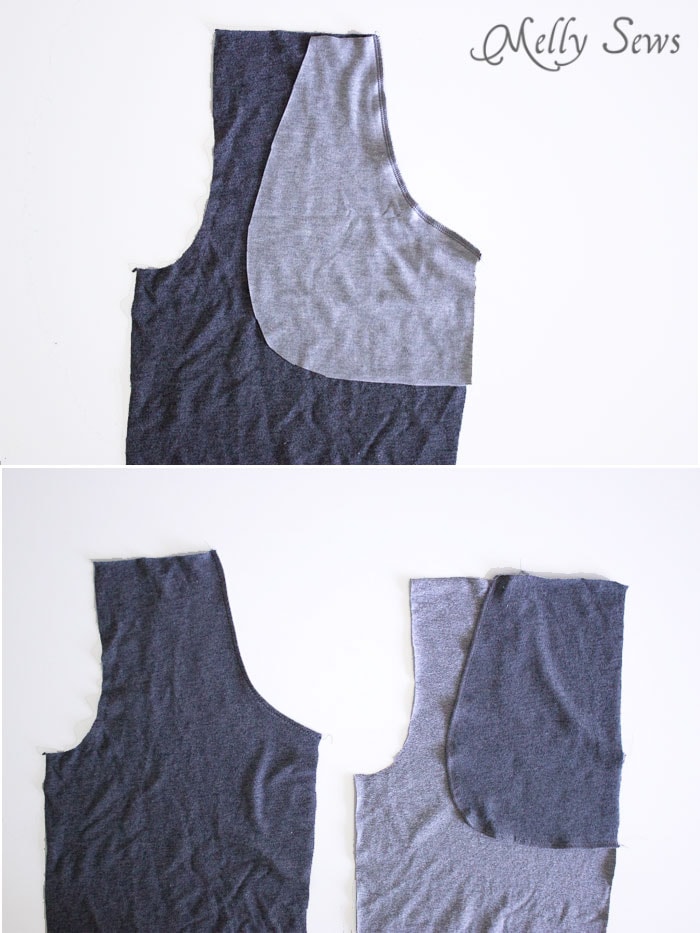
Turn the pocket lining to the wrong side of the shorts and press the seam edge. Topstitch this edge if desired, as shown above. On the wrong side of the shorts (right of picture, above) place the pocket against the pocket facing, right sides together, and stitch the curved edge.
(Note that on my shorts, as mentioned earlier, I treated the wrong side of the pocket fabric as the right side to get the contrast on the finished shorts).
The shorts fronts should now look like the picture below.
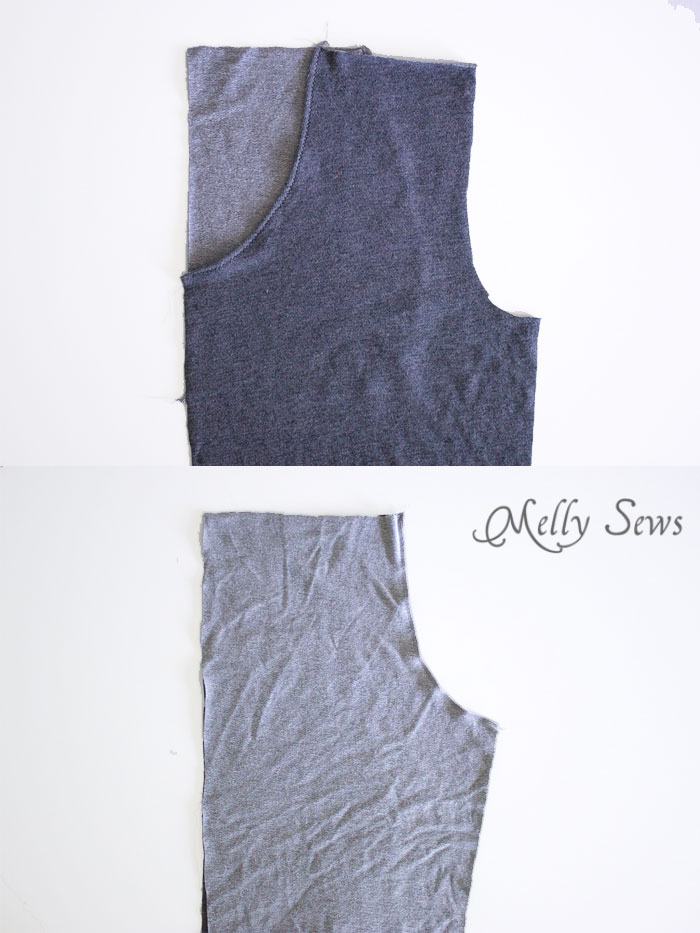
Place the shorts backs right sides together and sew the rise (curved edge) as shown above. Repeat with the shorts fronts.
Place the shorts front right sides together with the shorts back and sew the side seams as shown below, making sure to keep the bottom edges of the pockets in line where they overlap the shorts front. You’ll be sewing through 3 layers there, so make sure to pin well.
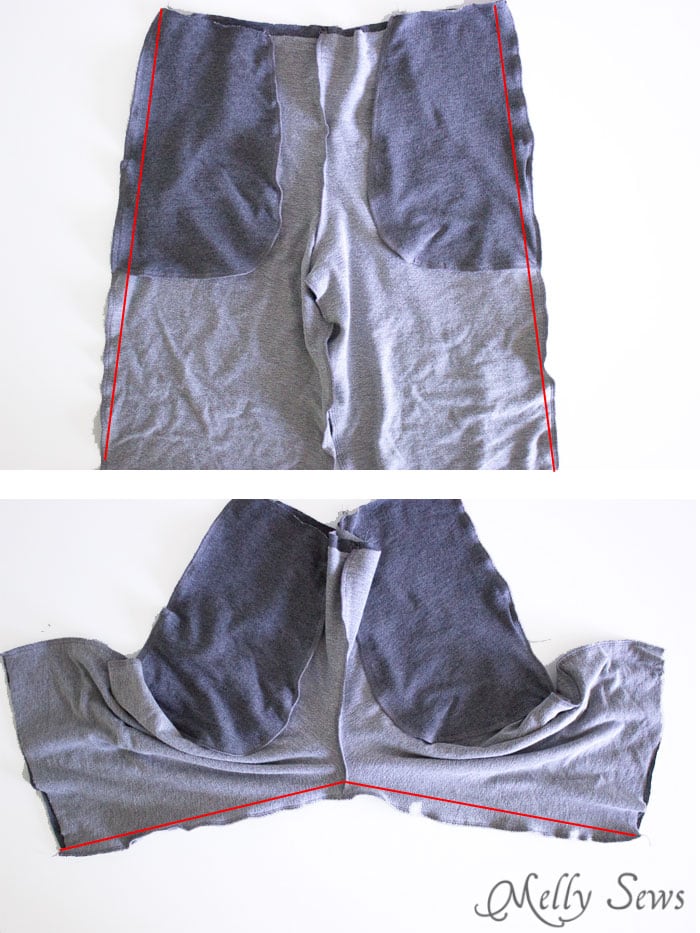
Open up the shorts and sew the inseam as shown above.
Fold the waistband right sides together and stitch the short seam as shown below.
At the center front, stitch a 1/2 inch buttonhole as shown above for the optional drawstring. The buttonhole should be 3/4 inch away from the raw edge.
Fold the waistband wrong sides together, matching the long edges. Press.
With the waistband right side out and the shorts right side out, line the waistband up with the top edge of the shorts as shown below, matching the center back seam with the waistband seam. The buttonhole side of the waistband should be against the shorts. Stitch the waistband in place, leaving an opening near the center back to insert the elastic (if you look closely you can see it below to the left of the center back seam). Just like sewing the side seams, be careful to pin the pockets flat and sew through all 4 layers (2 waistband layers, pocket facing and shorts front).
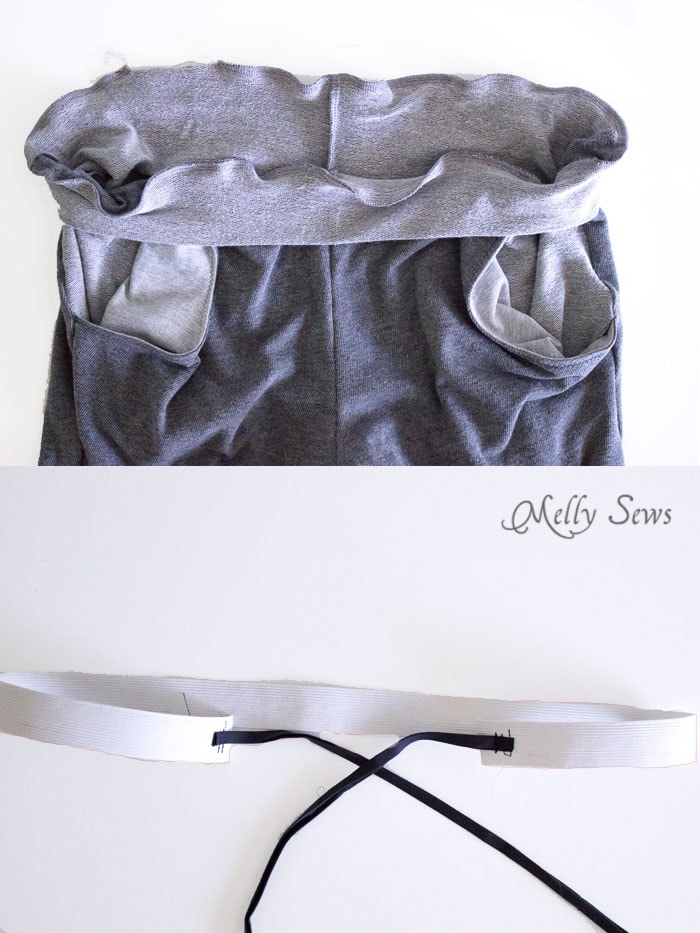
Cut the waist elastic to 3/4 of the waist measurement, then sew about 9 inches drawstring ribbon or cord to each end of the elastic. Using a safety pin, insert the elastic through the waistband using the opening you left; you’ll need to insert half, drawing the drawstring out of the buttonhole, then remove the safety pin and go back to insert the other half. Sew the opening in the waistband closed and you’re done.
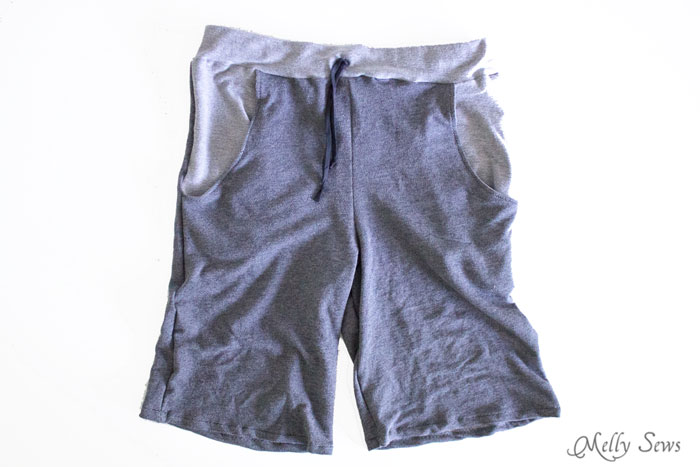
And they’re ready for an evening at the park!
Pranjal Saikia
Very helpful, now its easy for me to sew my own shorts.
Natalia
Thank you. It’s really helpful
Tanja
Thank you so much for this tutorial, I must go sewing shorts now 🙂
Elijah
Awesome shorts! I’m longing to sew a pair from the fat quarters sold at Walmart. Thank you.