
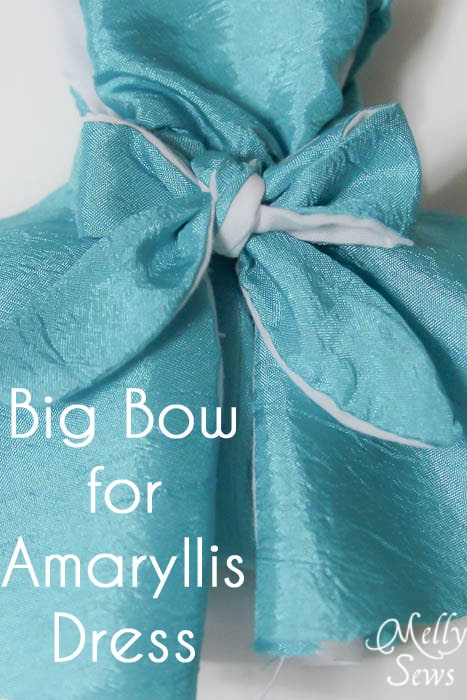
Welcome to day 4 of the Amaryllis Dress sewalong! Today I’m going to show you how to make an extra poufy bow for the Amaryllis Dress, and this method works on pretty much any dress with a thinner sash.
After writing this, I realized I maybe should have posted this tutorial first, as it changes the way you cut the sash. Oh well, hindsight and all. At least you’ll know how to do this next time.
All you do is place the longest edge of the sash pattern piece on the fold when you cut.
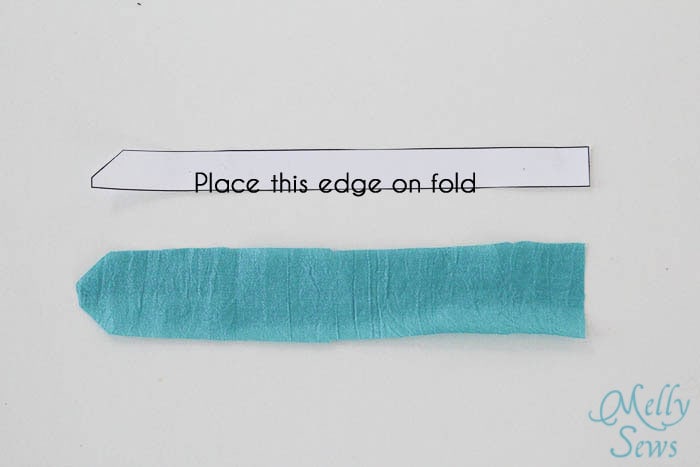
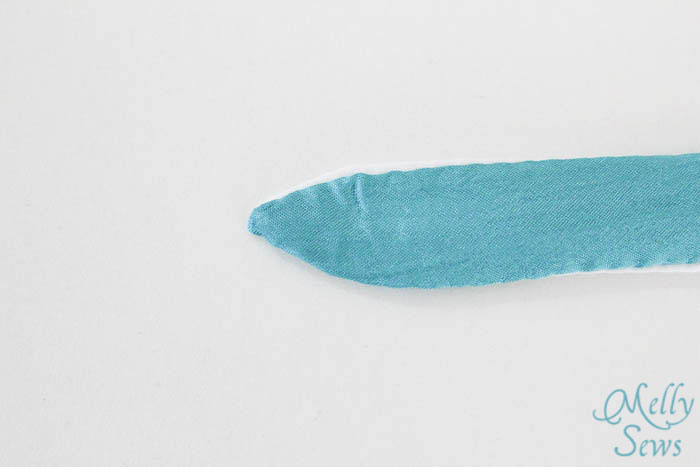
Proceed as usual, except your sash will now come to a point in the middle, instead of a point on one side.
When you get to the step to attach the sash to the dress, you’ll need to gather the end of the sash to fit the bodice end. Refer to Tuesday’s post on gathering methods and pick your favorite.
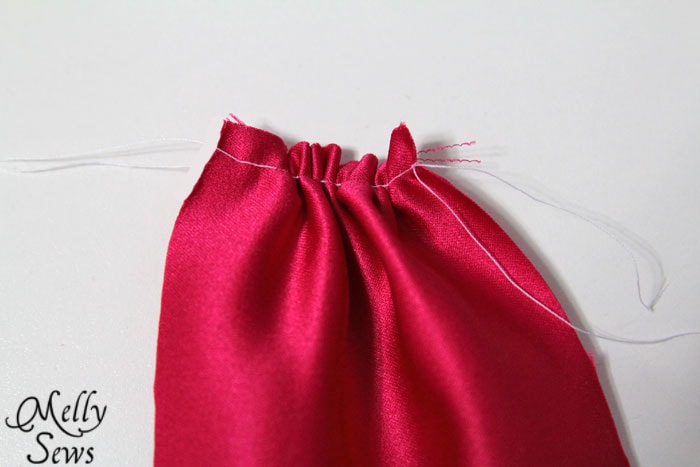
Then pin the gathered sash in and finish the dress per the instructions. Easy!
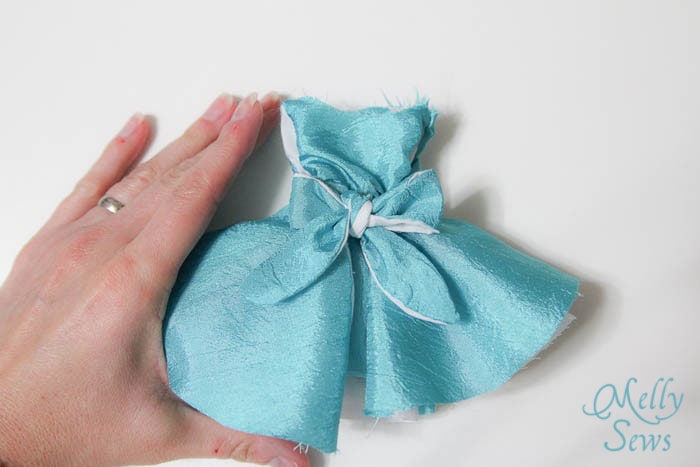
The wider sash fabric means that you can make a bigger bow.
Or smaller, as the case may be – I sewed a 1/4 scale dress for the example for this post. And reminded myself of why I don’t sew doll clothes. But you can still see the scale of the bow in relation to the dress.
Tomorrow is our final sewalong day, and we’re going to be talking hems – easily the loooooongest step in this dress. See you then!
Sewalong links:
Day 1 – dealing with formal fabrics
Day 2 – how to gather fabric
Day 3 – how to sew tulle
Day 4 – make your bow extra big
Day 5 – sew a rolled hem
Leave a Reply