
Learn to make DIY clothing labels for your handmade clothes
Today I’m sharing some ideas for how to make clothing tags with you. What better way for you to use your logo and/or make sure someone knows how much love and time was put into a handmade garment. While you can certainly check out Etsy shops and sellers for labels, it’s more fun to make your own design.
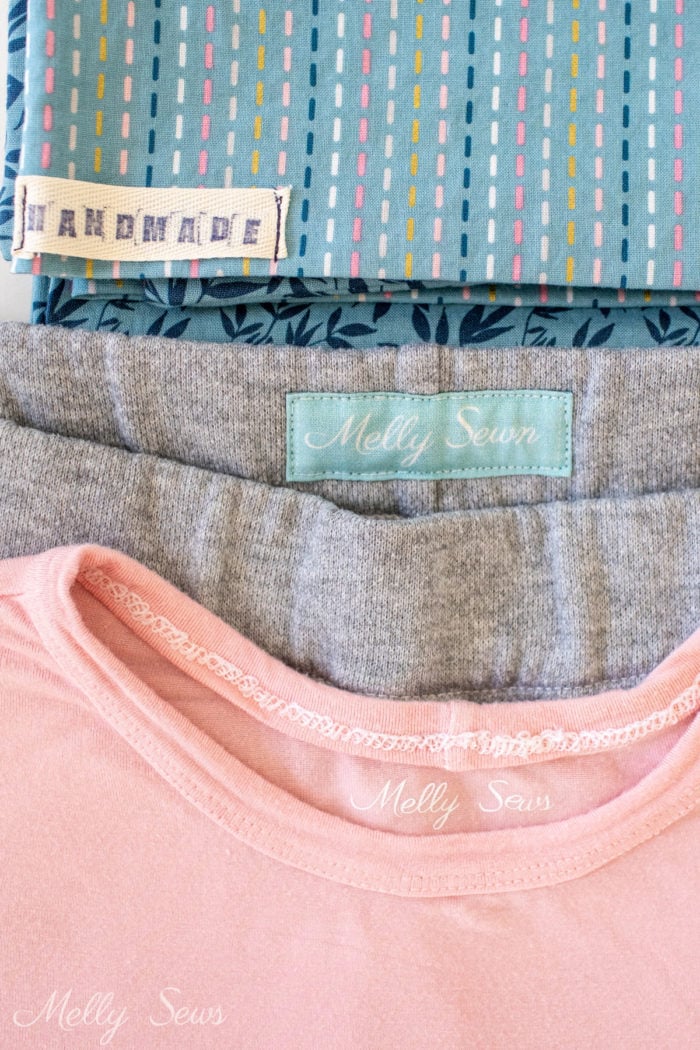
Not only will your DIY clothing labels help identify your gifts as handmade, if you’re sewing for kids (or heck, sometimes adults!) they can help kids identify the back of their clothes to avoid putting them on backwards. So today I’m going to show you how to make tags for clothes in four ways.
Two of the methods I use for DIY clothing tags rely on twill tape. I like to use it because it’s inexpensive and soft, but you can also use ribbon. While you can get small packs in the store, if you want to stock up cheaply, I got my rolls from Twill Tape.
How to make your own tags for clothing – 4 ideas
I made a video that you can watch below or on YouTube here showing 4 ways I have made clothing labels for that perfect finishing touch. That means there’s a bonus label idea that I didn’t share when I first wrote this post.
This post contains affiliate links. As an Amazon Associate I earn from qualifying purchases. All affiliate links are identified with (affiliate link) after the link or a commissions earned statement above the link(s).
1. Stamp Your Own
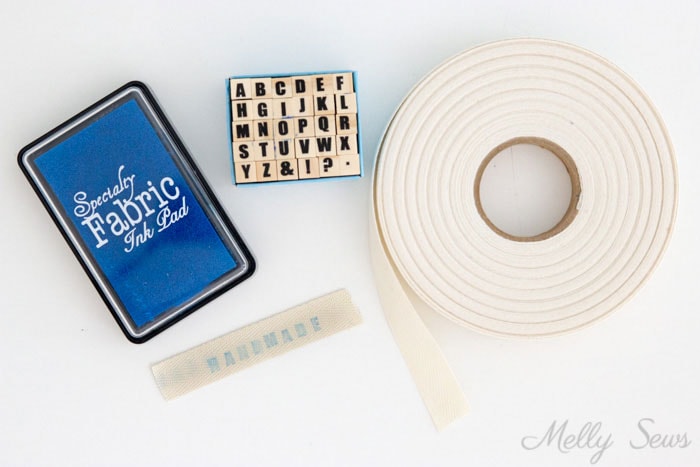
Using stamps and permanent ink is probably the easiest way to make labels for clothes. It can also be a fun way to let kids personalize their own tags. Use a permanent ink, not a water based ink. I bought the pad above in a big box store a few years ago, but as you can see the ink is fading. I need to grab some (affiliate link) VersaCraft pads because they are more readily available and are also well rated for fabric; just make sure to set the ink with an iron before washing. If you can’t find any good options, I’ve also had luck buying fabric markers then using those to color on the stamps instead of using an ink pad.
I grabbed the little box of alphabet stamps in the dollar section one day on a whim. They’re fun to use for this but not the most sophisticated font. This set (affiliate link) looks very similar to the one I got.
2. Sew Your Own
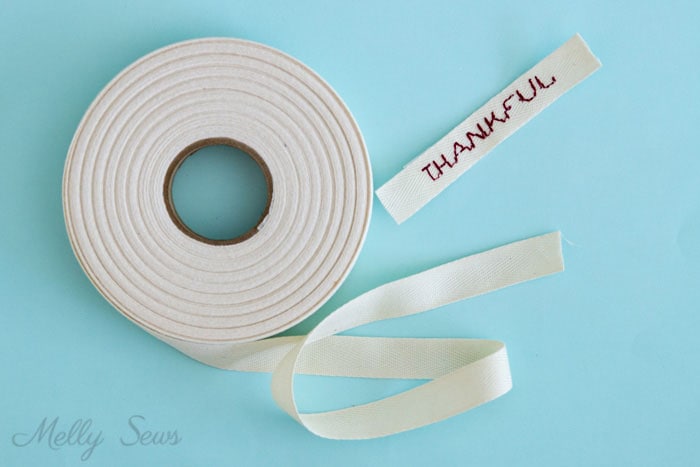
If your sewing machine will do any fonts (many new machines do) you can sew your own clothes tags. I recently made this one for myself, and instead of doing my blog name or handmade with love or any of those typical labels since I know I made my clothes, I decided to write “Thankful”. I like the idea of adding inspirational labels to my clothes; a secret message to myself. But of course if you have a letter stitch on your machine, you can write whatever you want. I typically don’t cut my twill tape off the roll until after I’ve stitched out the word when I do these kind of labels.
3. Custom Print Fabric Labels
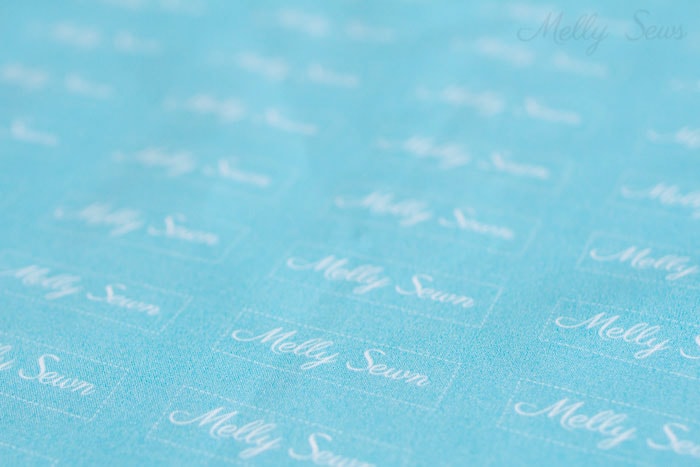
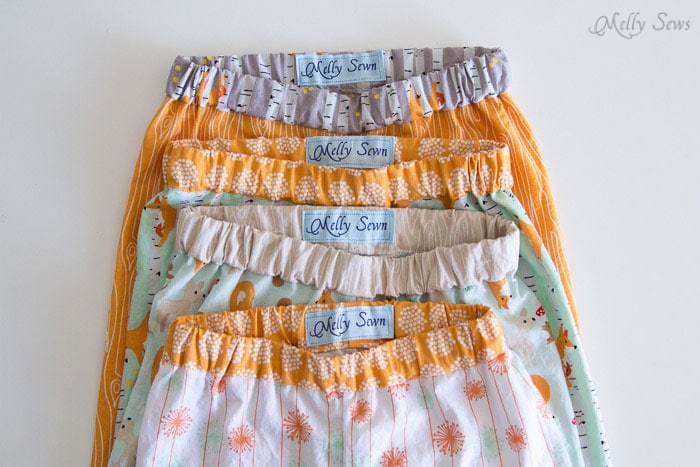
This is how I make the labels I use most often – I make a graphic and then use it to have fabric printed. This is quilting cotton ordered from My Fabric Designs, which is a custom fabric printing service. I made my label 2 1/2 inches wide by 5/8 inches tall, then I add 3/8 inch of spacing all around each box, then turn that into a repeat. I use Adobe Illustrator/Photoshop to do mine, but you definitely don’t need to have those programs. You could just as easily draw something and take a photograph of it, or you could use a free program like Canva.

With the dimensions I used, when I uploaded my design, I got 450 labels on 1 yard of fabric. That was probably overkill; I’d suggest starting with a fat quarter. It occurred to me later that I could have combined multiple designs into one photo to upload and printed a few designs, but oh well. One thing to watch: when you upload you’ll see a screen something like the one above. You need to double/triple check the on-screen ruler against your design to make sure that the labels are the size you want and not giant.
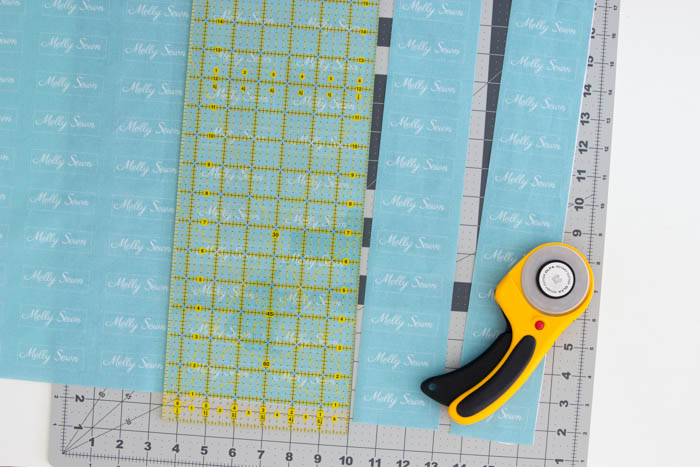
Once the printed fabric is shipped to me, I cut it into strips using a rotary cutter and ruler. Then I store most of the fabric in strips in a drawer.
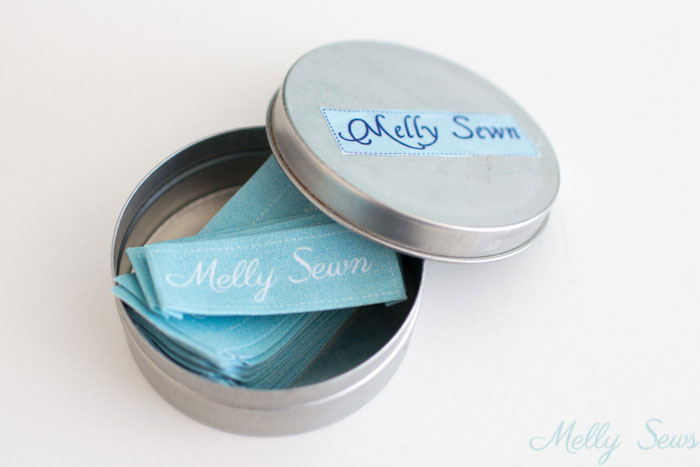
I take a few strips at a time and cut them into the individual labels. I store the labels like this in a tin in my sewing room; you can see I mod podged one of my old labels (that I’ve run out of) onto the cover.
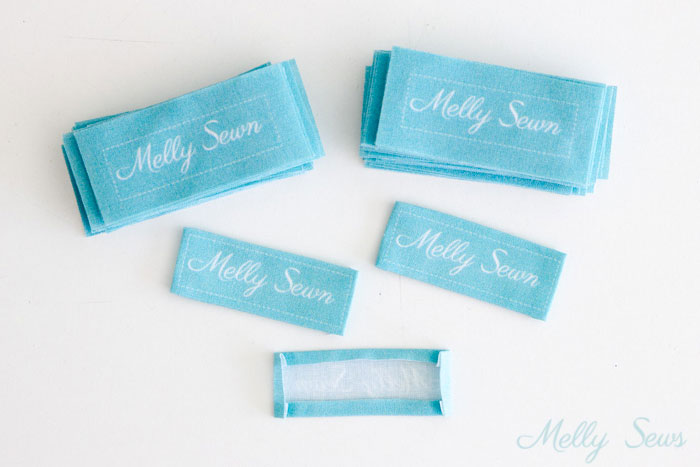
When I need a tag for a new project, I grab one of these. Then I fold the edges to the wrong side about 1/8″ and press. Next, sew them in. If you don’t mind fraying, you can skip the edge pressing. Just sew the clothing tags in and let the raw edges fray to the stitching line. I’ve found these labels hold up very well since I print them on quilting cotton. They don’t fade unless I use a lot of bleach, and they’re softer than many woven labels and get softer the more they’re washed.
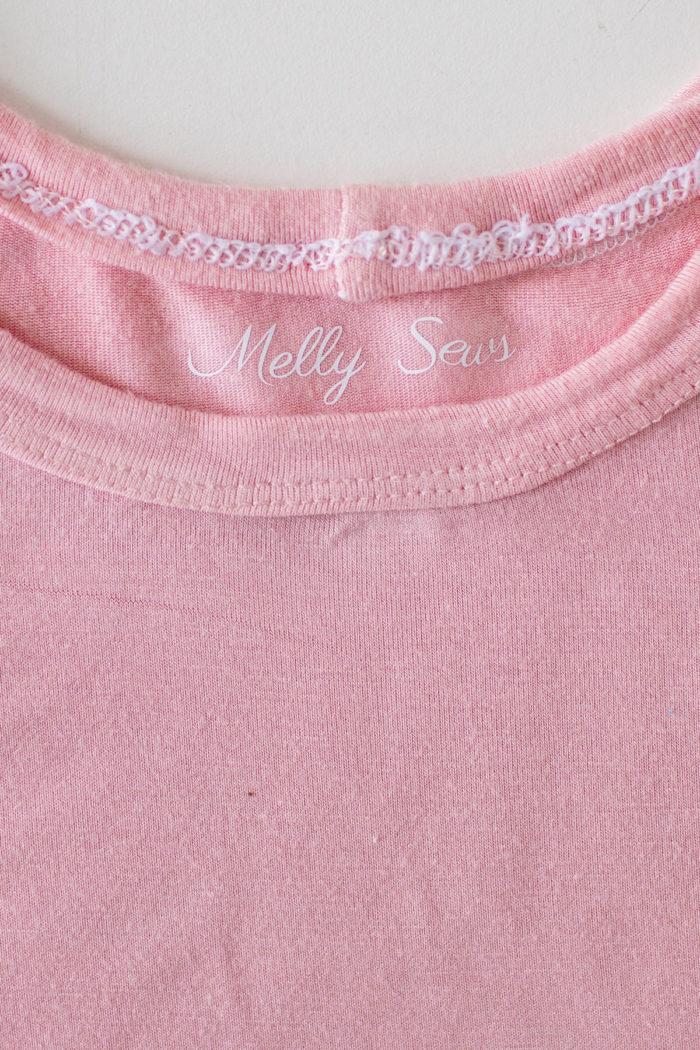
4. Custom Iron On Labels
The last method I used to make clothing labels was to cut out heat transfer vinyl on my Cricut Maker (affiliate link) and iron it on to my t-shirt. I don’t want to go into a whole heat transfer vinyl tutorial. I’ll just say to remember to mirror your words to cut out and iron on, and follow the instructions for your particular machine.
Lori
Thanks so much. Bless you.
Mrs. Stenger
Thank you for this post! I’ve been wanting to make/get my own labels to add a personal touch to my projects.
BarbaraG
So cute! How well do they last through multiple washings?
Melissa Mora
They’re printed quilting cotton, so they last pretty well.
Cristi Bond
Thank you so much! I too have been trying to find a way to make custom labels. And I can’t wait to try this. Thank you For your creativity and generosity in sharing. You have beautiful designs!
Barbara Esposito, The Quilted B
Thank you for the options! It can be so expensive to buy good quality custom labels and , honestly, you can never be sure what you are getting until they arrive. Your post is a great help!
Charlotte from AZ
Your labels are awesome! So creative! Thank you for sharing! …and Merry Christmas to you and yours!
Karen
Thank you so much. This is so good to know. Bless you.
Mary Deeter
Great ideas! I have made “SIZE” tags on the things I have made for my grandkids. Helps my daughter put things away in the proper closet, especially when that nightgown or shorts is no longer “new” and has been handed down once or twice. My sewing machine has an alphabet set. I have also made my own tags using a “label making program” from Avery, and a sheet of T-shirt iron on transfer. Once printed I cut horizontally, press on strips of ribbon. These however, have not held up to the rigors of washing, and the t-shirt transfer film, is my last choice.
Vuyokazi
Thank you for the info, this is good idea even if you giving out something as a gift people can see it is home made.
Francine
You are remarkable!! Thank you so much for this post!
Tanya
Thanks for the great tutorial. The t-shirt transfer sheet labels I’ve been using don’t last long in the wash. I’ve been exploring options for having fabrics labels professionally printed and buying a meter of fabric with my design printed in label size and repeated is the most cost effective option. In fact, I used your tutorial to figure out what size my image should be and just placed my first order with Spoonflower.
Evelyn l. Walker
Thank you for reminding me what I used to do when my kids went to camp
and more recently when my husband & my son went to a rehab center, never thought
about things I attempt to sew.
Udofa Saviour
Thank you for this lesson,I’ve been looking for how to complete my project with adding ot tags
Maud
On the custom fabric, I might be inclined to leave larger upper and lower margins, then cut strips to run through a bias tape maker. That’d give me a roll of customs labels I could just snip off, as required.
Voleta Courtemanche
I always sew my clothes tags but I loved your stamping idea a lot. I will give it a try on my next project. Thanks for sharing such an amazing article with creative ideas.
Salamatu Akpoh
Thank you so much melly, I have always wanted to have my own label printed on my projects.
Sandra
I use a small scrap of cotton jersey to mark the back of my garments. I cut a square or rectangle with a nice image on it, usually a cat or cute animal, and hand stitch it down all the way round.