

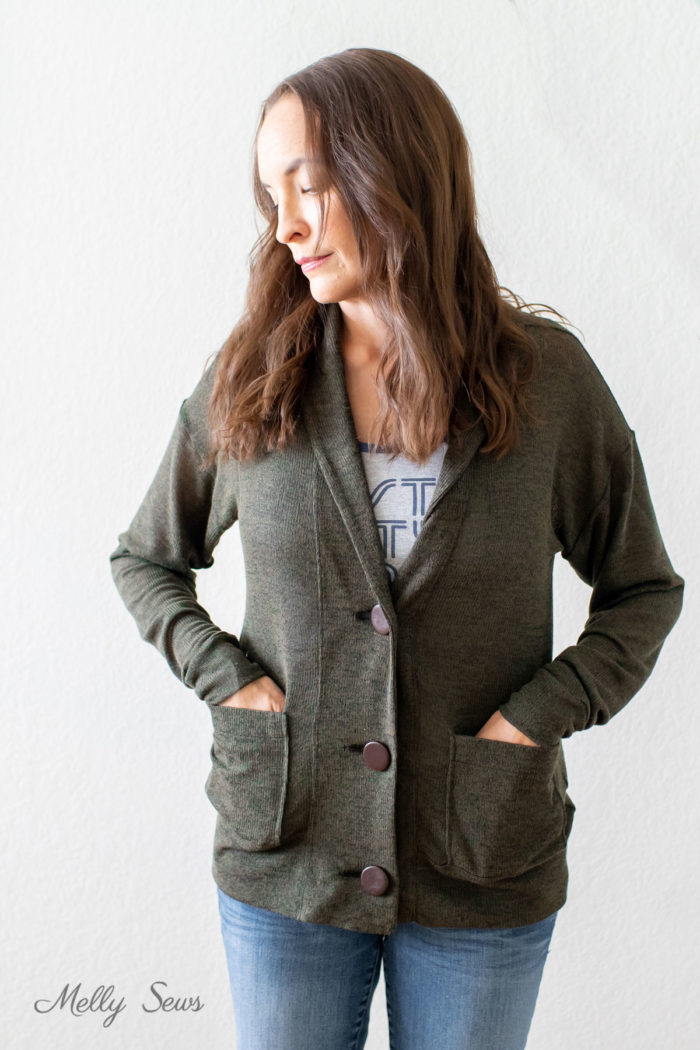
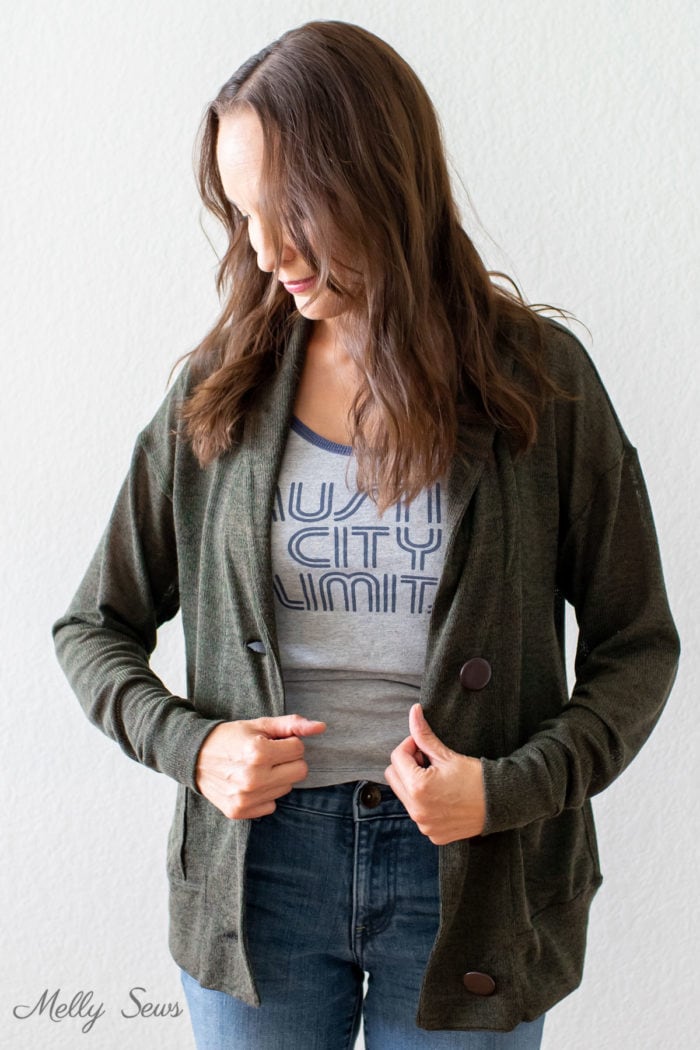
Hey y’all in celebration of my Sora Sweater being the pattern of the month we’ve been featuring for Blank Slate Patterns, today I want to show you how I’ve hacked it to make a sweater with more of a grandpa style. I eliminated the side gussets on the pattern, straightened the hem and added a hem band, and added patch pockets. You can see the changes in the comparison pictures and line drawings below.

I always love it when I can use the same pattern to make multiple looks, and this hack was very easy to do. Further down in this post are the details to get from one cozy sweater look to the other. The floral sweater above is sewn in French terry fabric. The olive one is sewn in a very thin sweater knit and has the pockets and bands reinforced with fusible stretch interfacing. This is a fairly easy to sew cardigan. I wouldn’t recommend it as a first ever sewing project or if you’re an absolute beginner, but it could be your first project for sewing with knits if you use a stable knit like an interlock or a French terry that isn’t super stretchy or thin. If your fabric store carries apparel fabrics, you should be able to find one or more of those choices.
This post contains affiliate links. As an Amazon Associate I earn from qualifying purchases. All affiliate links are identified with (affiliate link) after the link or a commissions earned statement above the link(s).
What You Will Need
Supplies you will need to make this sweater are listed below. Note that you can use many different types of knit fabrics for this – the pattern suggests jersey, interlock, stretch sweatshirt fleece and French terry as possibilities.
- I used the Sora Sweater pattern for this look; the pattern is available in my shop and you can print it out on a home printer
- Depending on your size, you’ll need 2 1/4 to 2 1/2 yards of fabric. The hack doesn’t really take more fabric than the original pattern
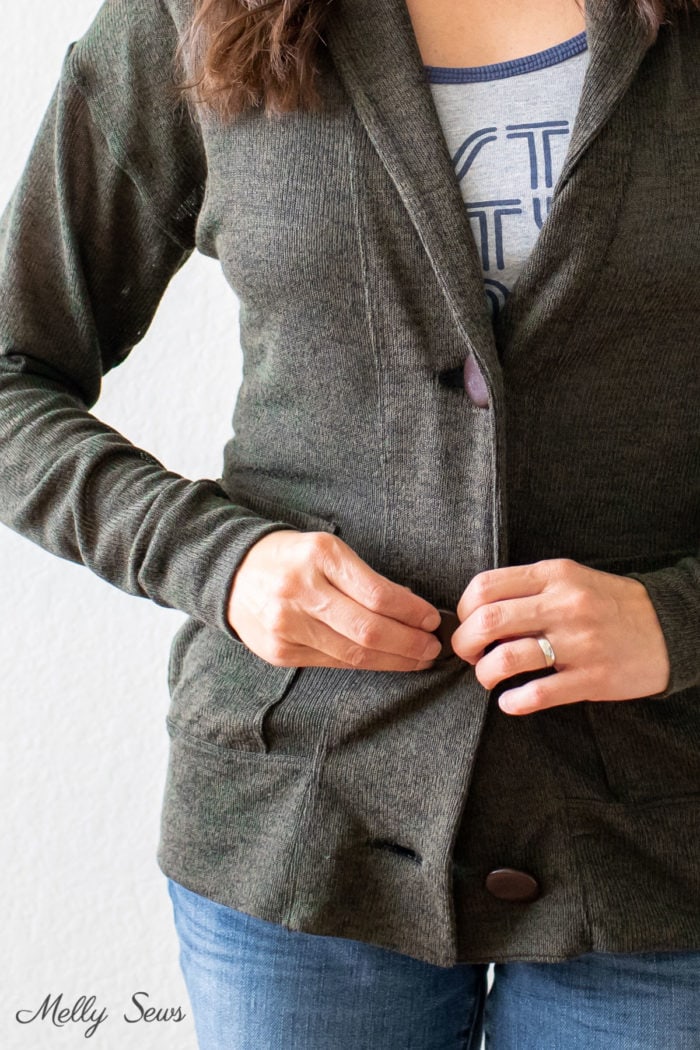
- Buttons. I used 3 vintage buttons from a stash that was given to me. You’ll want your buttons to be at least 1 inch in diameter to be proportional to the band. And you might want more buttons than I used. My buttons were 1 1/4 inches in diameter, which was basically the largest size my automatic buttonhole foot could accommodate. If you’re using an automatic buttonhole foot you’ll want to check the same thing, otherwise you might have to freehand the buttonholes. I really think 4 buttons would have been better for my sweater, but I onlly had 3 so I made it work.
- Optional: Fusible stretch interfacing. I used Pellon EK130 in black (affiliate link) and fused it to the back of two of the collar pieces, both of the pockets, and the bottom sweater band. I did this because my sweater knit was super sheer and I felt it needed the extra support. With a bulkier fabric I would not have done this.
- Sewing machine
- Thread
Steps to Sew a Sweater
The pattern has detailed picture instructions to walk you through sewing it, so my post is only going to focus on the alterations I made. When I don’t specify different instructions, use what’s already in the pattern. Remember that you should use a stretch stitch (like a narrow zigzag) throughout since this sweater is made from stretch fabric. Here is is the order of construction to make the cardigan:
- Sew patch pockets
- Sew shoulder seams
- Sleeves sewn on flat
- Sew down side seams and sleeve seams all in one go
- Attach sleeve cuffs
- Sew on hem band
- Attach collar
- Sew buttonholes and buttons
See how to make a sweater like this grandpa cardigan when you check out the video below or on YouTube here . As mentioned above, this is not a step by step tutorial as the pattern covers all the steps I don’t show in the video tutorial.
Altering the Pattern
Here’s a diagram of what I showed in the video above of how I altered the Sora Sweater pattern to make it more like a grandpa sweater.
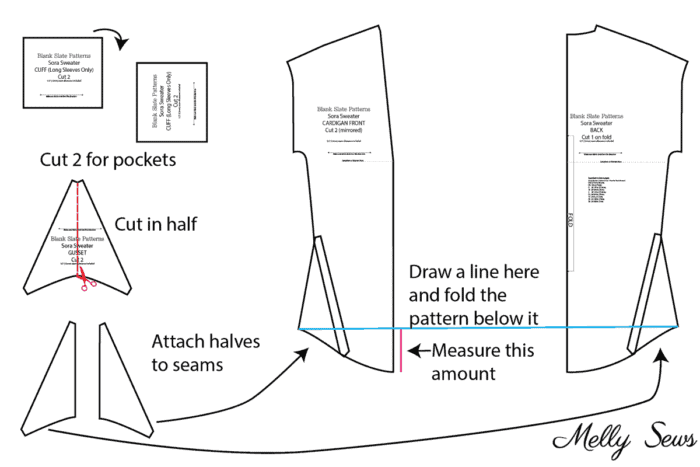
- First, you’ll want to use the cuff piece and rotate it 90 degrees to cut out the two pockets.
- Next, you’ll need to remove the side gusset seams. To do this, trace or print another gusset pattern piece, then fold it in half and cut on the fold line. Match one half to the front at the gusset seam, and the other half to the back at the gusset seam. Tape in place.
- Then, you’ll shorten the front and back pieces of the pattern. Fold the pattern at the shortest point of the gusset perpendicular to the center front or center back so the bottom edge is straight. Measure at center front how much you folded up – this will be your hem band width.
- Draft your hem band. To figure out the height, take your measurement from step 3 and multiply by 2, then add 1 inch (this will give you a 1/2 inch seam allowance when you fold the band). To figure out the length, measure the front and back pieces at the new hems and subtract the seam allowances. Multiply that number by 0.90 and round it off to the nearest whole number then cut that length on the fold. *Note: if you’d like your sweater to cinch in more at the band, multiply your length measurement by 0.85 or 0.80, as long as your fabric can stretch 15% or 20% respectively. Make sure to check – many French terry or sweatshirt fabrics only stretch 10%. This post talks more about stretch percentages and how to measure them.

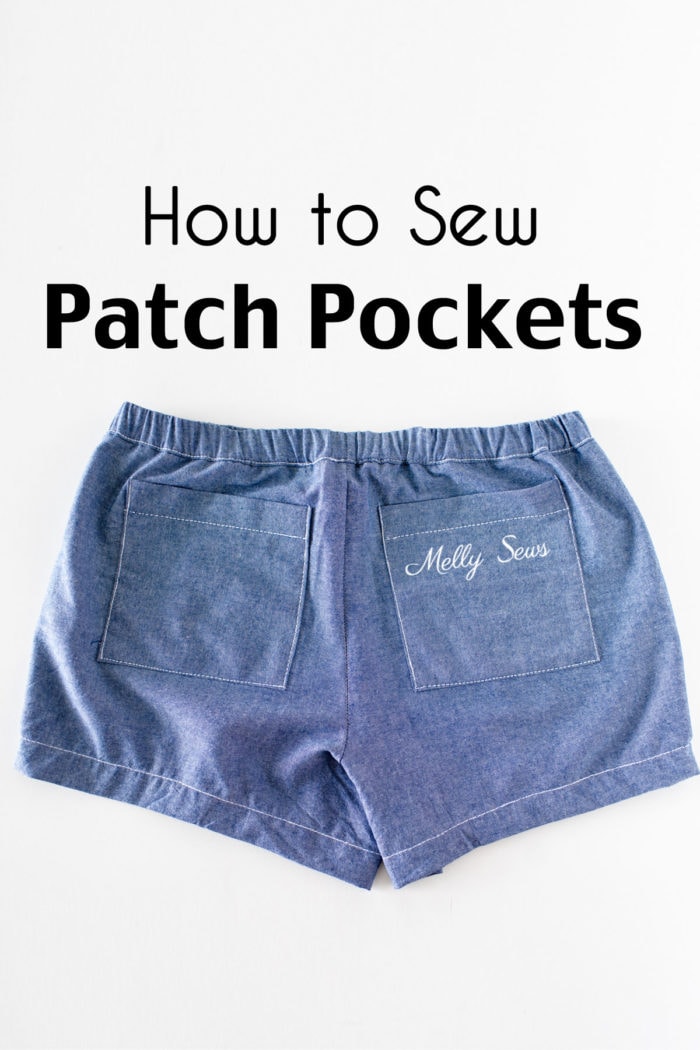
Sewing the Pockets
To make the pockets, I followed the same steps as I did in this tutorial for patch pockets EXCEPT that I did not fold up the bottom hem. I did a 1 inch hem on the top of the pockets, then folded the sides in and centered the pockets on each side of the cardigan front, aligning the bottom of each pocket with the bottom raw edge of the cardigan. Then topstitch down the sides; you will close bottom edge when you sew the band.
Sewing the Band and Collar
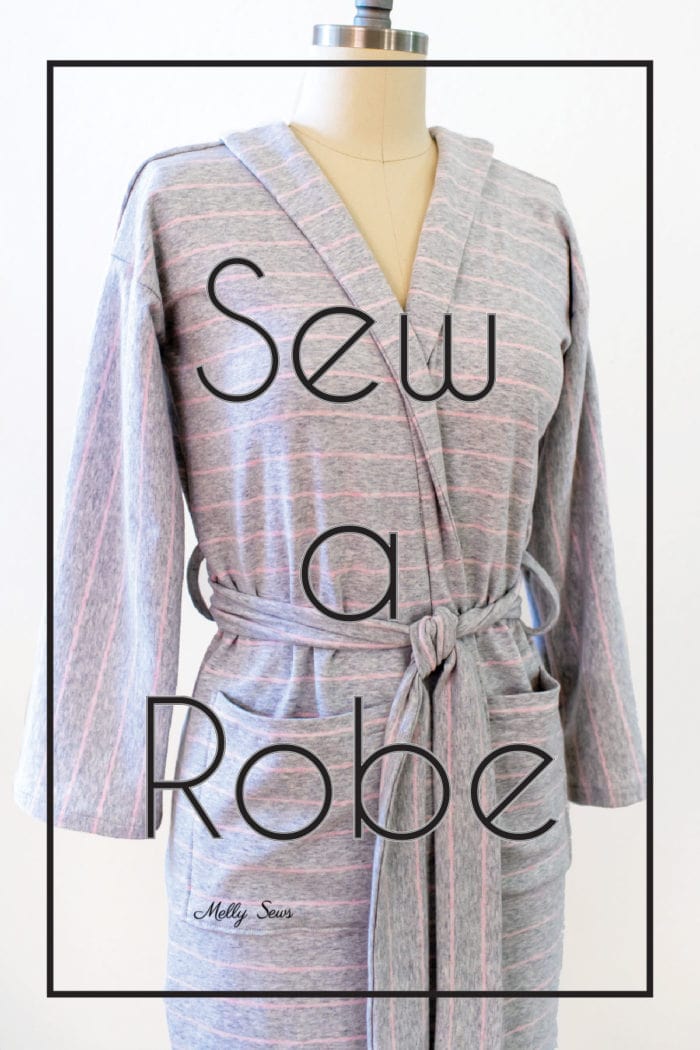
I demonstrate the technique for the bottom band in the cardigan sewing video tutorial. If you’re making a sweater, you could also choose to fold the band in half and sew it on all at once, but as I said in the video I prefer my method because it encloses all the raw seam allowances inside the band. To see how I finished off the edges of the collar, check out the video in this post of my sewing a robe. At around the 16 minute mark I show how I attach the robe collar and how I finish the bottom edges. I followed the same technique to make this sweater.
Sewing the Buttons and Buttonholes
Finally, to sew the buttonholes and buttons on this sweater you can use the information in this tutorial about buttonholes . To sew on the buttons, you can use information in this post about sewing on buttons. I used the stretch buttonhole option on my sewing machine for my buttonholes. Traditionally, women’s clothing has the buttonholes sewn on the right hand side of the garment (right hand side as it’s being worn) while men’s clothing generally has the button holes sewn on the left hand side (left hand side as the garment is being worn). The mnemonic I was taught to help remember this is, “Women are always right and men are left over”. It’s true that the mnemonic pokes fun at men, but that’s the reason it sticks in your head.
Leave a Reply