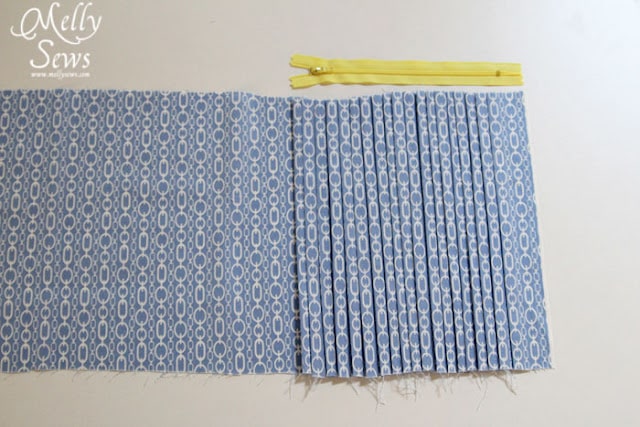
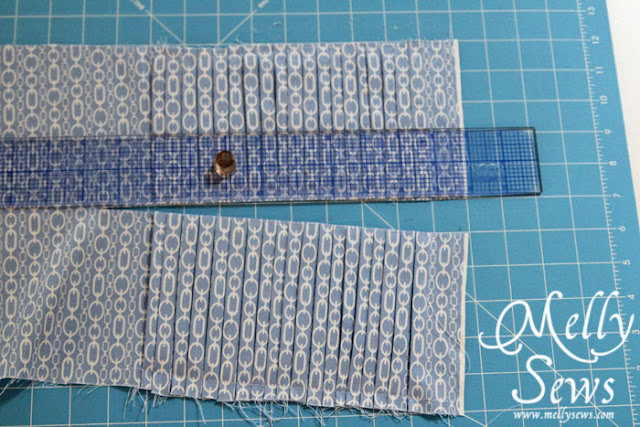
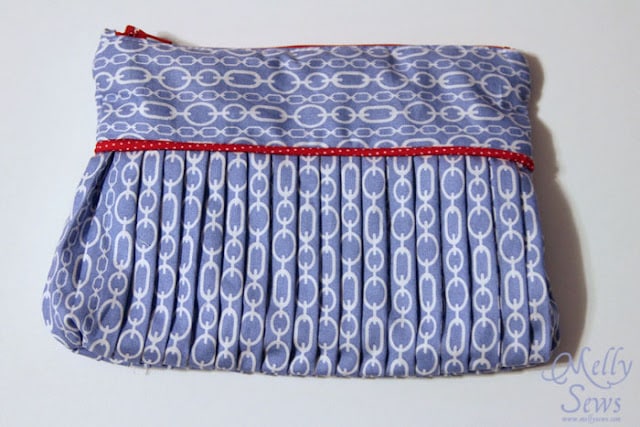
I sewed basting stitches down each edge and in two rows down the middle of the fabric to hold the pleats in place. Then I cut between the two rows of stitching in the middle using a rotary cutter.
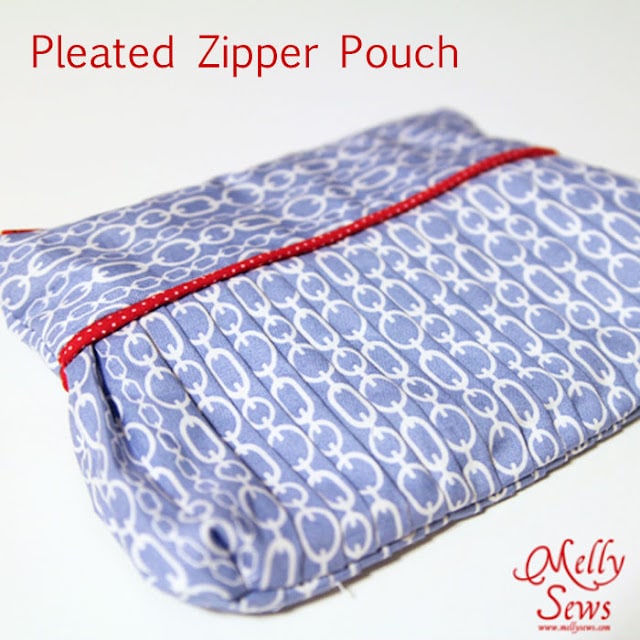
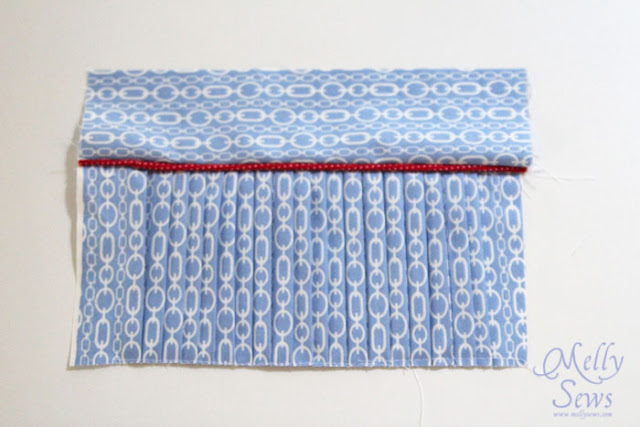
I added piping and a flat section of fabric to the top of each pleated piece, then stitched. See how to make your own piping here.
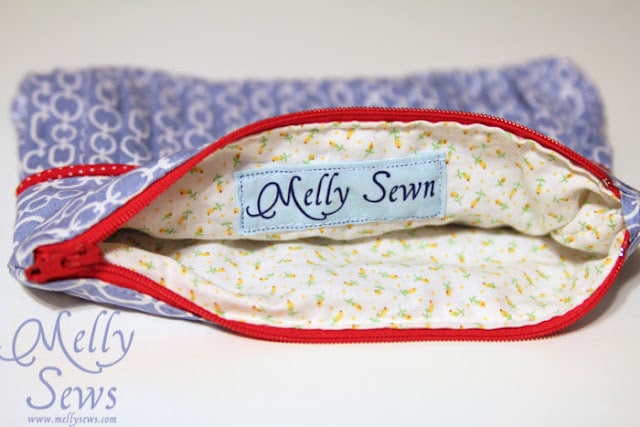
Then I just sewed it together like a regular zipper pouch, like this tutorial.



Wendy
This looks fabulous, thanks for the tutorial, I have pinned it!
Grandma G
What a cute idea! And the piping adds so much!
Roselee
very cute!
I love the piping detail!
LeighAnn
Absolutely beautiful! I’m going to have to pin this to use later. You’re so talented.
bohemiannie! art
This is adorable. I’ve made some pouches…but the piping and pleats made this one extra pretty!
Roslyn@Sew Delicious
Hi Melissa, I love the pleat details and the gorgeous chain print fabric! Thanks for the link to my simple zip pouch 🙂 Have a wonderful Christmas! xx
Ana Lopes
So awesome!!! Love the fabrics you used and pleats! Thanks so much for sharing the great tutorial! I’d love for you to visit my blog.
Wishing you and your family a very Happy New Year!
Hugs from Portugal,
Ana Love Craft
http://www.lovecraft2012.blogspot.com
Jessica
I love this. You always know how to explain hings so well. Just wondering what the name of this fabric is?
Theresa
Hi. This clutch is gorgeous – I know just which fabric I am going to make it in. Thanks!
I have linked to you on my blog – http://alittlebirdmademe.wordpress.com/2013/06/21/a-list-of-30-free-tutorials-and-patterns-for-wallets-and-pouches/