
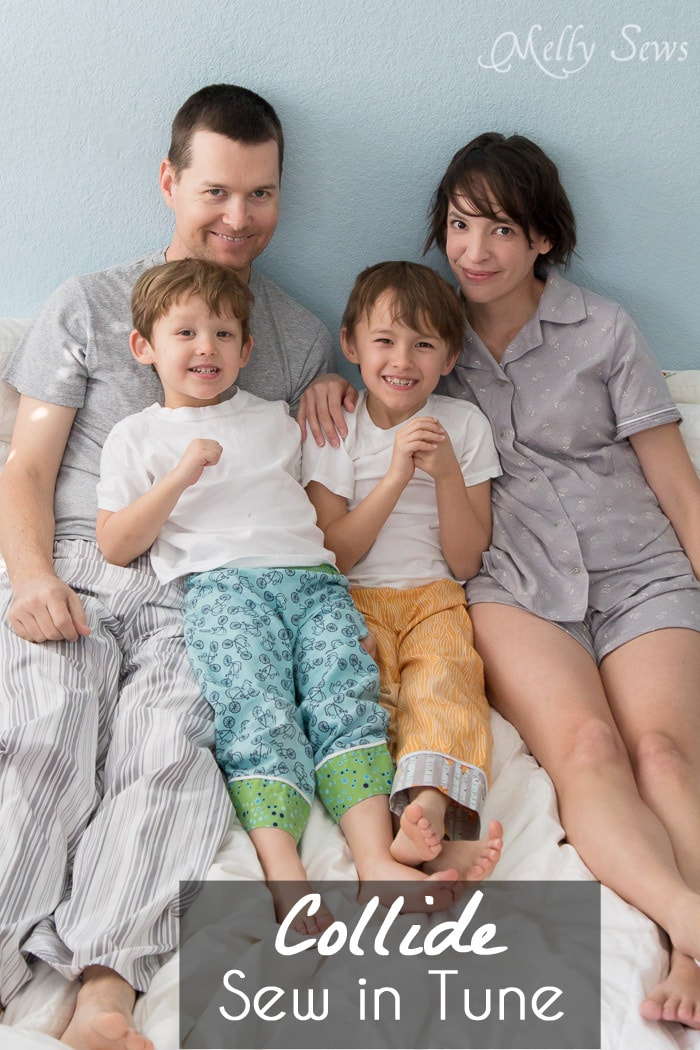
I’ll admit it – I had a hard time figuring out what to sew for this round of Sew in Tune. So as my deadline approached, I found myself scrolling through the songs in my iTunes library vaguely thinking I’d like to sew more pajamas for myself when I cam across Howie Day’s Collide (click that link to go to the music video, though I prefer the acoustic version myself). So bam – ladies pajama top pattern inspiration found. And as long as I was at it, I decided to go totally off our normal Sew in Tune script and not just sew for myself or the boys but also my husband.

I’ve been surprised, because I tend to sew for myself and the boys mostly, at how much my husband actually wears the stuff I sew. I guess I figured since he spends most days wearing windpants and a school t-shirt (he is a coach, after all) that I didn’t need to sew for him. But seeing him wear things I made makes me happy.

Collide feels like a song about us. And what does that have to do with pajamas? Well, the opening lines…
The dawn is breaking
A light shining through
You’re barely waking
And I’m tangled up in you
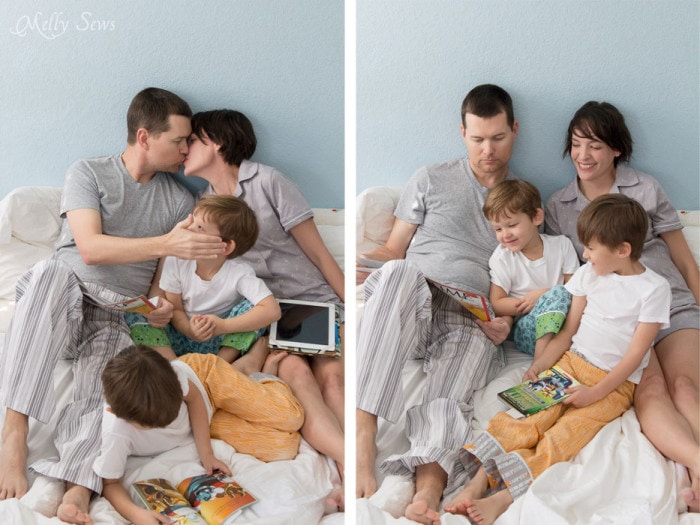
Yup, what we’ve discovered in all these years of marriage is that you spend a lot of time hanging out in your pajamas together. So might as well look good doing it, right?
And lest anyone think I look like this first thing in the morning, let me disabuse you of that notion. This is the internet. I’m not going to put a first thing in the morning photo out here because that’s not something for the whole world to see.
Alright – on the to the tutorial portion of this post! To make the pajama top I’m wearing, read on. To make the bottoms, see my Boxer Pajama Shorts pattern post. To make the pants my husband is wearing, see this post, except lengthen the pattern to the inseam you’d like for the pajamas, which will be about 2-3 inches shorter than inseam of the pants you measure for that post, because of the dropped/looser crotch on those shorts. To make the pj pants you see my boys wearing, see this post.
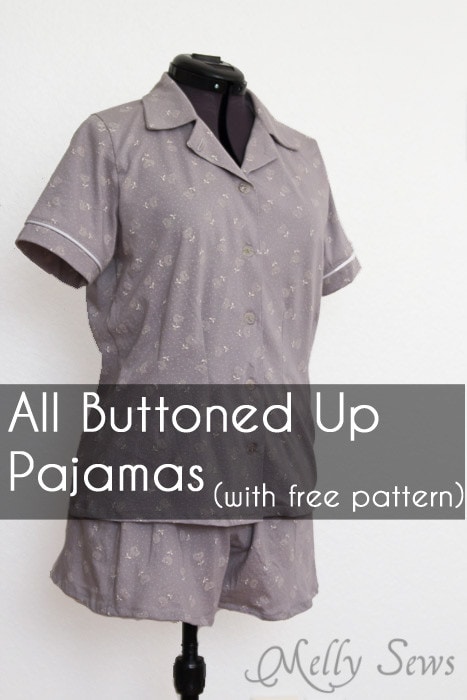
For the top, you’ll need:
- 1 1/2 yards of fabric. I used a knit, but you can use knit or woven for this.
- 6 buttons (or 5 – you don’t really need to put the top buttonhole on).
- 1 yard of interfacing
- The pattern, see below
How to Get the Free Women’s Pyjama Top Pattern
The pattern is in a women’s size small, bust 33-34″. If you need to make the pattern bigger or smaller, check out this post. To get this pattern, click your preferred option from the buttons below as a newsletter subscriber or gallery access pass purchaser. Note that the free version of the pattern does not have printable instructions.
 |  |  |
Please note that all my free patterns are licensed for personal use only (no selling items made from this unless you purchase it) and by downloading you are agreeing to this license.
Use a 1/2″ seam allowance for all seams unless otherwise noted.
When you print and assemble the pattern (see this post for help if you need it) you’ll notice that it has darts. The darts are optional – they create a slightly more fitted shape, but if you just want loose and comfy, or you want to go faster, skip them.
So, after cutting out your pattern, fuse interfacing to the extended facings, back facing, and collar. Mark the darts on the wrong side of the fabric and mark the buttonholes on the right side of the top on the wearers right. Press the extended facings, wrong sides together, matching the neckline. This crease line will help later.
If you are using a woven fabric, finish the longest edges of the facings with an overlock, faux overlock, or pinking shears. See more about seam finishes here. (Again, I didn’t finish this edge because I used a knit fabric).
Pin the darts. I like to use long pins and insert 3 straight across the dart, then fold the fabric.
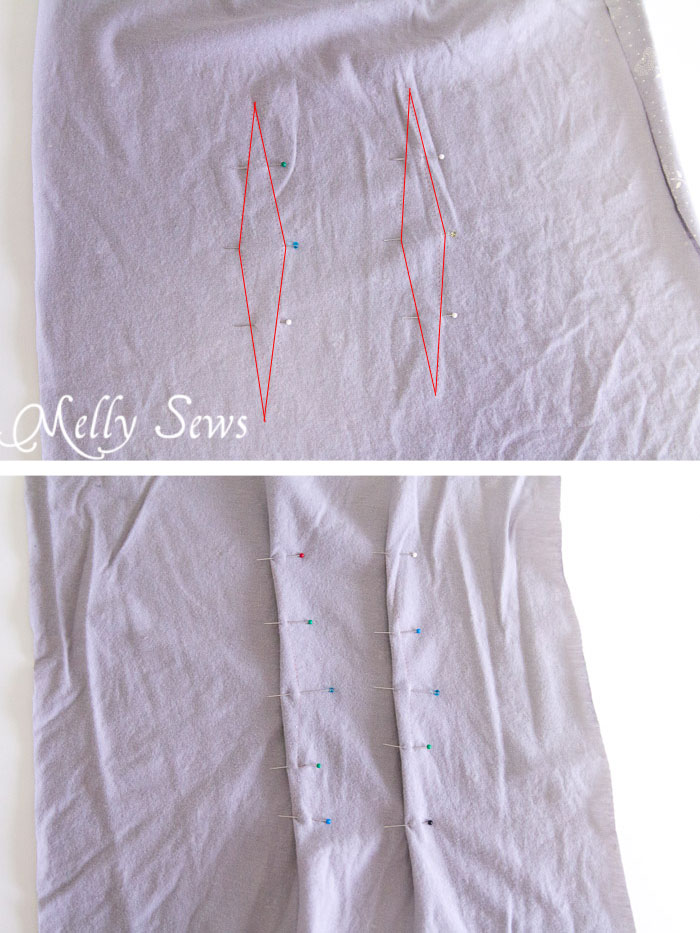
Stitch the darts, tying your threads at the top and bottom of the dart. Press the darts toward the side seam.
Sew the back to the fronts at the shoulders, right sides together.
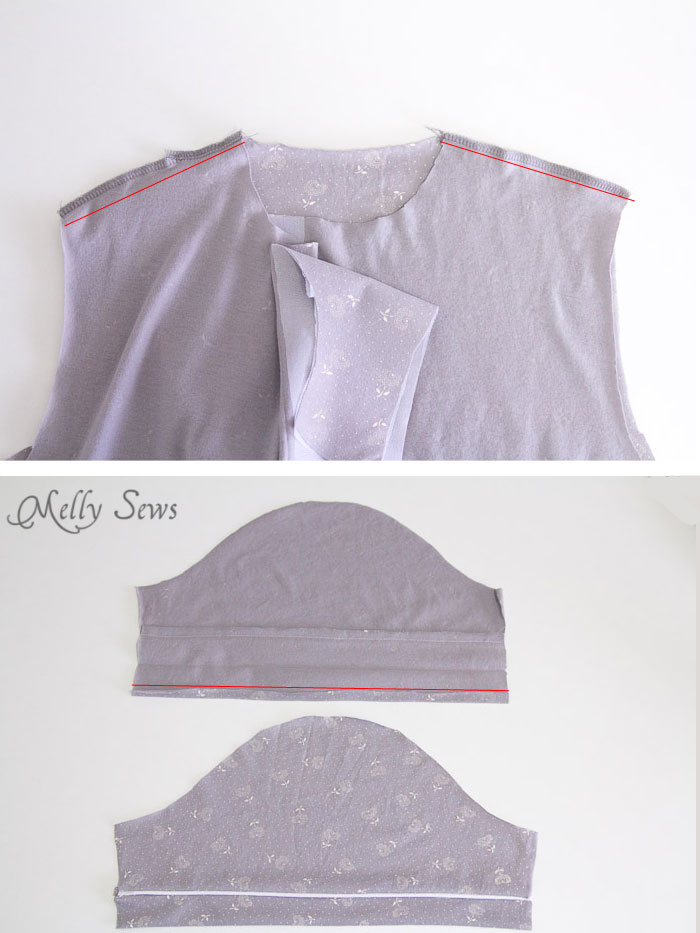
If you’d like to add piping to the sleeves, baste it in place before sewing the cuff to the sleeve, right sides together. After stitching the cuff, press the cuff around to the wrong side along the fold line.
Pin the sleeves to the shirt, matching the sleeve cap center with the shoulder seams. Stitch.

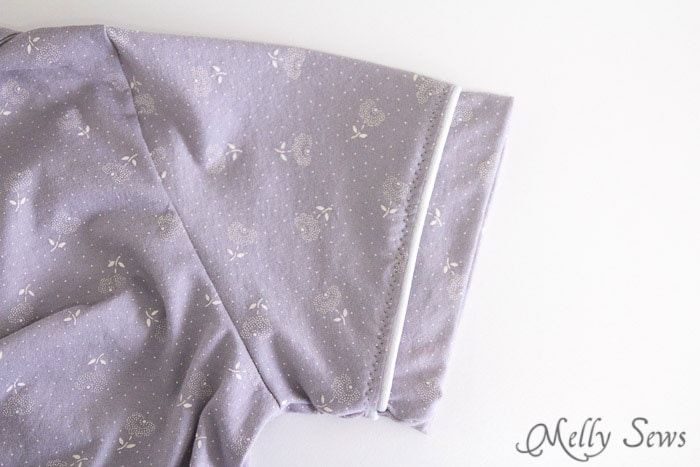
Fold the shirt right sides together, matching the sleeve seam. Stitch the underarm and side seam in one long seam. Repeat on the other side.
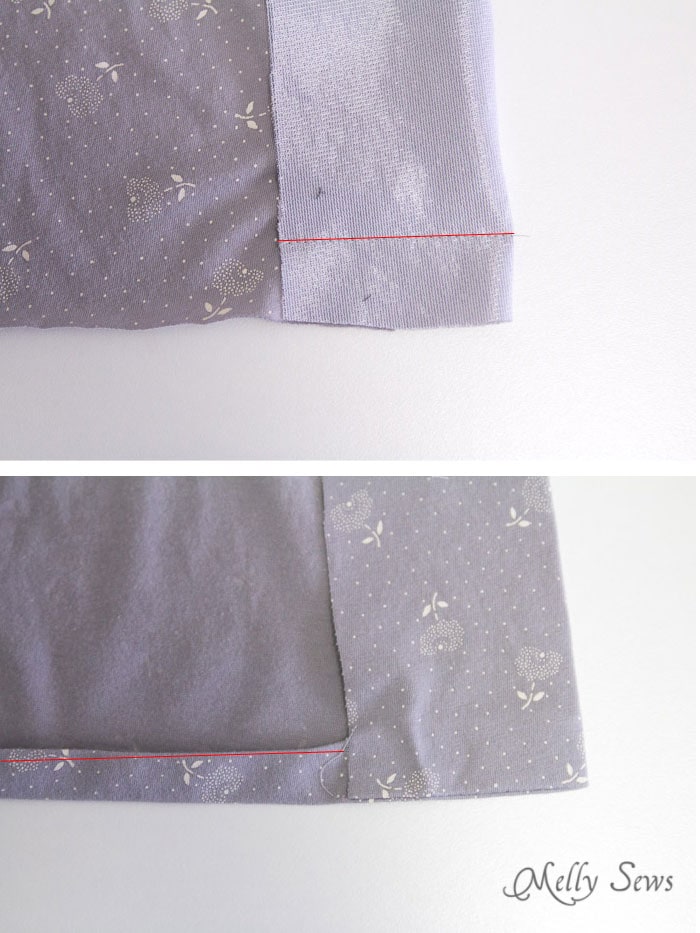
Fold the sleeve cuffs along the crease line. On the inside of the sleeves, fold the raw end of the cuffs over the cuff seam and pin. On the right side of the sleeve stitch next to the cuff seam to secure the cuff and hide the seam allowances inside.
Sew the collar pieces right sides together, then clip the corners and turn the collar. Press.
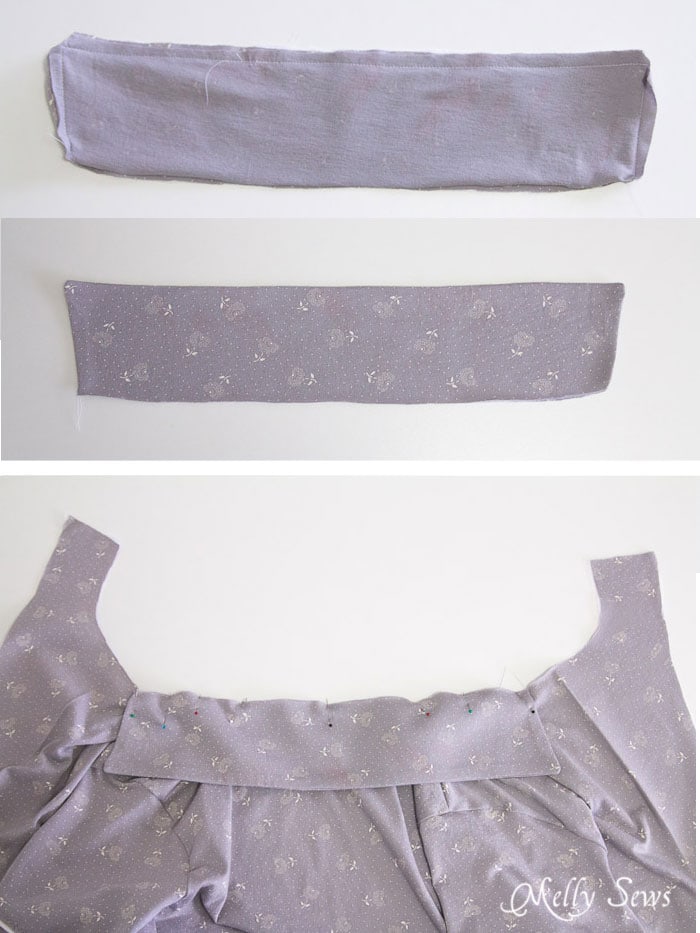
Pin the collar to the neckline, matching the center back with the collar center. The collar won’t extend all the way along the neckline.
Sew the back facing to the extended front facings across the short edges, right sides together.
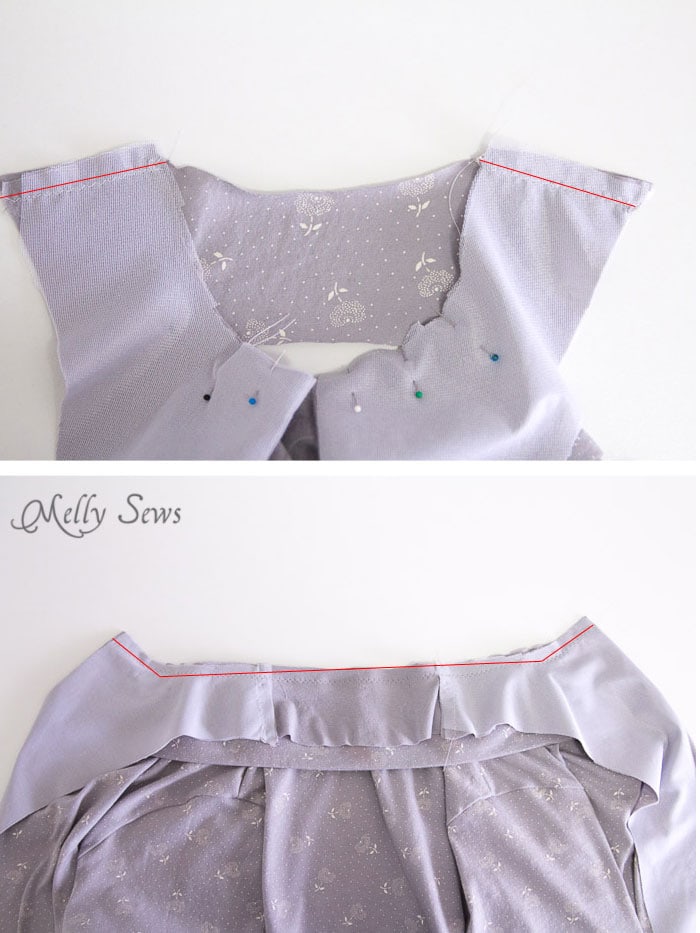
Fold the facings over the collar, right sides together. Pin, matching the shoulder seams with the seams on the facings. Sew the neckline.
At the bottom of the facing, sew with a 1″ seam allowance.
Turn the facing right side out and press. Turn the hem of the shirt 1/2″ to the wrong side twice. This will make the edge match the facings. Stitch the hem.
Stitch the buttonholes. For help, see this post.
Sew on the buttons and you’re done!
And I do have to say, for two babies who got married and still struggle sometimes (what parents of young children don’t?), I think our marriage has aged well.

Stacey
Well, now didn’t that work out great! I love a good excuse to make pajamas and grab family photos and this certainly was a good one. The pajamas all look so comfortable. And how cute is your family? You guys are adorable!
Annika
Sooo sweet. This pictures are so beautiful! Really, really like this photo shooting. If only I was thinner and could use your pattern 😉
diya
Lovely pics of your loving family..
Melissa Evans
I already had several pj projects lined up including your ribbed tank and boxers, im adding today’s top. The sweet family photos were such a joy for me to see this morning. Thank you for sharing them.
Linda Lee Steaples
Thank you again Mellybeth for all you do to share your talent with us !!!!!!! Linda
Chelle Chapman
Love your pix, your sharing of your patterns & the tutorial. You are SEW giving! BUT…………………………….those LEGS! Oh MY, if only I had those LEGS!! Your gams are stunning & making me jealous!! I/m pretty sure mine looked like ours once, maybe when I was NINE!!!! You look Gorgeous & very in love, still. Such an ADORABLE shoot Mel!!! Thanks for EVERY thing!!
Jess Abbott
Aww – these photos Melissa! They melt my heart, and feel like they give me an intimate look inside your home life at the same time. So cute!!!
Jen
I love this post so much! Cute jammies and those photos!!! Love them so much.
Jane
This is such a cute post!!