
These pants were super easy to make, and my first time trying the Kid Pants pattern by Dana from Made.

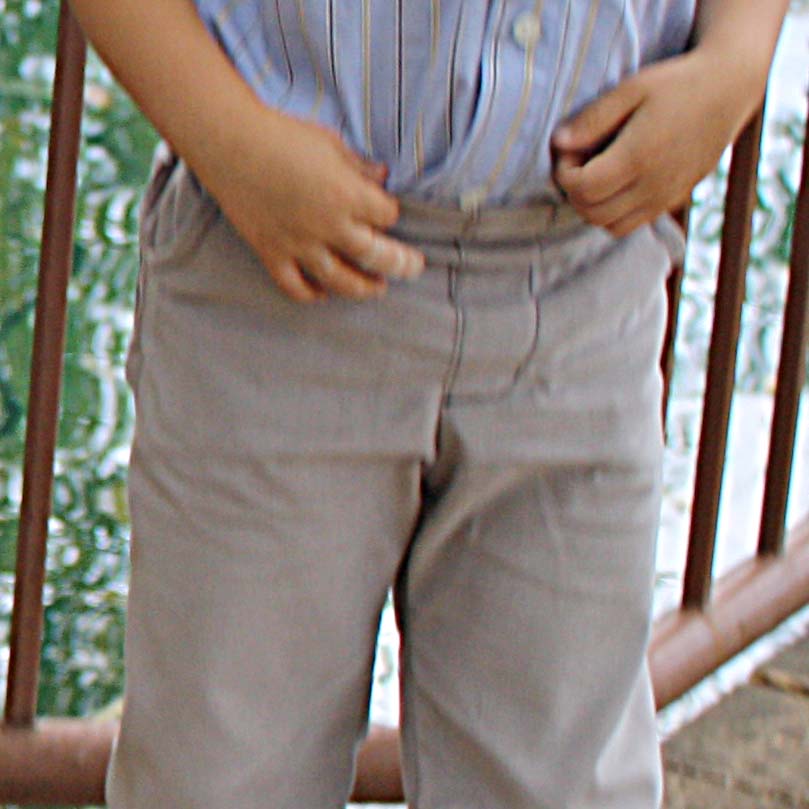
But I didn’t want to do just simple pants. So I added a mock fly, curved front pockets and patch pockets on the back.
I also used Dana’s tutorial for the flat front to the pants.
Want your own? You can download the Kid Pants Pattern by Made here. Then read her tutorial on how to do flat front pants here
And finally, get my pants front and pocket pieces here (I designed them to use with the Kid Pants pattern), then follow the tutorial below.
First, these are a size 3T-ish. Print the PDF file with my pieces borderless. You’ll need to tape 3 pages together after printing to get the pants front piece, and then the other 3 pages are the pockets. Use 3/8″ seams.
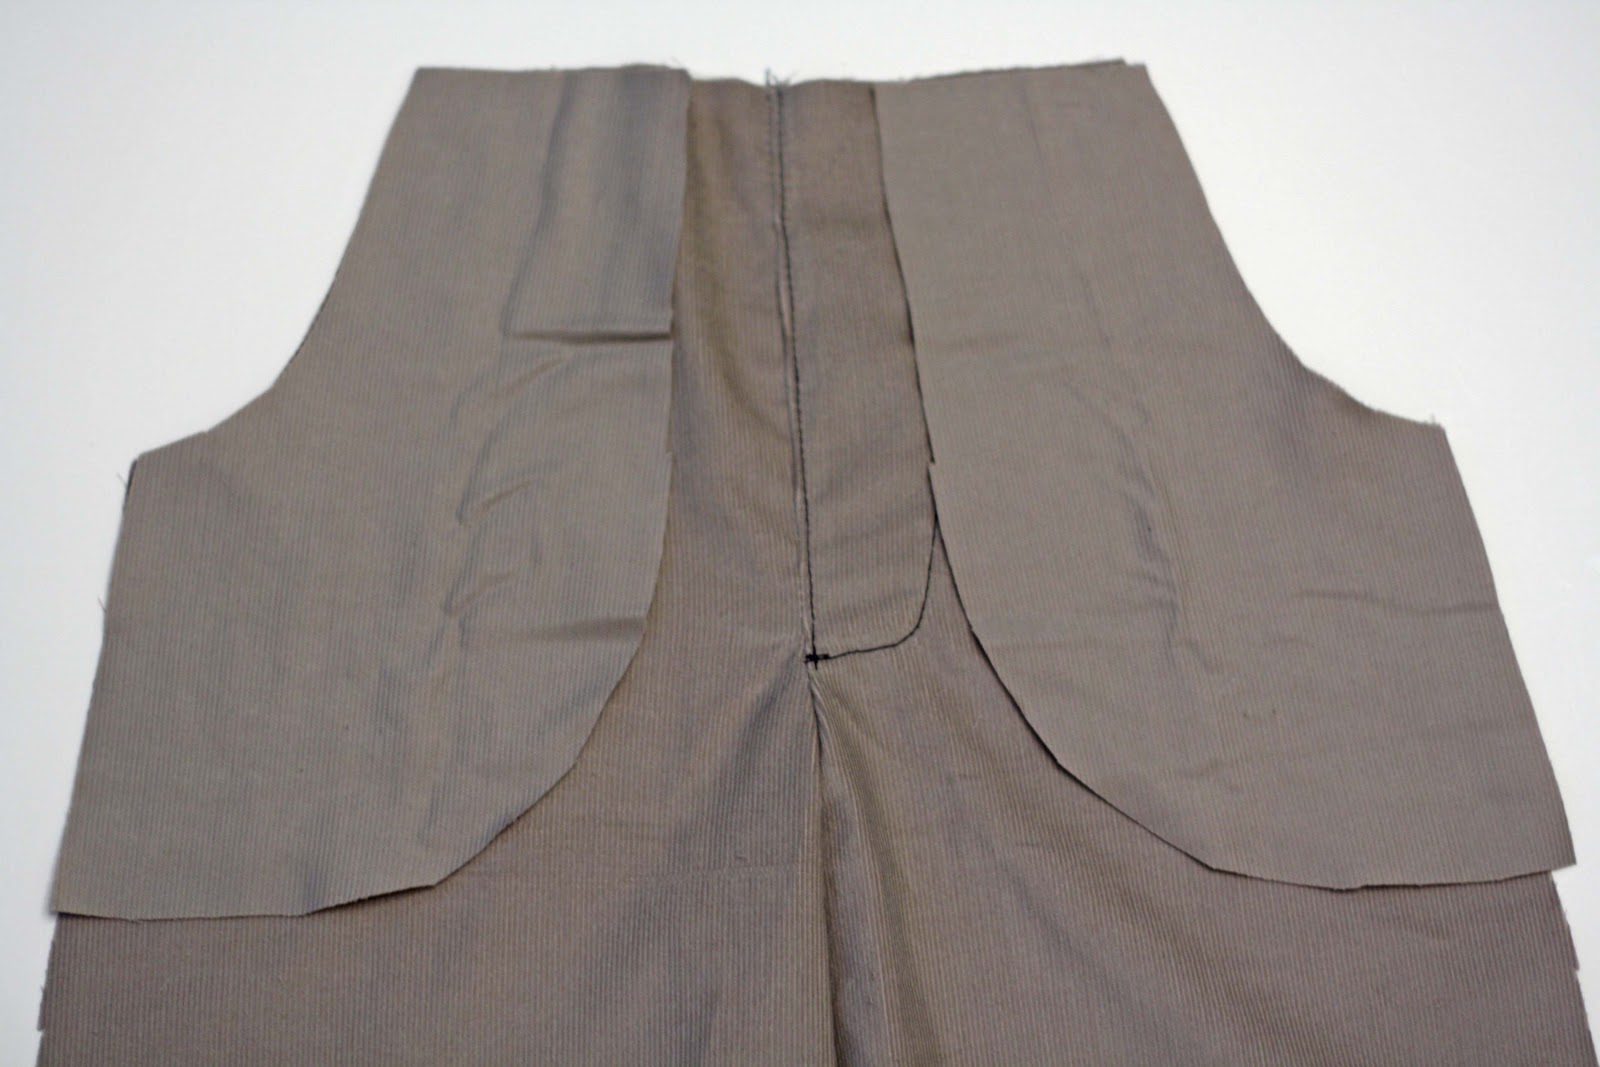
Cut 2 of each piece, just like in the Made tutorial.
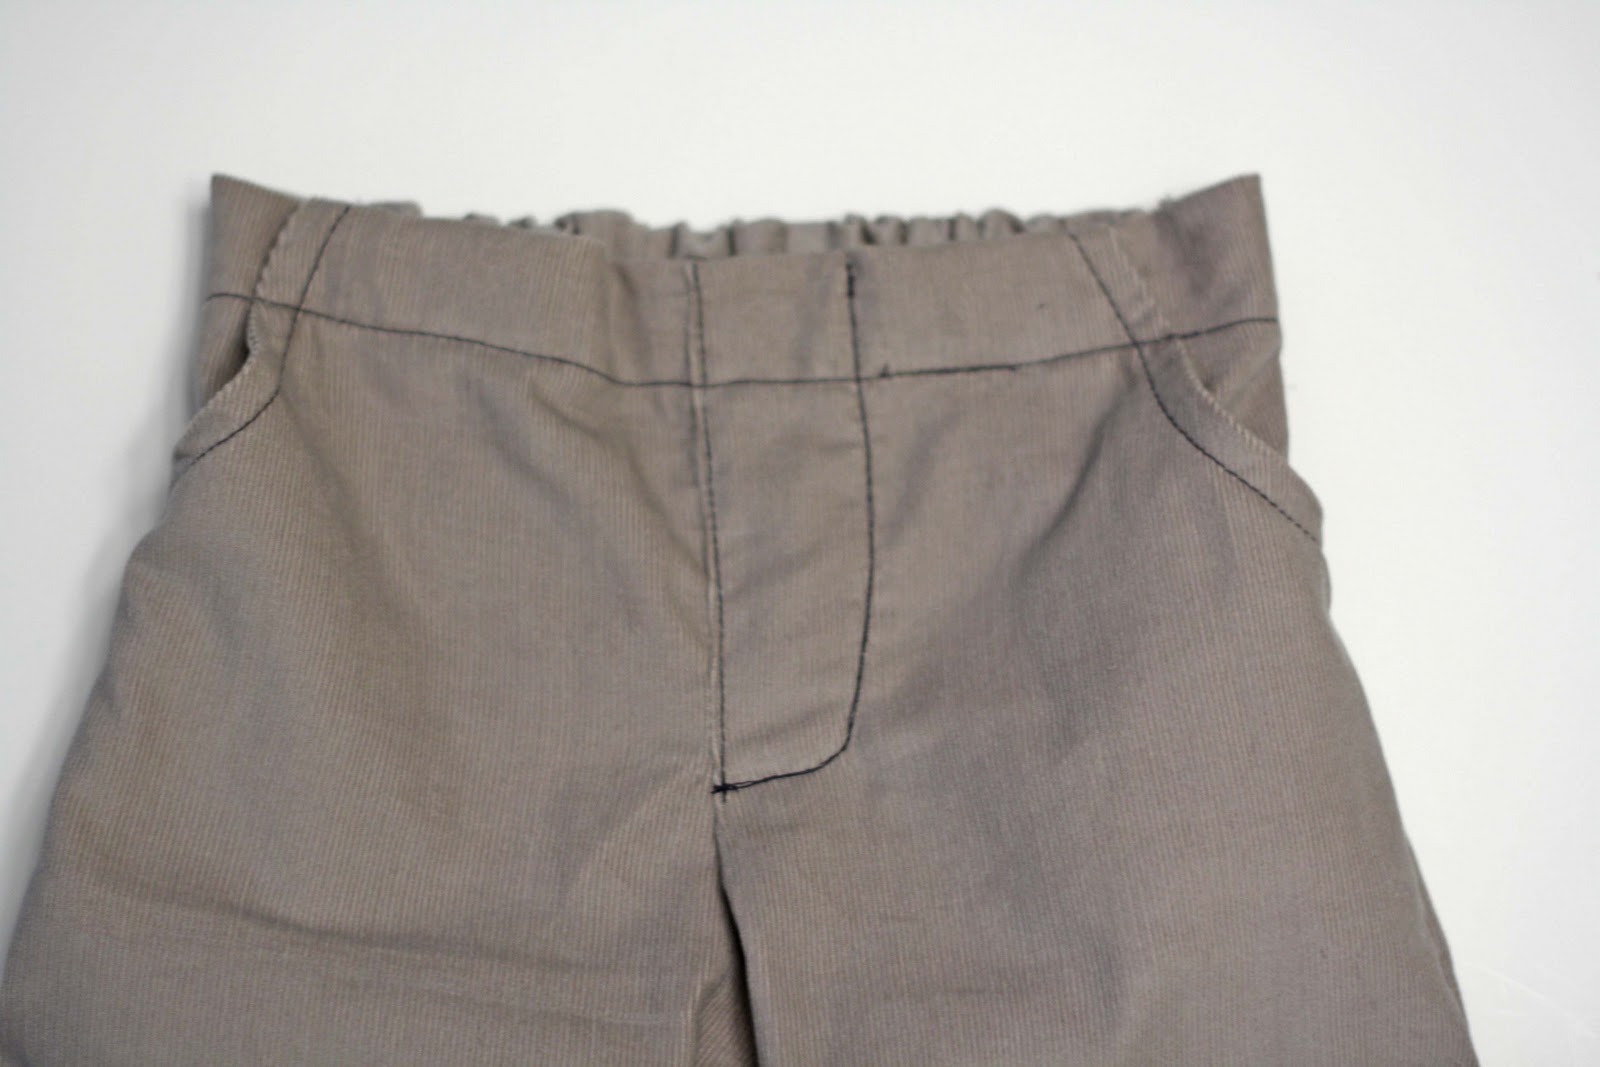
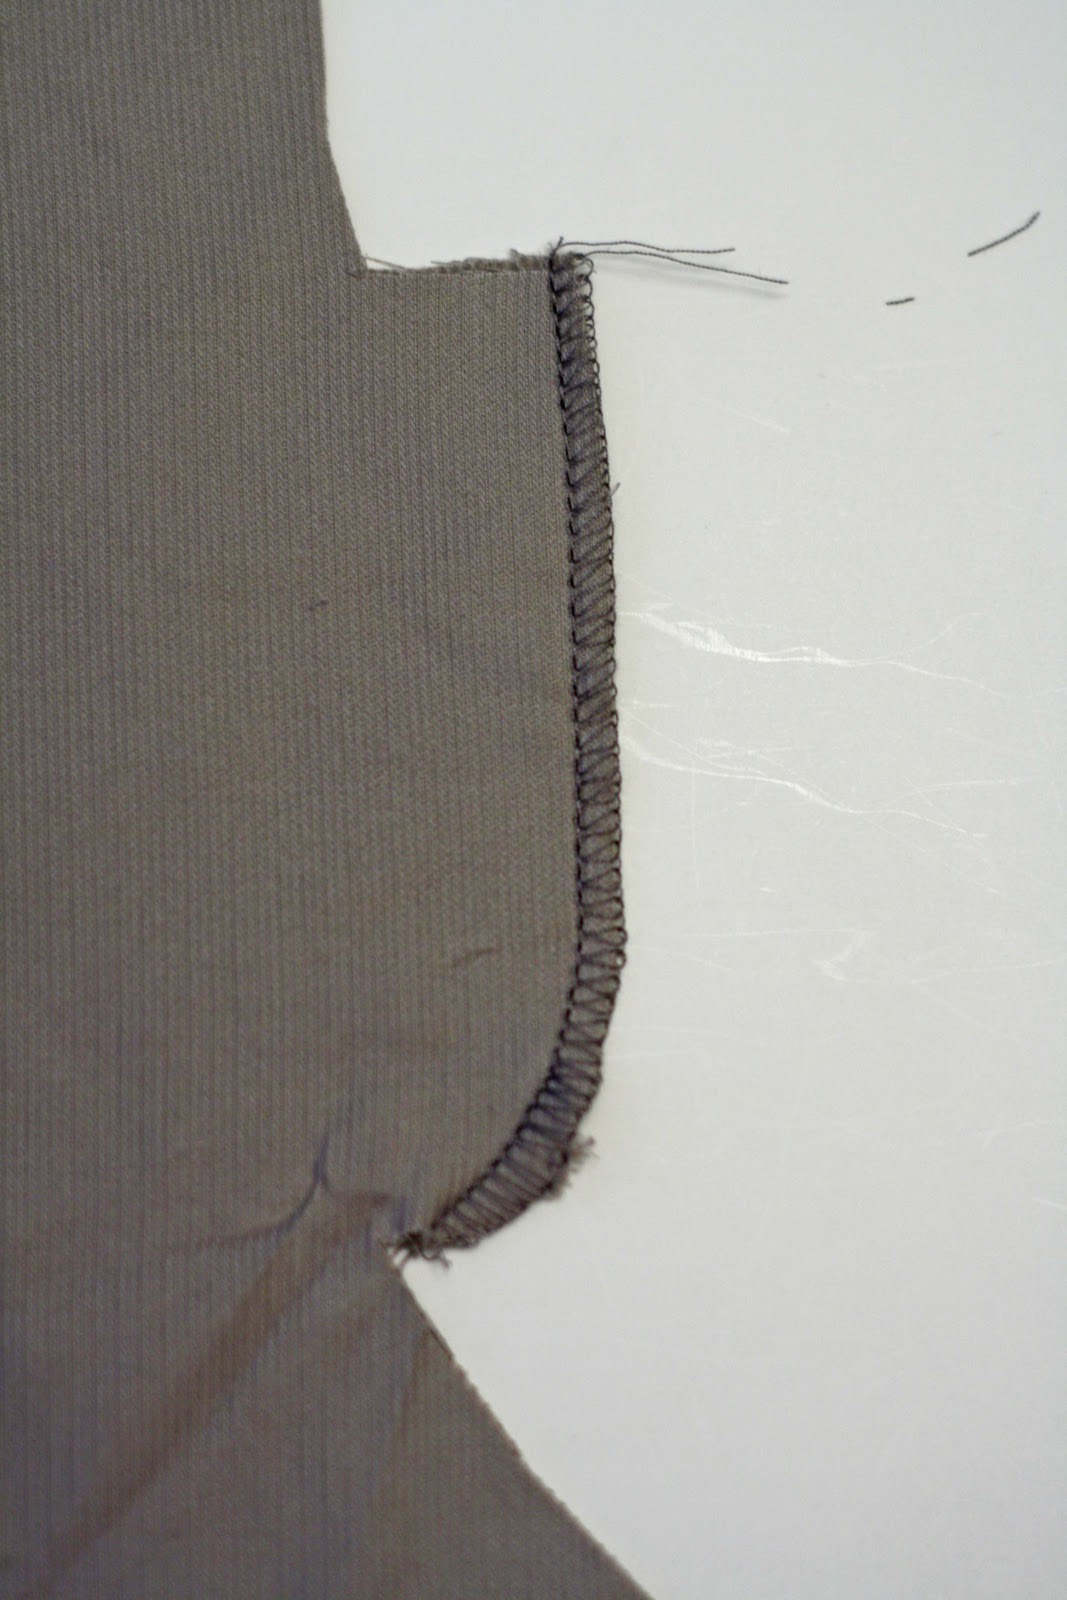
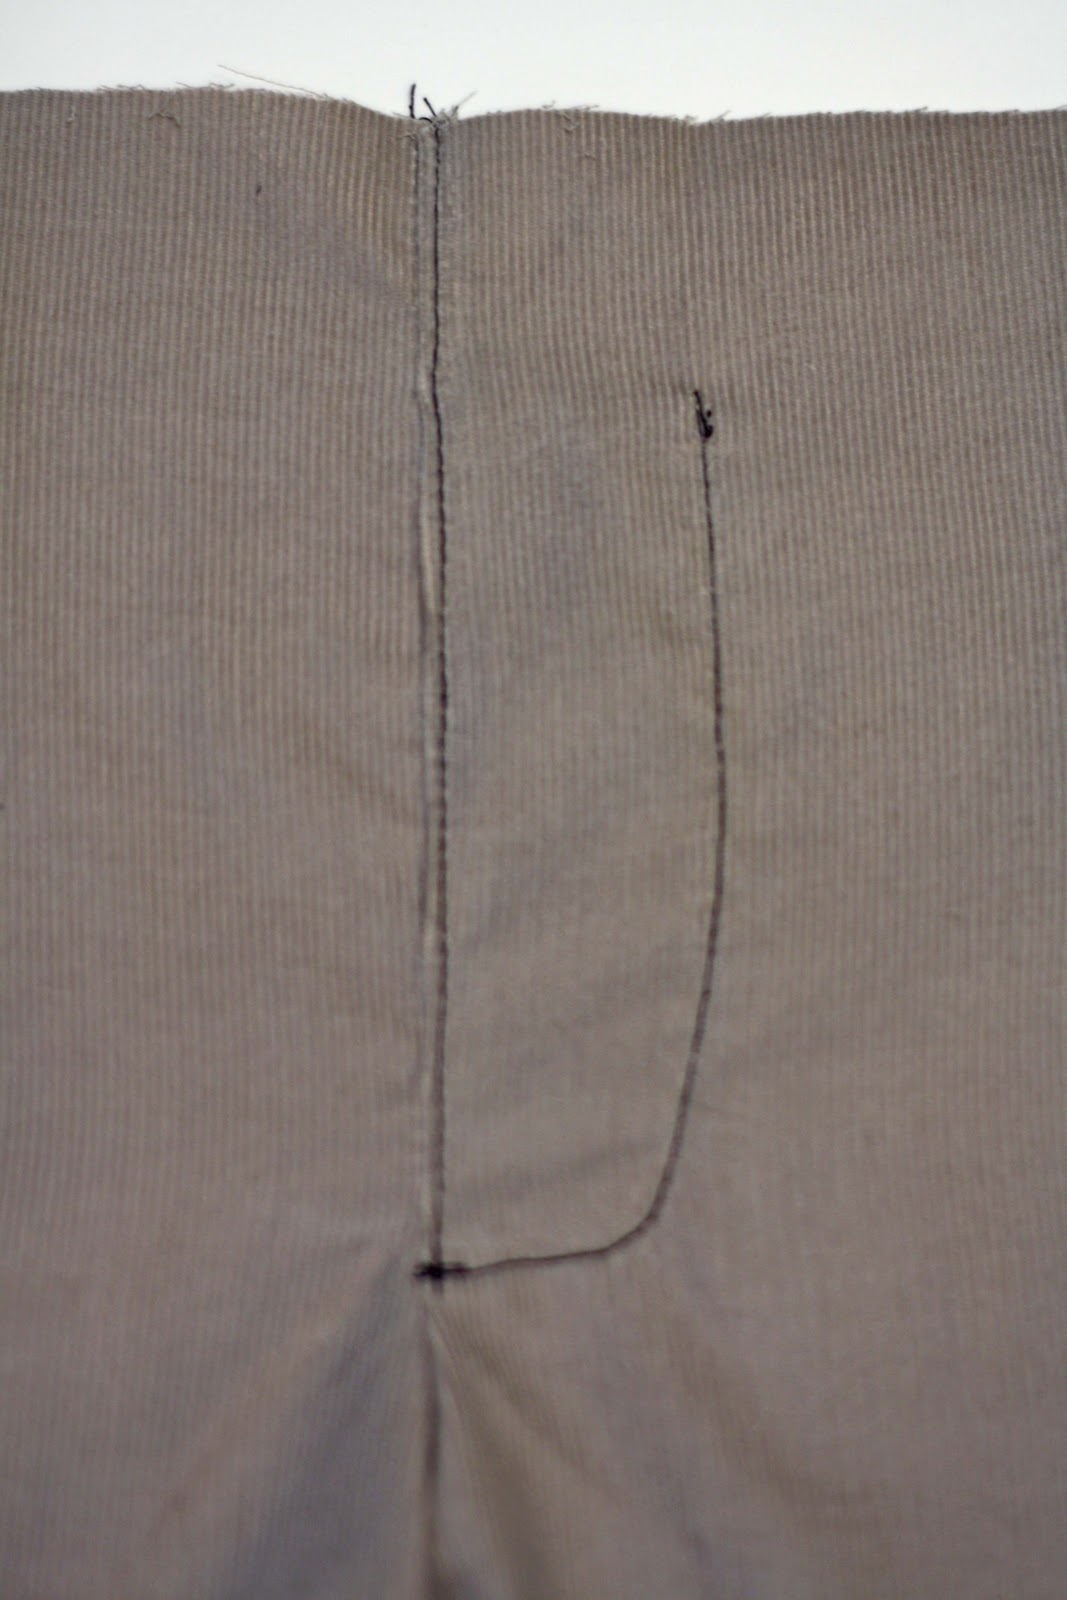
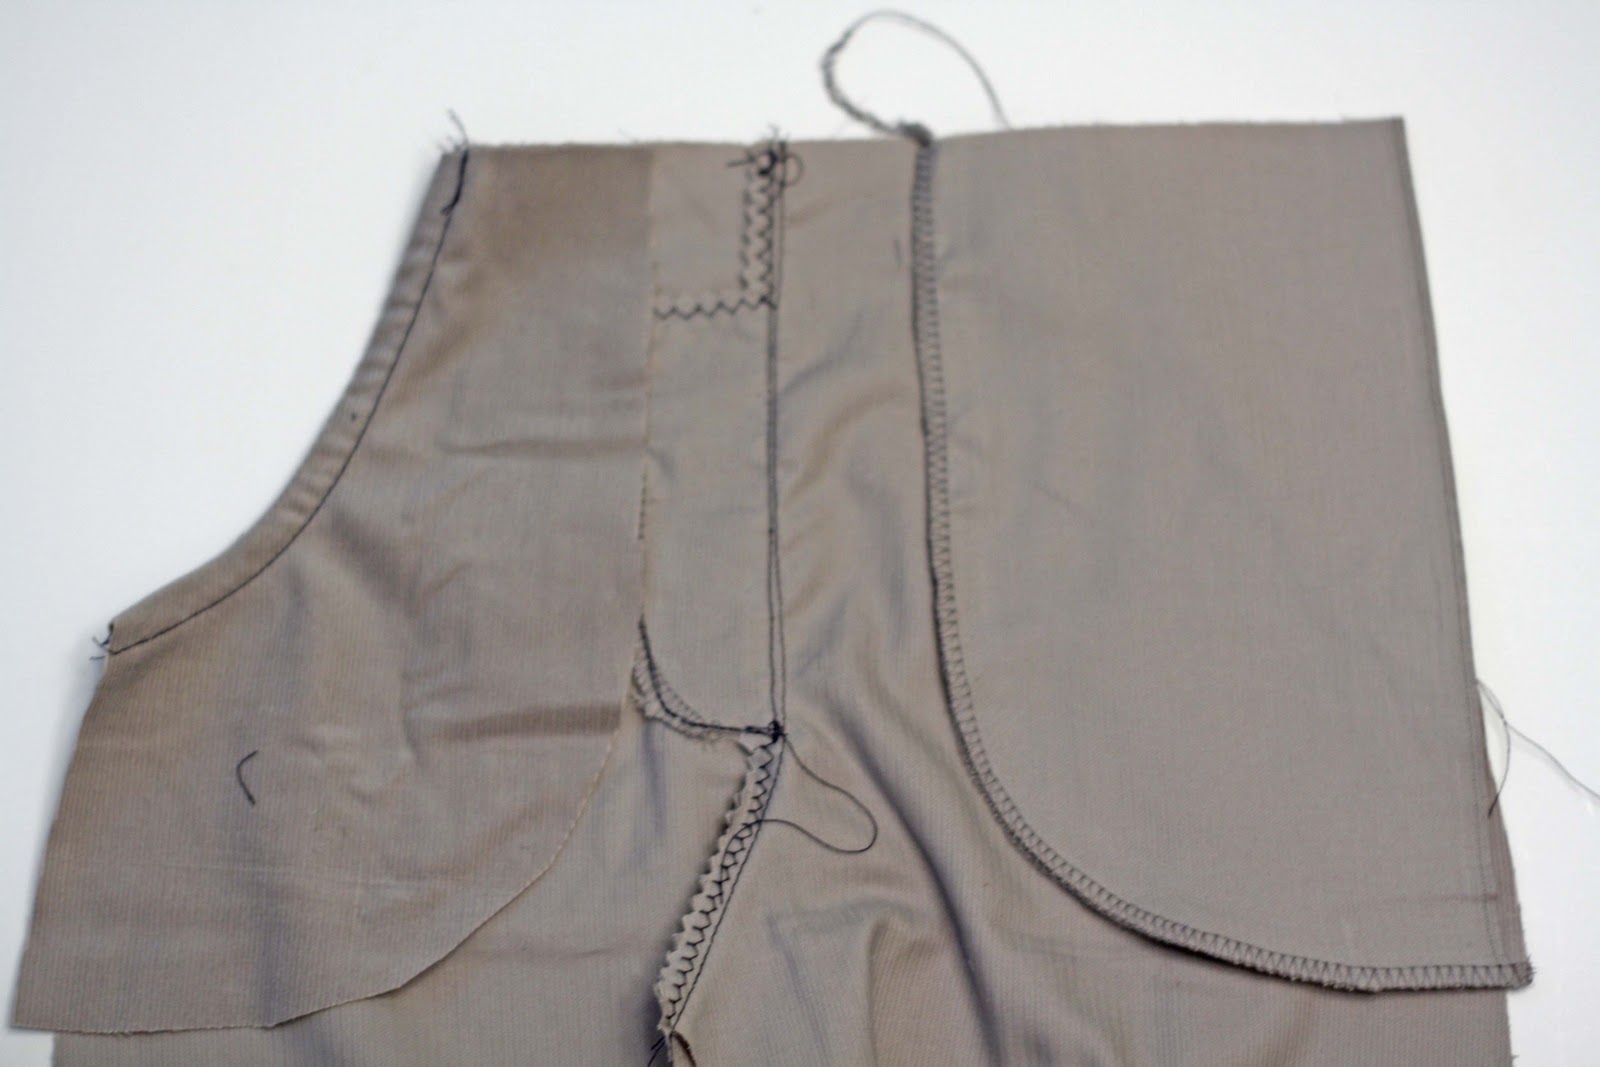
First, we’ll tackle the mock fly. With right sides together, finish the curved edge of the fly with a zig-zag or serger. If you use a serger, BE CAREFUL not to cut into the pants at the bottom of the fly (I know, I’ve done it). Honestly, because of the small area you’re working in, this is probably a time that zig-zagging is preferable to serging.
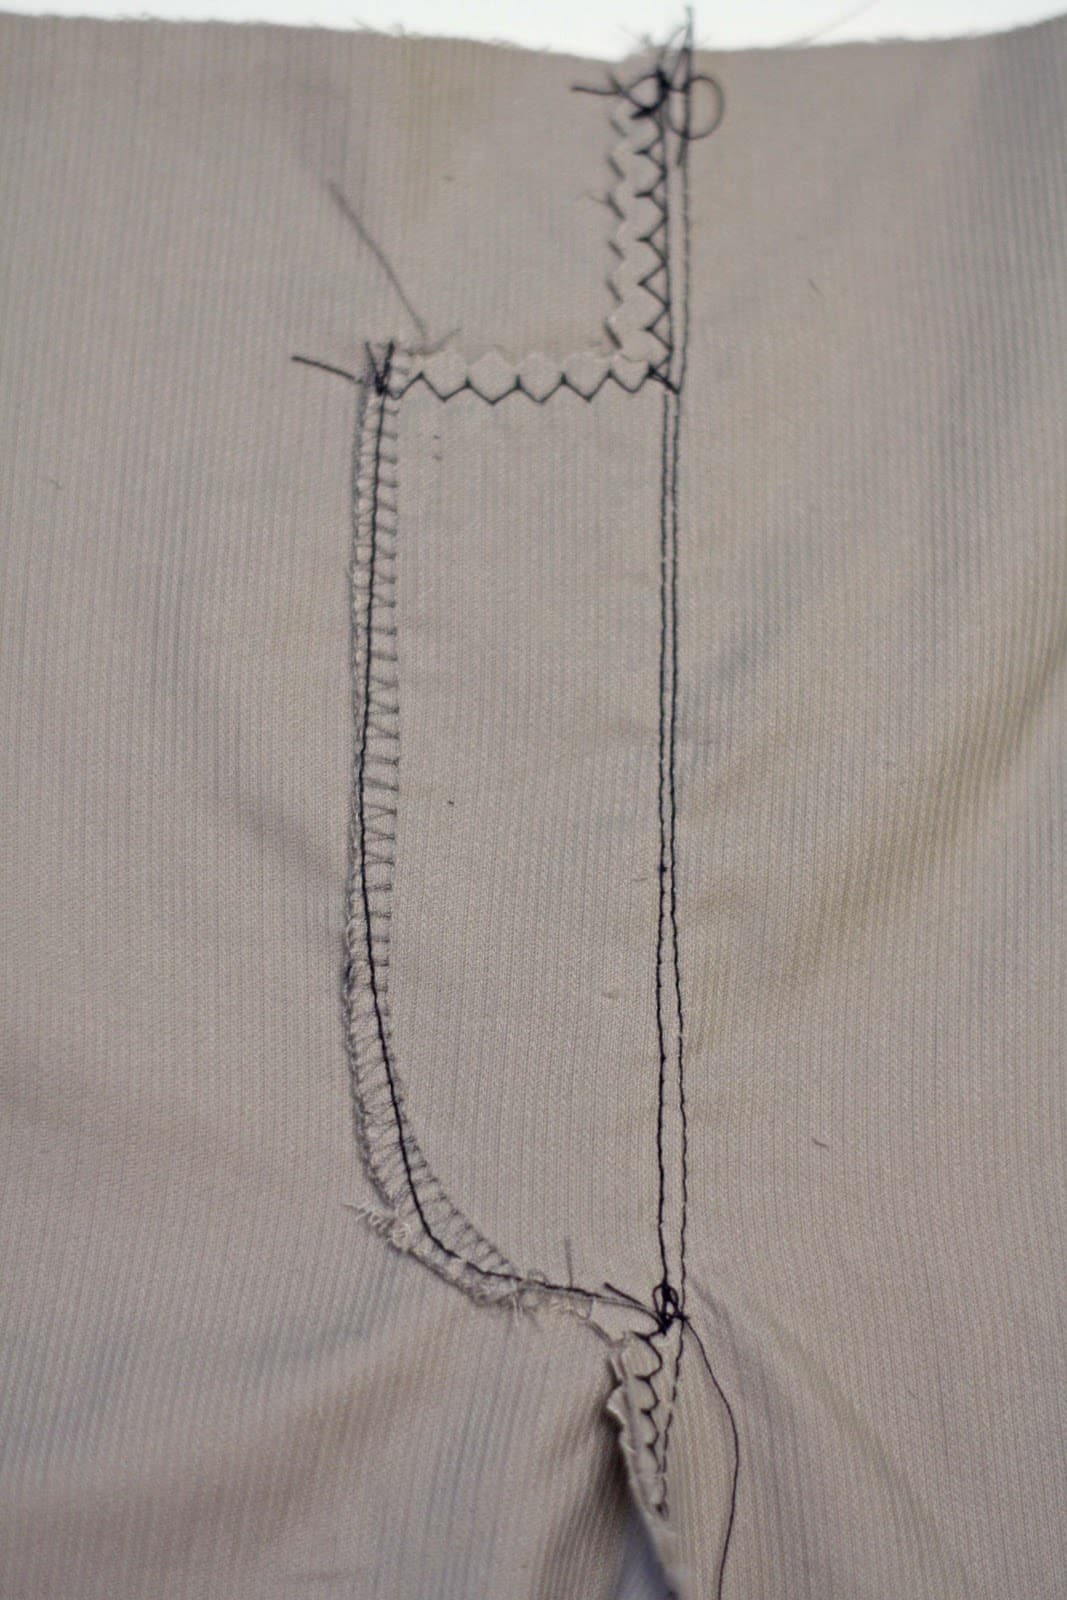
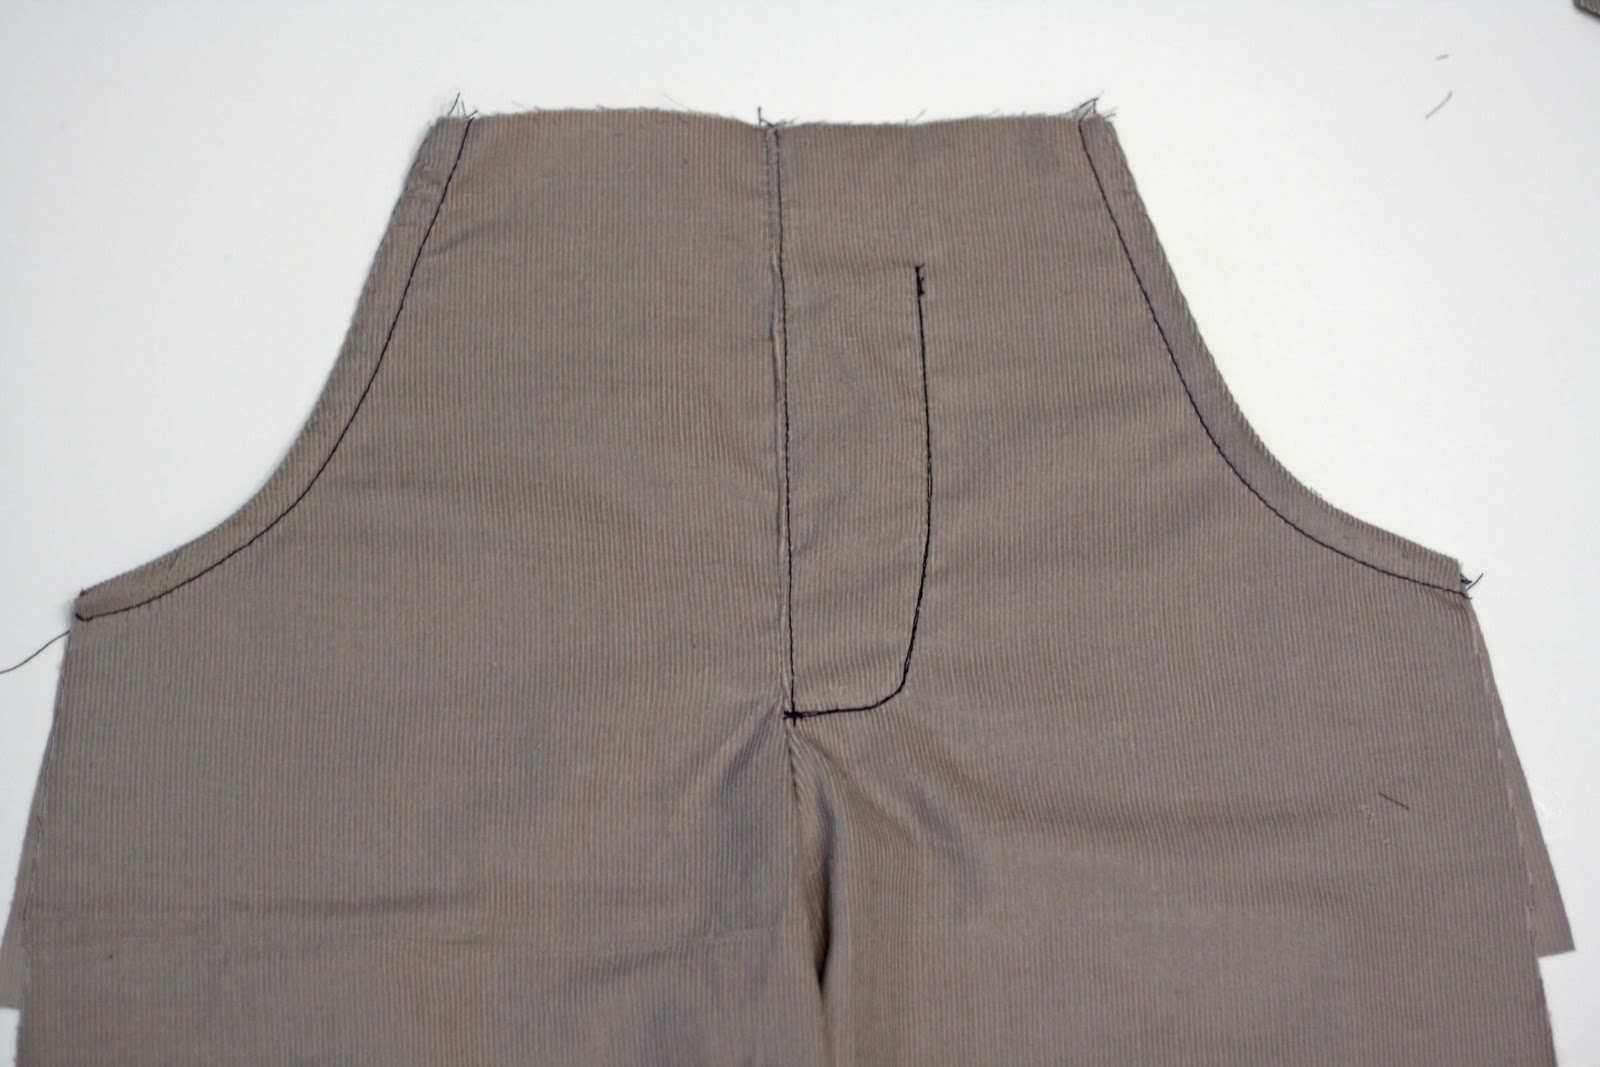
Next, you’re going to sew right up the front crotch line (including the dashed lines on my pattern piece) just as if there was no fly flap at all. Over the dashed line part, sew with a big basting stitch.
With the wrong side of the pants up, press the front crotch seam, pressing the fly flap to the left at the same time. Now carefully sew along the curved edge of the fly flap, securing it to the front of the pants.

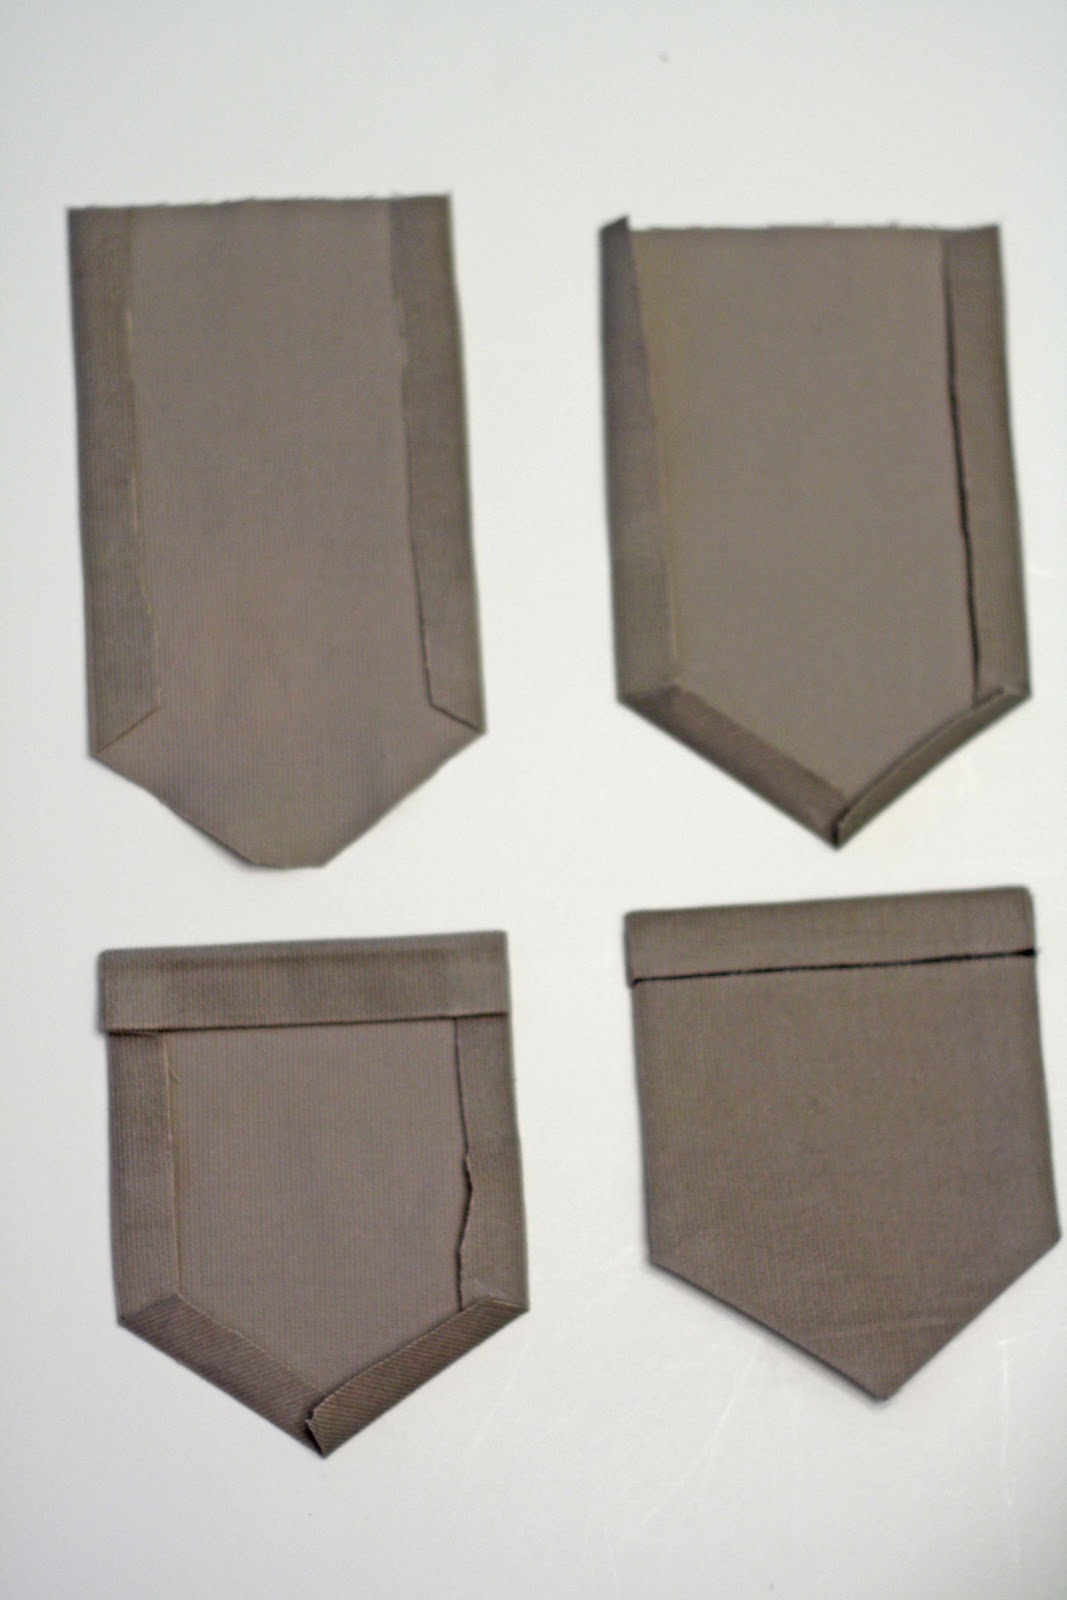
Fold in the sides, then the bottom, then fold the top over twice and stitch the top down.
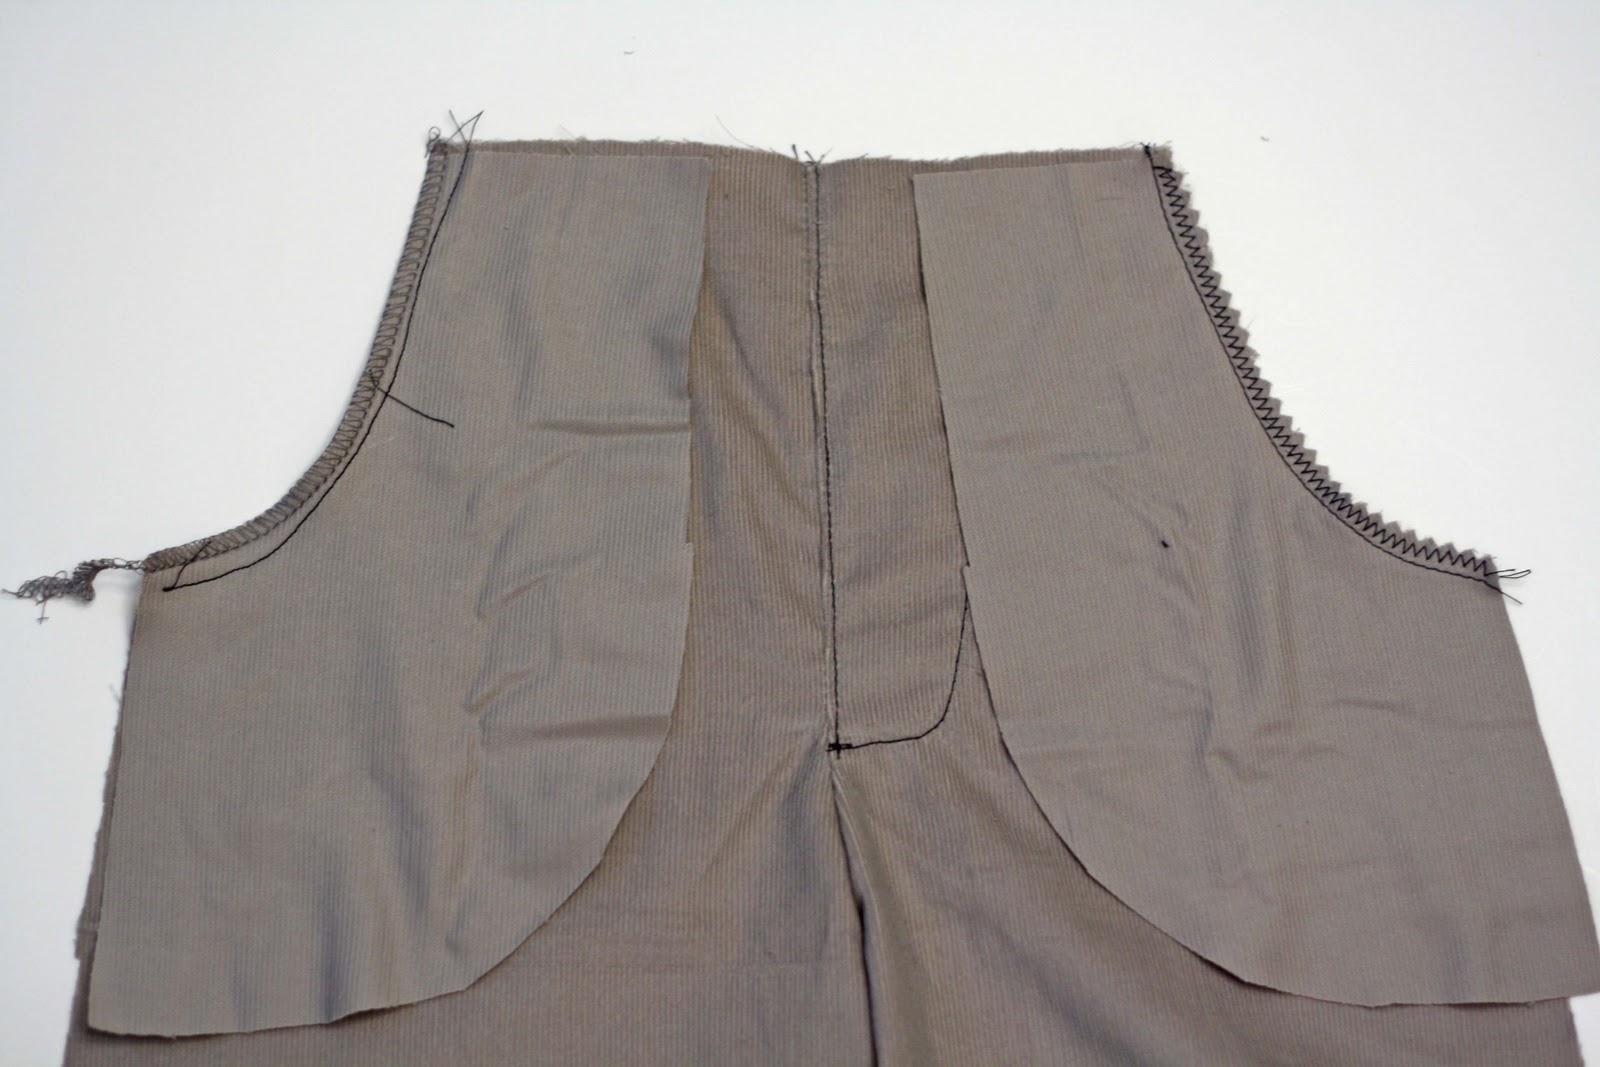
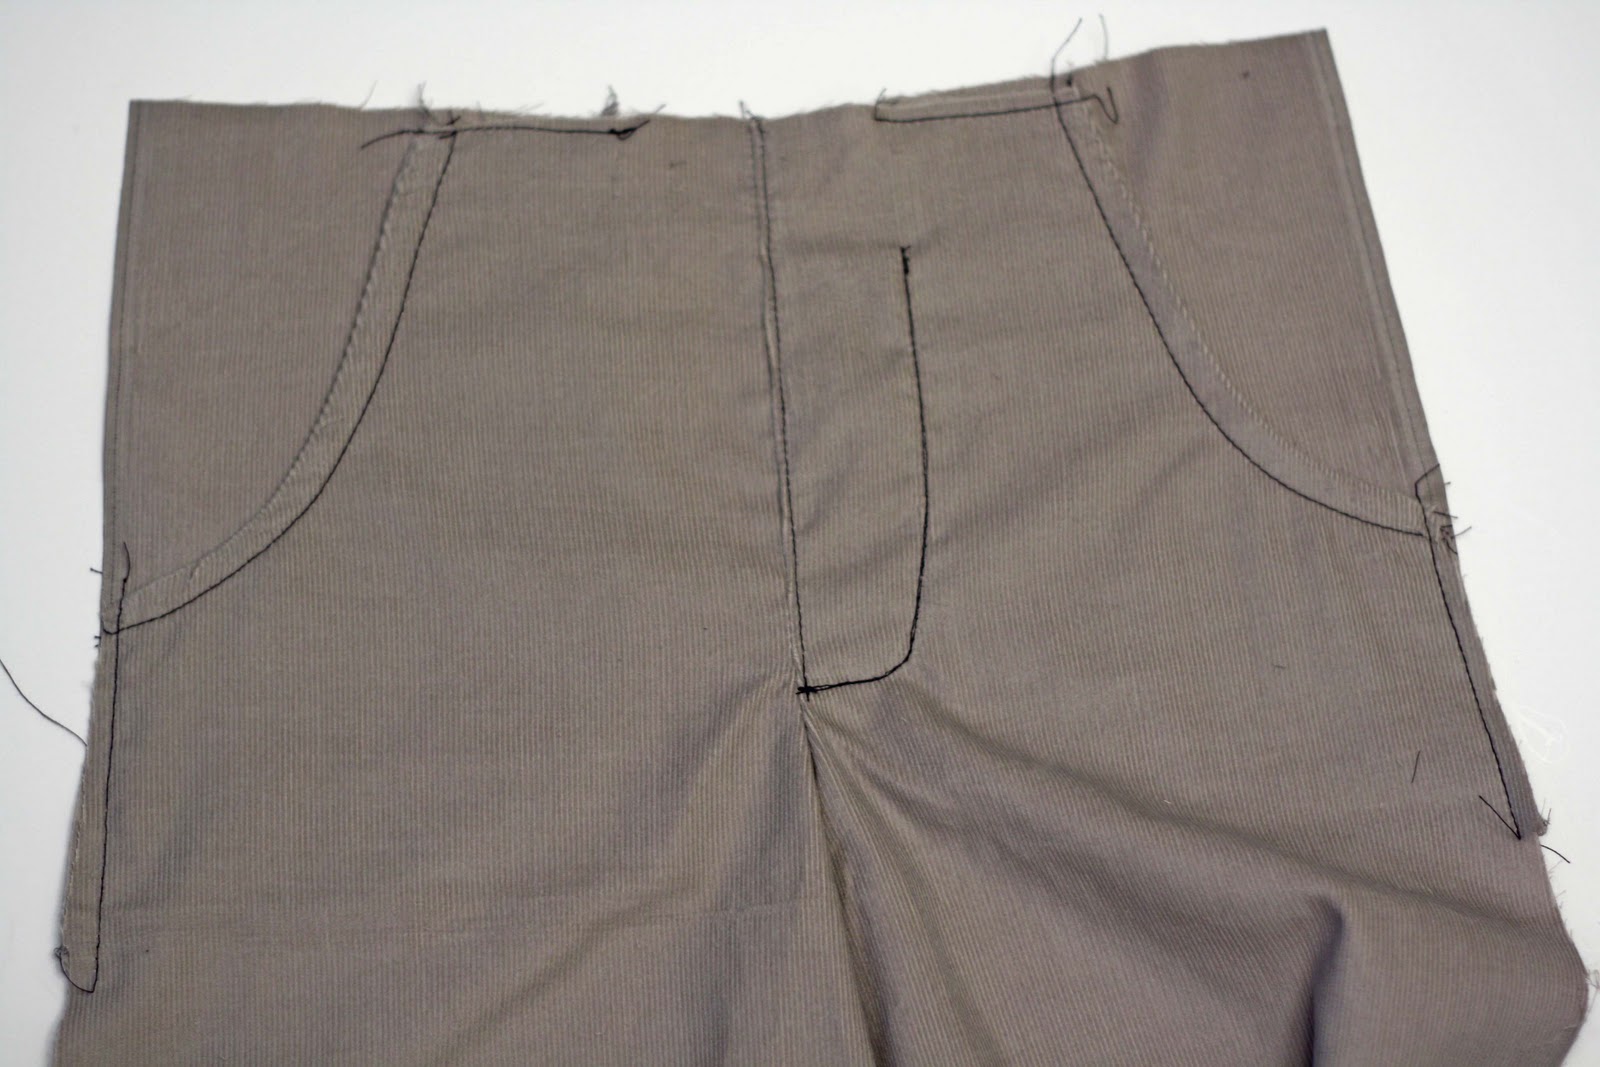
Pin the back pockets onto the pants back after the crotch seam is sewn but before the pants back is attached to the pants front.

Topstitch these into place around the sides and bottom, stopping at the corners with the needle in the fabric to turn. Make sure to backstitch at the beginning and end to reinforce the pockets.
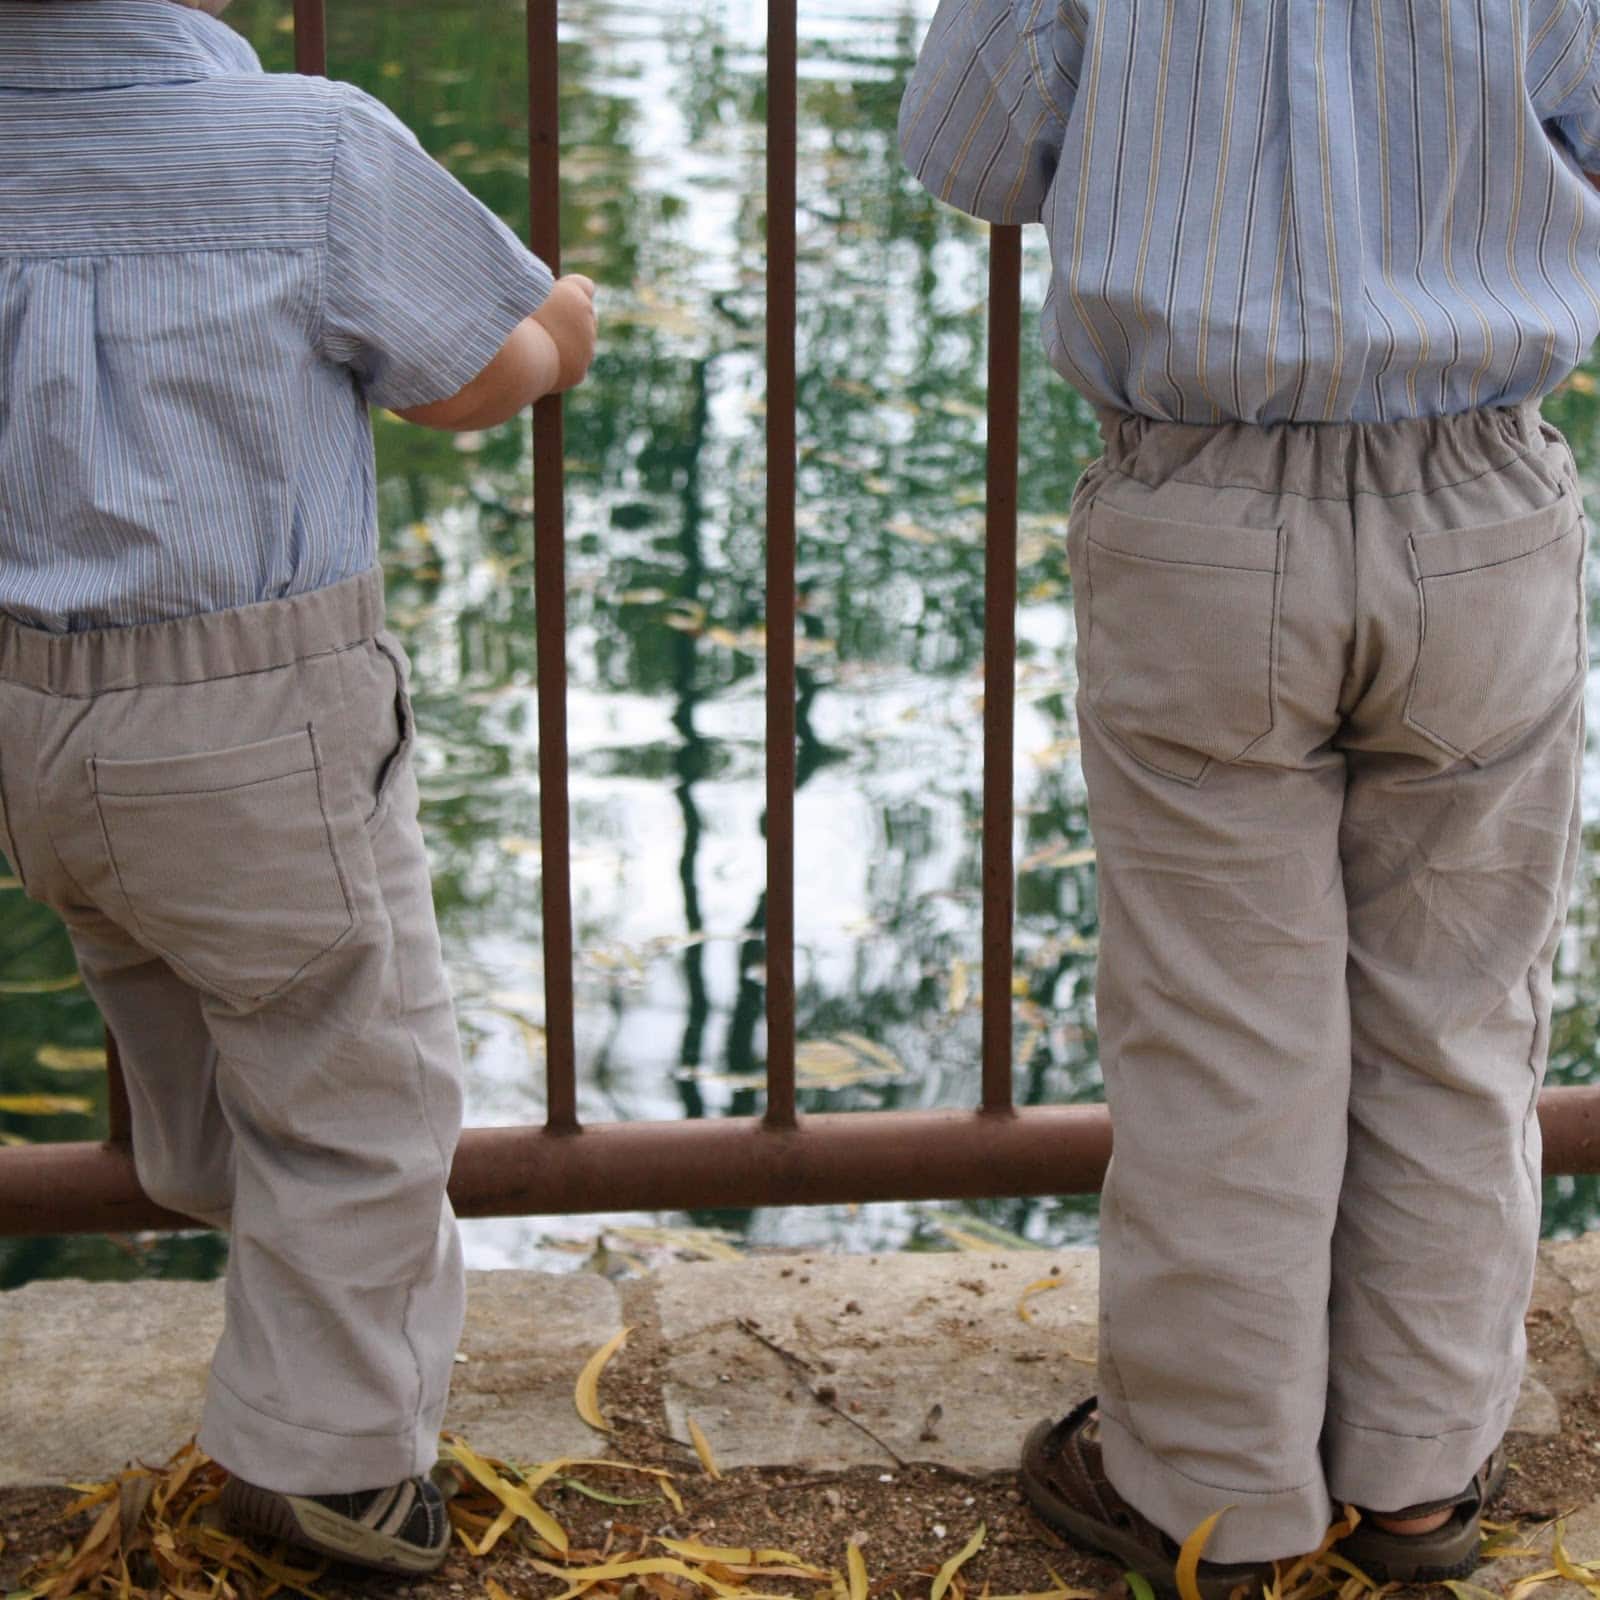
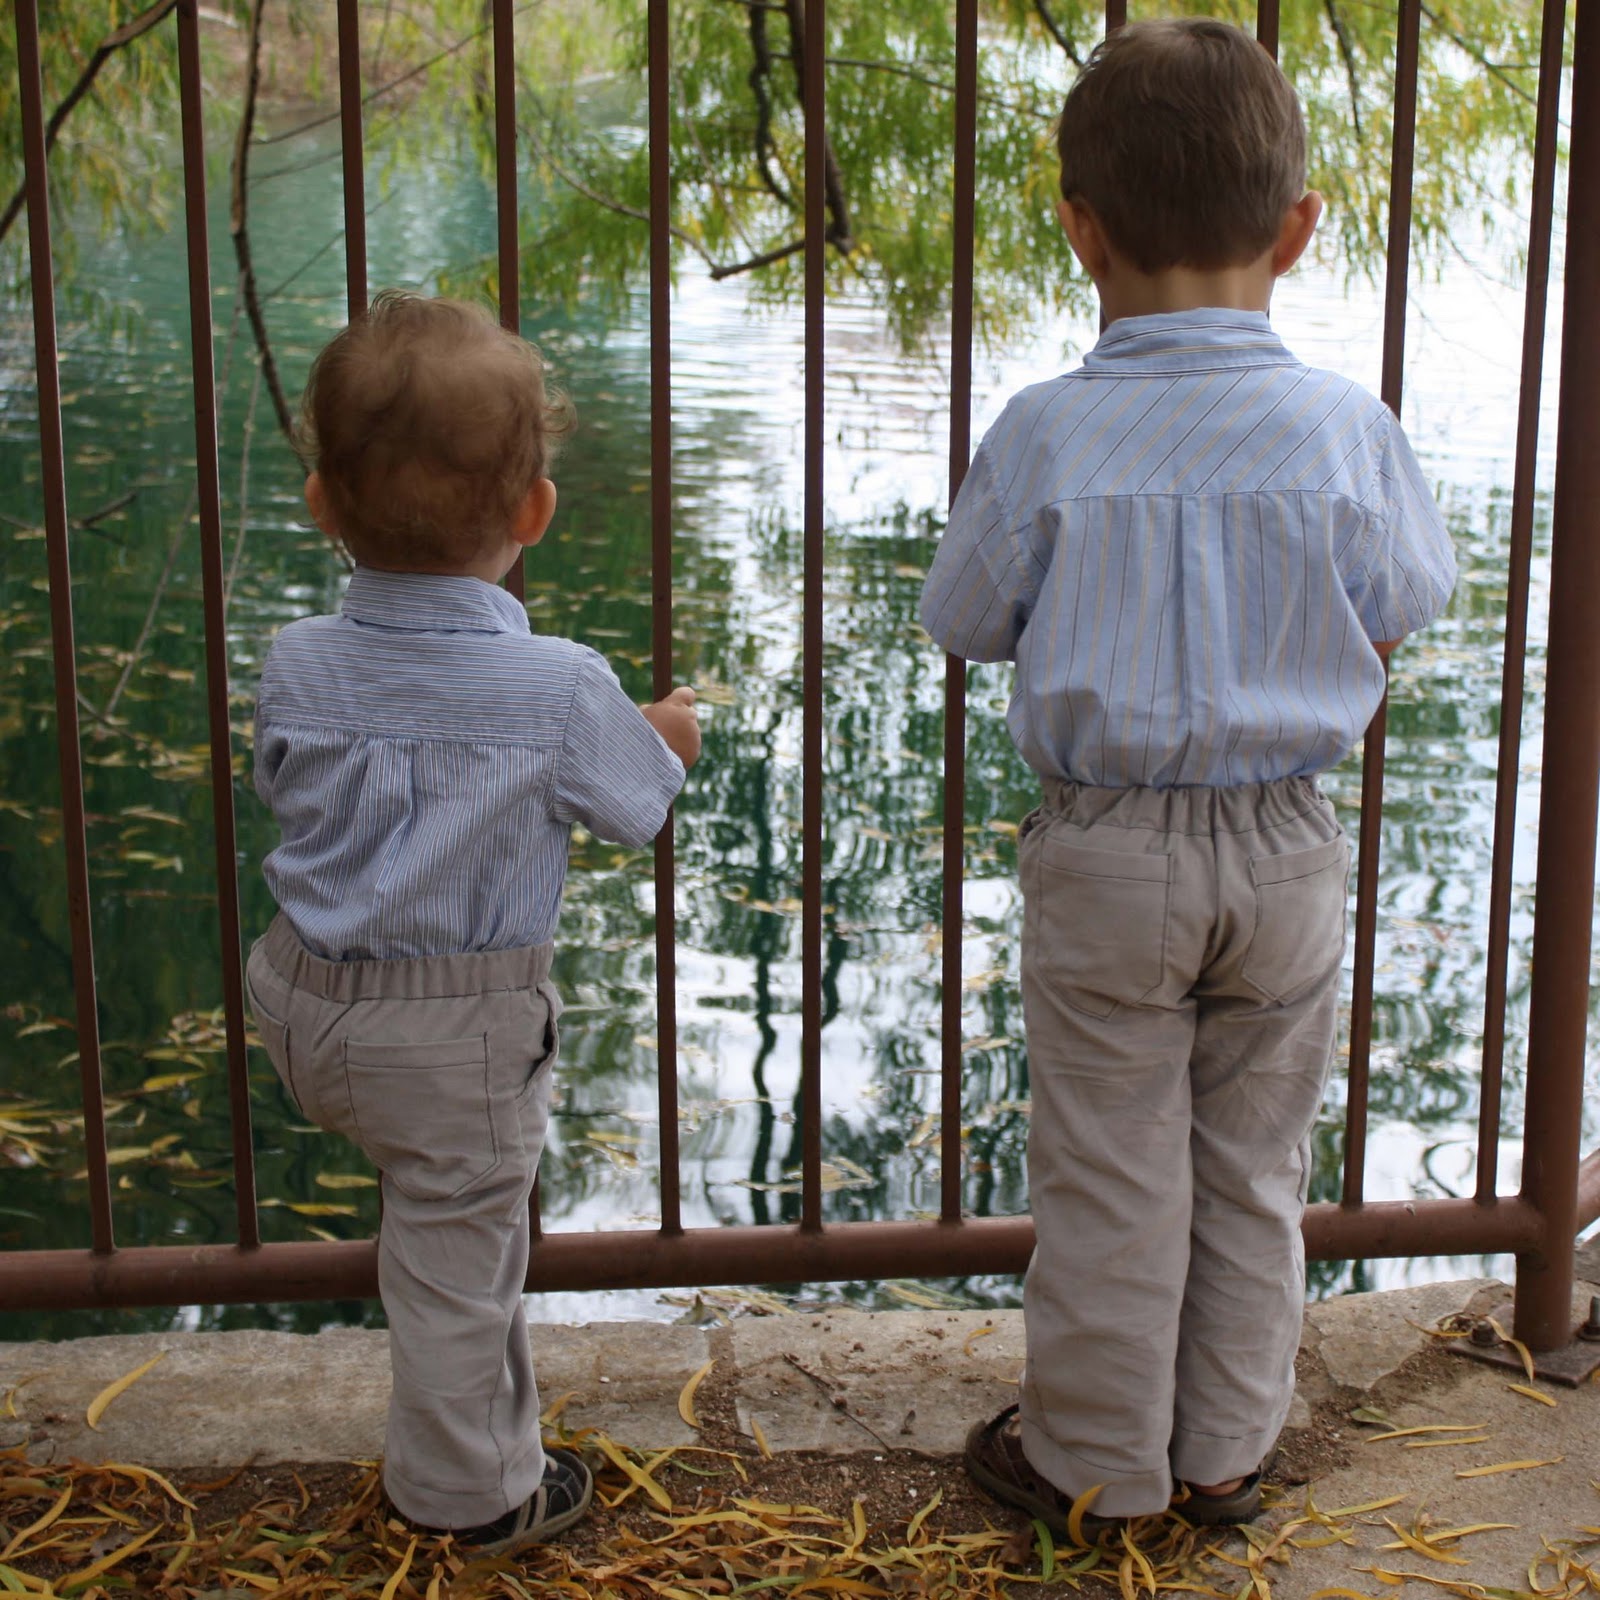
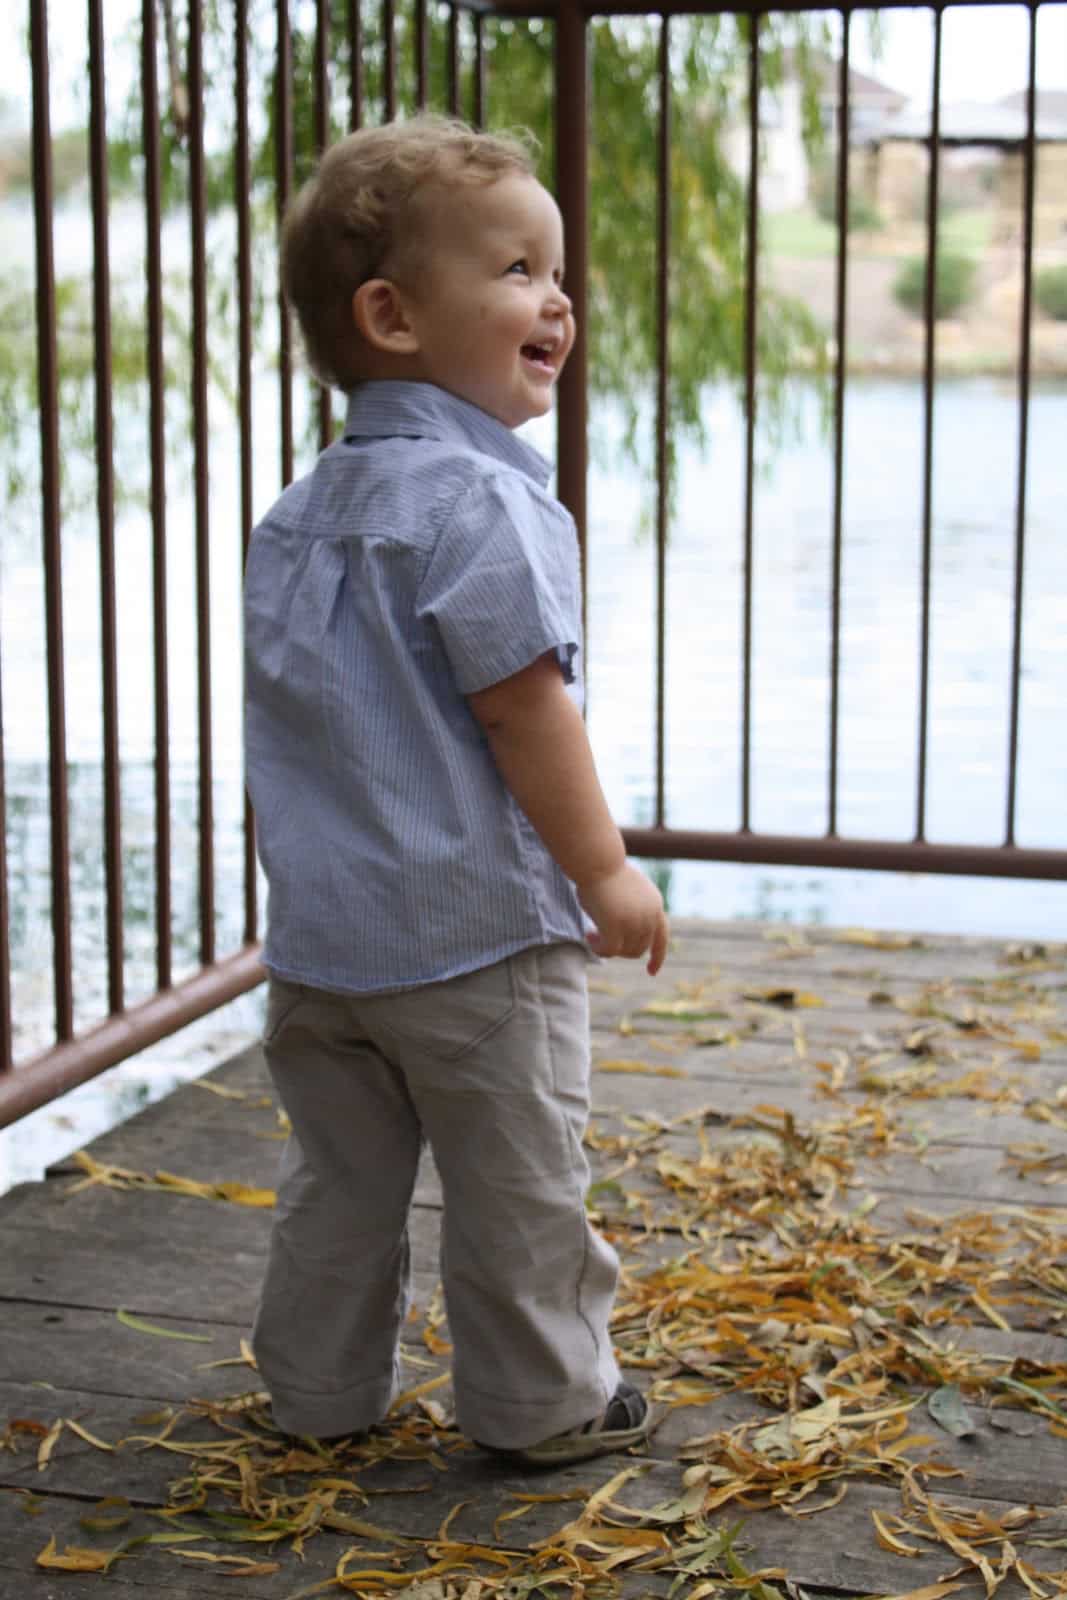
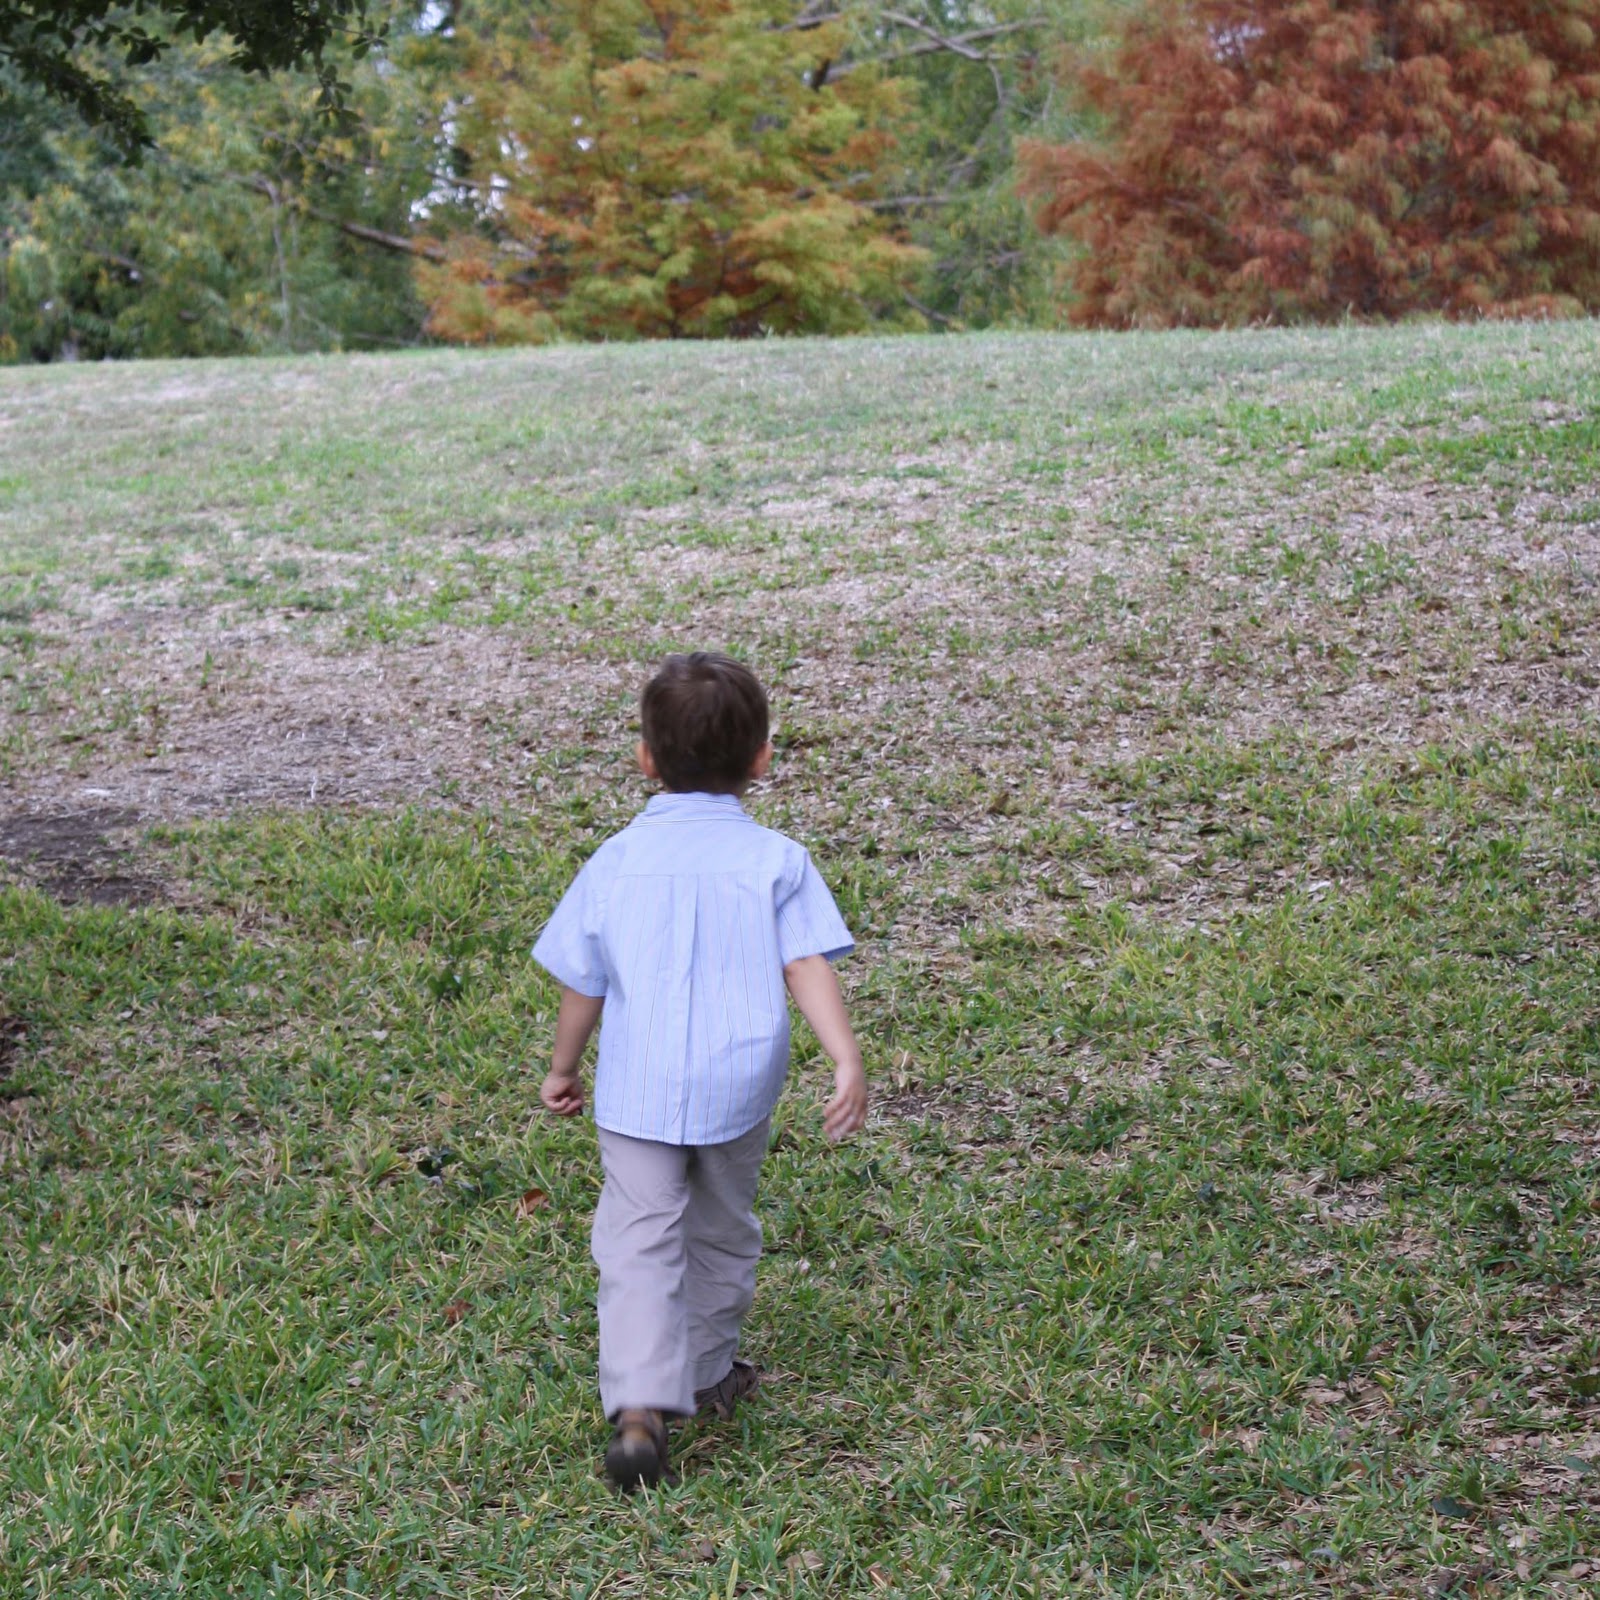
And now just follow the Made tutorial to finish up the pants. Then head to the duck pond for a photo shoot.

Kara @ Mine for the Making
You seriously rock 🙂
Emily
Love the mock fly and the pictures.
Crafty Beth
Nice! I have made Dana’s flat front and regular kid pants, and have thought about wanting a fly/pockets but haven’t been motivated enough to figure it out. Thanks for taking care of that for me! I like to make my son’s pants out of my own old pants–take a look!
http://bethbeingcrafty.blogspot.com/2012/05/comfy-upcycled-boys-pants.html
Looking forward to the month of sundresses 🙂
ginaweaver
Thank you for the pocket patterns & tutorial! I’ve used them twice now. I blogged about the second pair here http://willyount.blogspot.com/2012/05/purple-plaid-refashion.html.
Crafty Beth
I finally got around to making a pair of these! I love how they turned out, and your tutorial was very easy to follow. I did mine with contrast fabric on the pockets, and linked to you in my blog post here:
http://bethbeingcrafty.blogspot.com/2012/07/boys-faux-fly-pocket-pants.html
Thanks again 🙂
Emilia
they were so wittle!!!!
Karen
Thanks for sharing I copied a pair of pants from children’s place. The boy I baby sat mom used oxyclean and his pants were all full of holes. It was the end of the school year they couldn’t find any pants for him. I bought khaki colored fabric and made pants just like yours. It’s been 10 years since then and now I have a grand daughter so glad to find a tutorial!