
Learn how to remove stitches and fix mistakes while sewing by using a seam ripper.
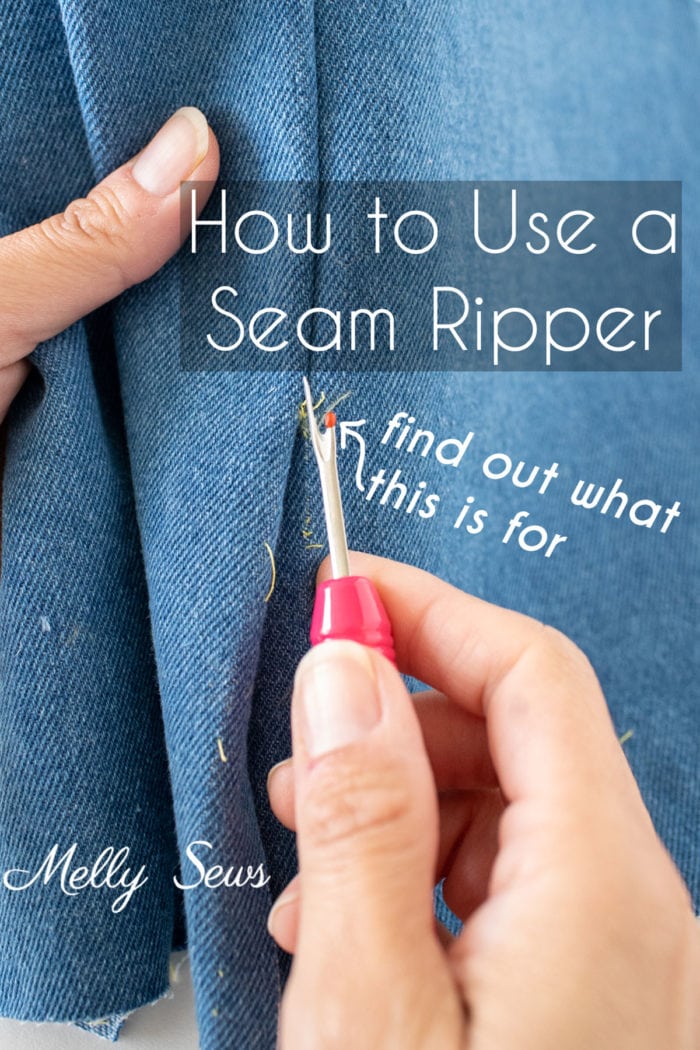
Hey y’all, today we’re going to take a closer look at an essential sewing tool, the seam ripper. Seam rippers are one of my five must have notions I think everyone needs in their sewing kit, not just something nice to have. And I want to show you something about seam rippers that I’ve found even many experienced sewing people don’t know. So in this post I’ll share what that red ball on the seam ripper is for!
What Is A Seam Ripper?
A seam ripper is used to cut and remove stitches. Now, strictly speaking, you don’t have to have a seam ripper. You can pick stitches out with small scissors, or even use a straight razor. I used a razor for many years before I tried a seam ripper. BUT this tool is specifically designed for this task. Seam ripping is a common task even for experienced sewists, and seam rippers are generally very affordable. So for all these reasons I strongly suggest always having one in your sewing kit.
Seam ripping is the act of unsewing a seam you sewed together. There are many reasons to use a seam ripper, and not all of them are due to making sewing mistakes, though that is one of the most common reasons I pull out mine. But sometimes you sew a seam knowing from the get go that it’s going to be temporary – for example, when you’re installing a zipper. You need the basting stitches to hold the fabric together to get a nice zipper installation in that case. A seam ripper can be very useful to take those stitches out quickly.
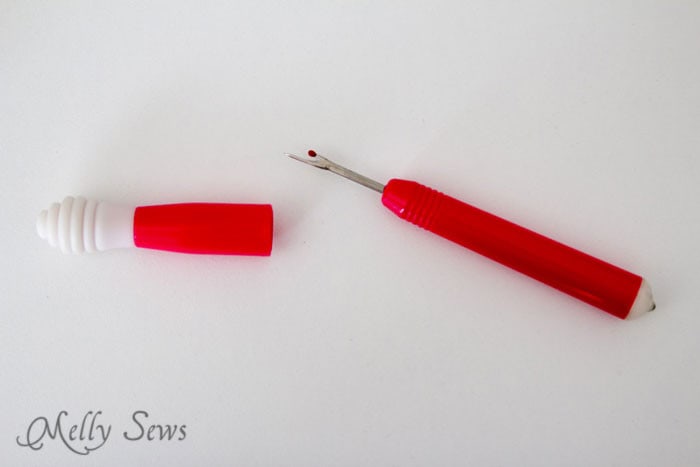
This notion is also sometimes used for opening buttonholes. I’ve also seen this tool called an unpicker or a stitch remover. A seam ripper consists of the sharp point to get under a single stitch, the blade in the U shaped curve, and the ball that slides along a seam when cutting many stitches in one motion. Different types of seam rippers generally only vary in the shape and length of the handle and cap.
How to Unsew Something
Check out the video below or on YouTube here to see how to use a seam ripper, including that trick I mentioned that a lot of people don’t know.
This post contains affiliate links. As an Amazon Associate I earn from qualifying purchases. All affiliate links are identified with (affiliate link) after the link or a commissions earned statement above the link(s).
My personal favorite is this ergonomic one (affiliate link), which also includes a rubbery tip on the end of the seam ripper that you can use to help remove the tiny threads left behind on the the fabric after ripping.
How to Remove Stitches
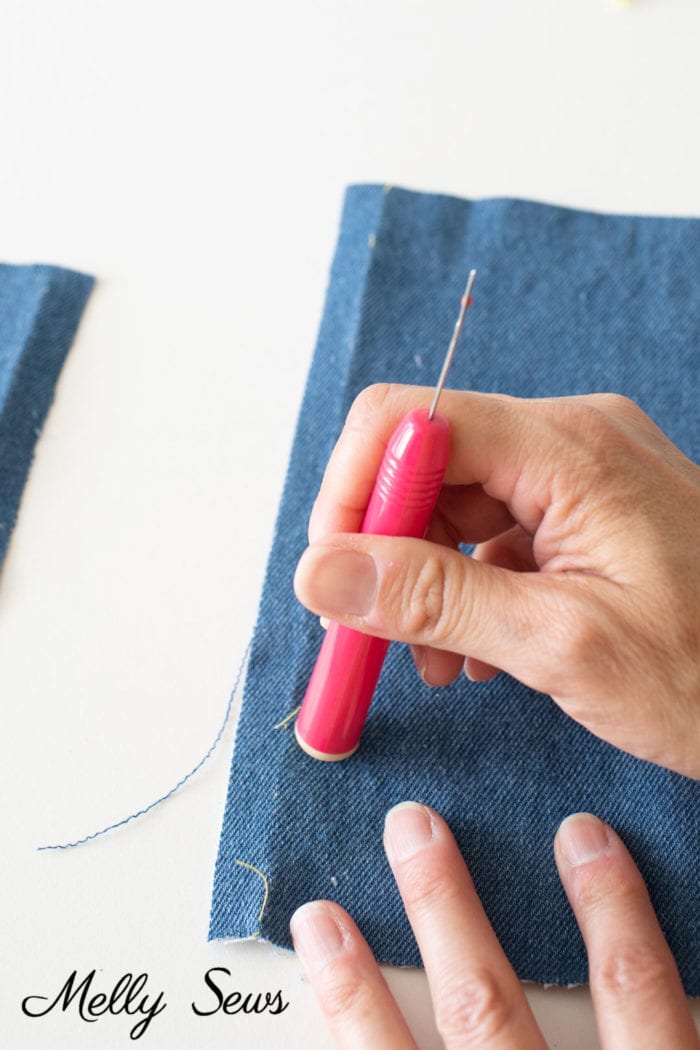
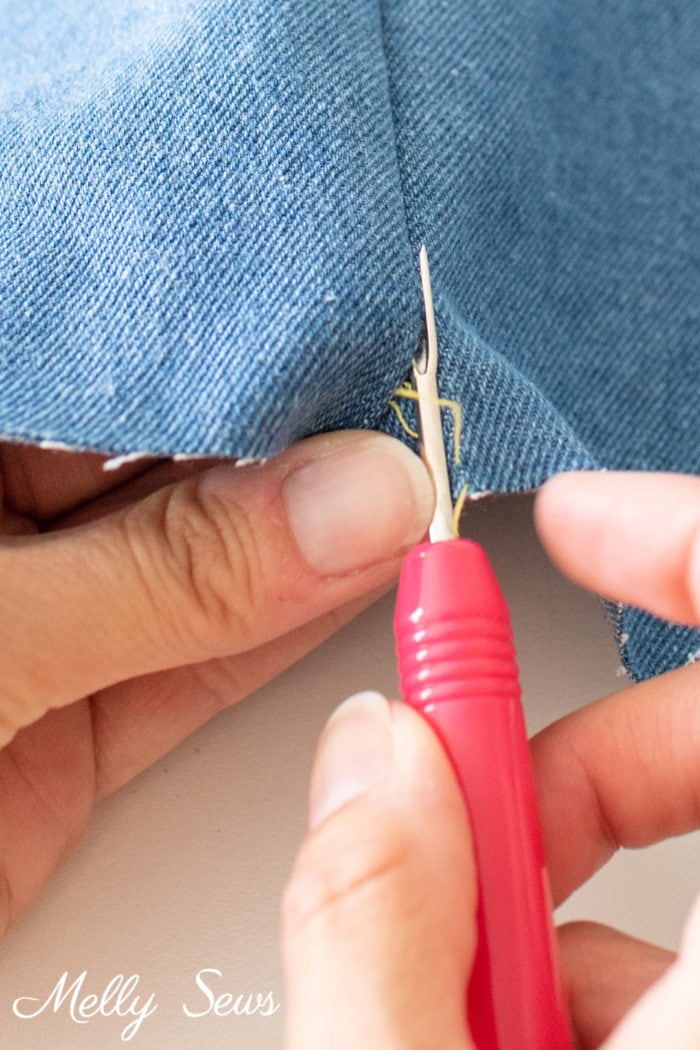
And if you skipped the video, there are really only two steps to using a this notion. Before you use it, try grabbing the end of the bobbin thread and pulling out as many stitches as you can. The fewer stitches you need to cut with this tool, the faster it will go. If pulling the bobbin thread doesn’t remove any stitches, then use the pointed end to unpick a 4-5 stitches and start opening the seam.
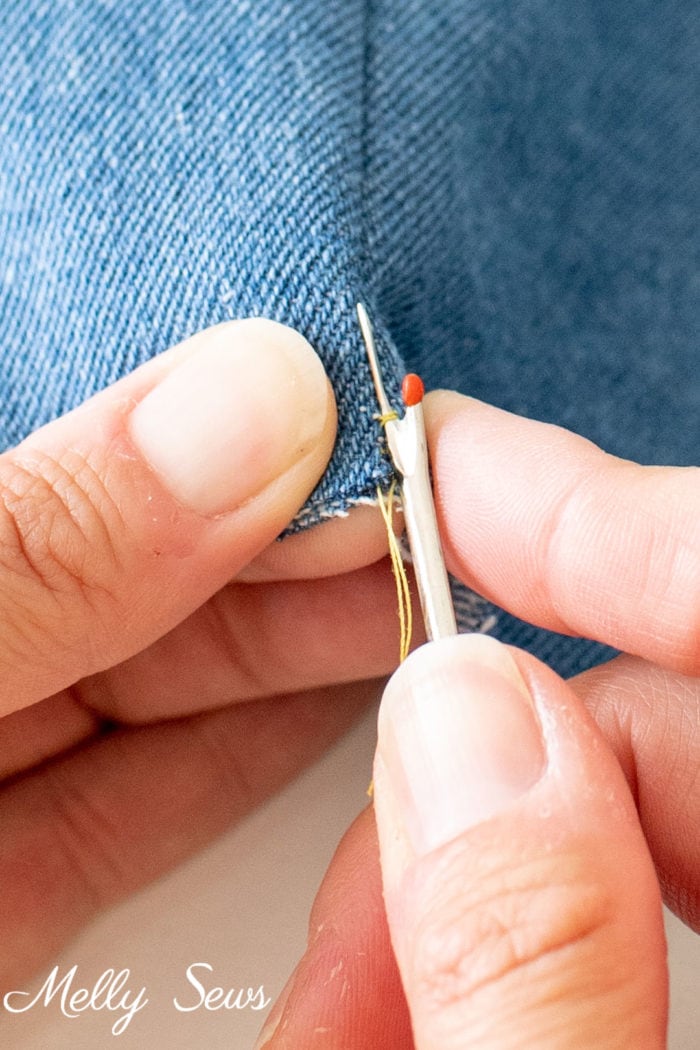
Then, turn the tool so that the red ball is in the seam and continue to carefully push it up the seamline to cut all the stitches. *Caution – don’t use this part of the technique on delicate fabrics. It’s too easy to tear holes in them doing this. Check out the video above, I demonstrated on a silk scrap and got holes very quickly.
Wondering how to seam rip on knit fabrics? Because knit fabrics stretch, it’s not a great idea to try to push the seam ripper along a line of stitching, you’ll get holes in the sides of the fabric just like you do with delicate fabrics. In addition, since knit fabrics are generally sewn with some sort of side to side needle motion in the stitch to maintain stretch, you’ll need to unpick one stitch at a time with these. That is, unless you have sewn with a serger. In that case, see this post for a trick to remove serger stitches. That trick will help your looper thread fall off like magic.
Stitch Removal FAQs
- What is the red ball on a seam ripper for?
It protects the fabric while you cut through many stitches in one motion - How do you use a seam ripper for embroidery?
On the wrong side of the embroidery, use it to cut through as many of the stitches as possible by inserting the pointy end under stitches. As the stitches are cut, pick them off with your fingers or tweezers and continue to use the seam ripper on remaining stitches. - Can I sharpen my seam ripper?
There’s nothing worse than a dull blade when you’re cutting stitches. Yes, there are tools that can sharpen your blade. No, I don’t personally use them. I just buy a new seam ripper.
Sylvia
To extract the small pieces of thread left after using the seam ripper I wrap sticky tape around the fingers of my left hand with the sticky side outward and pat it over the little threads. The sticky tape easily and neatly picks up the threads with no mess.
Marjolijn Walsh
I find if you want to seam-rip along the whole seam, it works much better to leave the fabric lying flat on the table; much less chance that it will create holes.
Danita
Thanks for teaching me something new!
Richard
Now that was a handy trick, I had no idea. Thank you!
Susan
This tool is also fantastic for cleaning your hairbrush
Sue
A method I’ve used all my sewing life is to cut one stitch about every half inch, depending on the stitch length. Then turn to the other side of the seam, take hold of the thread end, and pull. You can often open an entire seam with that one pull.