
Shirring fabric with elastic thread creates lovely gathering. Find out how to sew with elastic thread with this DIY video.
Hey y’all, today I’m going to show you how to sew elastic thread to make shirring. I’ll be sewing this easy skirt as an example, but there are many ways you can use shirring as a design detail. In fact, I’ll share more projects that incorporate shirring with elastic at the end of this post.
Shirring is a technique that combines elastic thread with regular thread to gather fabric on your sewing machine. When you shirr woven fabric it becomes stretchy in the shirred areas. This makes it useful for waistbands, sleeve cuffs, neckbands, ankle bands, hem bands, and any other place you might want to cinch in the fabric. The word shirring is sometimes used interchangeably with smocking, but smocking isn’t always stretchy.
How to Sew with Elastic Thread
Now that we know what shirring is, let’s see how to do it!
This post contains affiliate links. As an Amazon Associate I earn from qualifying purchases. All affiliate links are identified with (affiliate link) after the link or a commissions earned statement above the link(s).
Materials
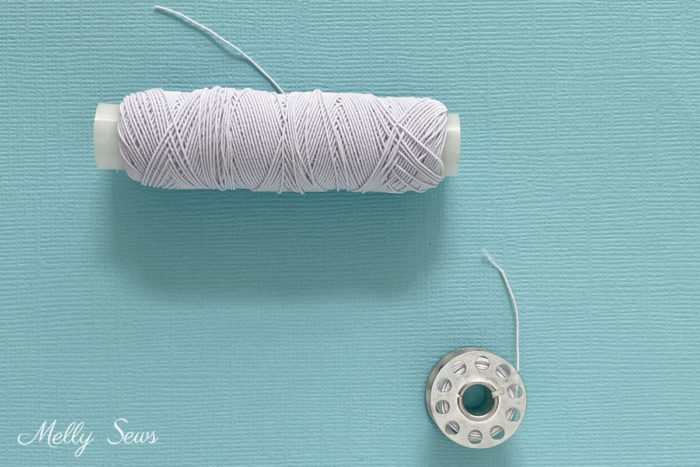
I generally use this Dritz elastic thread (affiliate link). I’ve also heard good things about the Gutermann brand elastic thread, but I haven’t personally used it. When you buy elastic thread, buy more than you think you’ll need. This will give you extra to practice with. It’s also important to note that the amount of elastic thread on a spool is many fewer yards than what comes on a spool of sewing thread, and you’ll got through a lot of the elastic thread in a project.
You’ll also need fabric to shirr. This technique works best with lightweight fabrics. I like to use it with cottons like cotton voile and lawn or other lightweight fabrics like rayon challis.
Setting Up Your Machine
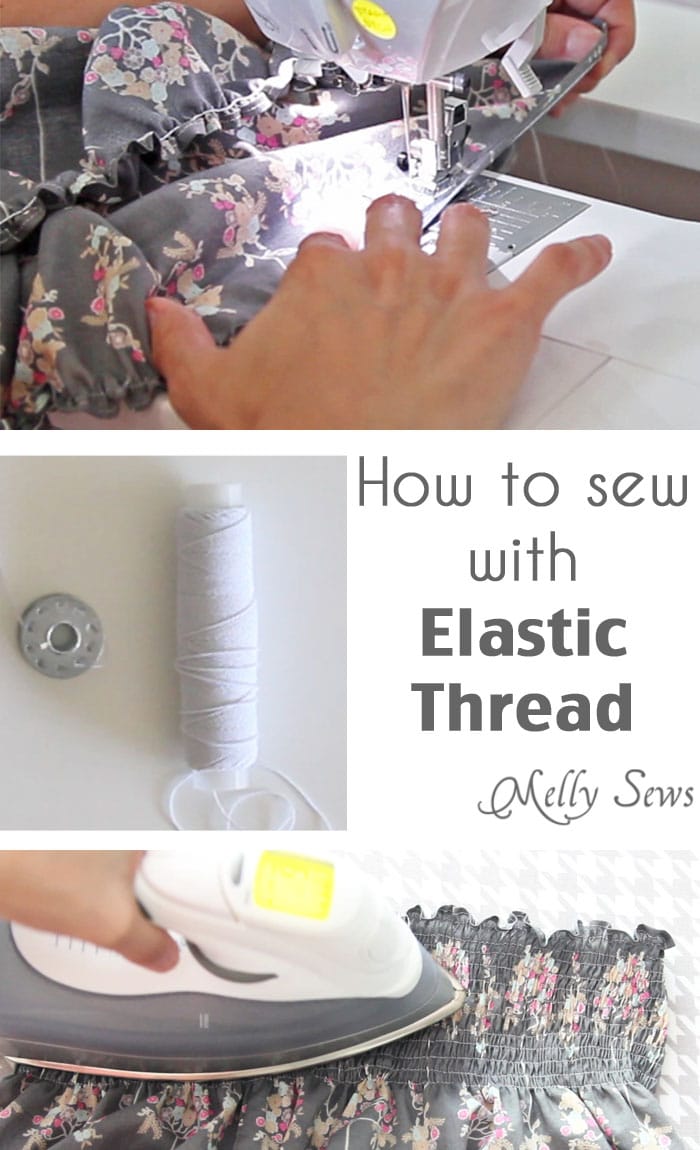
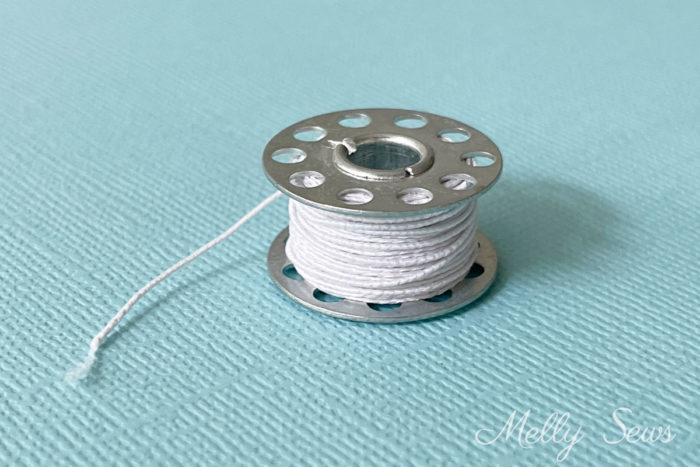
To shirr with elastic, start by loading your bobbin with elastic thread. Many tutorials tell you to hand wind the elastic thread onto the bobbin, however I’ve always had better results on my drop in bobbin machine by using the machine to wind the elastic. Some say that side loading bobbin cases are the ones that should be hand wound, and that may be the difference from my top-loading bobbin machine. Once again I’d suggest winding several bobbins worth because you’ll go through them quickly since each bobbin holds fewer yards of the thicker elastic thread than it would of regular thread.
Next, when you load your bobbin in your machine, you want to make sure you’ve pulled the bobbin thread up through the throat plate. To do this, hold the upper thread in one hand and hand crank the machine. Sweep a pair of scissors under the presser foot if your hand won’t fit.
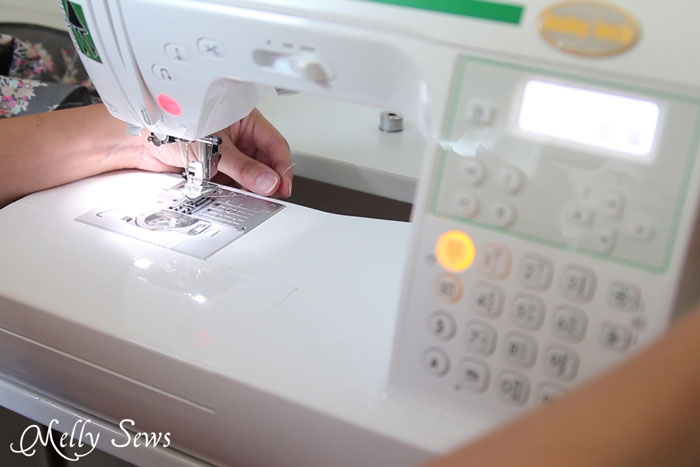
Your top thread will be the regular thread you use, and it should match your fabric since you’ll be sewing right side up.
Finally, lengthen your stitch to the longest stitch length your machine will do. This may be a basting stitch if your machine has a specific programmed basting stitch like mine does. Leave your machine tension set to normal to start with; you may want to adjust this after you sew some samples.
Start Shirring
IMPORTANT NOTE: This is a technique I really encourage you to practice on a scrap before attempting it on a garment. You’ll want to know which winding method works better for your machine, and also how much your fabric will shrink when steamed. So I would suggest cutting a 10 inch wide scrap and practicing the stitch, then steaming and re-measuring to figure out how much it will shrink. If you need to adjust your machine tension, do this from the top; only touch the bobbin tension as a last resort. More on that here.
Put your fabric in your machine right side up and start sewing. You may not notice much gathering as you sew the first row of shirring. That’s OK, as you sew more rows of stitches you’ll start to see the fabric gather more. If your fabric is a loop (like the skirt project below) then as you complete each row, lift your presser foot and pull the thread to start the next row. If you are stitching a flat piece of fabric instead of a loop, you’ll put your presser foot up at the edge of the fabric then pull the thread and move down to the next row to start stitching again.
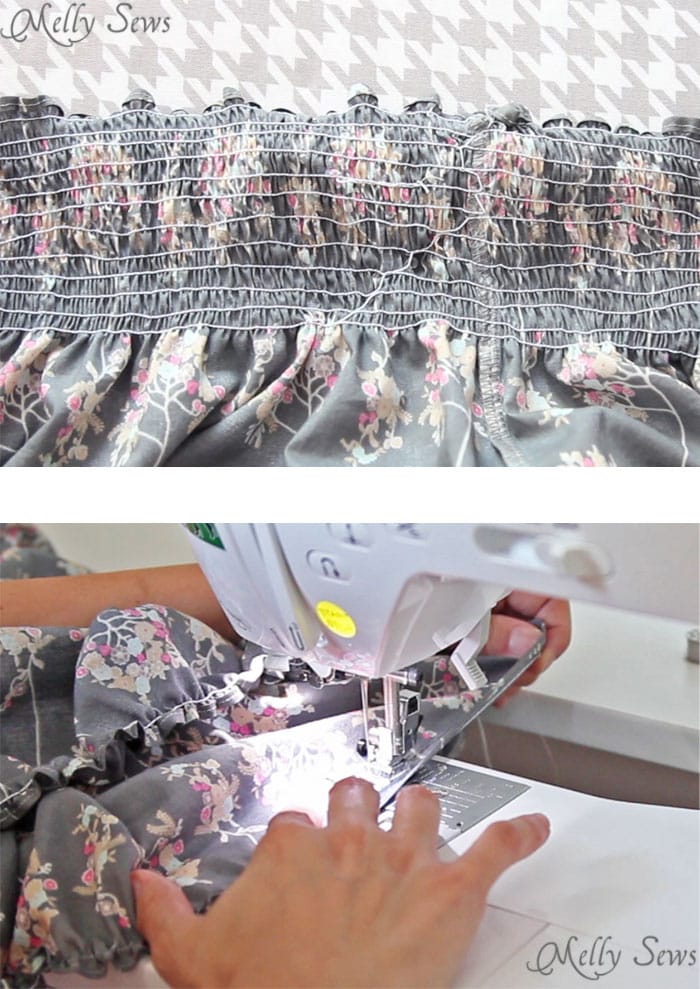
As your fabric starts to gather, make sure to stretch it flat as it goes under the needle. You don’t want to sew pleats into the fabric, you want the elastic thread to do the work.
You can mark your lines on the fabric with chalk or another marking tool and a ruler, but I prefer to just line the edge of my presser foot up with the previous line of shirring.
Keep an eye on your bobbin and stop stitching well before you get to the end of the bobbin. Leave long thread tails to tie them on the back side of the fabric. Tie off the thread before cutting it and starting a new bobbin. I don’t recommend backstitches with elastic thread – it will make a tangled mess.
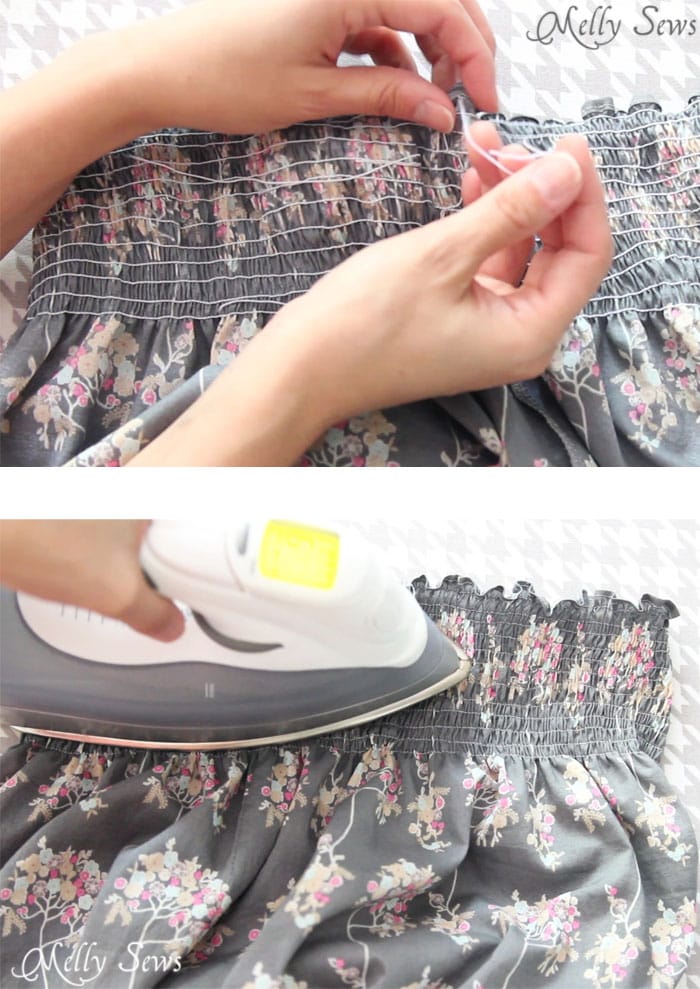
Finally, hold a steam iron barely over your shirred elastic and steam it. You’ll see it shrink up; you can see this in the video of the project below.
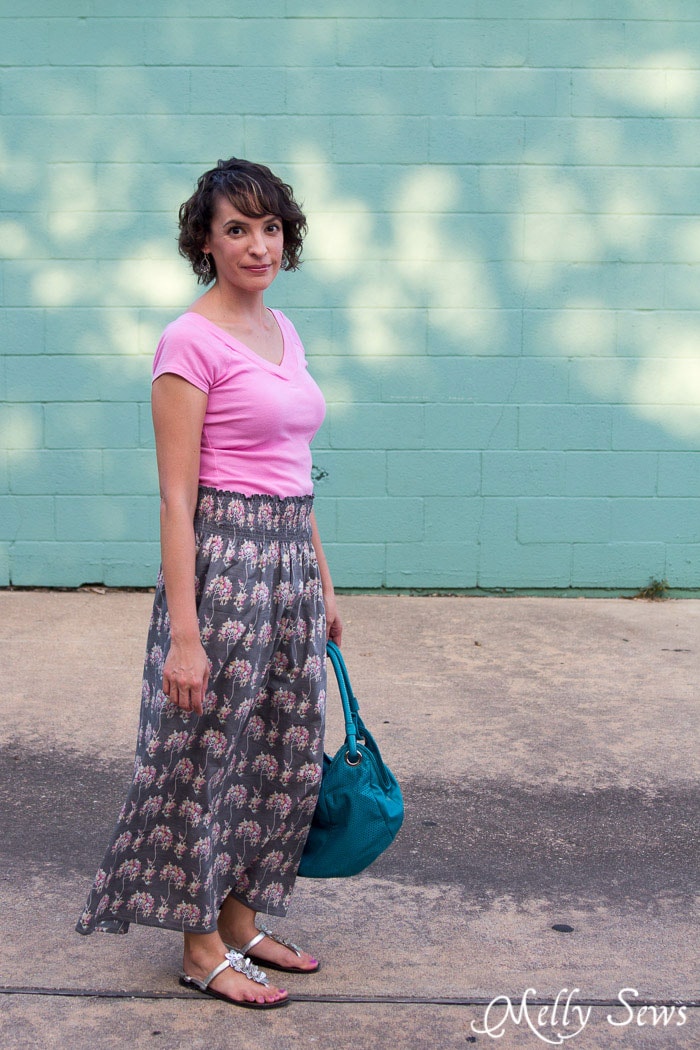
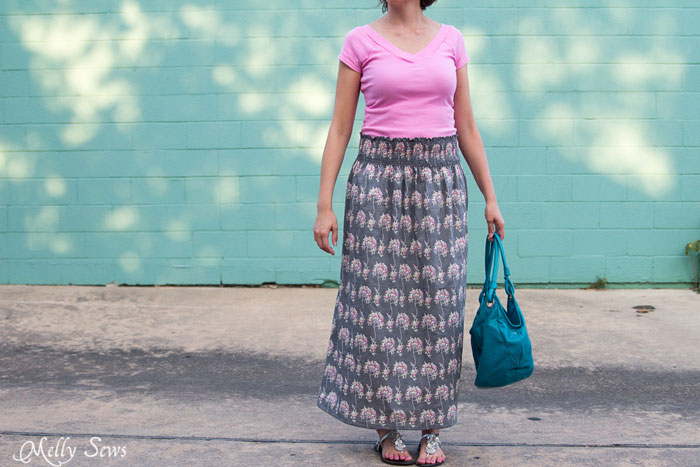
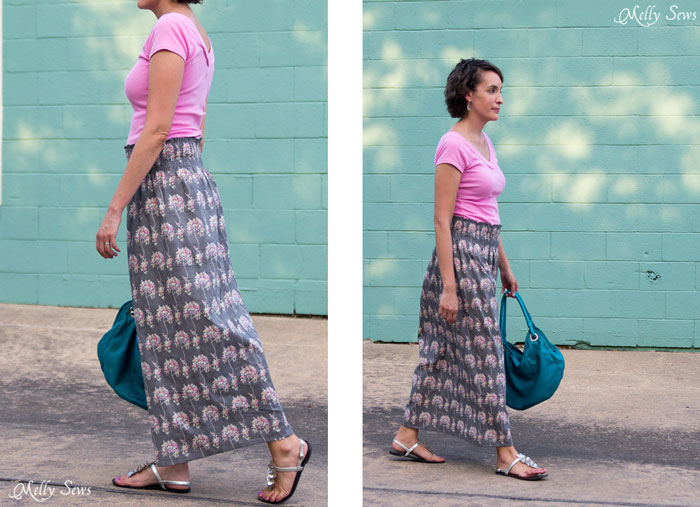
Once you’re an elastic thread master, try out this easy skirt!
Make an Easy Shirred Waist Skirt
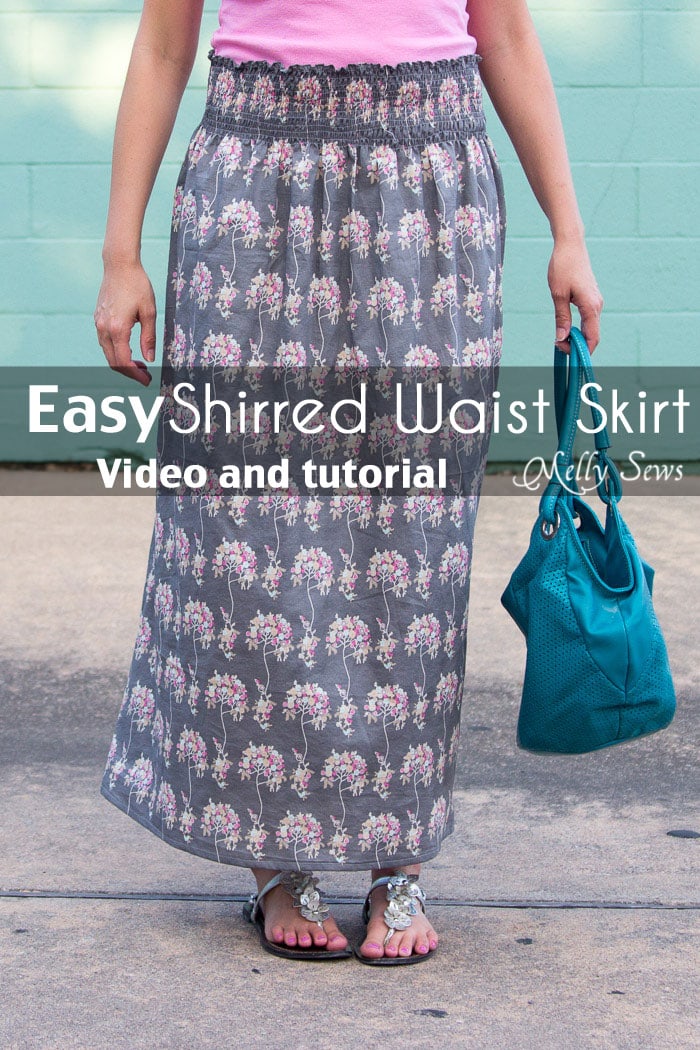
This project is awesome because it’s easy, you can make it in any size or length, and you only need 2 supplies – your fabric (I used Tree Fleur Voile by Francis Newcombe) and elastic thread (affiliate link). A note on fabric – you don’t want to use anything too heavy for this – the elastic won’t be able to gather or shirr heavy or stiff fabric enough to hold it up.
I’ve got a video tutorial on how to do this below. If you prefer the written tutorial just scroll on by the video. And if for some reason the video won’t play, you can also watch it on YouTube here.
So first sew your panel into a loop with the circumference equal to 1.5 times your waist measurement. You may use one panel folded in half or two panels sewn together at the sides, depending on the length/width you need. Finish these seams. Then fold the top edge of the skirt 1/4 inch to the wrong side twice to form a very narrow hem. Press and stitch the hem in place.
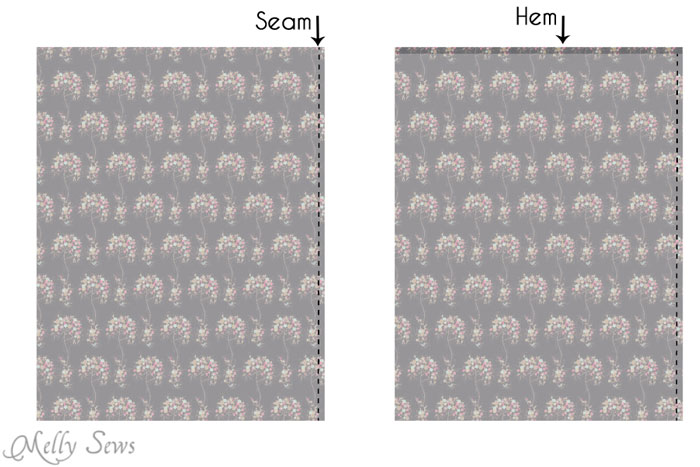
Then all you have to do is sew shirring lines for about 3-5 inches from the top edge. Overlap each line a few stitches and then pick up the needle and presser foot and move the fabric over to stitch the next row. I use the edge of my presser foot as a guide to line up each row.

When you are finished sewing the lines, tie off your thread tails, then steam the elastic thread to get it to shrink up.

Add a hem to the bottom edge and that’s it – stretch and wear!
More Projects to Use Shirring
Here are more ideas to use shirring in your projects. I wore this peasant dress with shirred neckline and sleeve bands until it got holes in it.

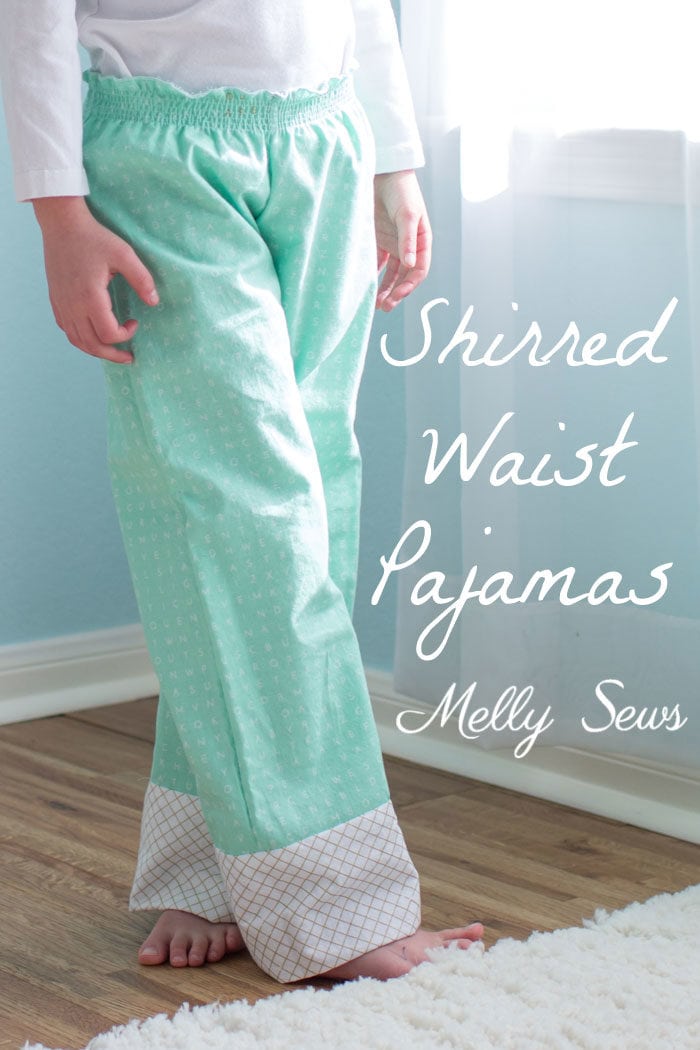
Shirring is also great for waistbands, like on this pair of pajama pants I made my niece.
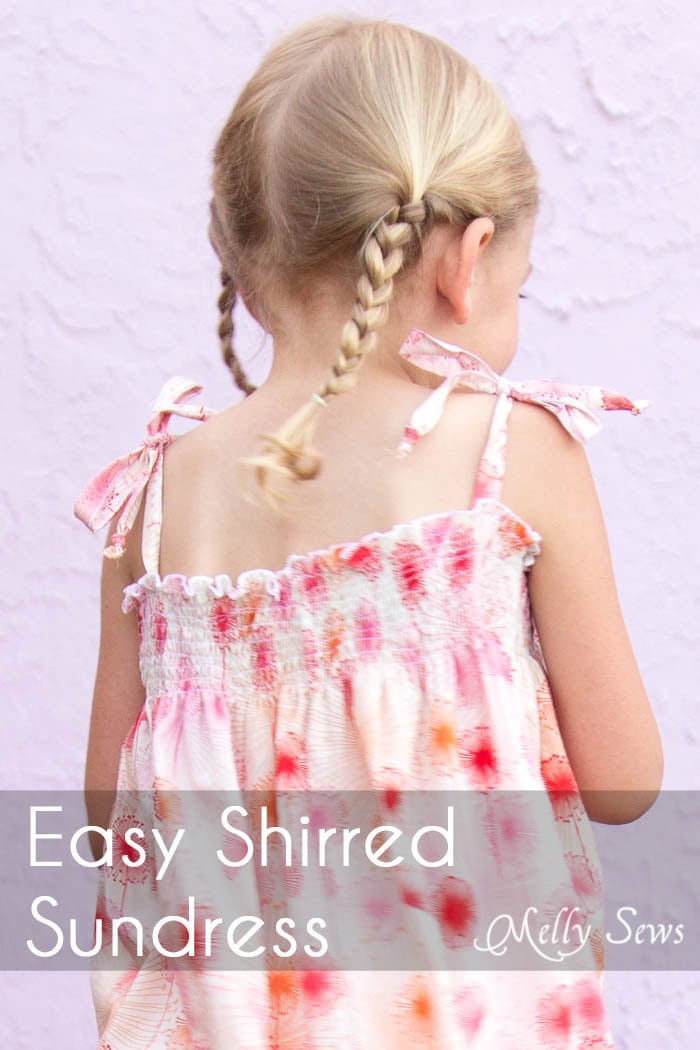
I also sewed up a shirred top sundress for her.
Audrey
Love, love, love this!
Diane
Great tutorial and easy to follow! My grand daughter loves shirred sundresses but the fabric is ridiculously priced unless on clearance. Sundresses, here we come!
Lanita
Instead of buying new fabric, consider finding a large garment at goodwill or other thrift store and using that to make a sundress for a smaller person. I do this a lot with menswear – I wash and dry trousers and jackets, then cut them down and redesign to fit me. Much more economical than buying new fabric.
Sue
Thanx! Didn’t know about tying knots or that pressing would tighten the elastic– great tips!
Anne
I love a quick easy skirt! I’ve got a Craft Gossip post scheduled for later today that links to your tutorial: http://sewing.craftgossip.com/?p=84045 –Anne
Allison @ The Tall Mama
This is a great tutorial and a technique I’ve always wanted to try! Thank you! x Allison @ http://www.thetallmamastyle.blogspot.com
Jenny
Its so simple and effective. My sewing classes have to do a maxi skirt using 12cm wide elastic as the waistband. This idea we decided we didn’t like. So now they’re shirring the waist and they’re loving it. Its so appropriate that you should have featured this skirt, this week. Very good for beginner sewists.
Diane Cullum
I want to try it with the waist of pants. My daughter saw some she liked. We’ll see how it goes. Hopefully they will look as marvelous as your skirt!
Dawn B
Oooh, I want to try this! I recently saw a cotton sundress that had elastic shirring on the back bodice panel, on either side of a central zipper. It was a nice way to allow some fitting flexibility in the dress. I was wondering how to re-create that look.
Suzanne
I watched the tutorial video and I am totally inspired, thank you so much !!! I am so glad you share it all with us !!!
greetings from the Netherlands
Enid
I always love to watch your videos you are such a great teacher. I love you sewing machine at the ease of treading it.
TNP
Thanks to your clear instructions, I feel ready to try this technique.
Amy P
This a great tutorial for elastic thread! I’ve not ever tried sewing with this elastic thread but may just have to try a sample piece, just so I can get some experience! Your skirt is cute too!
Mary Watson
always wanted to know how to do this and you make it look so easy. Definitely going to try to make a skirt this weekend! Thanks
Cheryl Pieri
I can’t wait to try this technique out!! Thank you
Cheryl Masters
Melly, thanks so much for this tutorial. The last time I sewed anything that looked shirred was a pair of pants. However, it had three separate channels to use regular elastic in each one. That was almost 45 years ago. Do you think this would work on a circle skirt? Have you posted anything about circle skirts, ii.e. patterns, tutorials, fabric recommendation? I want to make one for my daughter and one for my grandaughter before Christmas. I made the mistake of going to your store “just a look” stopover. Well, 6 patterns later, I left. I went back to get the knit winter hat, I wish I had known you had posted it as a freebie. ,Love the pattern and it was worth every cent I paid for it. I wish I had just a smidgen of your talent. Thank you for all the sharing of patterns and tutorials. Without that, it would mean whether I buy a pattern one month and the fabric the next, or vice-versa. You have a wealth of knowledge and you’re sweet to share.
Cheryl