
Today I’m going to share how to sew a mock fly. This tutorial works well with any of my pants patterns that include a fly (The Coastal Cargos, the Clean Slate Pants/Shorts/Capris, the W Pants and the Tuxedo Pants) AS LONG AS your child’s hip measurement isn’t bigger than the finished waist measurement when the pants are fully stretched. If the hips are bigger, you’d need to go ahead and sew the fly or they won’t be able to get the pants on.
To start – if you’re using one of the aforementioned patterns, your piece is ready to go. If not, you need to add the fly part to the center front seam. Then finish the edges of each pants piece at the center front. I used an overlock stitch, but there are other options here.

Next sew your pants together along the center front seam. Use a basting stitch in the fly area, then backstitch, then continue with a normal stitch length for the rest of the seam.
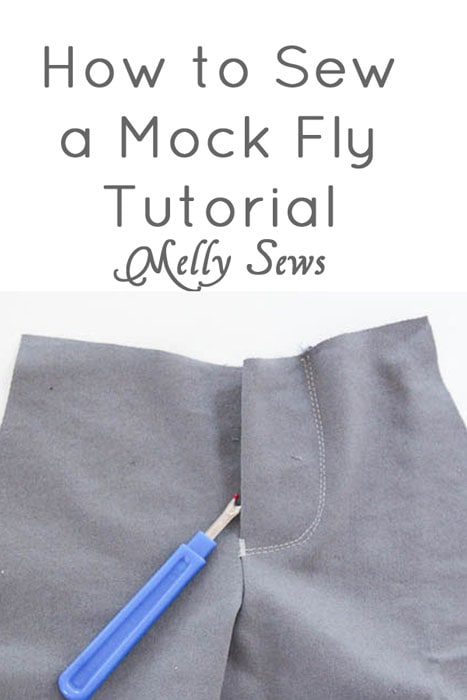
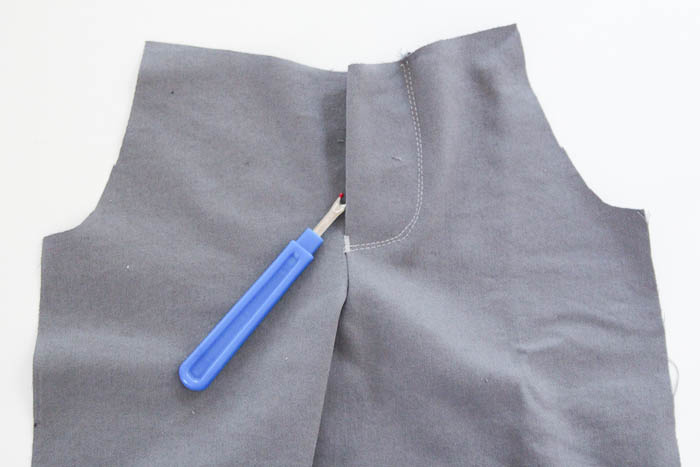
Fold the fly over to the side and pin in place.
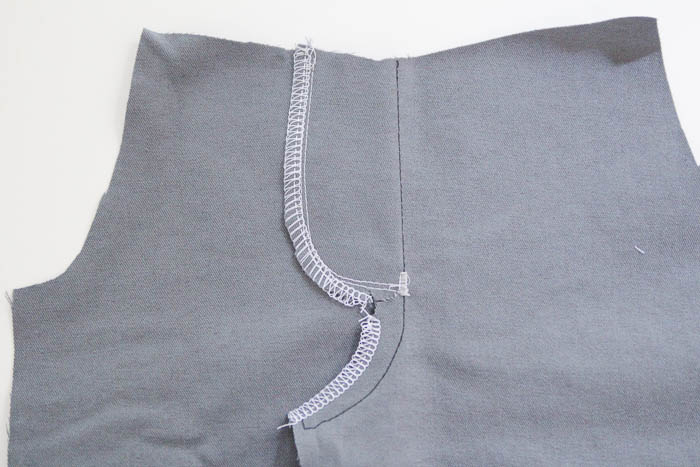
Topstitch the fly flap in place. You may also want to add a bar tack stitch at the bottom of the the fly.
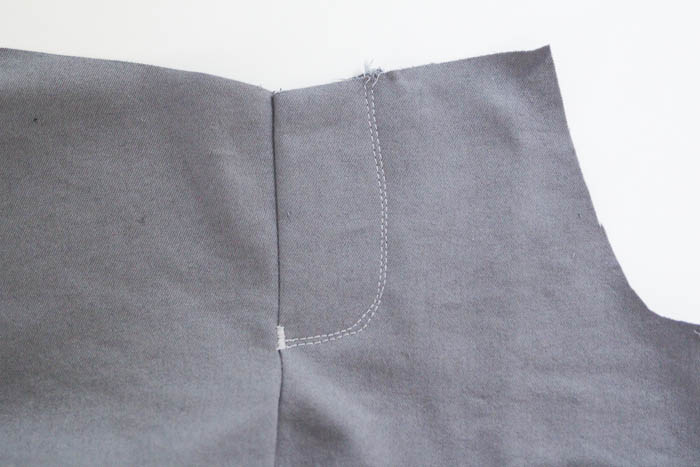
Finally remove your basting stitches. You will have a flap on your pants, but it will be closed by the topstitching you put in.
That’s it – easy peasy! Tomorrow I’ll show you what I put this mock fly on.
Teresa
Yay…this is exactly what I want to do with my W pants pattern. Thanks for the tutorial!
sorahart
I’ve truly been wondering the best way to go about doing this, so thanks for posting it! Perfect timing!
rosita bynoe
easy as apple-pie thank you
Anne Weaver
Great tutorial!! I’ve linked to it over at Craft Gossip this morning:
http://sewing.craftgossip.com/tutorial-sew-a-mock-zipper-fly/2013/09/06/
–Anne