
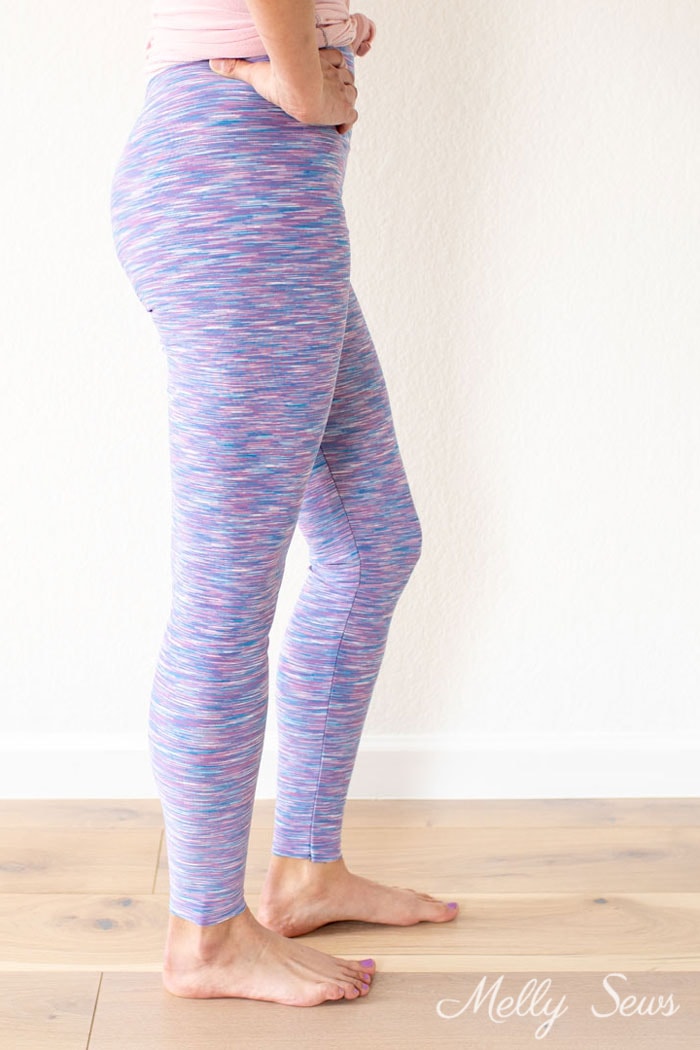
Sew leggings by making a custom pattern for yourself!

Hey y’all, today kicks off leggings month here on the blog! I’m going to start by showing you how to sew leggings that fit you, starting with a custom pattern drafted to your own measurements. Over the rest of the month, I’ll talk about fabric, show you waistband options and hem details you can add.
To sew leggings, you’re going to need:
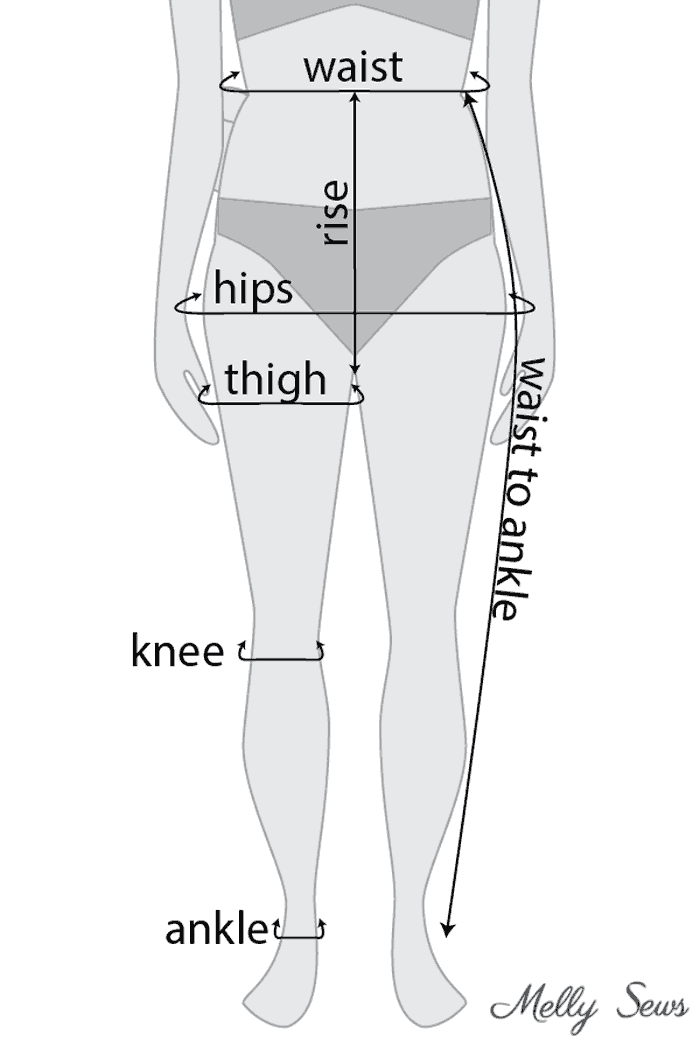
- Measurements for your waist, hip, thigh, knee, ankle, waist to ankle and rise. We’ll go over those in more detail in the video below
- Kraft paper, wrapping paper, exam paper or some other large paper to draw out your pattern
- A ruler – I’m using this one (affiliate link) in the video
- Optional – a French curve (affiliate link) or flexible ruler (affiliate link)
To make your leggings, watch the video below, which you can also watch on YouTube here if you prefer or if the video below won’t load for some reason.
How to Make Leggings
- Mark your waist to ankle measurement minus 10% vertically in the middle of your page.
- At the top of your line, mark 1/2 your waist measurement perpendicularly
- Measure down your rise amount from the waistline. At this point, mark your thigh circumference. *
- At the bottom of the vertical line, mark your ankle measurement
- Halfway between the thigh and ankle measurement, mark your knee measurement.
- Connect thigh to knee to ankle lines to mark out lower legs.
- Subtract 1/2 of hip from thigh measurement. Divide this measurement by 3. Mark in 1/3 of the measurement on the front thigh, then 2/3 on the back thigh. Draw curves from these marks up to waistline. *
- Drop front waistline 1 inch, redraw waistline.
- Cut 2 of this pattern (mirrored) from fabric – do not add seam allowances. Fold right sides together and stitch inseams using 1/2 inch seam allowances. *
- Turn one leg right side out, insert in other leg, match crotch seam and curves. Stitch crotch curve.
- Test fit. See this post for fitting adjustments.
*Special notes:
3. If 1/2 of your hip is bigger than your thigh, use your 1/2 hip measurement here
7. If you used hip measurement instead of thigh for width, subtract your thigh measurement. Also if you carry more weight in your tummy than your butt, you may wish to scoop 2/3 in front and 1/3 in back
9. If you wear above a women’s size 12 or so, you way wish to take 5-10% off your circumference measurements before cutting your fabric. The larger your size, the higher percentage to take off. That’s to get approximately the same percentage of negative ease that a smaller size would get by not adding seam allowances.

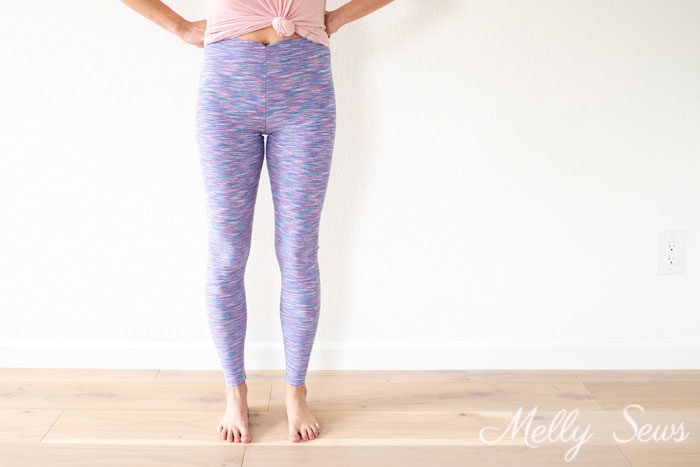
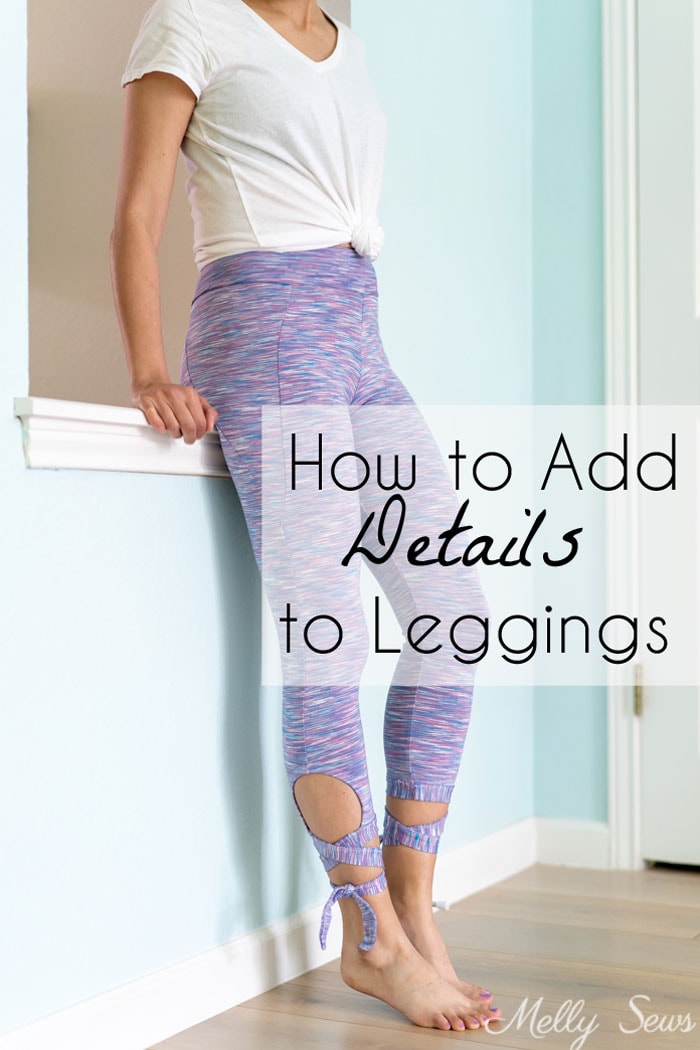
Later in the series this month I’ll show you how to add different kinds of waistbands, discuss fabrics for leggings and show you some options to add detail to the hems. But for now, you’ve got a leggings pattern that will be the building block for all those options.
For all the leggings tutorials, check out the posts below.

Robin
Thanks for posting this tutorial!
Sandy
At last! I have waited 4ever for this pattern. ThanQ, ThanQ, ThanQ
Pennyfp
What the heck… now I know what I’m doing over spring break!!! I won’t wear store bought leggings. This could be a game changer for me to have REAL COMFORTABLE leggings!
RobinS
YES!!! I am here for this tutorial!!!! Thank you!
Sandy
Fantastic. You are so appreciated.
Martha Wheaton
Such a clear, easy to follow instruction. And . . . I will be wearing a self drafted garment. This is greatly appreciated.
Robyn Vaughan
Thank you! Days are becoming cooler (finally!) in Australia and I can’t find leggings, in stores, that fit me and pattern options I’ve found are all for tracing pairs you already own :(. I’m definitely in for this tutorial.
Maria
Since I love gardening work this will be perfect to make different style when outdoor looking chic.
teresa Gonzalez
Dear you are the best. Thanks a lot for your tutorials. You are the best teacher.
Darcy
Great! Is there a reason you didn’t include taking a calf measurement? Should I add that if I always need to grade out for my calves?
Melissa Mora
Usually spandex fabric will accommodate calves of all sizes between the knee and ankle measurements, but if you’re using a very firm knit or have problems with leggings feeling tight in the calves, by all means add that measurement and customize below the knee.
Phyllis
Thanks so much for this fabulous pattern and tutorial!
Just made my first pair and it was so easy I can’t wait to make more! Fit was spot on following your directions!
Amazing! Love the yoga waist band and pocket ideas too!
Thx again!
Sheryl
Thanks for sharing your knowledge on leggings. I made leggings for my grand and she complained that they were too big. After seeing them on her, I realize she was referring to the ankle width. I now know I have to measure her knee and ankle circumstances for a better fit, as well as keeping negative ease in mind. Thanks again!
Popcorn Sally
Thank you so much for sharing this article and video. Yesterday I made my pattern and sewed a shorts version from French terry. It’s so amazing to be able to make my own pattern just the way I want it.
Johanna
Thank you so much for this tutorial! Pattern making was easy and my daughter is very happy with her new leggings. Turned out it was easier to make the pattern with your instructions than it would had been to track and copy or tape together any other pattern.
Ruth Angotti
Melly you are soooo beyond awesome. I’m such a beginner and when I found you I thought I went to Heaven. You are so kind to show every step of everything you do to where us newbies can understand. I’ve learned so much from you and am so grateful for ALL that you do and share. Not enough words to express how much you’re appreciated. Bless you a hundred times over!!!
Patty Massie
I totally agree with what Ruth just said! I am so going to make my pattern, your way, this week. I watch all of your videos and learn so much. Thank you for all that you do for us. Hugs
Sally Pavey
I love your tutorials, and can’t wait for Fridays to come round. Will definitely give leggings a try. Began to sew during lockdown and can’t believe the progress I’ve made. They say you can’t teach an old dog new tricks, at 71 I disagree. 😀
sara denyer
This was thee best vid tutorial for sewing I’ve ever watched! thanks a bunch!