
Learn how to make your own makeup bag. This DIY cosmetic bag pattern is stain resistant and durable.
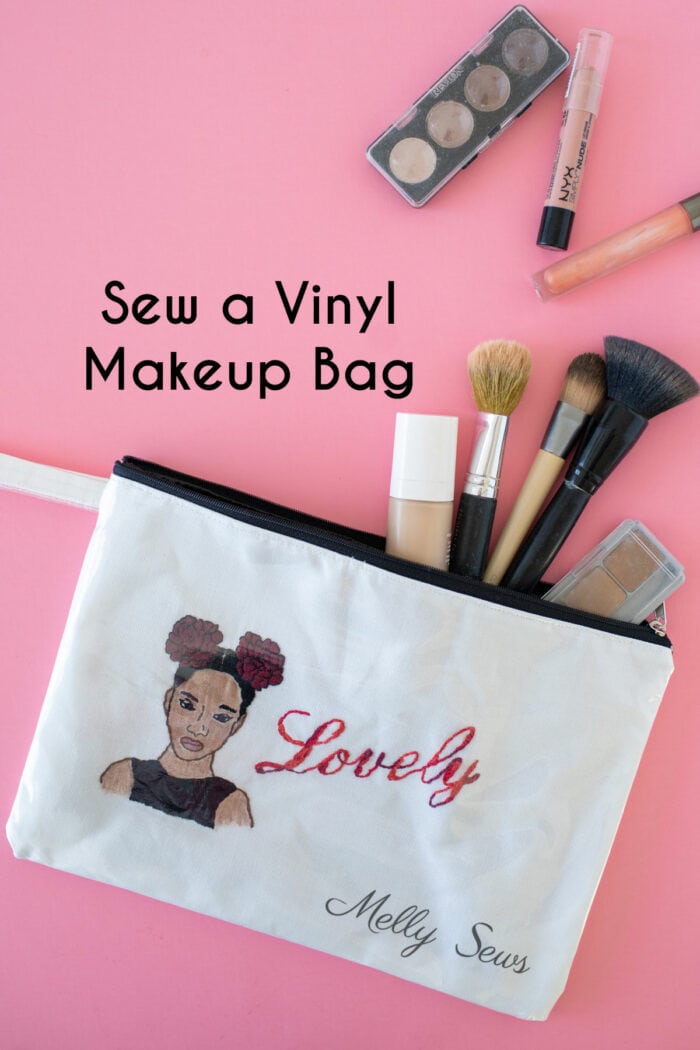
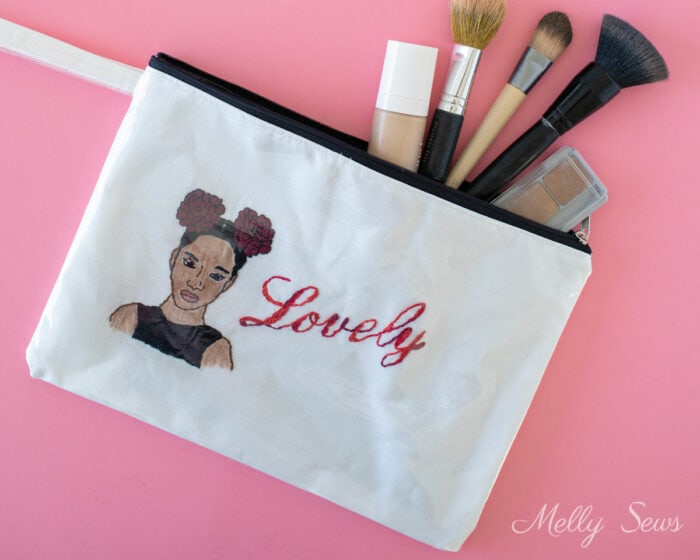
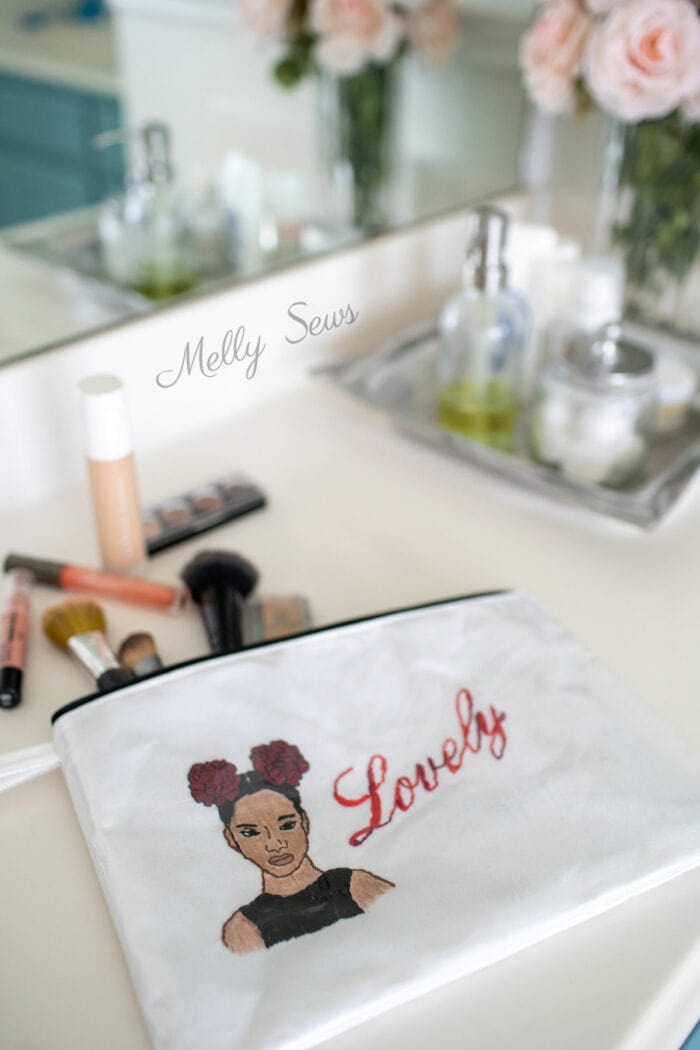
Hey y’all, today I’m going to show you how to sew a makeup bag with a vinyl covering to protect custom embroidery.This zipper cosmetic pouch was a gift for my daughter. I knew I wanted to make it easy to clean for her and resistant to stains. I also knew I wanted to make it personal to her, so the embroidery was chosen with her input.
This post contains affiliate links. As an Amazon Associate I earn from qualifying purchases. All affiliate links are identified with (affiliate link) after the link or a commissions earned statement above the link(s).
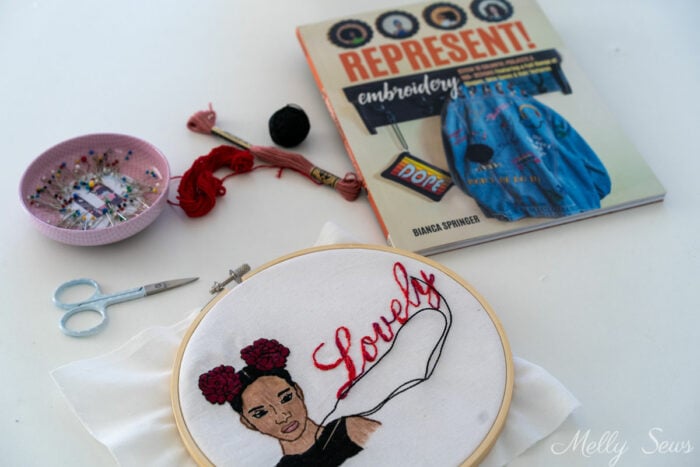
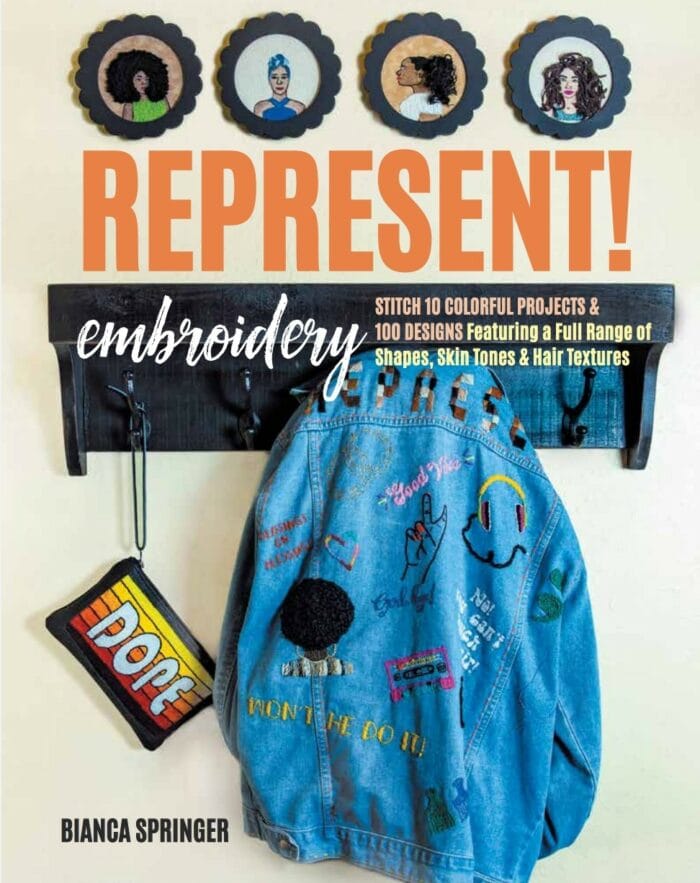
I’m also going to review the book Represent! Embroidery from which I got the design I sewed on this cosmetic bag. I was so excited when Bianca asked if she could send me a review copy to be part of the tour for her book.
Add Custom Embroidery – Represent! Embroidery Book Review
If you’ve been a reader on this site for a while, you have seen Bianca’s pattern weights when I posted about using them with my rotary cutter. And similarly to those weights, I appreciate Bianca’s attention to detail in this book. Not only are the designs fresh and fun, she really did cover a range of skin tones, hair types, and body shapes. I particularly love the section on embroidering different hair styles. Her crayon tinting technique was also something I had never seen and it’s what I used for the skin on the girl I embroidered.
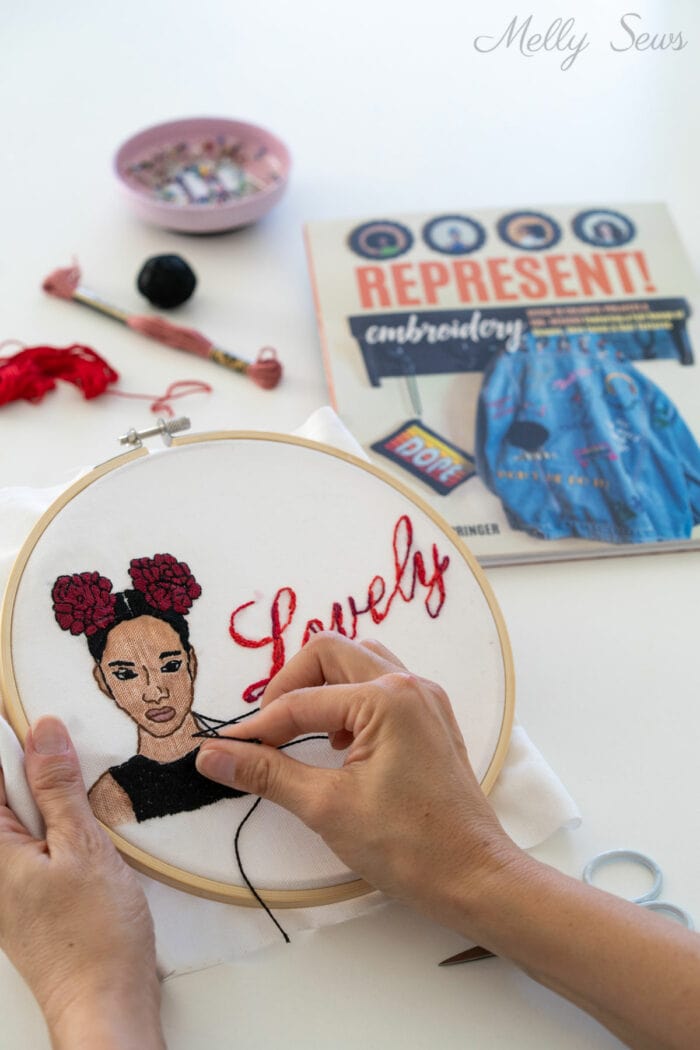
The book includes the girl embroidery design as an iron on transfer. Since I wanted mine to be a little smaller I re-sized the design and traced it onto my fabric. I used regular embroidery floss for the flowers, outlines and the girl’s shirt. Then I switched to perl cotton for the hair and the word Lovely. I added the word Lovely during the embroidery process at my daughter’s request. She chose a font she liked and I just traced the word off my computer screen onto the fabric.
Materials for a Cosmetic Bag
Because so much work went into the canvas and embroidery, I wanted to make sure to protect it for use near makeup. So I came up with the idea of adding a vinyl layer to the outside. And since I didn’t want makeup to leak from the inside either, I used waterproof lining as well. Here’s a list of the materials I used:
- White 7 oz canvas for the embroidered front and the back, 1/3 yard
- Lightweight fusible interfacing for the wrong side of the outer fabric
- 4 gauge vinyl (affiliate link) 1/3 yard for outer layer
- Telio Seattle Metallic Waterproof Nylon Black 1/3 yard for the lining fabric
- 12 inch zipper (affiliate link)
- Flamingo point turner (affiliate link)
- Sewing clips (affiliate link) because you don’t want to pin vinyl
- Sewing machine including a zipper foot & basic sewing notions (needle, thread, etc)
- Optional but handy – rotary cutter, ruler and mat
Makeup Bag Pattern Pieces
Here are the pattern pieces you need to cut for this DIY makeup bag:
- Two 9 inch tall by 13 inch wide rectangles out of each: outer fabric, lining, and vinyl
- One 15 inch by 2 inch piece of outer fabric and of vinyl for wrist strap
I suggest cutting your pattern pieces with a rotary cutter, ruler and mat. However, if you don’t have those you can use a ruler or measuring tape to draw the pieces on your fabric and cut them out with scissors. Note that these cutting measurements include a 1/2 inch seam allowance. Finally, the finished pouch measures 8 inches tall by 12 inches wide.
How to Make a DIY Cosmetic Carrier
This makeup bag tutorial will help you create great gifts! To sew a makeup bag, follow the video tutorial below or on YouTube here if the video won’t load for some reason.
This zipper bag tutorial has the step by step video and the written instructions for a zipper pouch if you’ve never sewn one before. This post has more tips for sewing with vinyl. And below is an outline of the steps to sew a cosmetic bag if you just want the order of construction.
Order of Construction for a makeup tote
Time needed: 20 minutes
How to sew a makeup bag
- Fuse interfacing to the wrong side of the outer fabrics
Use lightweight, fusible interfacing. This is optional, but it does help the bag hold its shape and wrinkle less.
- Baste the vinyl to the outer fabric
Layer the vinyl on top of the right side of the outer fabric and then baste at 1/4 inch around the edges. I prefer to baste from the center of each edge toward the corner in case the vinyl shifts. Treat the two fabrics as one outer fabric for the rest of this tutorial.
- Press the wrist strap
Match long raw edges of wrist strap fabric and press wrong sides together. Open and press raw edges toward center crease. Fold strap on first crease and press again so that all raw edges are inside. Match long edges of vinyl wrist strap and use a point turner or side of a pencil to press a crease in the middle.
- Sew the wrist strap
Put the fabric wrist strap inside the vinyl one and clip. Push the fabric toward the fold in the vinyl. Stitch the vinyl together next to the edge of the fabric. Then stitch again in the middle of the strap, through both layers of vinyl and all layers of fabric. Trim excess vinyl off the wrist strap.
- Sew the zipper
Sandwich one edge of the zipper tape between the outer fabric and lining fabric, with right side of zipper against outer fabric and the two fabrics right sides together. Stitch with a zipper foot. fold and finger press fabrics away from the zipper and topstitch next to teeth if desired. Repeat on other side.
- Sew the sides
Unfold fabric and partially unzip the zipper. Then place outer fabrics right sides together and lining fabrics right sides together. Push zipper teeth toward lining. Clip the folded wrist strap in between outer fabric layers at zipper edge. Next, stitch around sides and bottoms, backstitching over wrist strap. Leave a gap in the bottom of the lining for turning. Clip corners.
- Finish the gap
Finally, turn the pouch right side out. The last step is to close the hole in the lining with a blind stitch or with topstitching on the edge.
Speattle
it says so right on the bag… Your daughter and the makeup bag are both Lovely. Thank you for the tutorial.