
This headband is so easy and fun, you will want to make one in every color. This is a great beginner sewing project to use fabric scraps.
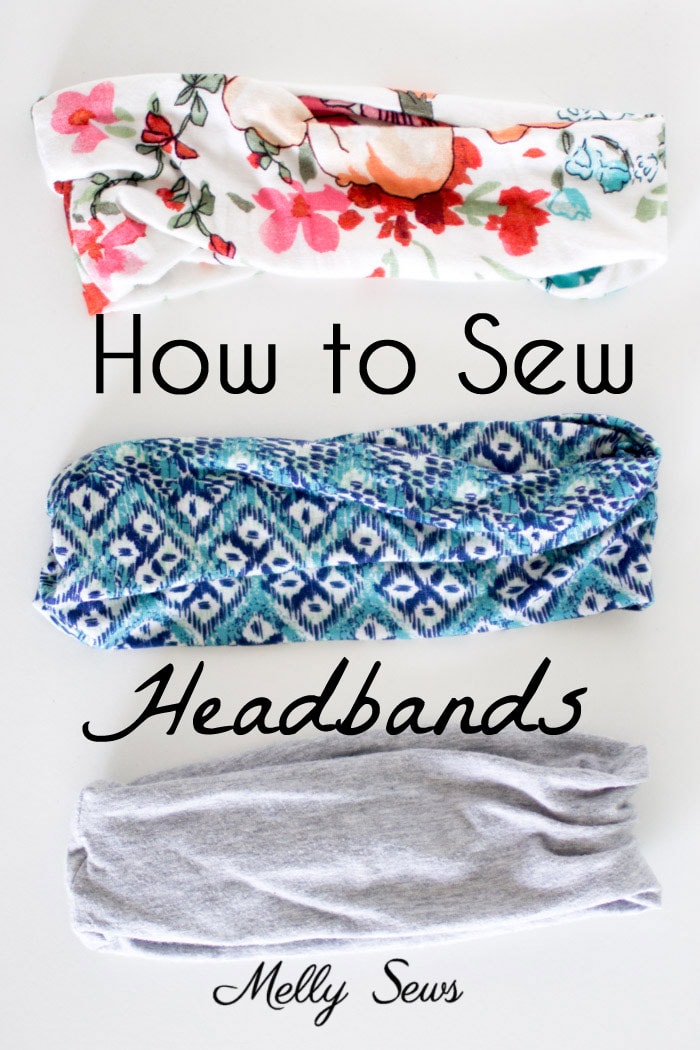
Hey y’all, today I’m going to show you how to sew a headband from stretchy fabric. This is an easy sewing project and works much making scrunchies and infinity scarves. You don’t need elastic to make a DIY headband like these, just knit fabric with good recovery. Even an old t-shirt will work to make a cute headband.
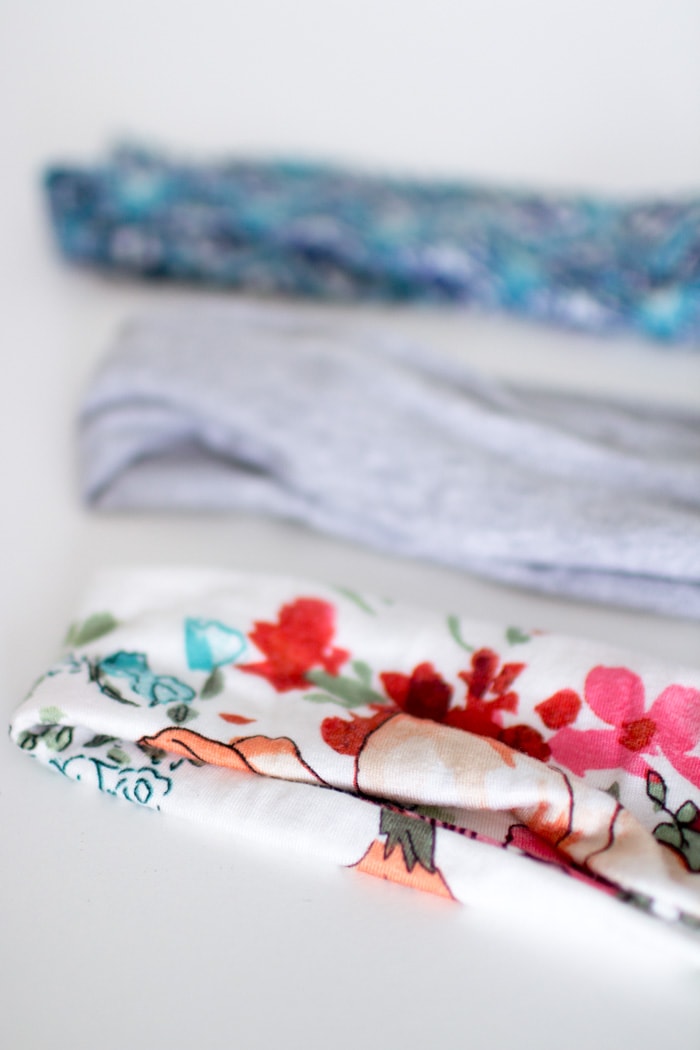
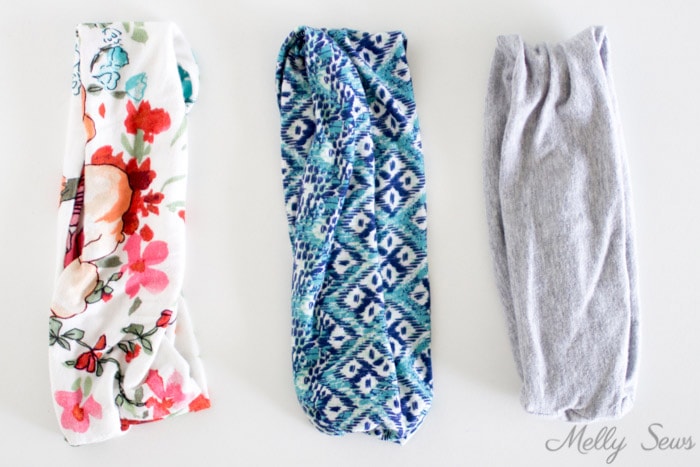
I love these to wear both with an every day outfit and for working out. Below you can see the same headband with two different looks.


If you make any kind of crafts, you can tackle this project, even if sewing is new to you. And you don’t need a sewing machine to make these, you can hand sew these hair accessories with a needle and thread.
This post contains affiliate links. As an Amazon Associate I earn from qualifying purchases. All affiliate links are identified with (affiliate link) after the link or a commissions earned statement above the link(s).
Materials to Sew a Headband
To make your headbands you’ll need:
- Stretch knit fabric, 18 inches long* by 4 to 8 inches wide. Your final headband will be the (width of your fabric minus 1 inch) divided by 2, so keep that in mind to decide on the width you want to use. The one I’m wearing in this post is 3 1/2 inches wide finished, and I cut the fabric 8 inches wide. *If you find store bought headbands tight, you may want to adjust my measurements. Measure your head where you want the headband to go, and then multiply that number by 0.8 and add seam allowances to get your personal measurement. If your fabric stretches less than 40%, multiply your head measurement by 0.9 instead.
- Needle and thread. It is possible to hand sew this entire headband since it isn’t very big. If you’d like to hand sew, I’d suggest a whipstitch where I sew on the machine.
- Scissors to cut your fabric
- Safety pin
- Optional tools – tube turner (affiliate link) and sewing machine.
How to Make a Headband in 3 Steps
So, here’s a little video on how to make them. You can also watch it on YouTube here, or you can scroll down for the written instructions.
Step 1: Fold the fabric in half, right sides together, matching the long edges. Stitch, using a stretch stitch, leaving a 1 inch gap near one end.
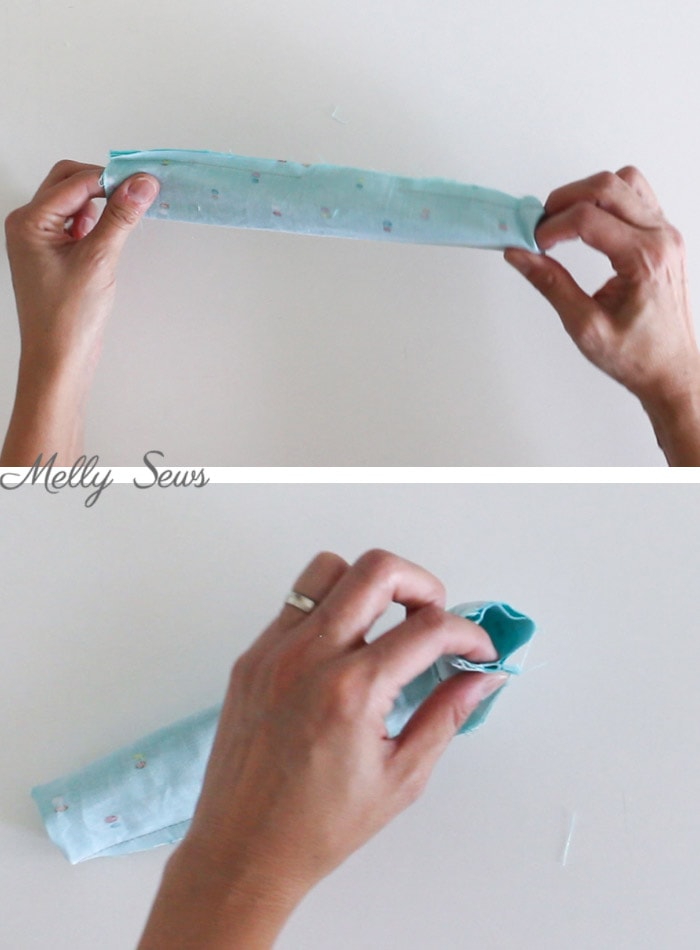
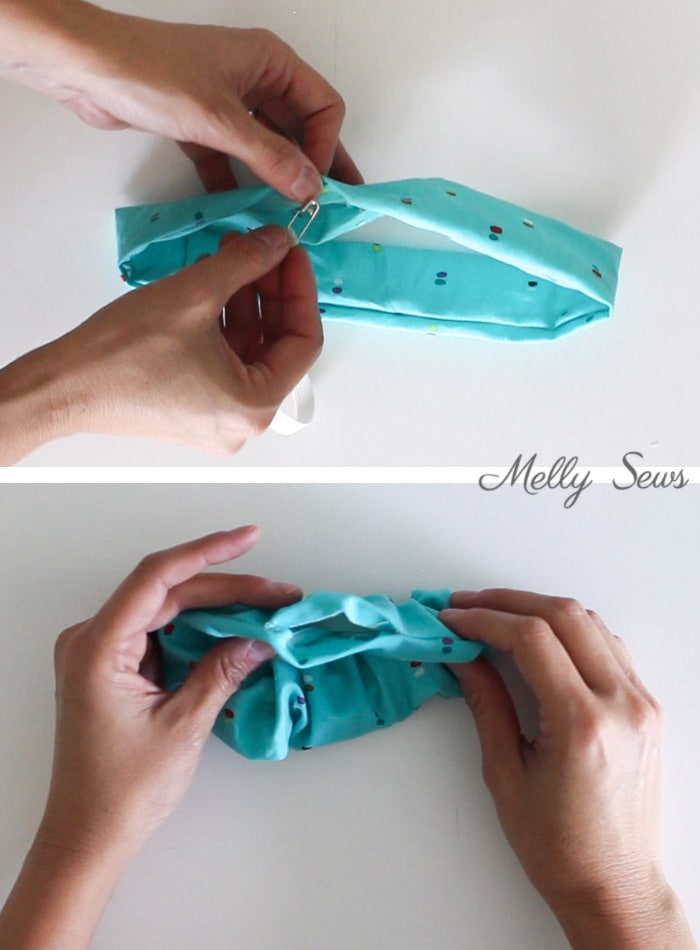
Step 2: Turn the fabric tube halfway to the right side, so that you can match the short raw edges. Make sure to do this so that the gap in the stitching stays on the outside of the tube.
Match the seams and the short raw edges. Stitch around the tube to sew the raw edges together, by placing the machine presser foot inside the circle (watch the video if that step doesn’t make sense).
After stitching the ends together, reach through the gap in the stitching from step 1 and turn the headband right side out – you should have a ring.
Step 3: blind stitch the gap closed and you’re done! Check the post linked on how to sew a ladder stitch for more help with this step.

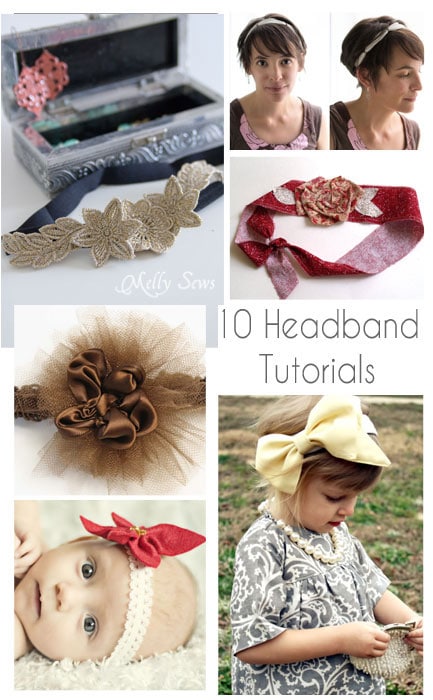
For more headband tutorials, including how to make a headband from woven fabric, check this post.
Lisa G
Thank you for this tutorial – I can’t wait to try it! I love headbands but most store-bought ones are a smidge too small for my head. I have been thinking about making my own for a few years now, and you’ve eliminated my excuse for procrastinating!! 🙂
April Bartlett
Cuuuuute! I have So. Much. Knit. Scrap. that needs a purpose in this life. My only problem with headbands is that they are always sliding around. Not sure if the storebought ones are the wrong size, my head is shaped weird, or what, but I’m going to try making some and see if they don’t work out better.
Ntsiki
Thank you for the tutorial, simple and straight forward.
Johanna
These are so adorable! I’m am most definitely going to give these a try. I have tons of knit scraps left over.
Lynette
My 12 year old niece is visiting for Spring Break, and I was wanting to do some simple sewing project with her. She watched this tutorial with me this morning and is EXCITED to make headbands!
Elle Grace
Thank you so much for this super simple tutorial!! I’m definitely gonna try this this weekend 😊
Cynthia
Yayyyyyy!! So cute! Thank you so much!!!!!
DJ
Thank you for this! Just perfect for my family member going through chemo!
Monie C
Thank you so much for this tutorial!! I was trying to make a headband to match a skirt I made for my granddaughter, and I couldn’t figure it out in my own. Clear, concise instructions. Easy, peasy! I’ll be making her a lot more of them.