
Make these reusable fabric gift card holders or cash envelopes – they’re easy! The step by step video tutorial and free pattern will help you sew them.
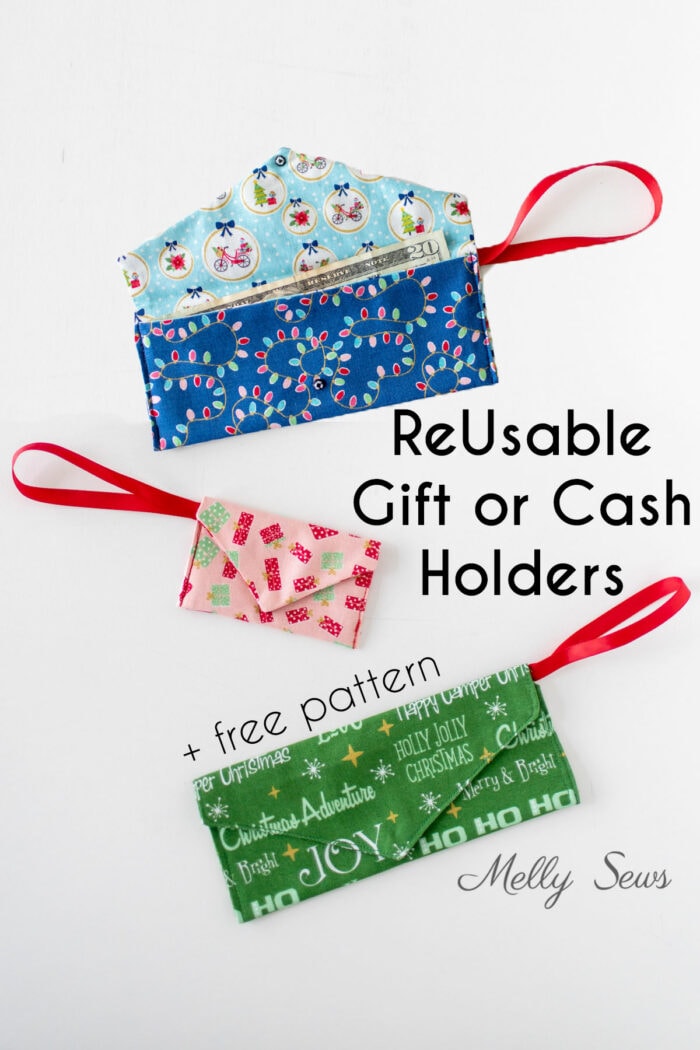
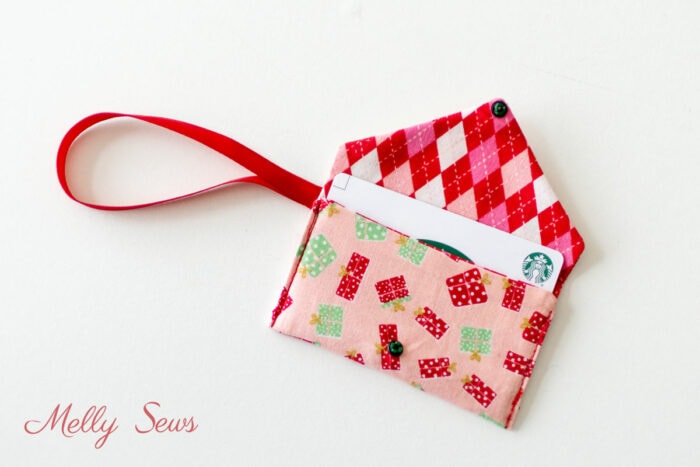
Hey y’all, today I’m sharing the last free sewing pattern of the year and the tutorial to sew a gift card holder. I hope you’ve enjoyed the 12 new sewing projects I’ve created! A Christmas gift card holder like this is great to add a personal touch to a last minute gift if you’re giving a gift card. Or if you’re giving cash, there’s a fabric cash envelope size to sew as well. And you can make these into gift card ornaments to hang on the tree.
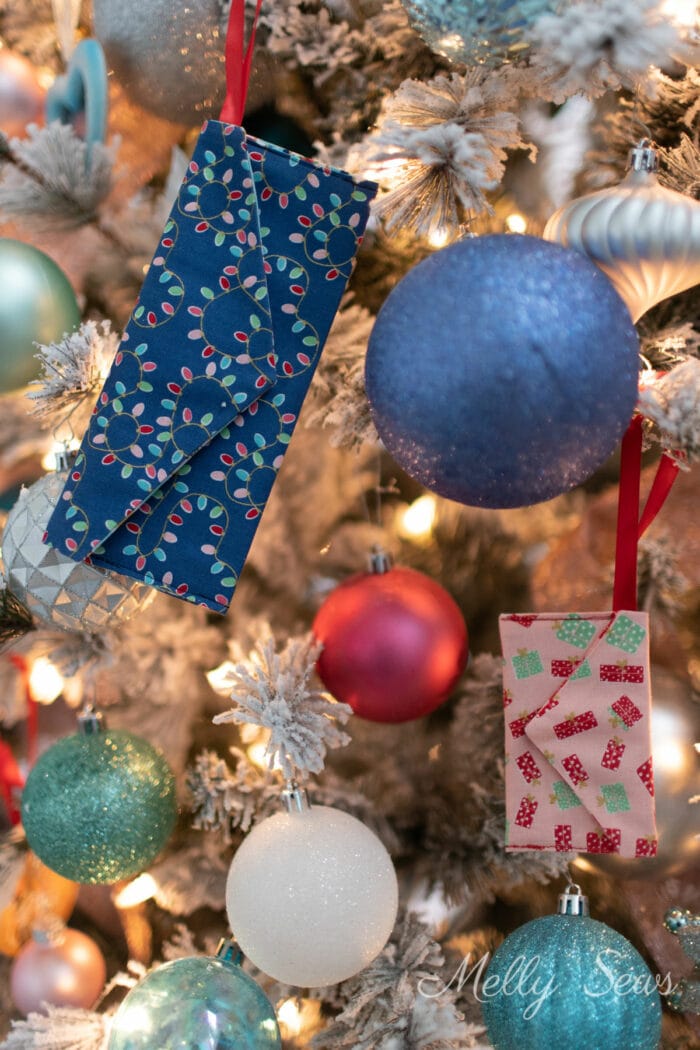
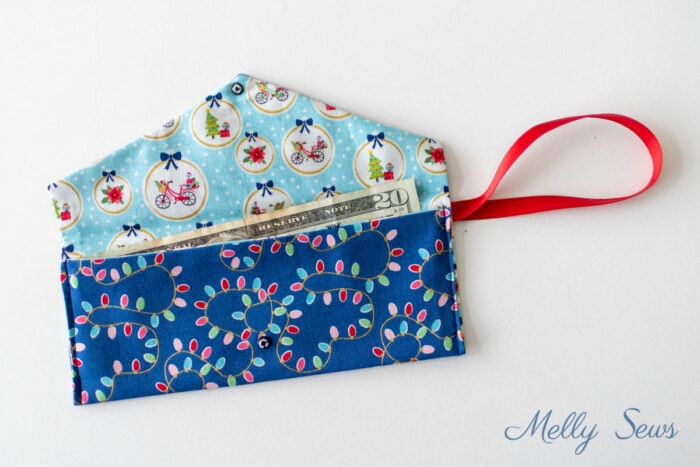
I sewed these in quilting cotton prints from my friend Bev’s collection Christmas Adventure because she was nice enough to send me some samples. It was fun to pick inner and outer fabric to coordinate with each other. And the colors in the collection go really well with the ornaments on my Christmas tree. This is also a great way to use up fabric scraps.
This post contains affiliate links. As an Amazon Associate I earn from qualifying purchases. All affiliate links are identified with (affiliate link) after the link or a commissions earned statement above the link(s).
Materials
To make your own fabric diy gift card holder or reusable cash gift envelope you’ll need:
- Sew on snap size 4/0 (affiliate link)
- Hand sewing needle
- 8 inches by 9 inches each of two fabrics for cash envelopes*
- 5 inches by 8 inches each of two fabrics for gift card holders*
- If you want to make this an ornament, 9 inches of 3/8 or 1/4 inch wide ribbon
- Sewing machine, scissors, pins, needles, thread, etc.
- The pattern, see below for details to get it.
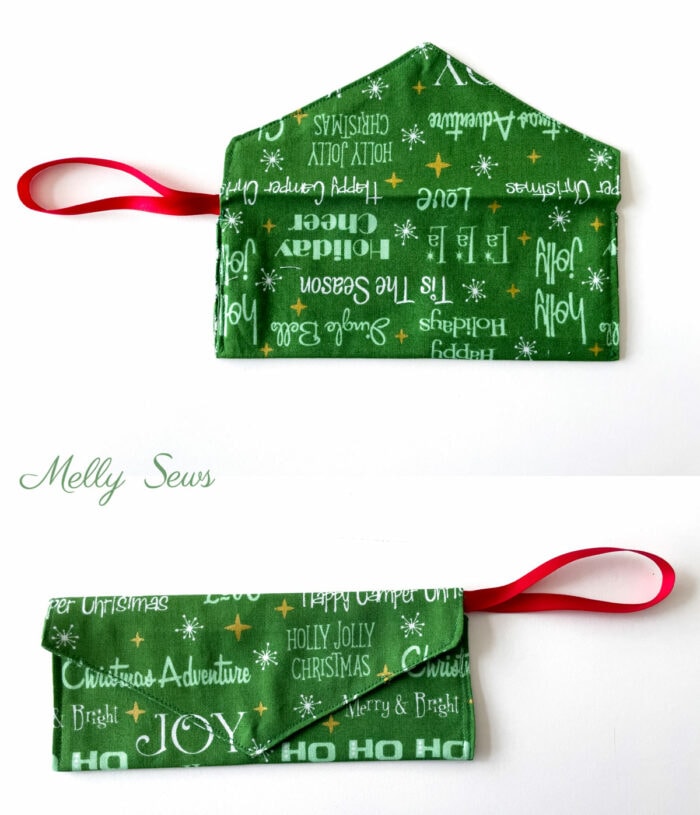
*Note that the fabric will get trimmed down very slightly with the pattern and measurements listed are the minimum sizes round off to the nearest inch. If you have directional fabric, note that the first measurement is the width of the fabric. Also note that if you’re using directional fabric on the outside of the envelope, like the green one below, cut the fabric with the print upside down from the text on the pattern piece so that when folded it will be right side up.
How To Get the Pattern
To get this pattern, you must either be a free newsletter subscriber or have purchased a gallery access pass. Then click your preferred option from the buttons below. Existing newsletter subscribers should look at the bottom of the most recent Friday newsletter for the current free pattern gallery password. If you purchased the all access pass you’ll log in to your shop account to download the pattern. Note that the free version of the pattern does not have printable instructions so you’ll need to refer to this post for instructions.
 |  |  |
DIY Video to Make a Reusable Fabric Cash Envelope
To see how to sew a gift card holder, watch the tutorial below or on YouTube here.
Sewing a Gift Card Holder
Time needed: 15 minutes
How to Sew Fabric Gift Card Sleeves
- Cut your fabric
You should have an outer piece and an inner piece. Place these wrong sides of the fabric together, inner piece up. For the gift card size, fold the bottom edge up 2 inches. For the cash envelope fold the bottom edge up 2 1/2 inches. Press. Fold the top edge down so the point of the fabric extends just below this fold. Press a crease into the top edge.
- Sew on the snap
Use the snap placement guide to hand stitch one side of the snap at the point of the inner fabric. Place the fabrics back together and fold on the creases to position the other half of the snap on the outer fabric and sew it on.
- Sew the fabrics together
Place the two pieces of fabric right sides together. Next, fold the piece of ribbon in half and pin just below the top crease line on the fabric. Now stitch around the edges using a 1/4 inch seam allowance. Leave a gap on one of the sides for turning.
- Clip corners and turn.
Clip the corners close to the stitching line. Then, turn the piece right side out, pressing seams and corners out. Press the envelope flat, pressing the raw edges of the gap to the inside.
- Fold and stitch
Fold up the bottom edge of the envelope and press again and then stitch the sides. Backstitch at each end. This will also sew the gap closed. A self leveling foot can be helpful here too.
Now add cash or a gift card and then you’re done! Since my kids are old enough where cash is an appreciated gift, I’m planning to make 3 of these in different prints and just assign one color to each kid to use year after year on Christmas morning.
JanW
Thank you for these! I made several of the cash and card envelopes, they’re cute and easy to make.