
Hey y’all, today we’re going to talk about how to set a snap, particularly the heavy duty kind like I used on this skirt. I’ve had a few questions about them, and the instructions with the kit are pretty brief, so I made a video to show you how they work.
These are the snaps (affiliate link) I used on this skirt and in this video. They also come in copper and brass finishes (affiliate links), but for some reason the silver was the only set I could find with the tools, so I had to buy both the silver and the colors I wanted.
To set them, you’ll also need a rubber mallet or hammer and you might want an awl to punch the holes, though scissors work fine too. Watch the video to see how I do them. If the video below won’t load for some reason, you can also watch on YouTube here.
Each snap has 4 parts, the cap (the outer colored part) the socket, the post and the stud. The tool kit consists of a metal strike plate and a metal setting tool which is the part you hit with the hammer.
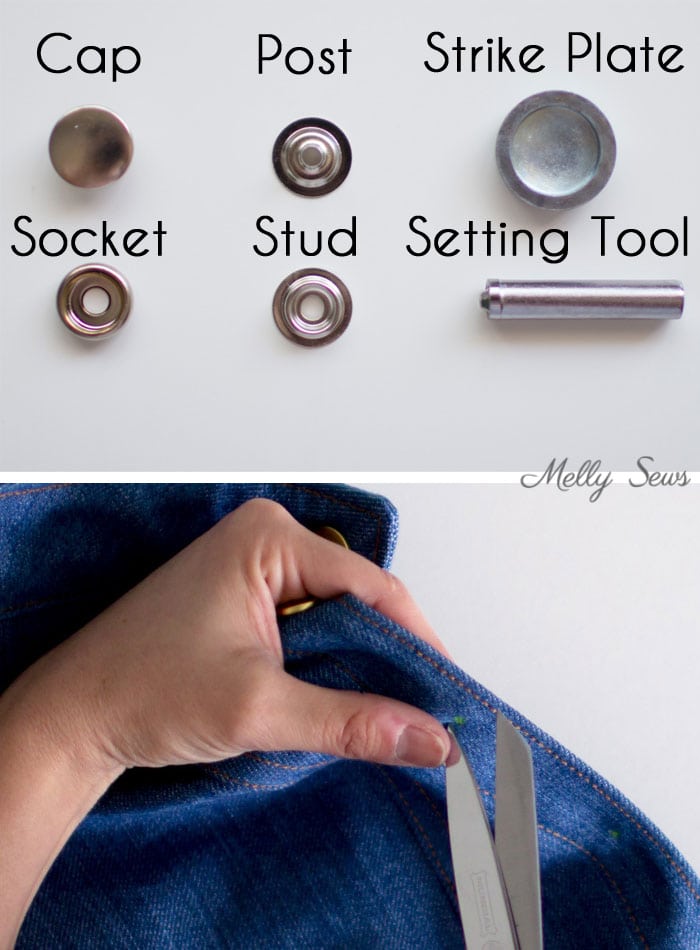
After you mark out where you want your snaps, poke a hole in the fabric. Make the hole as small as you can and still fit the prong of the cap through. Side note: make sure you have at least 2 layers of fabric plus interfacing between them for these. Thin fabric without interfacing is going to tear from use.
Poke the prong of the cap through the hole, with the cap facing out on the right side.
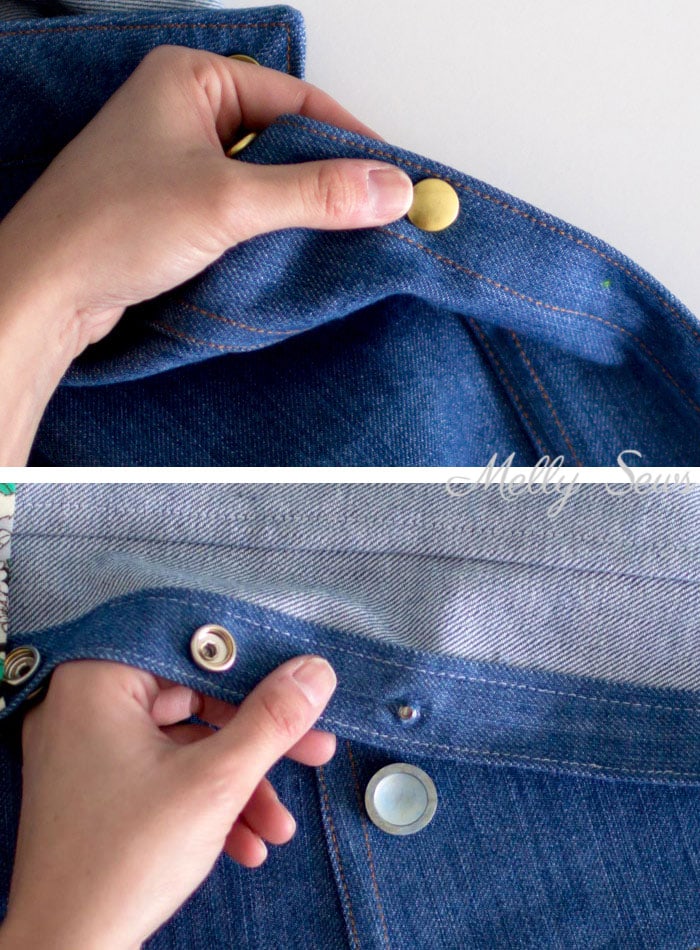
Set the strike plate flat side up and place the cap on it.
Cover the prong with the socket, bowl side up, and then line up the pointed end of the setting tool over the prong. Hammer. This will bend the ends of the prong out over the socket to hold it in place.
A trick to mark the other sides of the snaps is to put tracing paper between the layers of your placket, then hit each cap once or twice with the rubber mallet. The metal of the socket will press on the tracing paper to mark the other side of the placket.

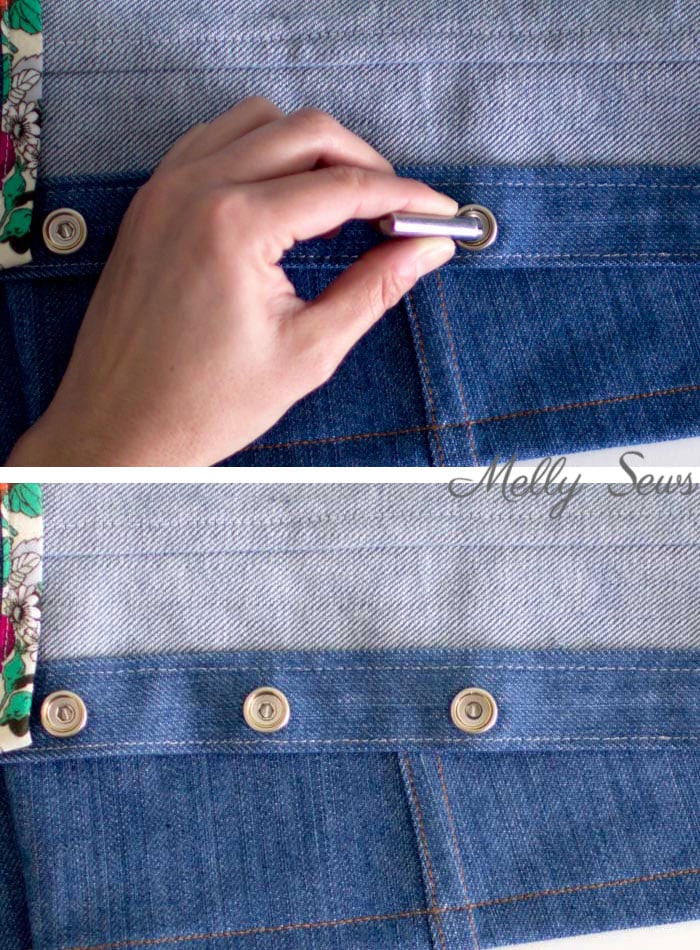
Repeat the process, making a hole, poking the post up from the wrong side of the fabric at the hole, covering the post with the stud on the right side. Then place the strike plate molded side (not flat side) up and put it under the post, then use the setting tool to hammer the post and stud together.
And you’re done!
Momo G
I am reminded that Levi’s switched to zippers when cowboys complained that metal buttons got really hot when they squatted in front of a campfire. Just sayin’……lol! Be careful where you wear them!
Wim
I like your instructions about sewing very much, even as a guy. For setting snaps it is easier to use a hole punch of about 4 mm (1/8″). Or punch pliers. These are available at hardware stores. With those punches you can punch holes through both layers of the fabric. The holes will be lined up perfectly. With the point of the scissors, you might hurt yourself but also damage the fabric with the sharp side of the blade.