
Learn how to make a custom t-shirt – DIY style!

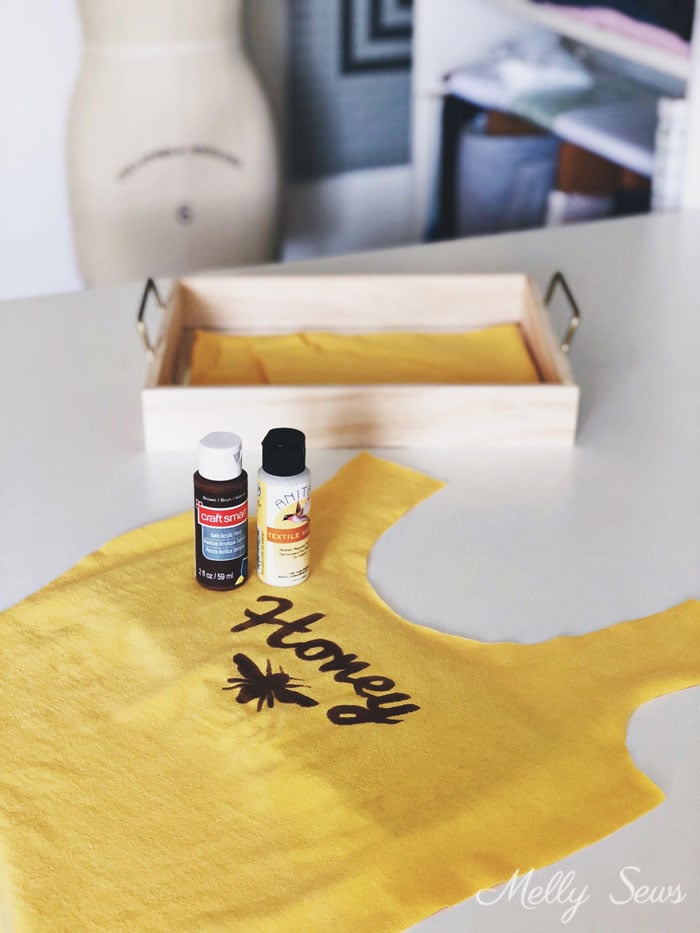
Hey y’all! Last week I shared the picture below in my Instagram stories, and soon after starting getting questions in my inbox about what paint I was using and how I did the stencil. So today I’m sharing details on materials and supplies I used to to this.
I love the flexibility to create my own t-shirt graphics without needing all the chemicals, supplies and prep work of screen printing. On the other hand, the method I’m sharing today is best for one or two designs, not multiples, and it works better with each single color graphics.

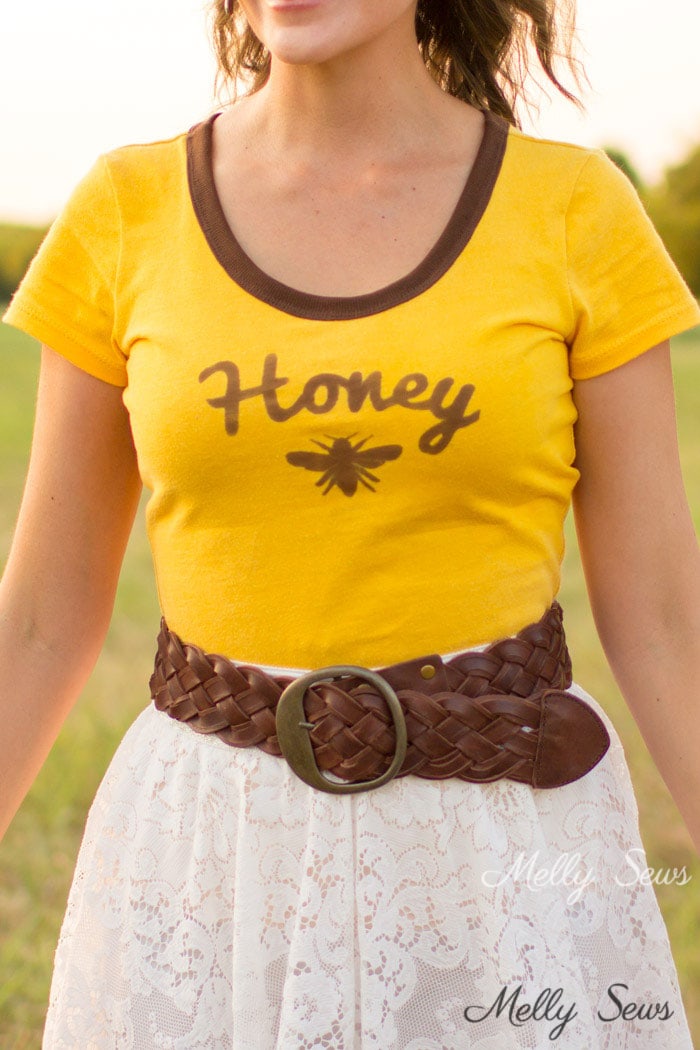
Fun fact: my name is from the Greek for “bee” or “honey bee”, which is why I went with this particular graphic.
OK, let’s talk supplies. Please note that the below are affiliate links, so if you purchase through them I get a percentage of the sale that helps me support this site.
- A t-shirt (I prefer to sew my own, but you could use a store bought one)
- Freezer paper to create your graphic
- Acrylic Craft Paint. This set has a good variety to start with, or you can buy single bottles at most craft stores.
- Paintbrush. I typically use the foam ones and dab the paint on.
- Textile Medium. I have used the Anita’s brand as well as the Folk Art brand one.
- X-acto knife or a cutting machine (I have a Sizzix, but a Silhouette or Cricut machine would also work. Note that you don’t need to invest in one of these machines unless you plan to use it for other things as well; they’re overkill for this project but nice to use if you already have one or need it for other things.)
- An iron
Steps to Make a Custom T-shirt
- Make your graphic. You can draw, use a graphics program (like Canva online or software like Photoshop), however you want to do this.
- Cut your graphic out of freezer paper to create a stencil
- Iron the freezer paper to your shirt.
- Mix acrylic paint and textile medium according to the directions on the textile medium bottle.
- Put cardboard under your design area to prevent bleed-through
- Use the paint over the stencil
- Peel off stencil and let paint dry fully, then heat set it by using a hot iron without steam on the back side of the design.
If you’d like a picture tutorial of how I do this with the X-acto knife, check this post.
Angelina
Cute Idea! I will b trying this for my business shirts.😉