
Stripes make almost any piece of clothing look stylish. Learn how to sew stripes on a sewing machine here.
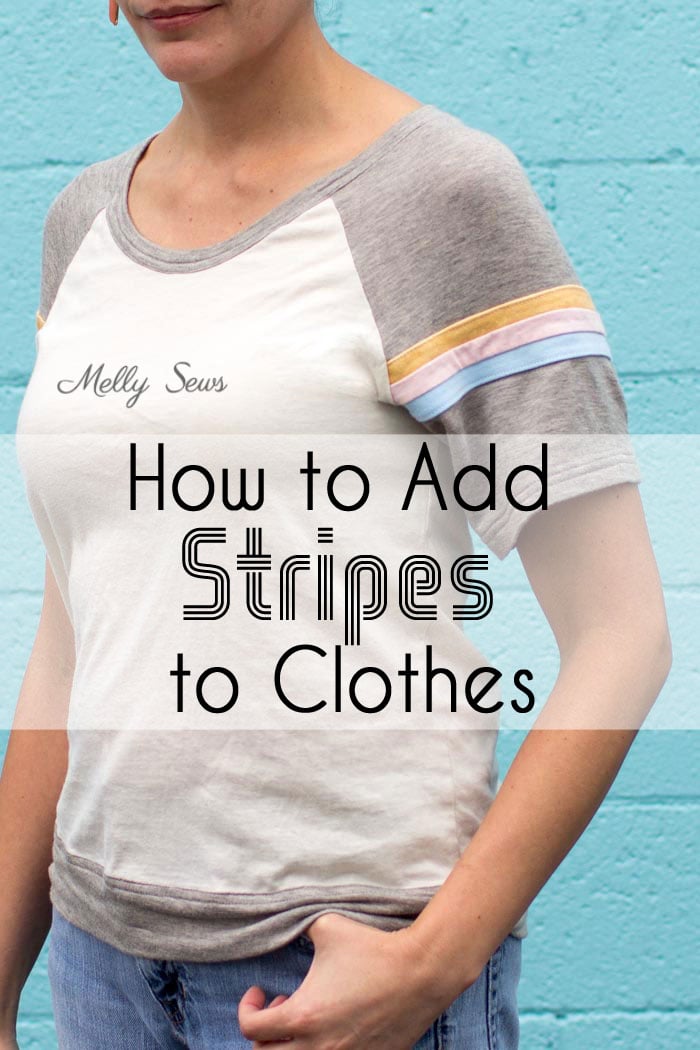
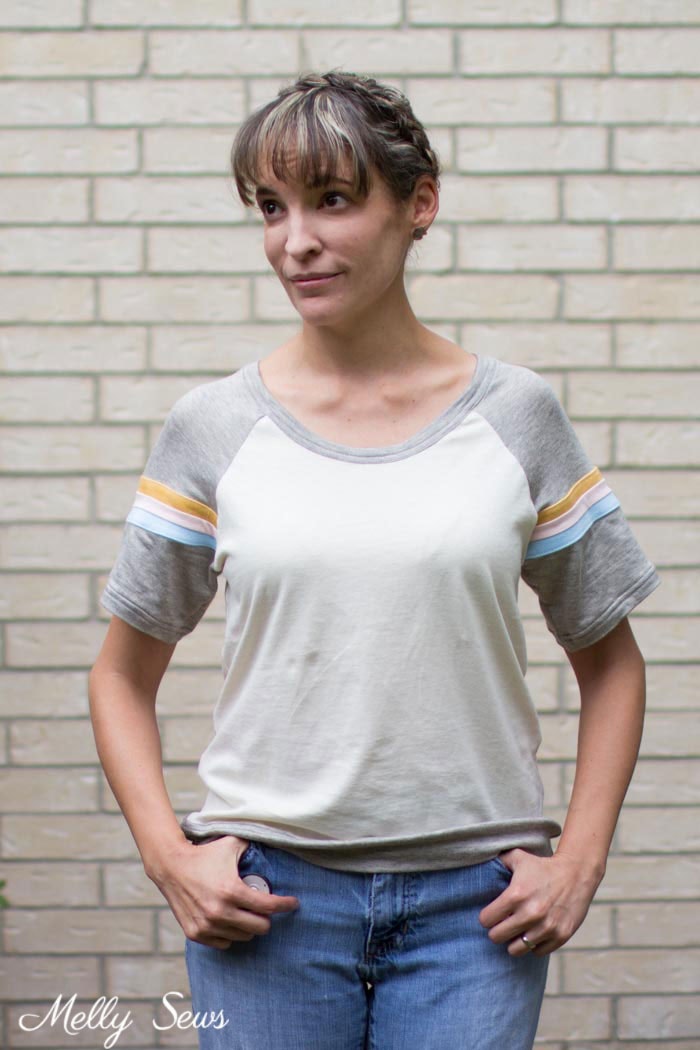
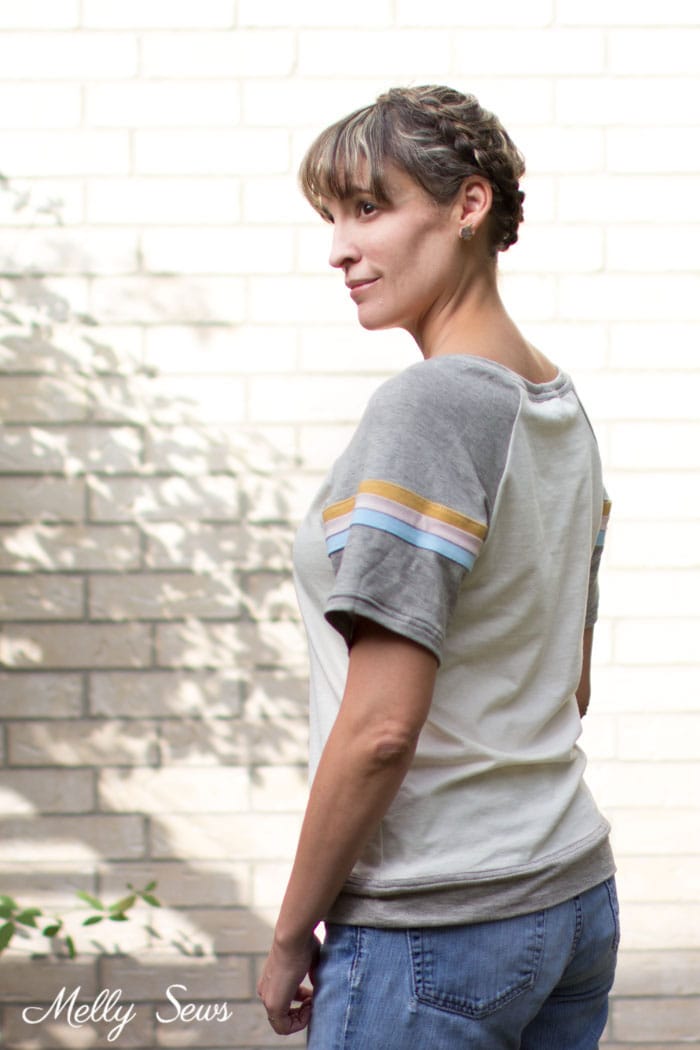
Hey y’all, welcome to April! This month’s theme is Athleisure, so get ready for tutorials and inspiration in that vein. Today I’m going to share how to add stripes to your clothes, because in my opinion a few well placed stripes give anything a sporty-er vibe. For example, the raglan t-shirt I’m wearing in these images.

Note that this post isn’t going to cover how to add stripes using dye or fabric paint. You might want to check out this post about printing on a tee if that’s the route you’d like to go. Today’s post shows how to add fabric stripes.
Side Note: How I Choose Blog Post Themes
When I am contemplating themes for the year, I keep in mind things I need to sew for myself – because that’s more fun for me, and what’s the point of having your own website if you can’t have fun? Anyway, I read The Curated Closet (affiliate link) last year, and one of the concepts that really stuck with me was that your wardrobe percentages should match the percentage of your actual life you spend doing each thing. So when I was teaching and spent 50% of my waking hours in a classroom, it made sense to have 50% of my wardrobe reflect that. But now that I work from home and also work out more often than I did when I was teaching, it makes more sense for me to have more clothes that are work from home and gym friendly, or both!
And if you’d like to grab a free wardrobe planner based on the things I’ve learned and have been working on for having a more intentional and functional wardrobe for myself, you can get that when you subscribe to my shop newsletter here – it will be in the first email you receive after signing up.
That’s really just a long way of saying that I chose Athleisure as a theme because it fits my current lifestyle, and I feel like my current closet hasn’t totally caught up to the ways I currently spend my days.
Sewing Fabric Stripes
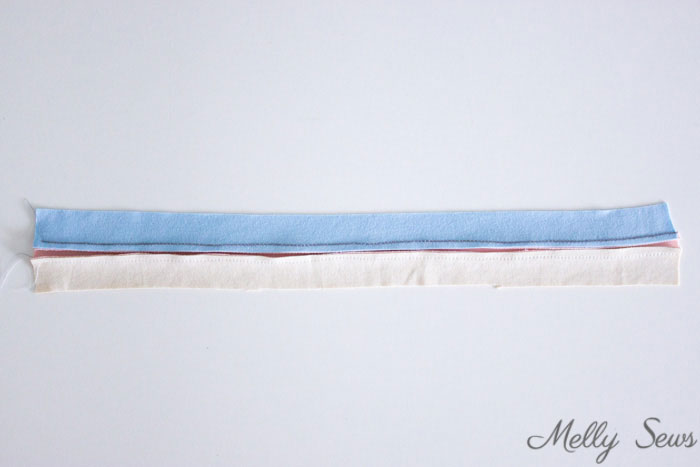
So, stripes! To make this striped shirt, I cut strips of scrap fabric to sew on to the sleeves of my Rivage Raglan. These were a little longer than the widest point of my sleeve and each stripe was 1/2 inch wider than I wanted the finished stripe to be, so that I had 1/4 inch seam allowances and 1/4 inch to fold under on the edges.
I sewed the stripes to each other along the long edges, then pressed the seams as shown below. Then I pressed the two remaining raw edges 1/4 inch to the wrong side.
At first I thought pinning the stripes on like shown below would work, but this ended up with a stripe right across the ball of my shoulder, which is NOT the look I was going for. The thing to remember is that in a raglan sleeve, the ball of your shoulder is accommodated by the fabric’s vertical and horizontal stretch in the cap of the sleeve.
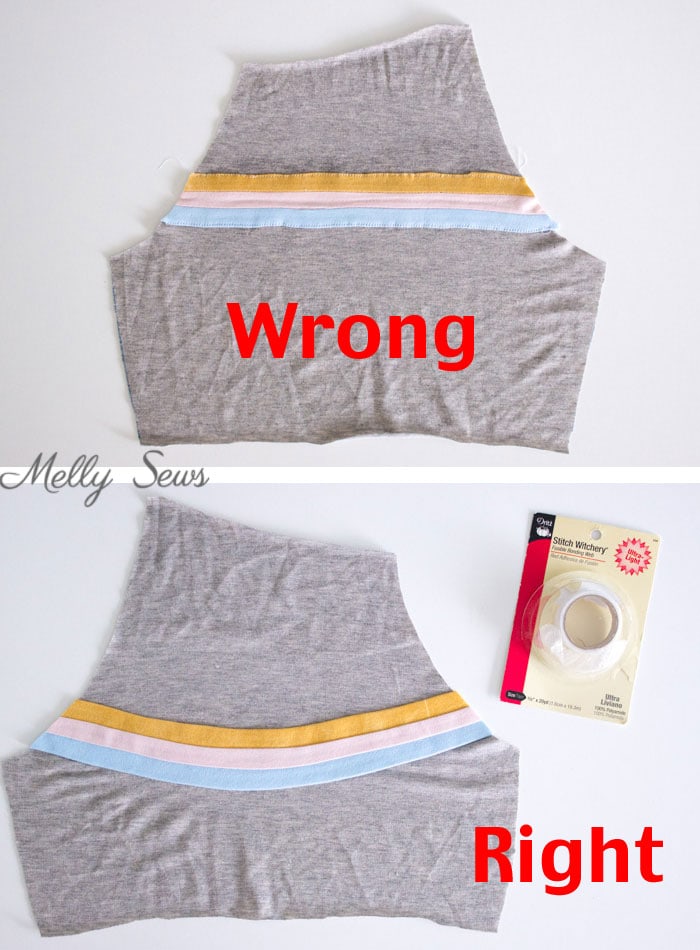
So what you actually want to do to get stripes that appear to be horizontal stripes when you’re wearing the shirt is to curve them to give your shoulder room. Since this was knit fabric, I stretch my stripes slightly to get them into this shape. I also suggest using Stitch Witchery (affiliate link) instead of pins to hold the stripes to your sleeve until you can stitch the bottom and top edges. This helps keep the stripes from shifting.
If your machine has a stretch stitch (the one that looks like a lightning bolt) I like the look of that better than a zig zag here. Here’s a post on different stretch stitches if you want to compare.
Sewing Stripes on Seams
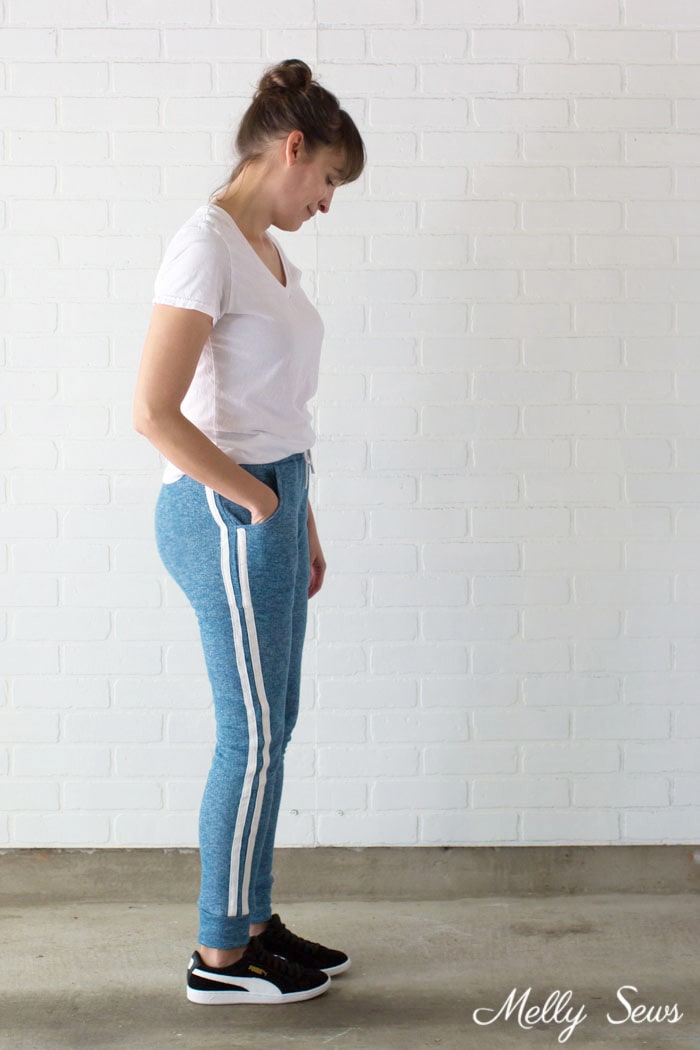
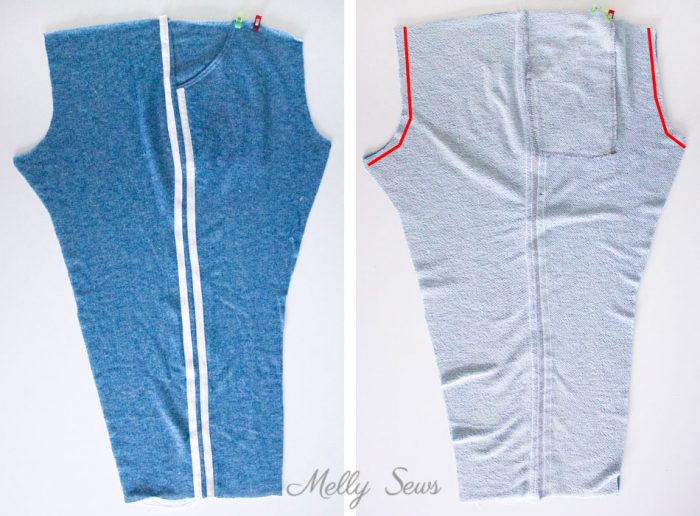
To add vertical stripes to these Skye Joggers, I used a slightly different technique.
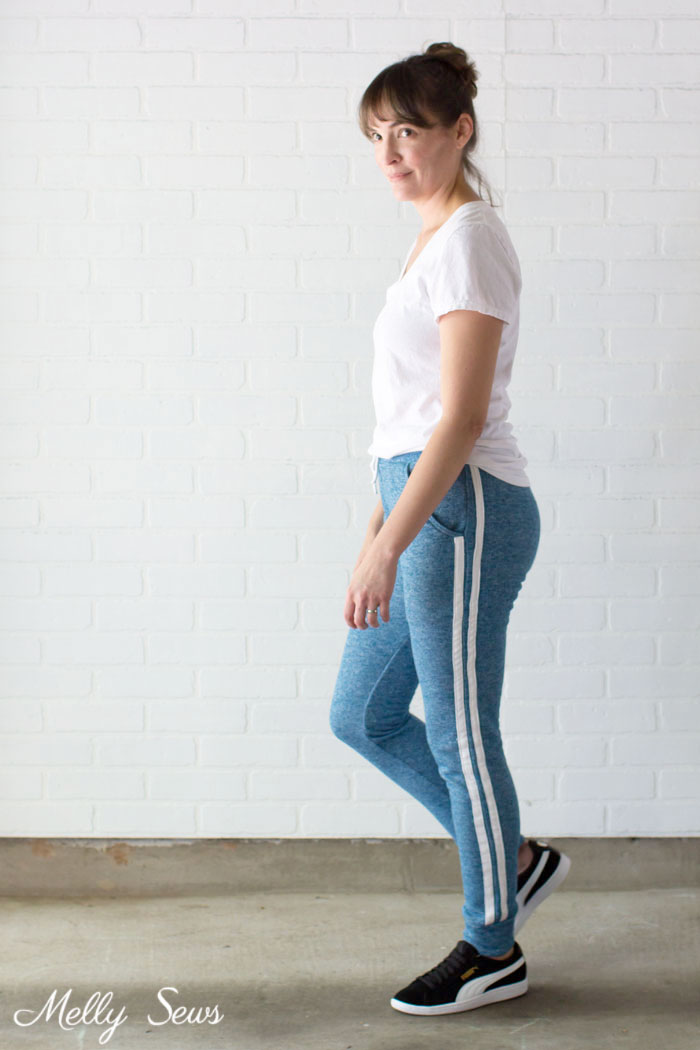
The order of assembly changes slightly when you want to do outseam stripes like this. The pattern calls for front pockets, then crotch seams, then side seams then the inseam. Instead, you’ll sew the front pockets then take each front leg and match it to the corresponding back along the outseam and stitch.
First, I cut four 1 inch wide strips of knit that were the same length as the outseam of the pants. Then I ironed them with heavy starch to keep them laying flat. Next, I used my 1/2 inch bias tape maker (affiliate link) to fold the raw edges in. Since the fabric was already starched, it lay nice and flat when I was done.
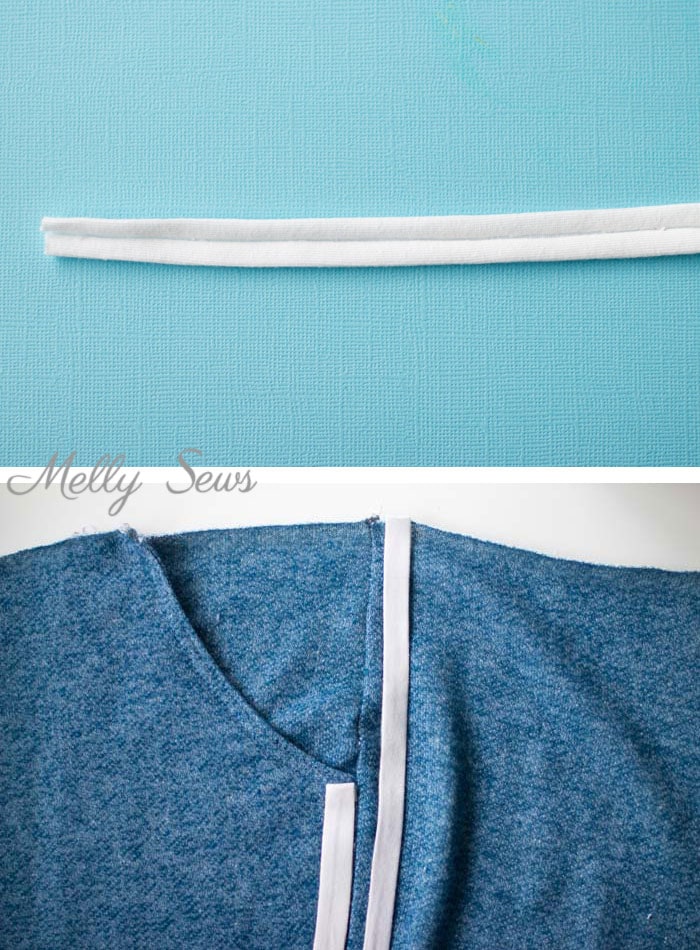
I used the Stitch Witchery again to hold the stripes in place. I positioned the front strip right next to the side seam, and then pressed the side seam toward the back and added the back stripe 3/8 inch from the front strip. As you can see above, I folded the tip of the stripe to the wrong side at the pocket edge. Then I stitched down both edges of each stripe using a stretch stitch.
Finally, take the other front/back leg assembly and place them right sides together. Stitch the front and back crotch curves, then open the pants up to continue with the inseam and finishing as called for in the pattern.

Erin
These are really popular on skinny jeans this year, Could you just use bias tape?
Robyn
Thank you! Autumn (Fall) going into Winter in Australia and I’m in need of warmer pants so the link to this post is well timed for me :). Frosty mornings are not too far away…..brrr.