

Day 3 of Hat Week and I have a free pattern for you!
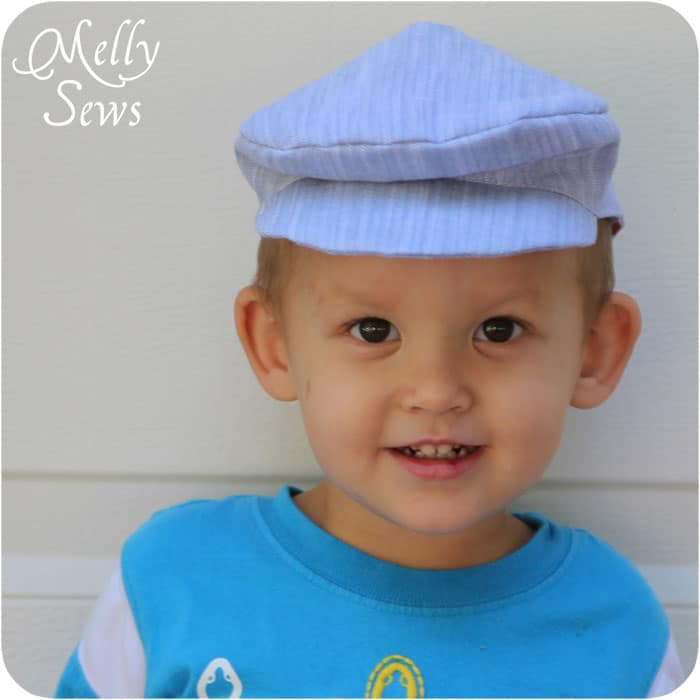
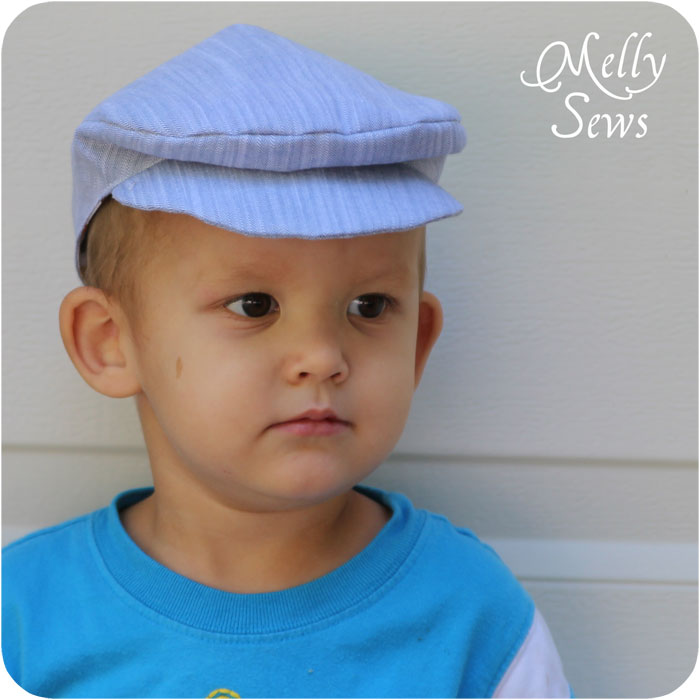
I wanted a Gatsby style hat, like Robert Redford wears in the movie (Side note: is anyone else sad that the Leonardo Dicaprio version release has been pushed back AGAIN?).
I was inspired by this tutorial at about goodness, but her version is for a size 22 1/2″ head, and Bean’s is only 19 1/2″. So I took a good look at her construction and then drafted my own pattern. So, for your 19.5 inch (slightly loose fitting – so you could use it for a 20″ head as well) version, keep reading. And if you need a good adult version, go over and check out about goodness.
You’ll need:
- 1/4 yd main fabric
- 1/4 yd lining fabric
- 1/4 yd fusible interfacing
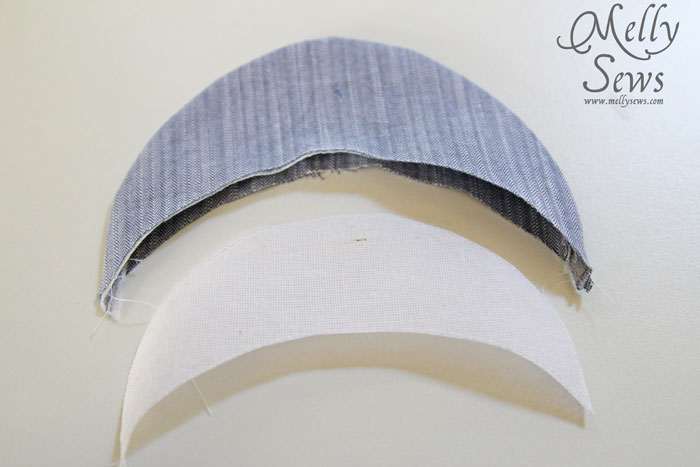
- Tiny piece (6″x4″) of buckram – (stiffened fabric over in utility fabrics section)
How to Get the Pattern
To get this pattern, click your preferred option from the buttons below as a newsletter subscriber or gallery access pass purchaser. Note that the free version of the pattern does not have printable instructions.
 |  |  |
Please note that all my free patterns are licensed for personal use only (no selling items made from this unless you purchase it) and by downloading you are agreeing to this license.
First, print your pattern.
- Print all pages on standard paper.
- I’ve found printing works best if you open this pattern with Adobe Reader, which is free to download. You may have another program on your computer that reads PDFs, but it may not print the right size. I know, because when I try to print this off my Mac in Preview, I get very different sizes depending on lots of things. Trust me, save yourself the headache and use Adobe Reader.
- Make sure that “Auto Rotate and Center” is checked and that “Scaling” is NOT checked. These may be hidden in drop down boxes – make sure to find them!
- If you live outside of the US, print the pages to your standard paper size. The pattern lines may be shifted slightly but you should be able to match up the symbols and lines.
- There is a circle symbol on the pattern to help you match up pages.
- To connect the pages, trim to the edge of the borders (there should be a gray border around each pattern piece) and tape the pages together at the circle symbol.
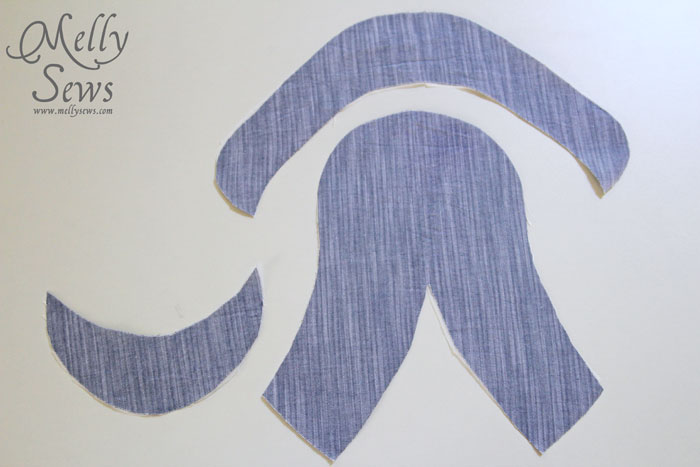
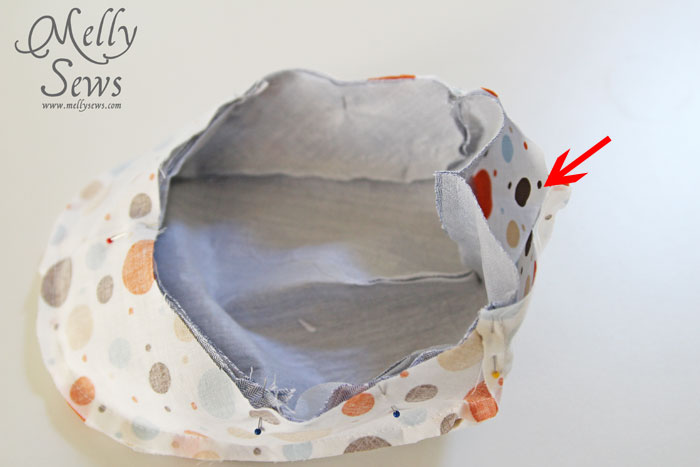
Next, cut your pieces according to the instructions on the pattern pieces.


emersonfamily
I just made your hat. Thanks so much for the tutorial. My son has almost the exact same head size. 🙂 Unfortunately when I tried it on him it was huge! I used the same seam allowance of 1/4″ that you did. Any idea what I might have missed? Any suggestions on how to make a tuck at the back or something so that it will fit? Thanks!
Amber
I don’t know how you figured out how to make this.. it seems so complicated! You have got some skills. : )
Thanks for stopping by my blog!
Jessica at Me Sew Crazy
Do you know how many times I tried to figure out this pattern by myself over the years, I could never quite get it right! So happy you came up with it! Well done Melissa!
emersonfamily
here is a link to a picture of the hat I made: http://emersonfamily.wordpress.com/2012/09/27/frugal-things-i-did-last-week-6/
Mimi Wong
I sewed 3 of this style using Novelty fabrics and fussy cuts it. Each time I adjusted the circumference size; adding 2 cm to accommodate growing head (fm 48cm actual fit without elastic band, 50cm & 52cm). The trick is to add a short length of elastic band at the back for better fit. My 6 mth old grandson could wear all the 3 sizes looking super cute.
Brandy
Made the hat….and I love it! That is genius! Unfortunately, it is too big for my nephew, but fortunately it fits my son! Thank you so much!
Diane
I am so excited to find your website. I am loving your patterns. I am very excited to find this Gatsby hat. It is pefect for the little boy porcelaine doll that I have made. I can hardly wait to try this pattern
Zulma ZN
Thank you so much!!! I just made it in a half hour!! Can’t believe how quick and easy it is :O!! Thank you thank you thank you <3<3 :)!