
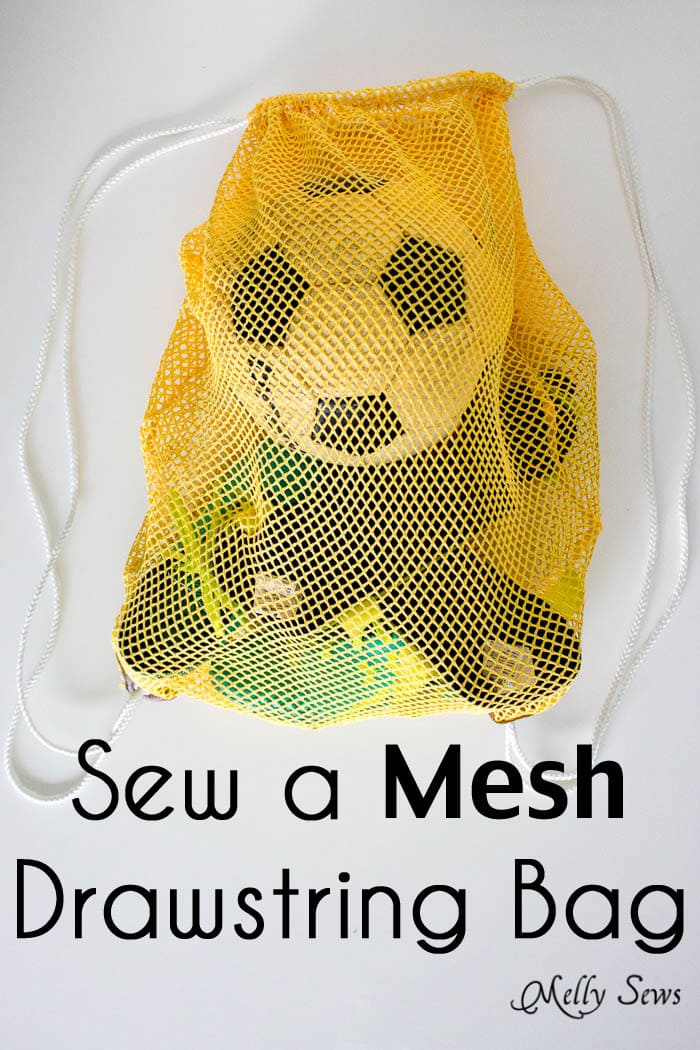
Hey y’all – welcome to May which is once again Mens/Boys sewing month on the blog. Today I’m going to show you how to make a drawstring backpack perfect for hauling the sports equipment that accompanies my boys. And of course you could make this for anybody, girls included.
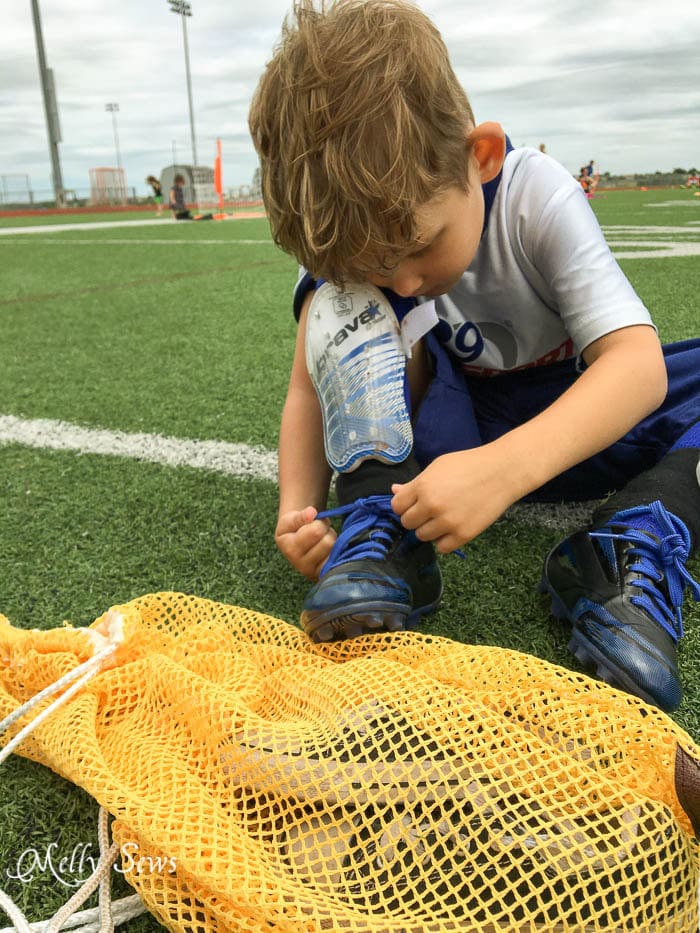
Since we switched to a different soccer league this year, we’re playing on artificial turf instead of grass and that has meant a lot of artificial grass blades have ended up in the back of my car. So I wanted to make a mesh bag, so that hopefully a few good shakes before putting it in the car would eliminate some of that artificial grass.
To make your own bag, you’ll need:
- Fabric. As I said, I used a mesh, but you could use any kind of fabric for this
- Leather, pleather, or vinyl scraps – basically you’re looking for a thicker fabric that won’t fray
- Twill tape at least 3/4 inches wide. You only need this is you’re using mesh; for other (more sturdy) fabrics you can just turn down the top edge of the fabric like I did on these.
- Grommets or eyelets and a setting kit. This is the one I wish I had used (affiliate link) but the one I actually used was a little smaller, and as a result I had a hard time pulling my cords through to knot them.
- Nylon cording. You can purchase this by the yard at the fabric store, but I find it less expensive to explore the ropes and clotheslines at my local home improvement store.
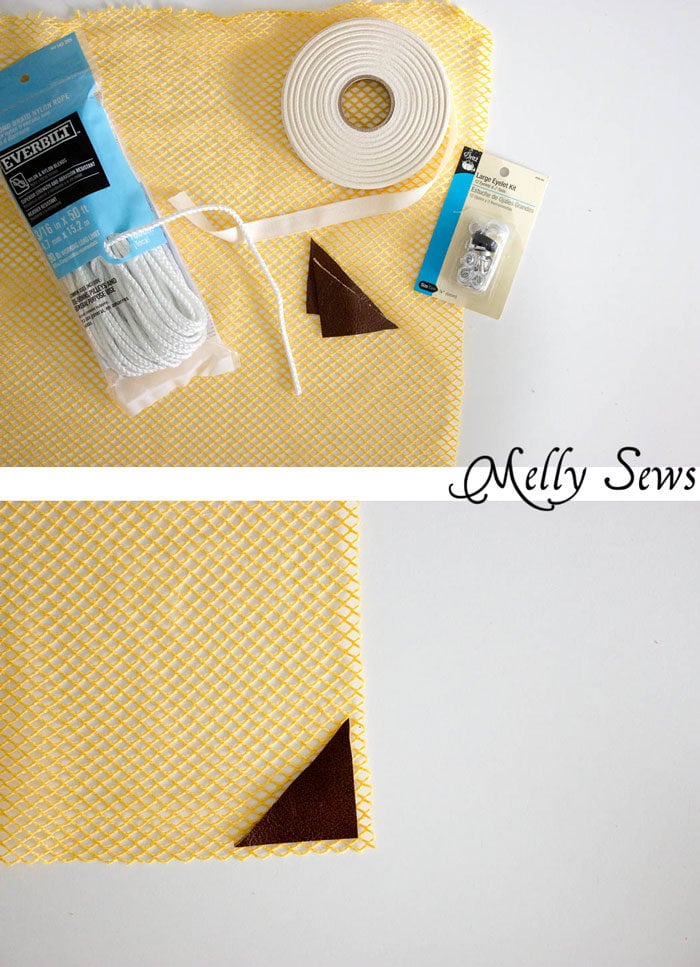
So, cut out 2 pieces of fabric that are 16 inches wide by 18 inches tall. Also cut 2 triangles of leather for the corners; you want these big enough to surround the grommets/eyelets. Sew the leather onto the bottom corners of one piece of fabric, just inside the seam allowances. Need tips for sewing leather? See this post.
Next, cut a piece of twill a few inches longer than the top of the bag. Stitch the twill tape 1/4 inch from the fabric edge, right sides together. Start and end your stitching 1/2 inch in from the fabric edge.
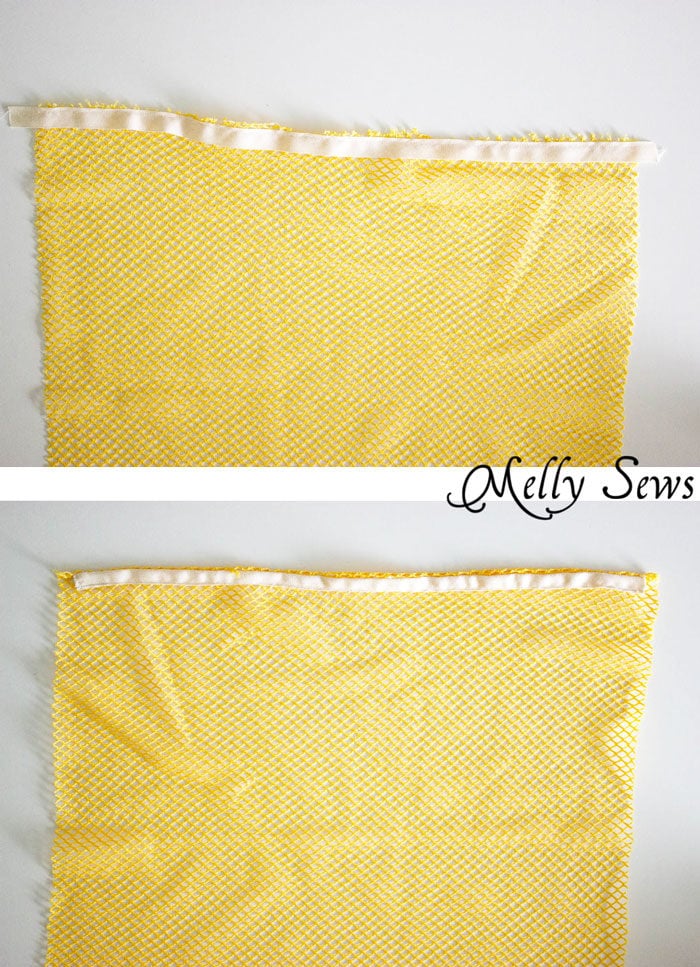
Turn the twill tape to the inside of the bag. Fold the short ends in and stitch right next to the edge. This is the casing your cord will run through. Repeat this process with the other side of the bag.
Place the two fabric pieces right sides together and stitch around the sides making sure not to stitch across the openings in the casings.
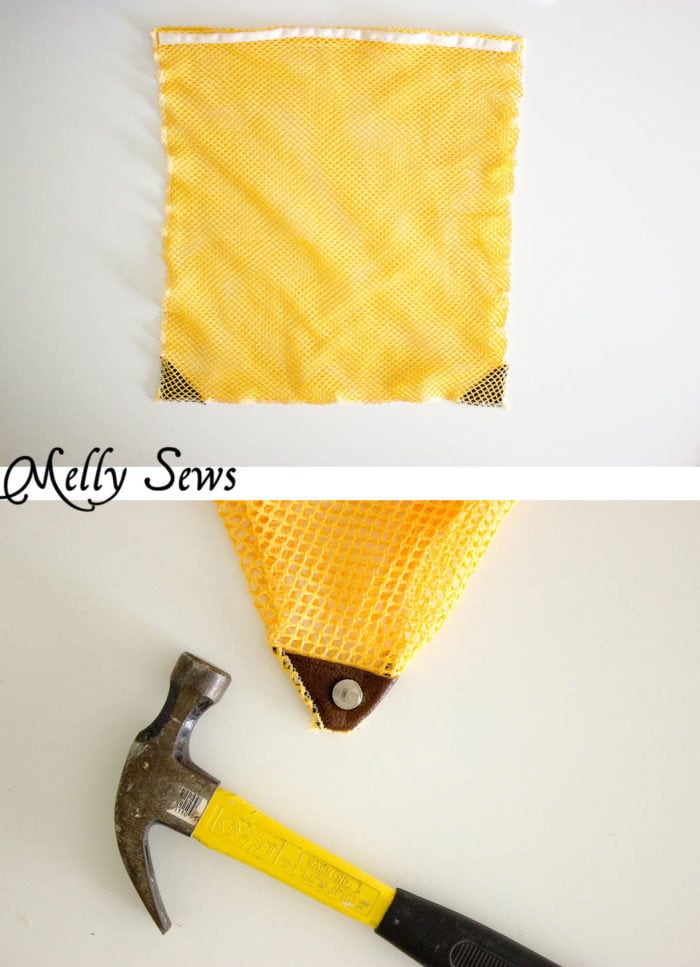
Install the grommets/eyelets through the leather patches and the fabric of the back side of the bag. Follow the instructions on the package to do this.
Measure your cord. You need enough to go double up one side and across the top. Cut 2 cords, one for each side. Since I used nylon cord, I used a match to melt the ends together after I cut to prevent further fraying.
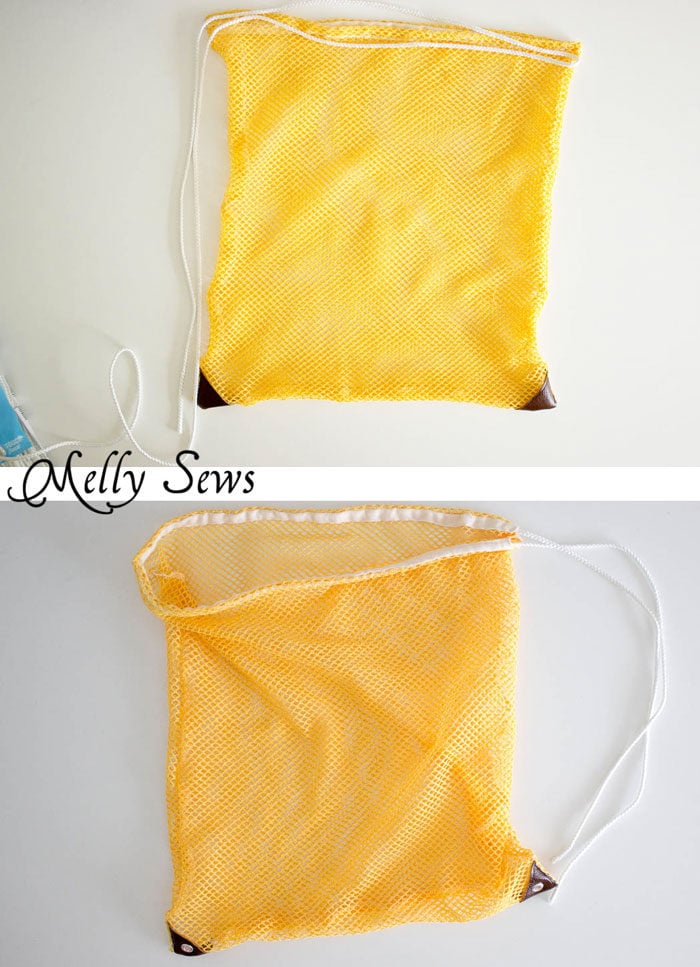
Thread one cord through the casing on one side and then through the other, then pull strings even and pull them both down through the grommet on that side. Tie in a tight knot so they don’t pull back through. Repeat this process, starting with the opposite casing, for the other cord on the other side. Need more pictures of this process? It’s just like how I threaded the ties on these drawstring bags.
And fill that bag with equipment and you’re done!
Anne
I need to make this for soccer next fall! The bag I bought for Liv when she was little is far too small for her gear now! I’ve got a Craft Gossip post scheduled for this afternoon that features your tutorial: http://sewing.craftgossip.com/?p=87771 –Anne