

See these pajama pants? I have been sleeping in them every time they’re clean since I made them in January. So today I’m going to show you how to clone a pajama pattern for a perfect fit – based on a pair of pants you already have and love!
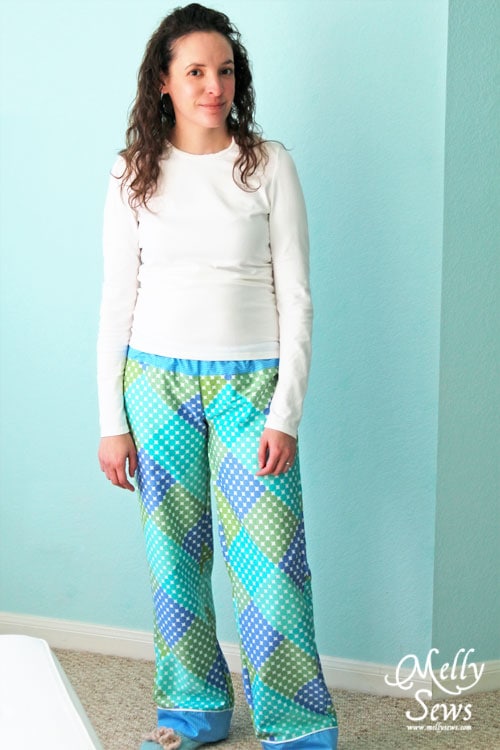
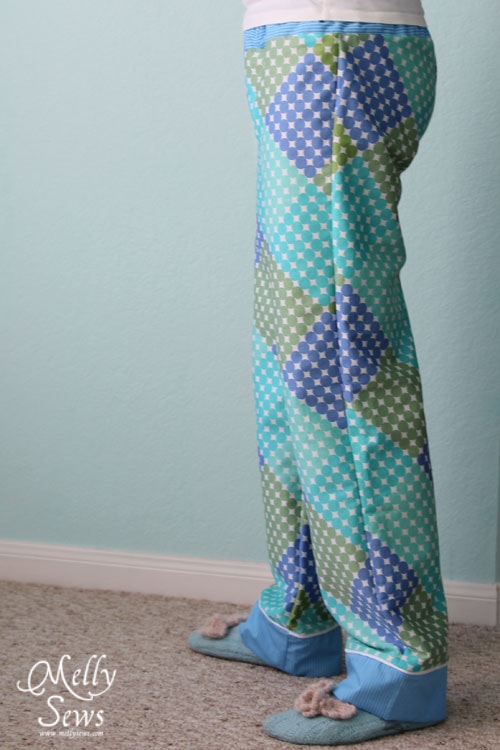
How embarrassing – I didn’t even bother to get dressed for you. (Actually, I totally did – I wish I looked like this straight out of bed! You can sew these for yourself (like I did) or for someone else. The key to these is basing them on a pair that you (or your person) have that fits the way you want them to!
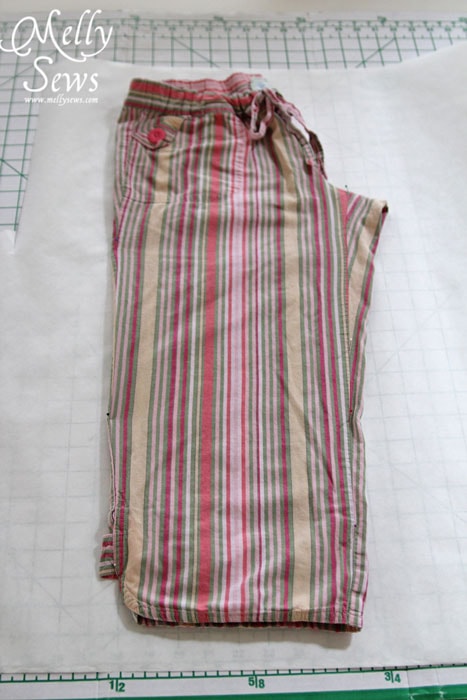
So, gather up your favorite pajama pants and your supplies.
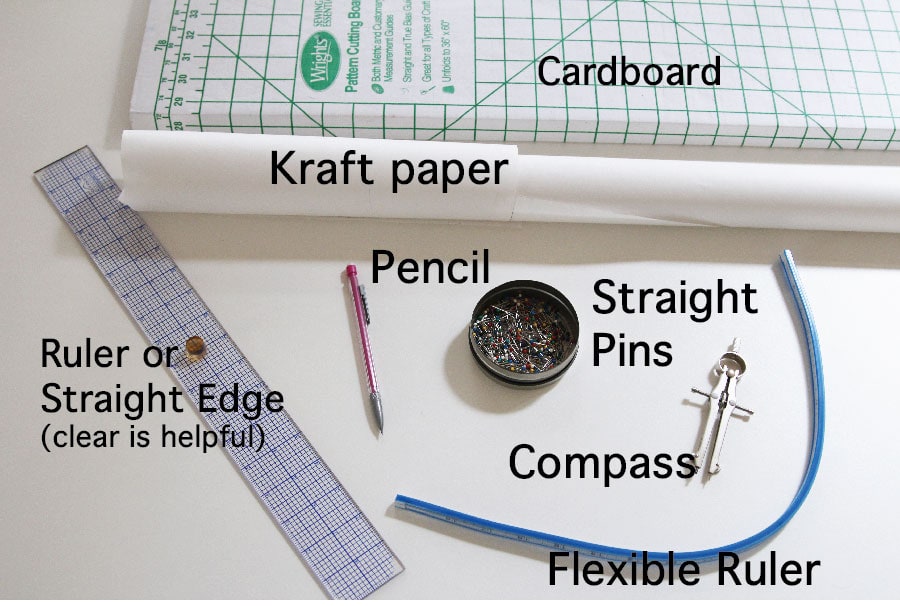
Supplies to Make a Pajama Pattern
Besides your pants, these materials are a must have:
- Cardboard (any kind, but the larger it is, the better)
- Pencil
- Ruler or straight edge (clear is nice but not essential)
- Straight Pins
- Kraft Paper (or a bunch of printer paper taped together)
- Fabric – depending on what size you are making, you might need anywhere from 1/2 a yard (babies) to 2 1/2 yards (large adults)
- Elastic (at least 3/4 wide, and long enough to go around your person’s waist)
And it is nice, but not essential to have
- A compass – not the kind you use for direction, the kind you used in high school geometry (and you thought that class would never come in useful in real life!)
- A flexible ruler
A note on fabric – if your pajamas are knit, plan to sew them from knit. If they’re woven, plan to sew from woven. You could probably use woven pants to make a pattern sewn with knit without dire consequences, but whatever you do, DON’T use knit pajamas to make a pattern and then sew them from woven fabric. It won’t work. My junior high know it all self tried this (instead of listening to my mom) and it WAS.NOT.PRETTY. (and also, I’m sorry, Mom).
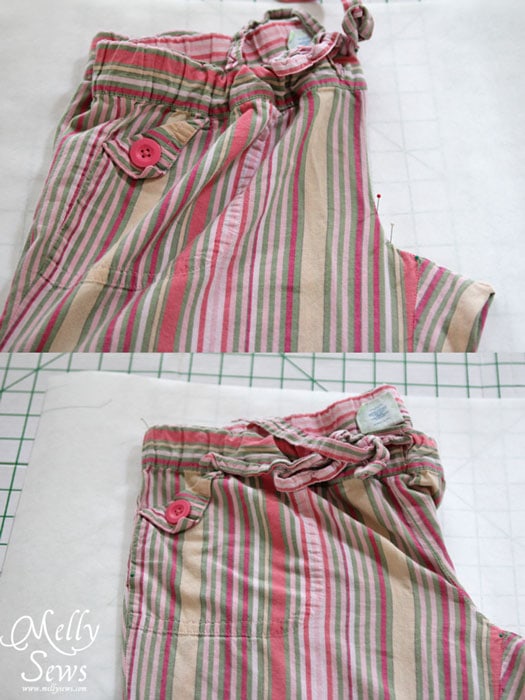
We’ll start with the front. Fold your pants so you can see the front leg and seams. You may want to pin the legs together, especially if your pajamas are knit or something slippery like satin. Lay your paper on top of the cardboard, and then put your pajamas as flat as possible on top. For the record, I used a capri length pair for this and lengthened the legs. That’s not a big deal; the important part of pajamas fitting the way you want is the depth and curve of the rise.
Starting with the lower legs, insert pins straight down through the seams into the cardboard every few inches. This will make pindots you can later connect to see the shape of your pant leg.
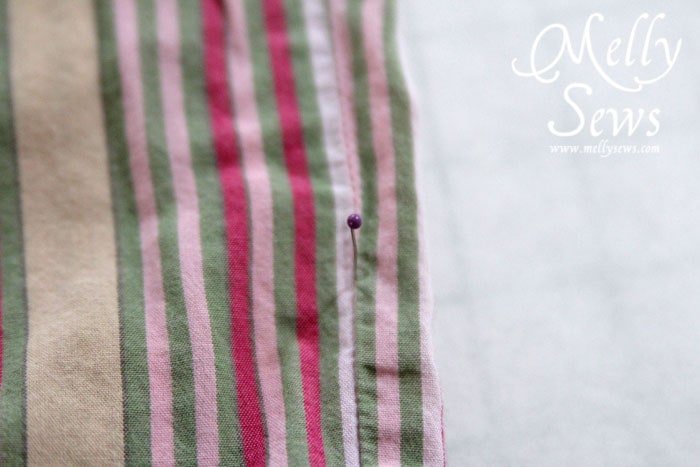
Continue up toward the top of your pants. Pin right along the seam of the rise, shifting the other side of the pants so that the rise lies flat. Then unpin the rise (leave the lower legs pinned) and shift your pants to the other side, so that the fabric lies flat. Check that you correctly got the full width of the fabric by stretching out your waistband and marking the edges of it with pins or with a pencil. Make sure to also poke pins in at the bottom of the waistband – and label these marks out to the side with pencil.
Remove the pins and your pajamas from the paper. Now using your ruler(s) connect your pindots into the shape of your front pant leg.
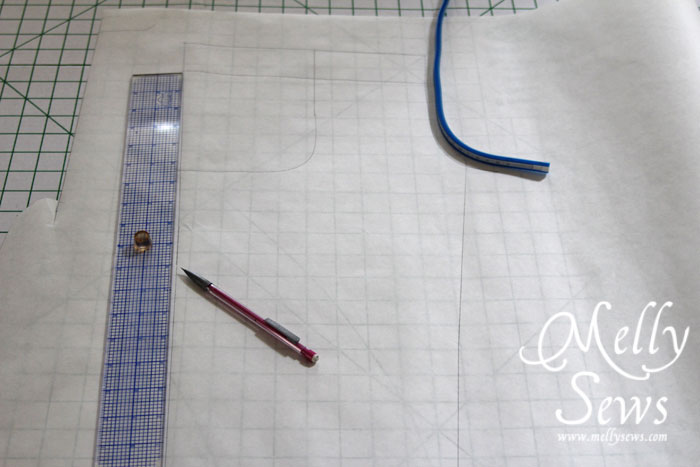
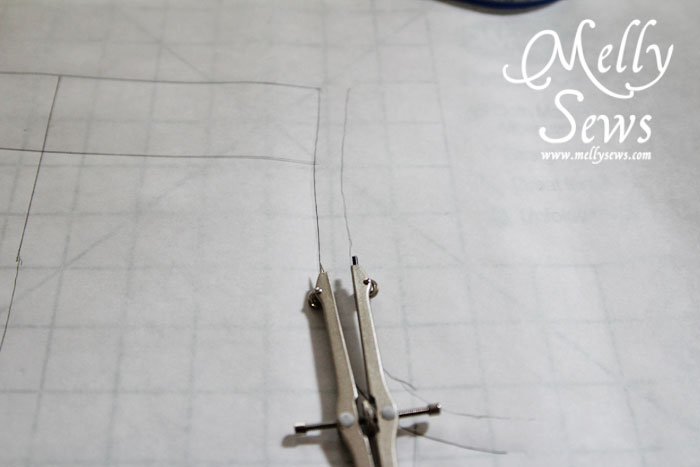
Since you are copying a garment that is already sewn, you need to add seam allowances now. This is where the compass comes in handy, but you can also do this with a ruler marking out the seam allowance every so often and connecting the dots. Or try taping two pencils together. I used a 1/2″ (12mm) seam allowance.
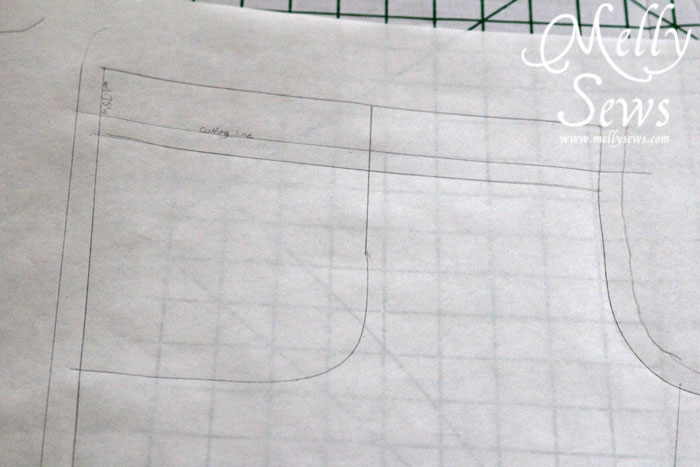
You’ll notice in the picture below I went ahead and marked out the pocket, for future reference, in case I want pants with pockets. When you draw in the top of the pants, draw this line to connect your two bottom of the waistband points, not where the actual top of your pants was, because we are going to be adding a separate waistband piece.
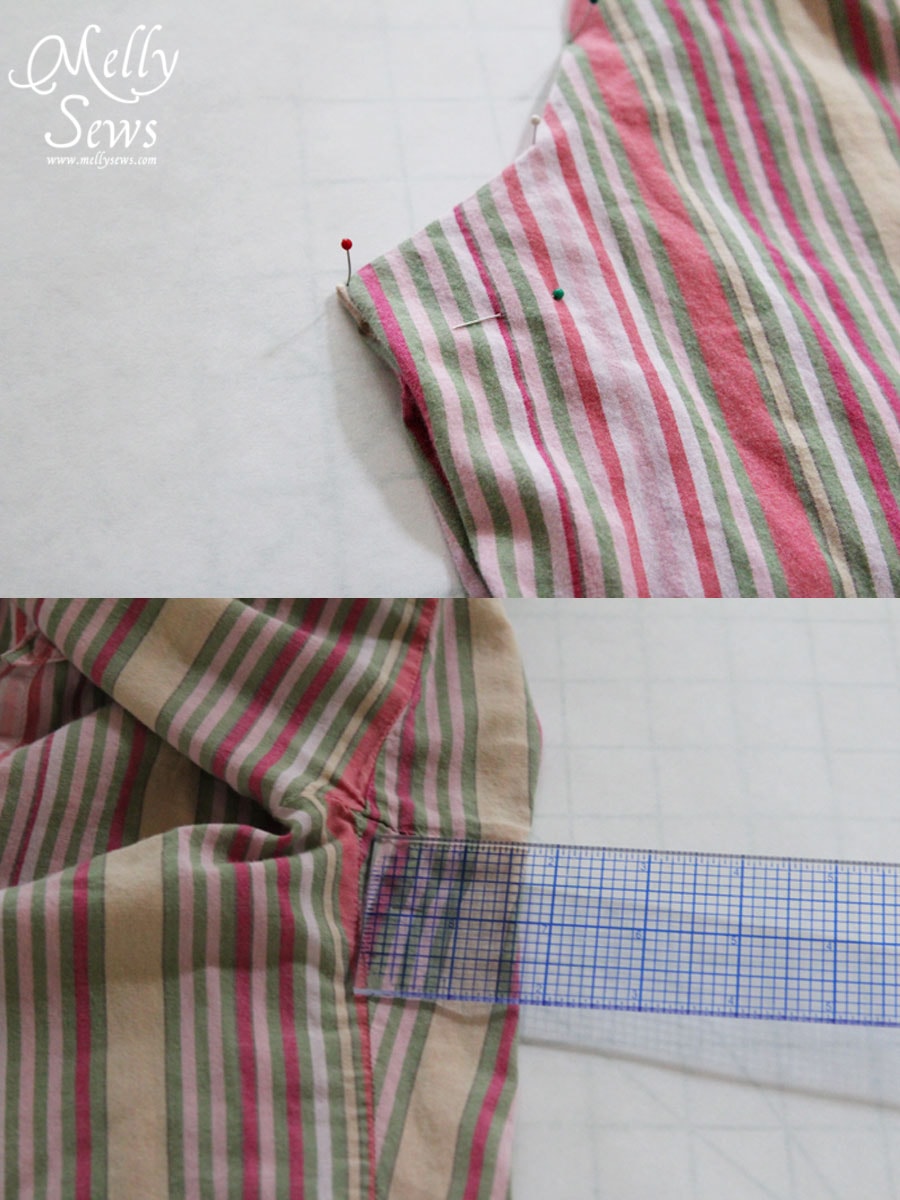
Begin the back leg in the same way, starting with the lower leg, moving up to the rise and then the other side. However, there’s a chance (depending on your particular pajamas) that you won’t be able to see the inseam when you are working on the back. This is common in pants with a deeper back rise, which are often favored by those of us with some junk in our trunk. So, if that describes you and/or your pants, go ahead and trace the side of the leg you can see (left in the picture below) and I’ll show you how to add the seam.

Make sure to pin the pant leg together, so that nothing shifts, because you’re about to turn it over and look at the other side. Looking at the front side of the pants, measure how much of the back leg piece wraps around to the front when the pants are flat. Take a measurement at the crotch point and at the ankle; chances are good that the measurement will be much deeper in the crotch and nonexistent or very narrow near the ankle.
Measure the same distances out from the inseam on your pin drafted pattern piece, so that you have an accurate representation of where the seams are. Now add your seam allowances.
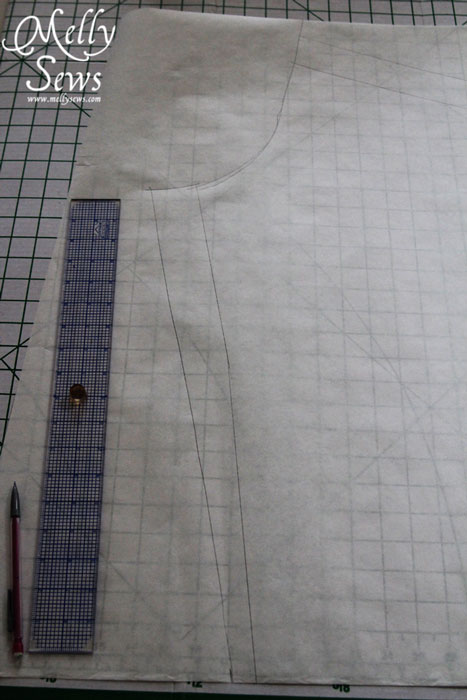
Now do a check on your leg patterns – make sure the inseam and outseam lengths match, and if not, adjust accordingly.
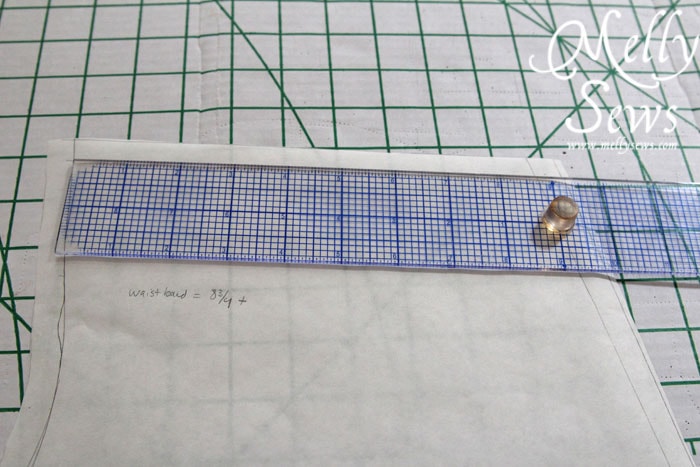
To make the separate waistband, measure your front and back pieces at the top between the seam allowance markings, so you’re measuring only the original pin dots. Add 1/2″ (12mm) to this measurement, and this will be the length of your waistband piece. Double the width of your waistband and add 1″ (25mm) to get the height of your waistband. Draw out a rectangle with these dimensions and label one short edge as the fold

If you choose to make cuffs for your pants, you would do it the same way as we made the waistband, except you would measure the width of the sewn pants leg, so I find it best to do this once you have your pants sewn together.
That’s the first part of our pajama pattern pant-making. Continue to part 2 of this tutorial and learn how to sew these pants together.
Tawnya
Thank you for this tutorial, I want to make everyone in my family a pair now.
NS
‘Then unpin the rise (leave the lower legs pinned) and shift your pants to the other side, so that the fabric lies flat’
I didn’t understand this. Can you explain??
Melissa Mora
You remove the pins from the cardboard just in the crotch seam.
Stephanie
Thanks so much for this great tutorial, I just finished drafting my pattern following it, now let the fun part begin 😉