
Check out how I sewed myself retro style denim shorts
Hey y’all, today I’m sharing my DIY jean shorts that I sewed from a vintage pattern. Or, as my youngest is calling them, my “ultimate mom shorts.” Unfortunately I don’t think he meant that as a compliment, lol! This post isn’t going to be a step by step DIY tutorial, more of a review of alterations and changes I made to a commercial sewing pattern.
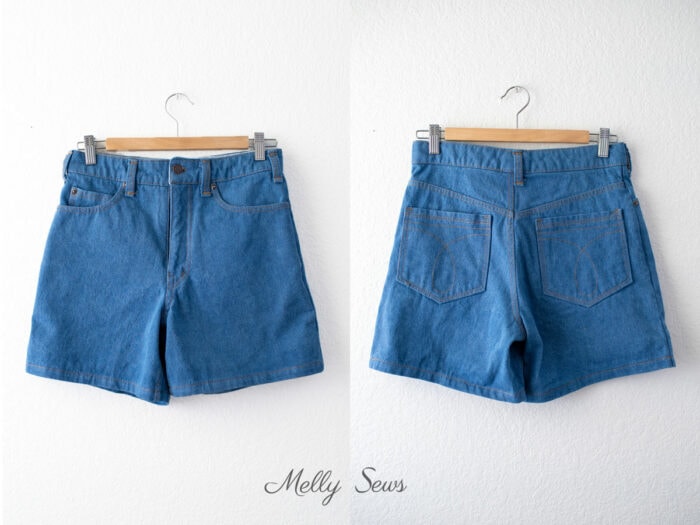
My jean shorts are sewn in non stretch cotton denim with a 5 inch inseam and 3/4 inch hem. And as they take more trips through the washer and dryer, I’m looking forward to the fading and worn-in look that will naturally happen. But for now the more uniform color makes them look retro to me.
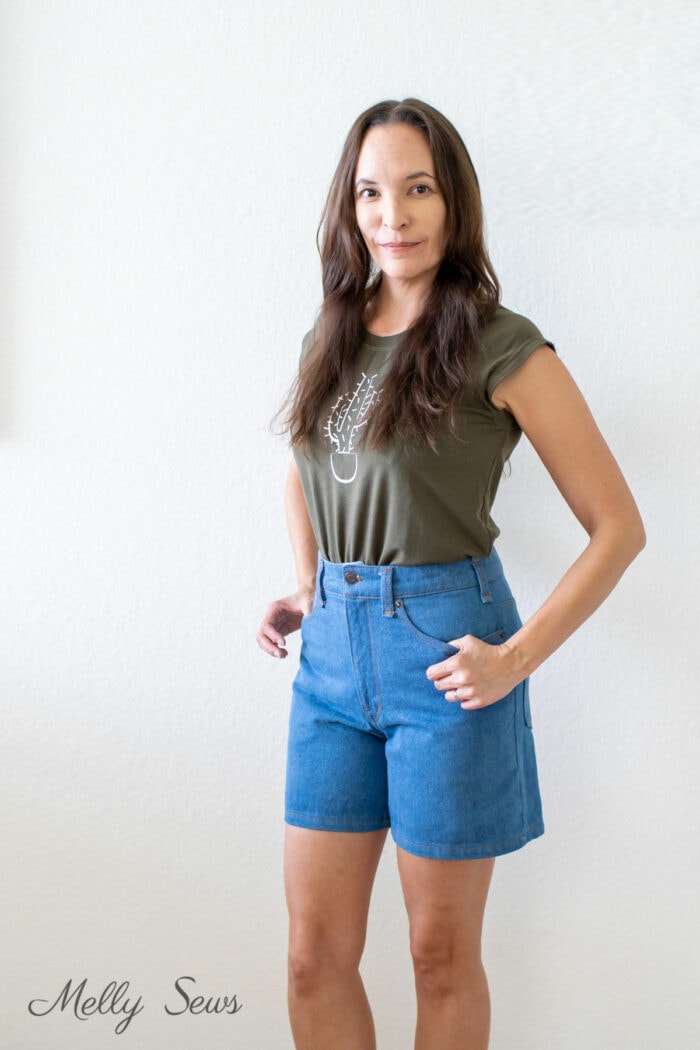
These DIY jean shorts helped me test the fit of this pattern without using all the fabric and thread an entire pair of jeans would take. Plus, I needed another pair of jean shorts anyway. The one pair of cut-off shorts I have is constantly in the wash. I widened the legs (more on that later) so these would have more of a shorts shape and less of a cutoffs shape.
I bought this 1980 Calvin Klein Vogue 2442 jeans sewing pattern a few years ago because I wanted to add some non-stretch jeans to my closet. In general, I’ve had good luck with the fit of Calvin Klein jeans in stores. For example, this pair was CK and all I did to them was taper the legs. Incidentally, you can also check out that post to see why I now take mirror pictures any time I’m trying on jeans.
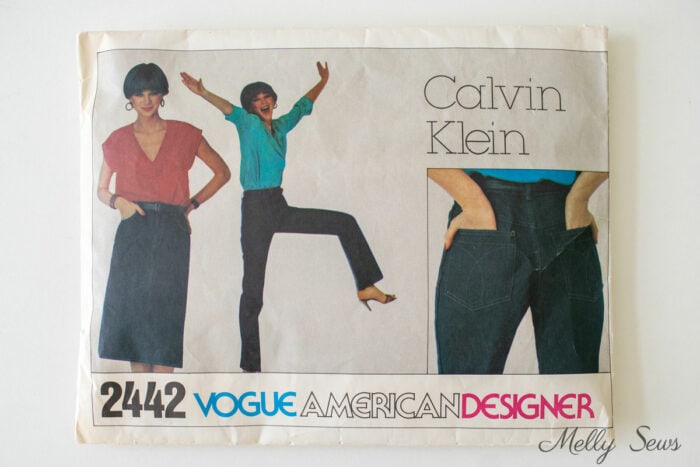
As you can see from the pattern cover above, the details of the fit aren’t easily visible in the photos. The dark wash denim they use to make the skirt and pants was probably not the best choice. Hopefully details are easier to see on my new shorts. They have regular jeans 5 pocket styling with a back yoke, shaped waistband, and slightly angled back pockets from the pattern.
Now, I realize that designers license their names to sewing patterns and that the sewing patterns aren’t necessarily the same pattern draft as the ready to wear items. But I figured it was worth a try. And luckily, much like RTW Calvin Klein jeans, I didn’t have a lot of fitting I needed to do. I’ll get into the details of what I changed later in this post.
This post contains affiliate links. As an Amazon Associate I earn from qualifying purchases. All affiliate links are identified with (affiliate link) after the link or a commissions earned statement above the link(s).
Supplies Used
Here are some of the supplies I used in my DIY jean shorts:
- Denim
- Jeans zipper
- Rivets
- Jeans Buttons
- Blooms and Bobbins fabric for pocket lining
DIY Shorts Fit
Often the most difficult thing to properly fit on jeans or pants is the crotch curve. It’s a balancing act between having enough length to accommodate a rear end and making the curve shallow enough that you get that cupping and shaping under the cheeks that jeans are known for. All without giving anyone a perma-wedgie. Shorts and wide leg jeans make this fitting balance more difficult – the looser fabric at the thighs tends to pull up into the derriere. So I am pleased to note that I didn’t have to alter the crotch curve one bit from the original pattern for these.
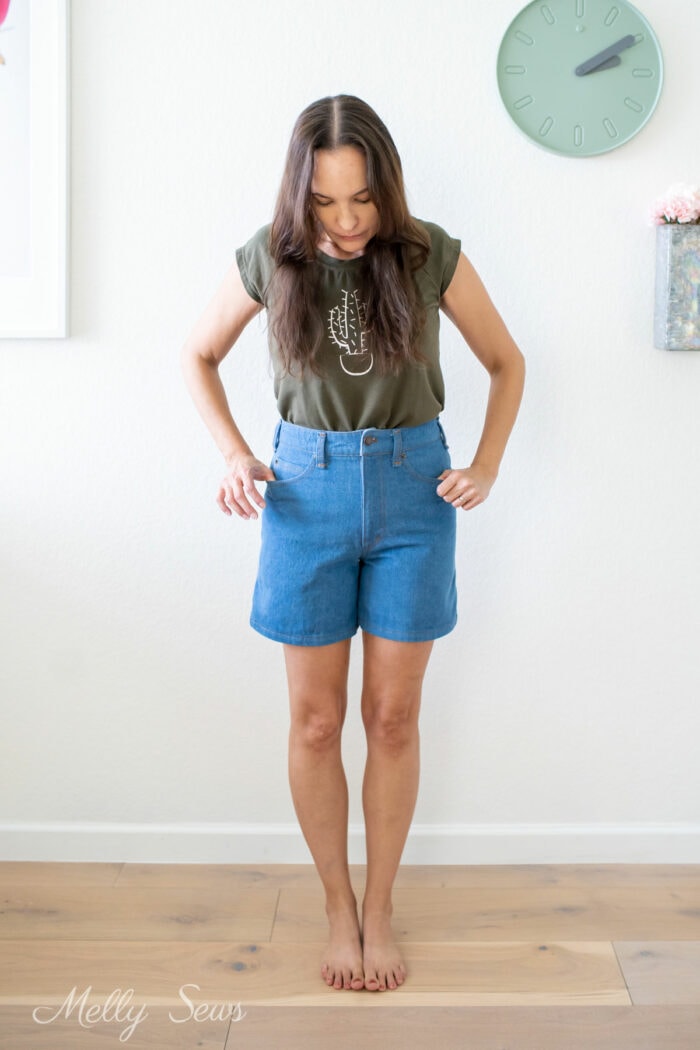
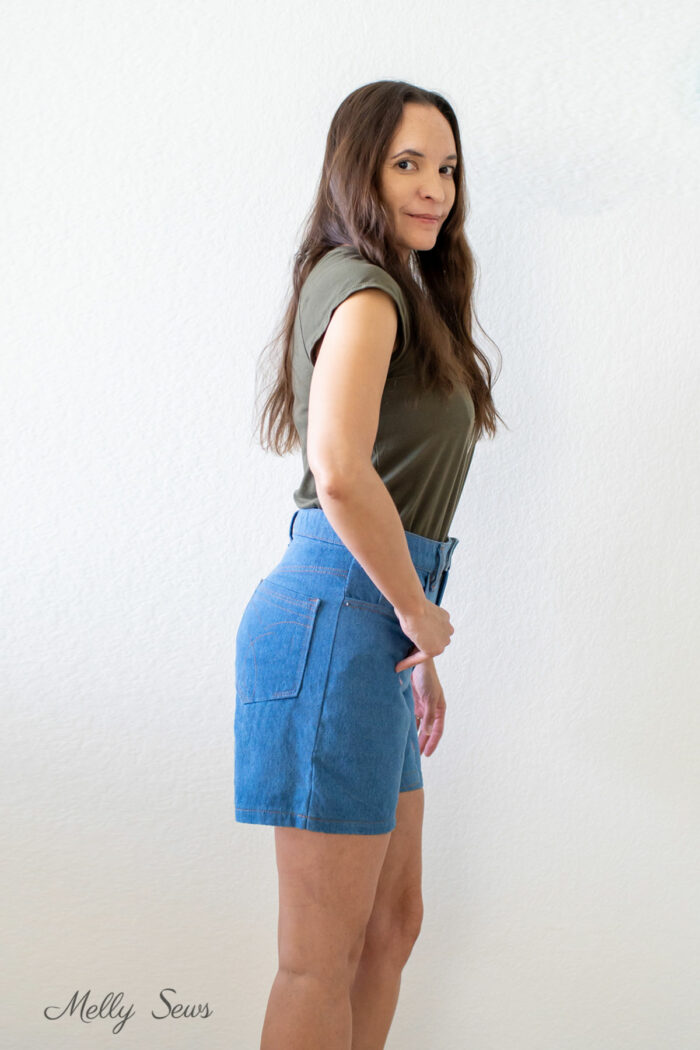
If you’ve been reading my sewing adventures for a while, you know this is not the first time I’ve sewed jeans. This project is encouraging in that neverending quest for the perfect pair. The fit is comfortably snug through the hips and seat. The high waist fits without cutting into me when I sit. The stays in the front help suck everything into place. And since this is non stretch denim, I know that the more I wear these shorts the more they will mold to my specific body shape.
Pattern Alterations
Before I sewed these in denim, I did sew up a muslin. After the muslin I altered the waistband pattern quite a bit as you can see below.
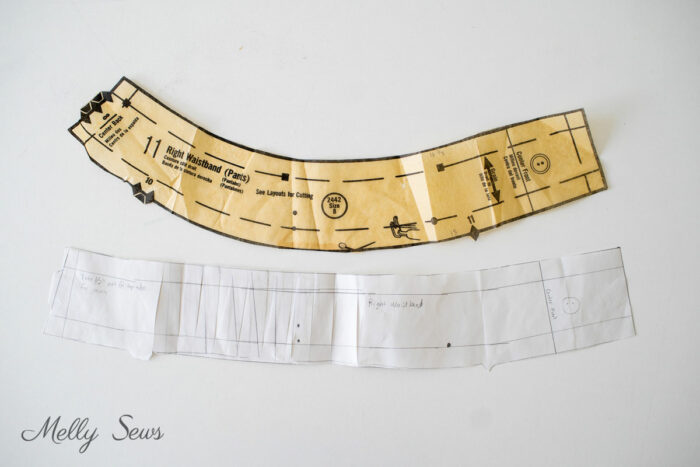
The original waistband was very curved. This makes sense because the waist to hip difference on the pattern measurements was 10 inches. However, the difference on my body is only 8 inches. So I traced the waistband pieces and slashed from the top down in 4 places in the deepest part of the curve. Then I spread each slash 1/4 inch. This left me a flatter, but still curved, waistband. The Vogue pattern does have separate left and right waistband pieces, so I repeated this on each side.

To change the pant leg to more of a shorts shape, I followed these steps:
- Draw a straight line 6 inches below the crotch line on the front and back.
- Use a ruler to mark 1/2 inch out from the pattern at this line on each side
- Redraw the side seams and outer seams at the new angle so that the legs are less tapered.
Sewing Process Changes for my DIY Jean Shorts
The pattern instructions for these pants were clearly written with the home sewist and a single sewing machine in mind. So right off the bat, my process was a little different using both my serger and cover stitch machine. Instead of the recommended seam finishes in the pattern, I used my serger to overlock seam allowances after stitching on my sewing machine. I also used it to overlock raw edges to prevent fraying. You can see that on the edge of the fly facing in the image below.
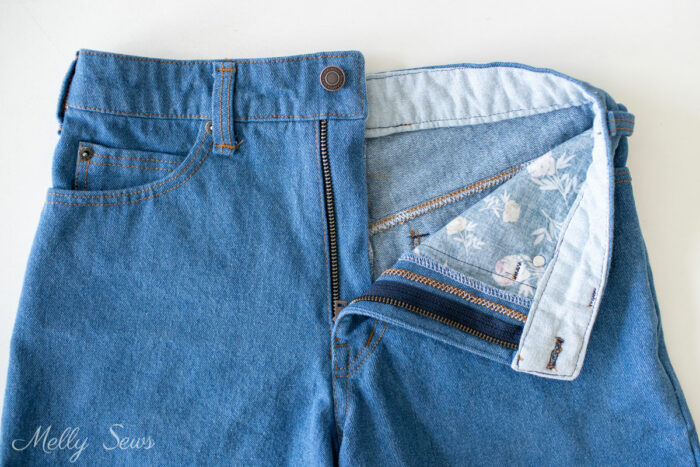
I did much of the double topstitching with my cover stitch machine instead of sewing single parallel lines. The cover stitch machine is responsible for the white threads you can see inside the yoke seam above. The pattern calls for topstitching the outer seam on the legs instead of the inseam, but I prefer a stitched down inseam. So I changed the order of construction slightly to allow for that.
I added rivets to my shorts; I think this is the quickest way to make home made jeans look more professional. I also goofed on the front stays and put them wrong side out, oops! But it wasn’t worth unpicking serger seams to fix that since they’re inside.
What I Will Change Next Time
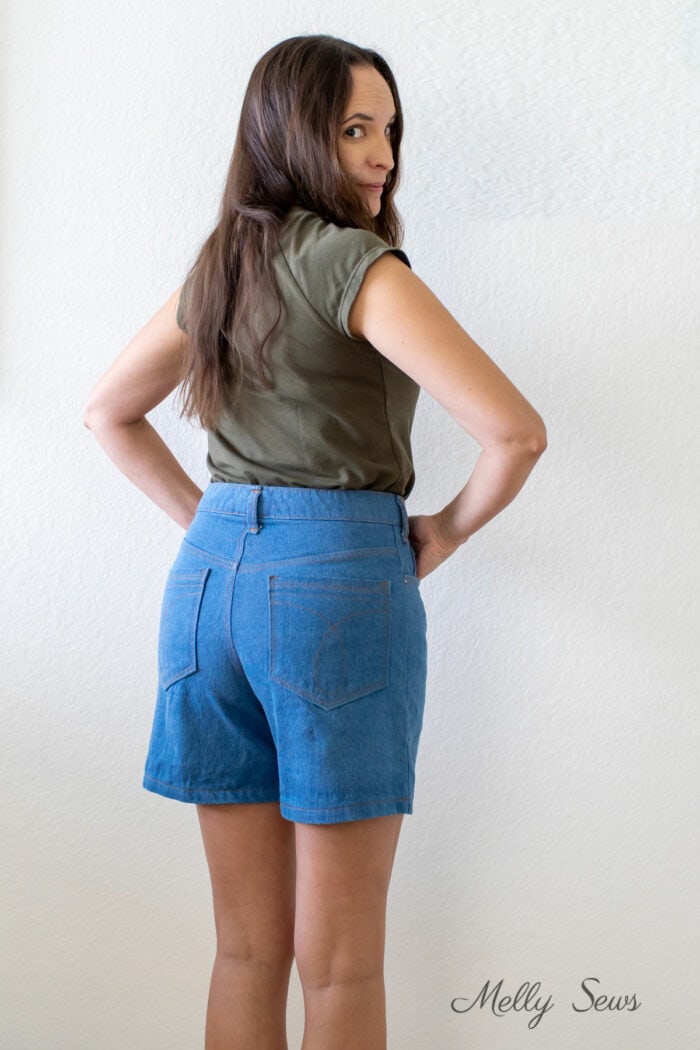
When I sew this pattern again, I made note of a few changes I’m want to make. I plan to taper the tops of the thighs slightly more. This will help balance the shallow back crotch curve and shape the rear nicely. I will also need to shorten the jeans, as the inseam on the pattern is longer than my body and I don’t plan to wear heels. The back pocket placement was copied directly from the pattern. I will probably angle them slightly more on the next pair, and maybe even curve the outer edge just slightly. The two part waistband has a center back seam that I want to eliminate. And I plan to sew the front stays with the right side of the fabric facing in next time!
These are all minor changes though. I’ve now worn my DIY jean shorts all day to test them out. Not only are they comfy, I don’t think they look “homemade” at all. For more posts about sewing jeans, check out the previous posts I’ve linked below.

Katherine Shrader
You just made my morning! I’ve had that pattern tucked away for several months, and it’s so encouraging to see your results.
I was always a Levi’s girl, and when these jeans hit the market I was so irked by the Brooke Shields commercial that I wouldn’t even try them on in a store! Now I’m really looking forward to sewing up a pair, and I’m very sure that I’ll be using your waistband alteration. Thanks, Melissa!
Judy Gordon
I love your shorts.
Thank you for the great hint to photograph one’s behind.
Your description of how to slim jeans was fabulous. I had not seen that before and I have read every article I see on pant fitting.
I look forward to your postings.
Karen Moritz
These shorts came out terrific! I’m still a little afraid to try denim shorts myself, but your tutorial is inching me closer!
Pennyfp
Daaang!!! They look RTW!!!! Great job!!!
Nora
I love the fit on you! Super cute and great job!
Mary
Great job! I absolutley love them! I am not a fan of CK but your shorts look great and right off the rack!i want to tackle jeans-non stretch..thankyou for your insite and inspiration..♡
jodib
heheh – I actually bought this pattern back in the 80’s because I loved the way CK jeans fit on me. :0)
never had the courage to try it though.
your post has now inspired me!
you did an AMAZING job. they totally look like RtW!!
and they fit you beautifully.
thanks for the info on all your alterations.
great post, melissa!
Barbara G
Never thought to use the coverstitch on denim, great idea!
Cindy
I love the way those shorts fit.