
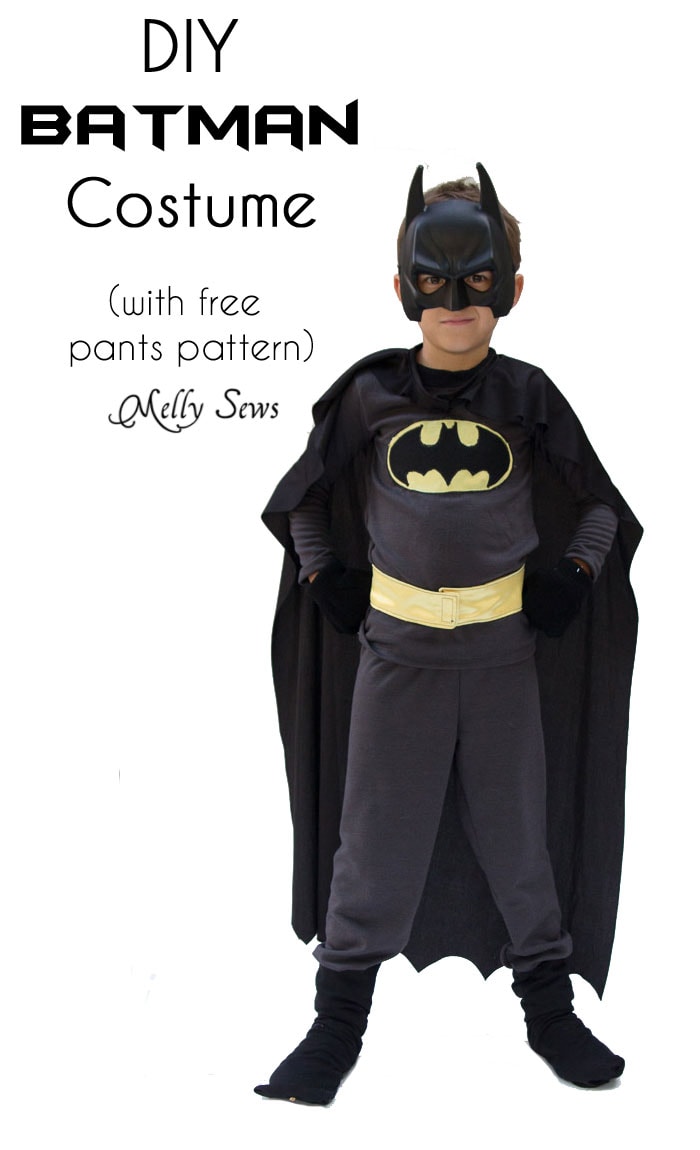
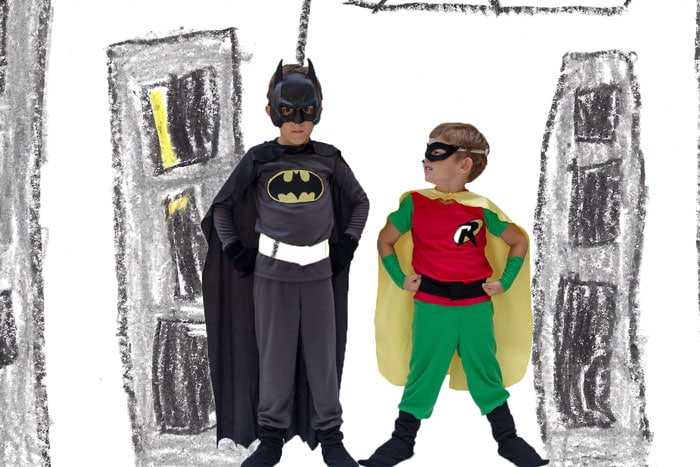
Hey y’all – last week I showed you Bean’s Robin Costume, and this week I’m showing off Tater’s DIY Batman costume.
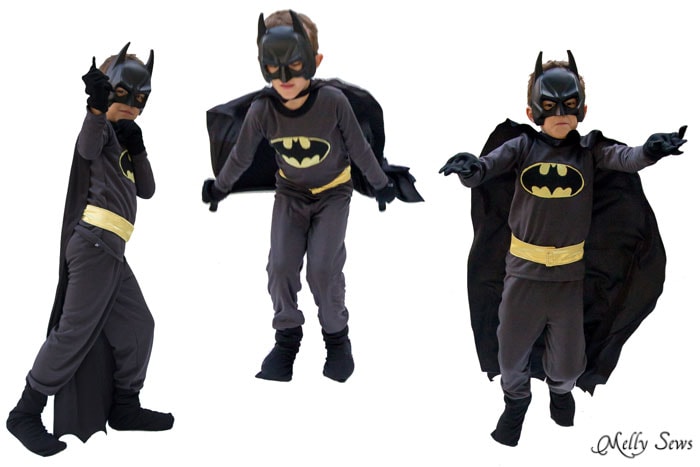
The costume breakdown:
- Mask- store bought
- Cape, same as this cape I made, but in black and with the bottom edge cut in scallops
- Top – Tee x 3 pattern with long sleeves
- Applique on T-shirt made from the image on this page
- Pants – see tutorial and free pattern on this post
- Belt – a tube of satin turned right side out, with velcro tabs sewn on to close it.
- Boot covers, same as the ones I made last year with this tutorial
- Gloves – store bought
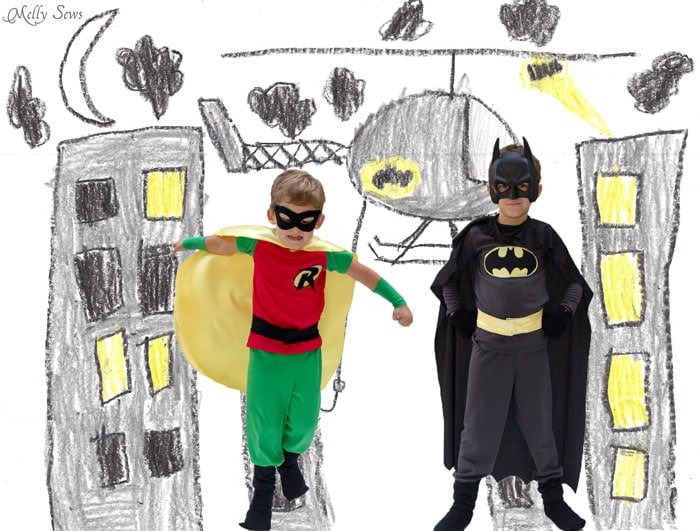
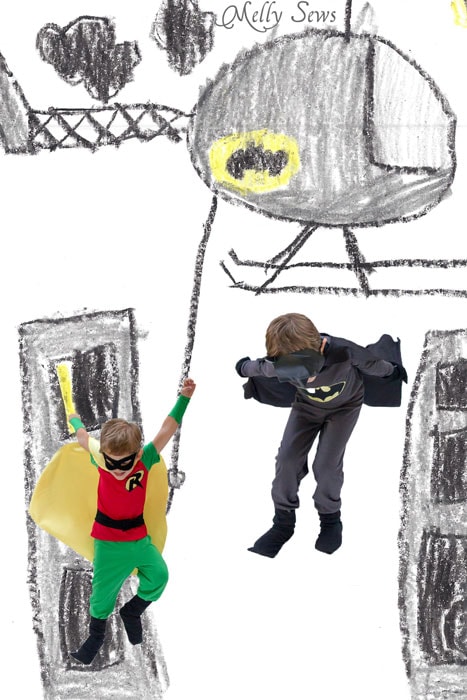
And then, for lots of fun, I put the photos of the boys into a drawing of Gotham City that they made. A quick tutorial on how I did that in Photoshop Elements:
- Use the quick select tool to select the boys and delete the background from each photo. Photographing them on a white background like I did made this easier. Save each as a .png file
- Scan the drawing as a jpeg
- Open the drawing
- Use File>Place to add the .png images to the drawing. Make sure “Constrain Proportions” is checked and scale the images as desired.
kimberly
LOVE the costume and I especially love dropping them into their own drawing! they must’ve loved that! thanks for sharing 🙂