
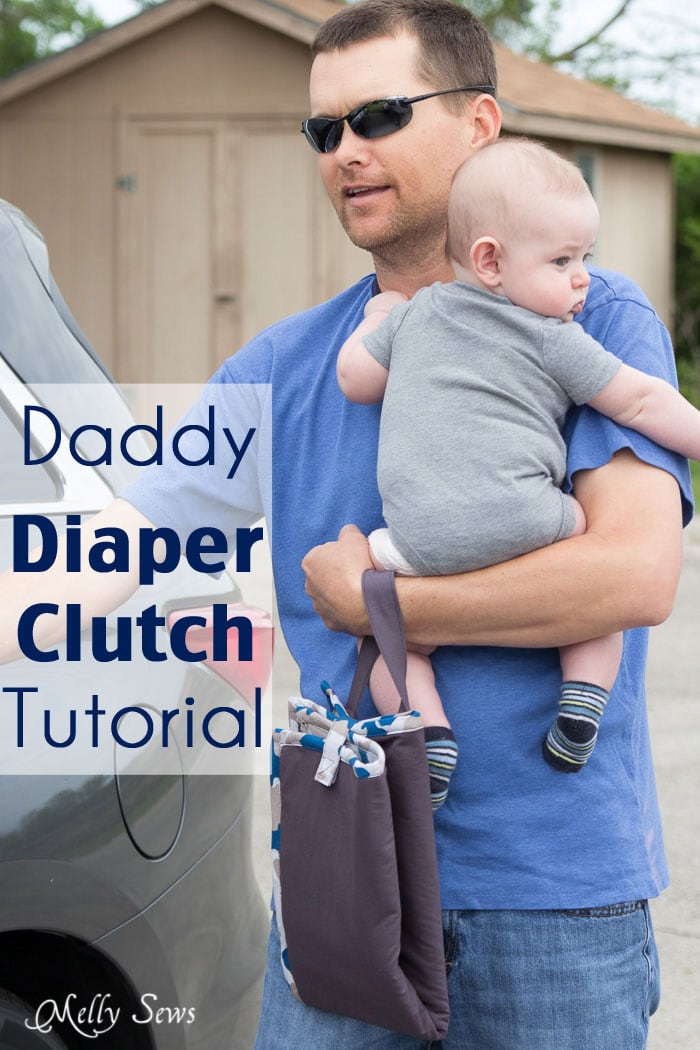
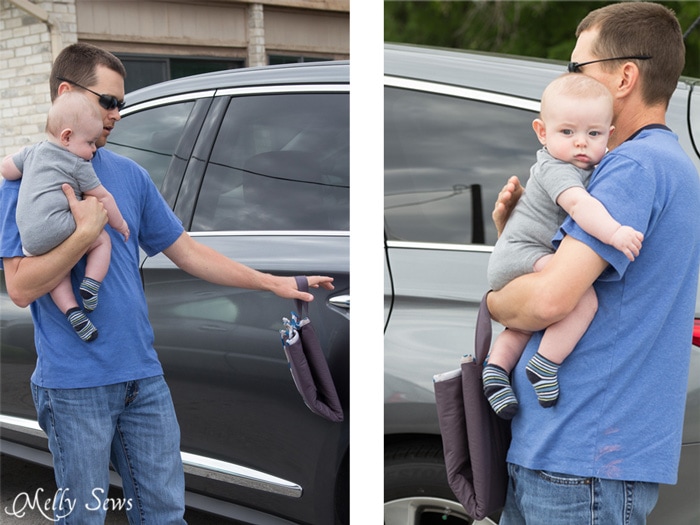
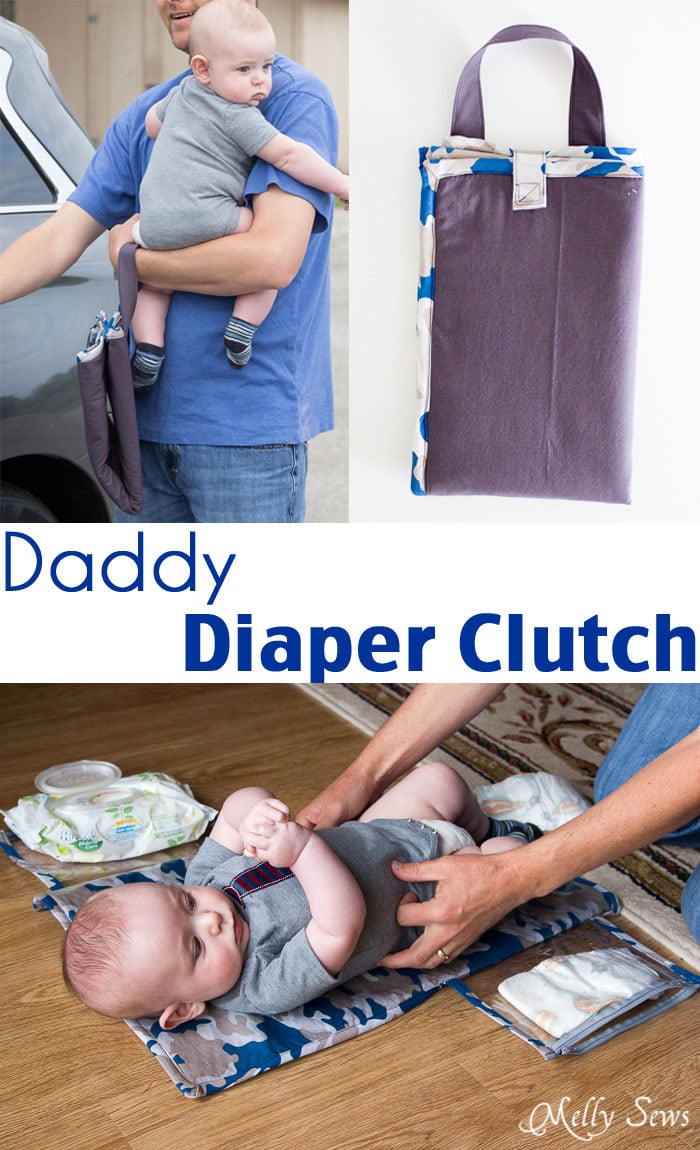
Before you think I had another baby, this is actually a cute cousin I borrowed and posed with my husband to take these photos, lol! We all know dads (and hey, some moms. Especially me the second time around) don’t like to carry a huge diaper bag and a ton of supplies. This diaper clutch tutorial I’m sharing today (which originally appeared on the Riley Blake blog last month) has the essentials and is easy for Dad (or mom) to grab and go on his way out the door.
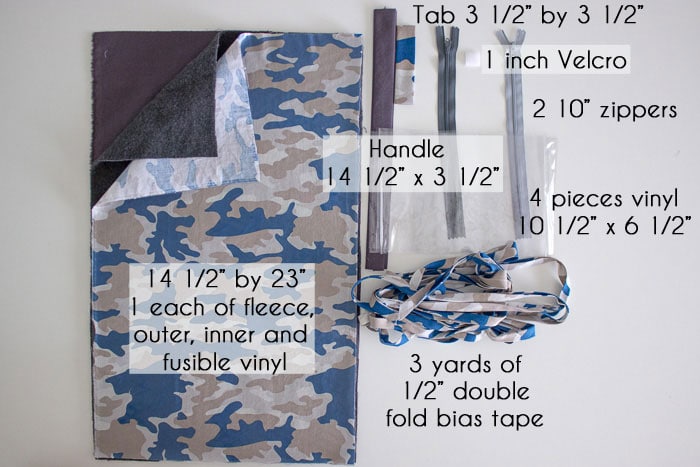
Materials to make this:
- 1/2 yard of outer fabric, inner fabric and fleece for padding
- Iron on vinyl
- 2 10″ zippers
- Extra wide (1/2″) double fold bias tape
- 1/4 yard of clear vinyl fabric, 6 or 8 gauge is best
- 1 inch of hook and loop tape
I used Military Max Camo Blue for the inner fabric and bias tape, and Charcoal Solid for the outer fabric. If you want to make your own bias tape like I did, I have a tutorial for that here.
Cut out pieces as shown below.
Start by fusing the iron on vinyl to the inner fabric following the package directions.
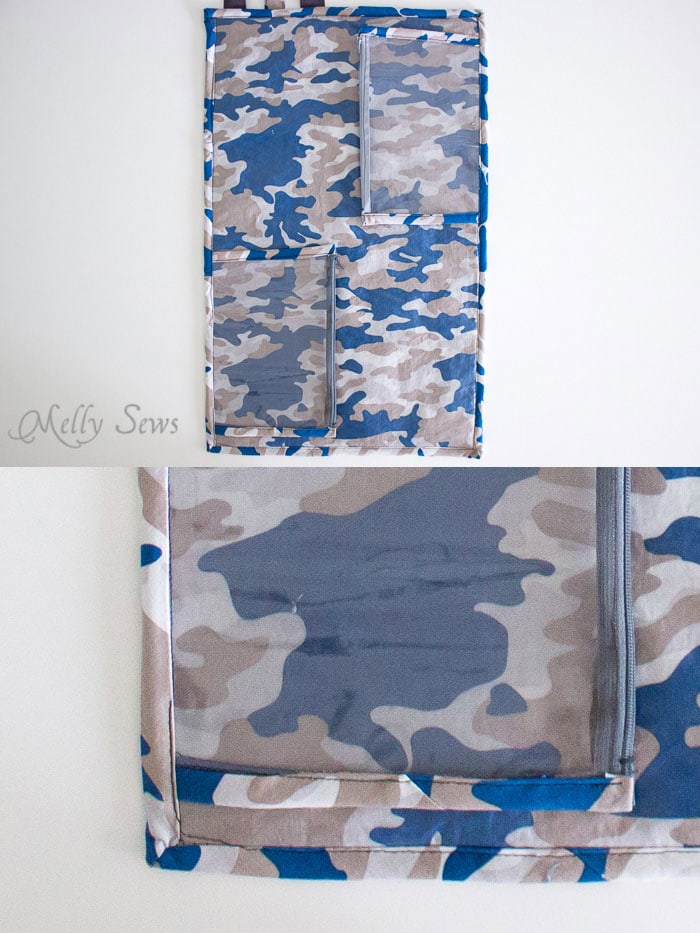
Next, sew the pieces of vinyl on top of each of the zippers, as shown below (red line indicates stitching). Make sure to line the edges of the vinyl up with each other.
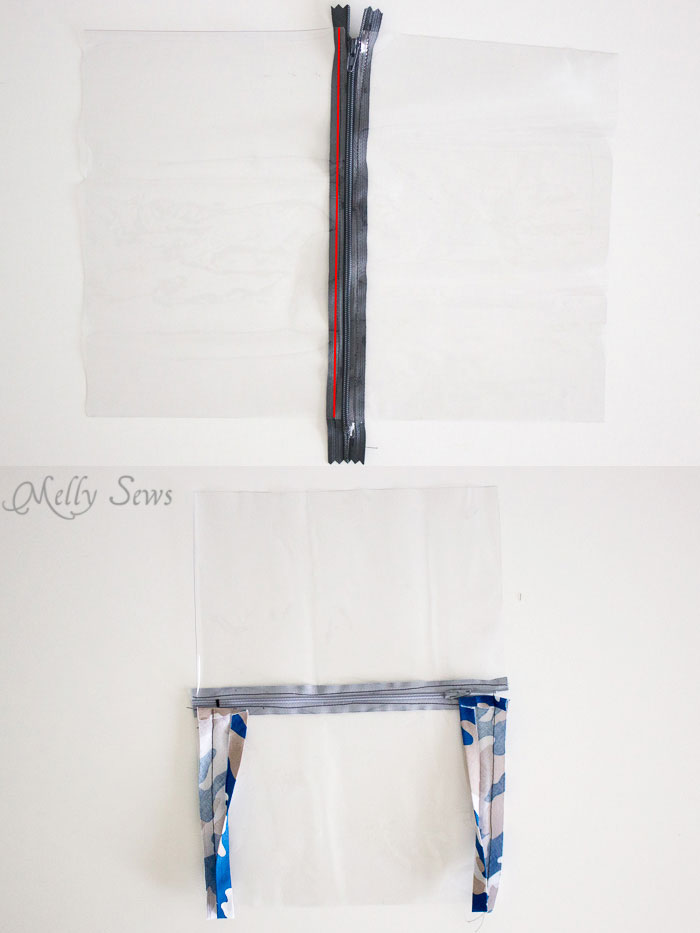
Trim the zipper edges to the same length as the vinyl as shown above. Then cut 2 pieces of bias tape and stitch them along the sides of one vinyl piece for each pocket, stitching in the crease line closest to the edge of the vinyl. Fold the short edge closest to the zipper about 1/4″ to the wrong side before stitching.
Fold the pockets in half, and fold the bias tape around over the other piece of vinyl as shown below. Use paper clips to avoid leaving pin marks in the vinyl. More tips for sewing vinyl here. Stitch the bias tape close to the edge, enclosing the side edges of the pockets.
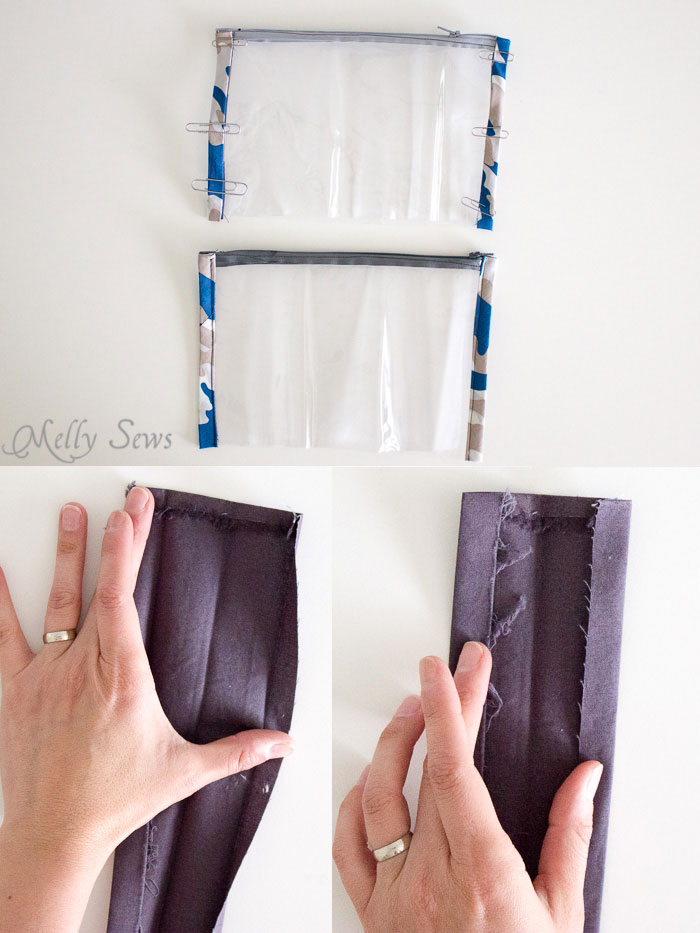
To make the handle, fold the handle piece wrong sides together, matching long edges. Press. Open. Press the short edges 1/2″ to the wrong side. Fold each long raw edge toward the center crease mark you made and press again, then re-press on the original crease line so that all raw edges are inside – this is a lot like how bias tape is folded. Stitch along all 4 edges to create the handle.
Repeat this process with the tab. Sew the loop part of the hook and loop tape to one end of the tab.
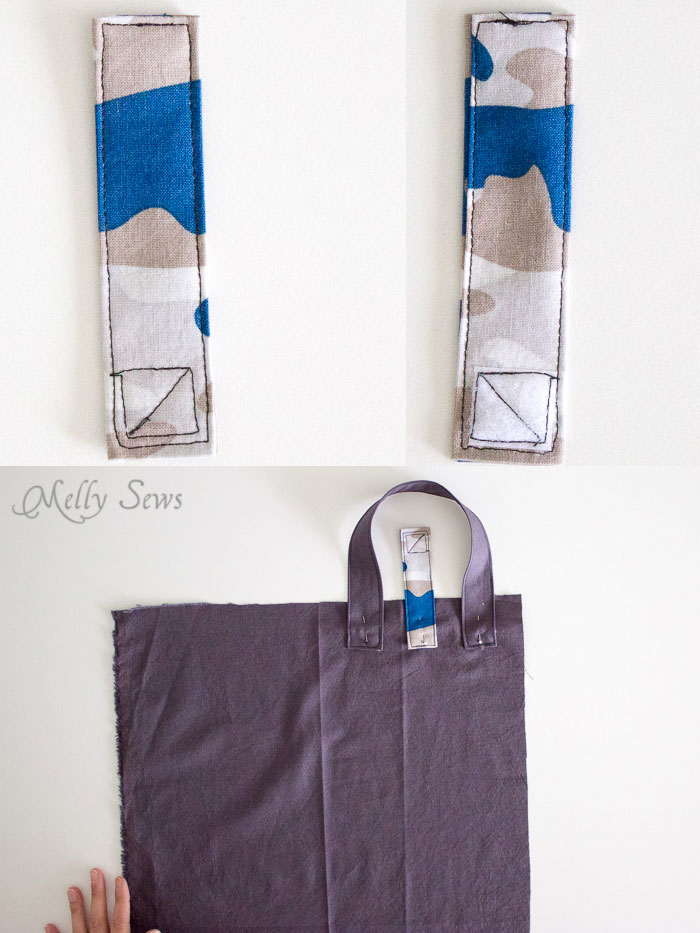
Take the outer fabric piece and fold in half, wrong sides together, matching long edges. Press. Open and lay right side up. Stitch the handle and tab on one side as shown above. The tab should be loop tape side down.
Position the hook side of the hook and loop tape the same distance from the edge as the tab, but on the lower edge of the fabric, as shown below. Stitch in place.
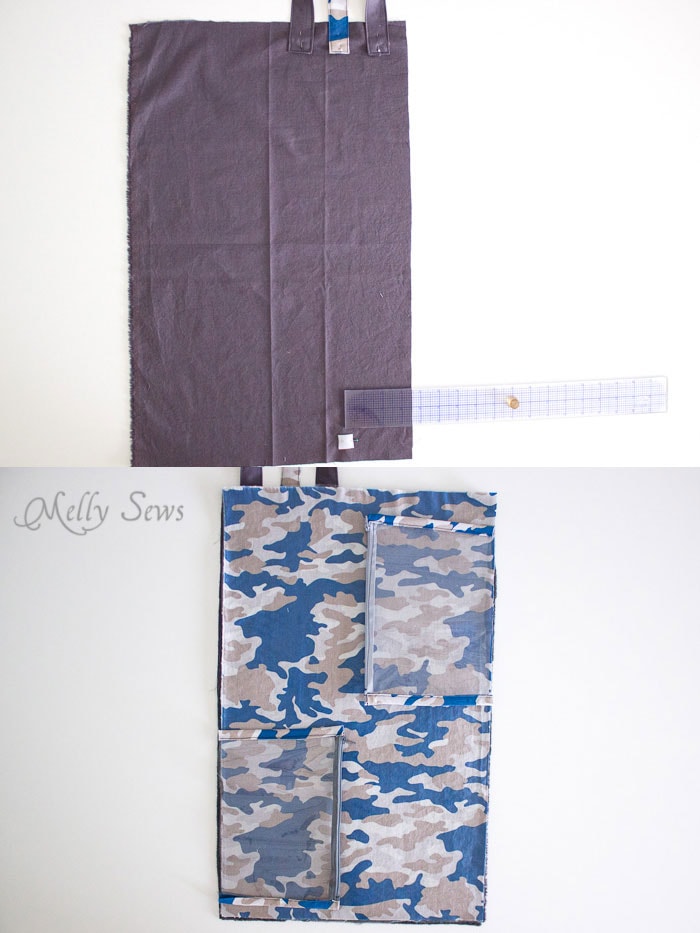
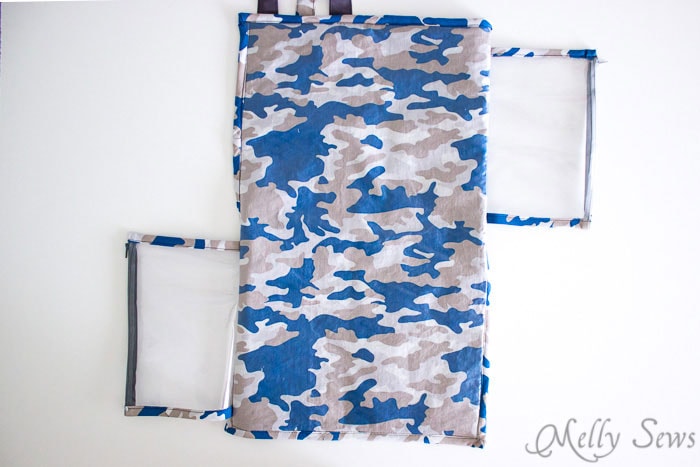
Stack the fabric with outer fabric wrong side up, fleece, then inner fabric right side up. Position the two pockets along the edges of the inner fabric as shown above.
Pin the unfolded bias tape along the edges of the mat, making sure to only pin within the bias tape seam allowance. Turn the starting short edge of the bias tape 1/4″ to the wrong side, then overlap that by 1/2″ when you come back around with the tape. Stitch.
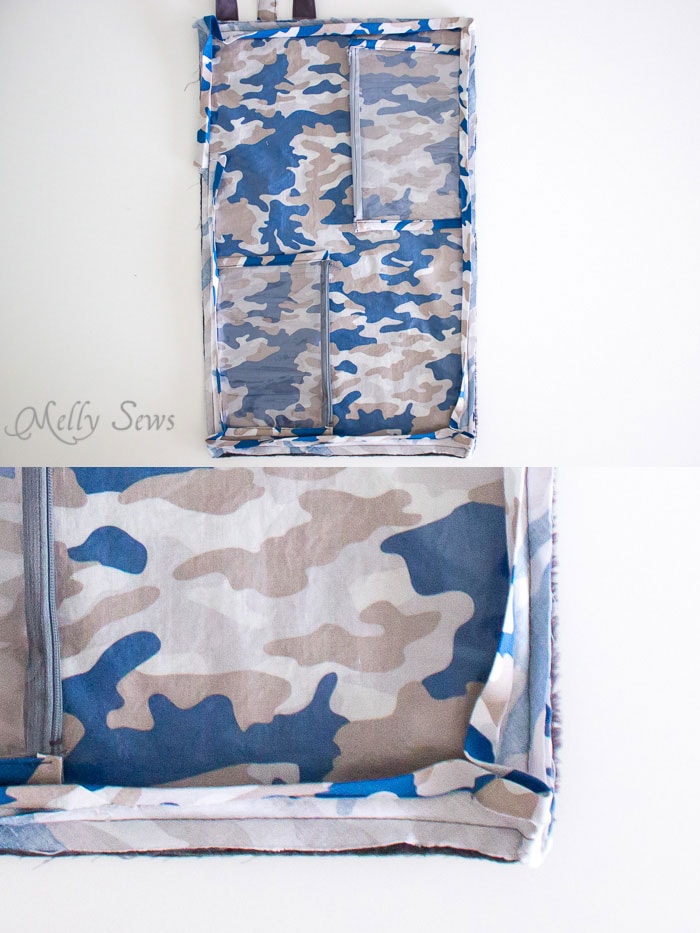
Fold the bias tape around to the back side of the mat, and stitch again to secure bias tape.
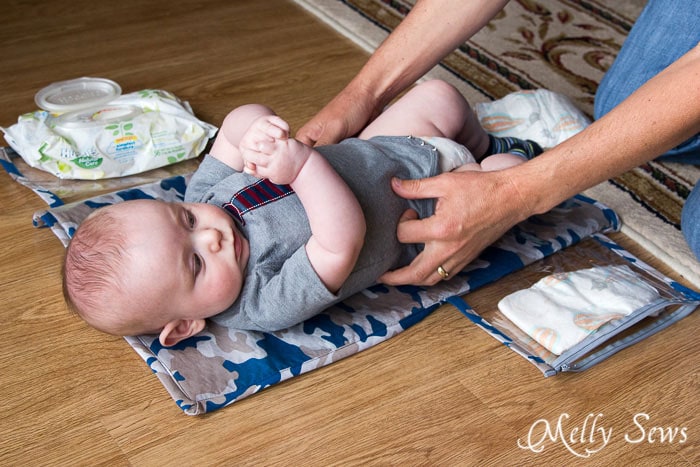
The bias tape finishes the bottom of the pockets and allows them to flip to the sides to use the mat for changing.
To fold the mat, first fold the pockets in, then fold the mat, matching long edges…
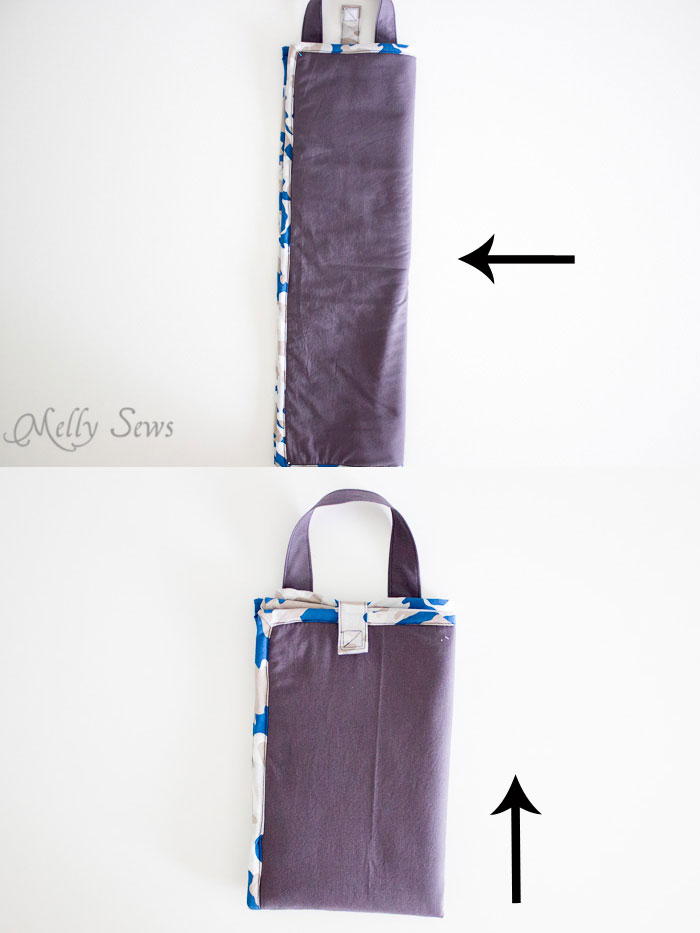
Then fold up matching short edges and use the tab to hold the clutch closed.
And Dad’s ready to jet off with baby!
Anne
I love this! Share the doodie duty! I’ve got a Craft Gossip post scheduled for tomorrow evening that links to your tutorial:
http://sewing.craftgossip.com/?p=82583
–Anne
Peg
My grand daughter and her Hubs are just about to enjoy parenthood. I am making one for Him, since the Dads never get any gifts so He will. Of course their new daughter will be a gift!
Thanks for this. So well written.