
Tips and tricks for sewing thick fabric
Every year I make a resolution to sew more things just because – not for work or pattern testing or things I have to sew, but things I want to sew. And every year I only eke out a few pieces. This is one of them for me this year.
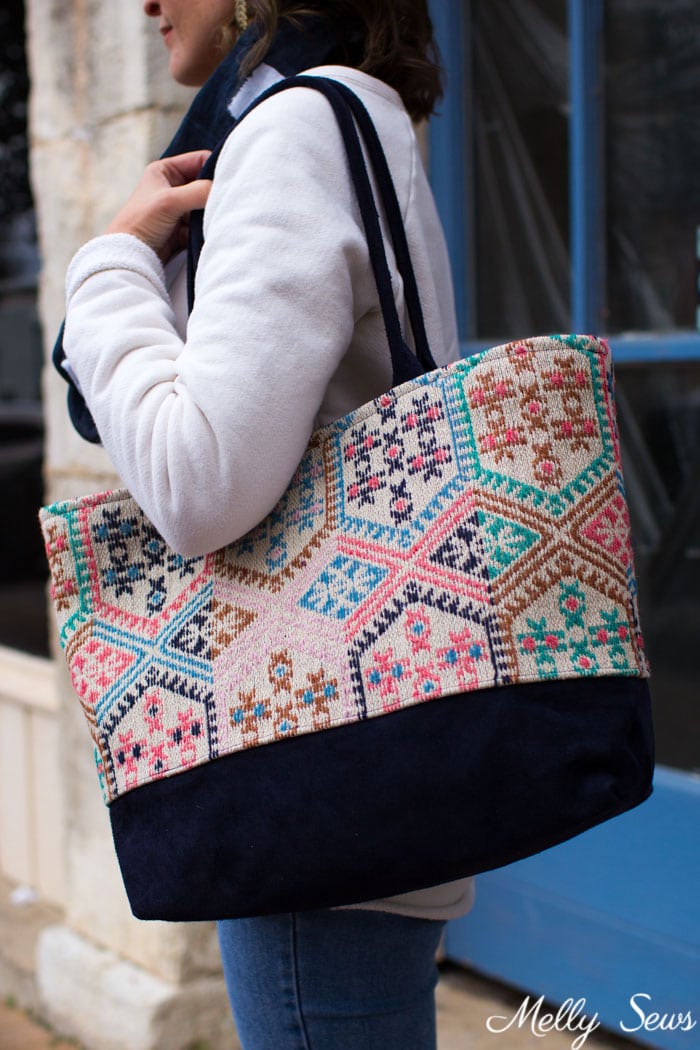
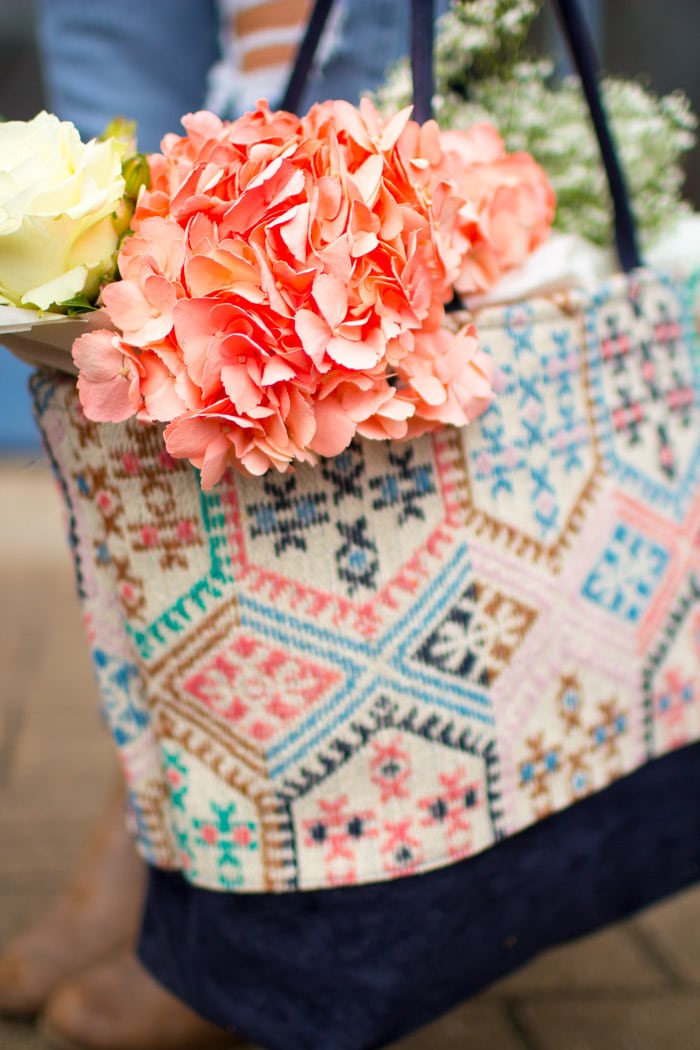
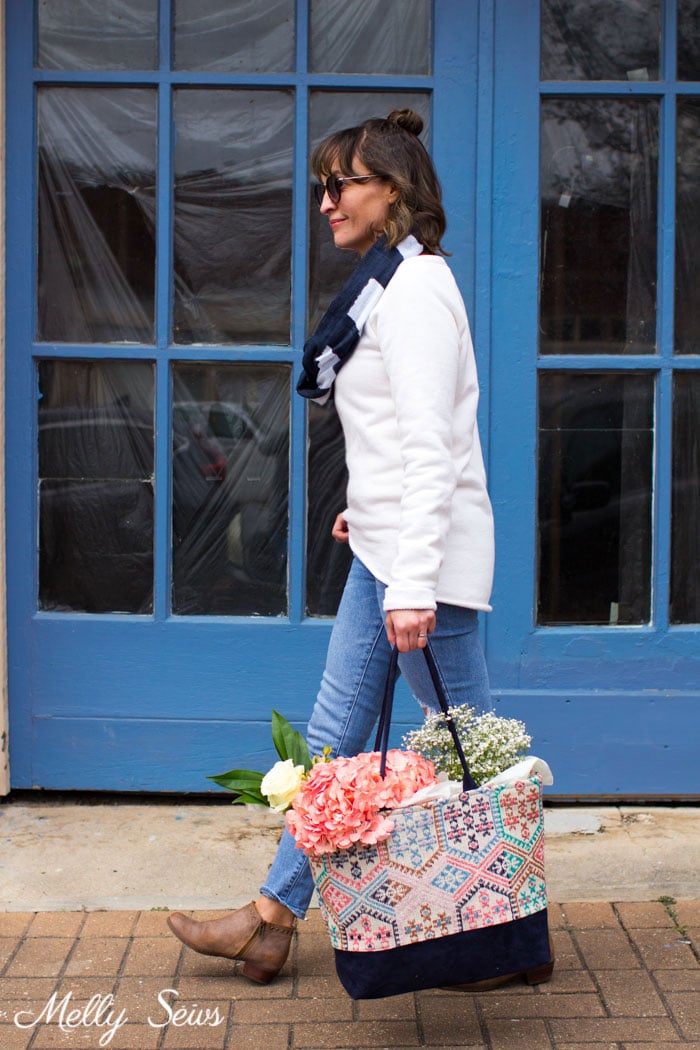
One day last spring, while I was browsing at Target, these placemats caught my eye. And because I love this pillow made from a placemat I went ahead and bought two, figuring I could turn them into something later. I vaguely had the idea of a bag in mind because the fabric is pretty thick on these, so when I saw Cristy’s Colleen Tote Bag pattern I knew it would be perfect.
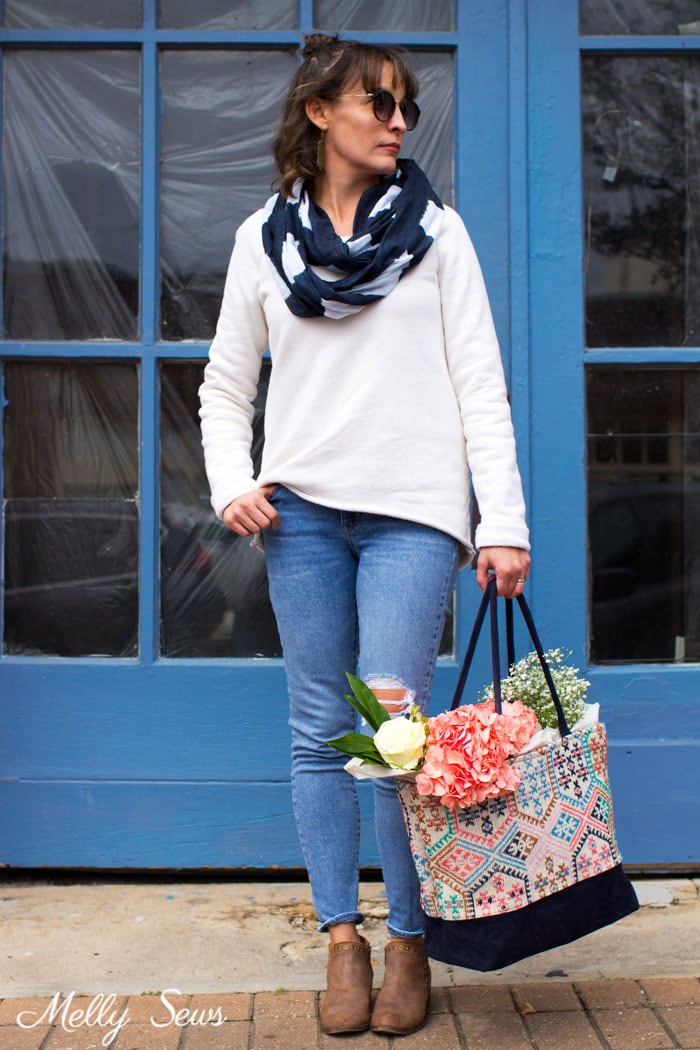
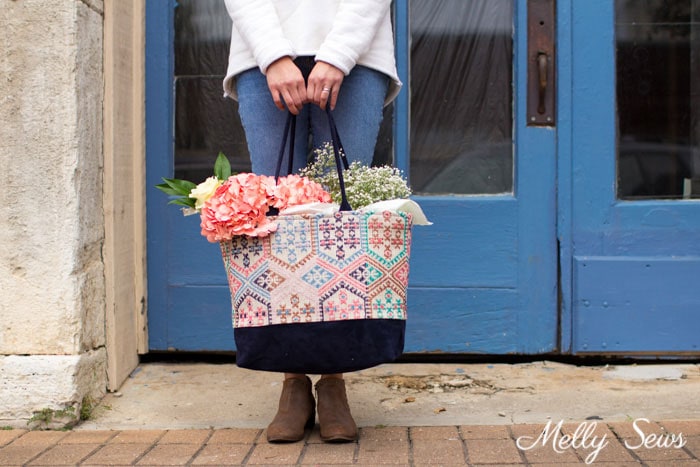
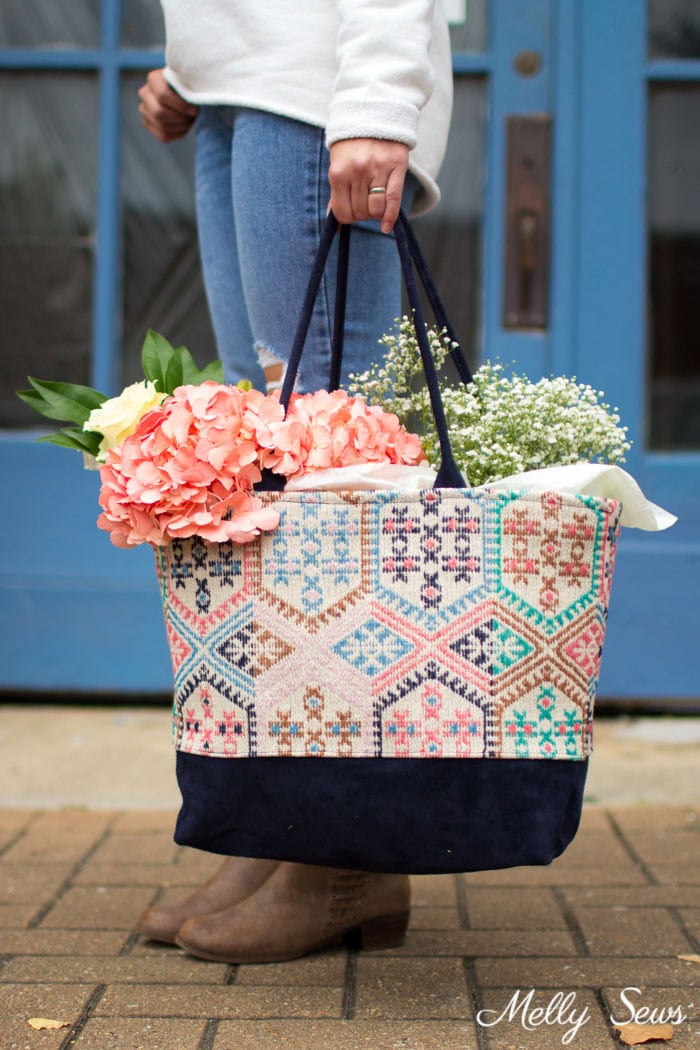
Cristy was gracious enough to send me the pattern, but all opinions on it are my own. I made mine with the aforementioned placemats and used a suede contrast fabric for the bottom and the handles. I LOVE how it turned out, and I know I’ll use it often.
I made very few modifications to the pattern, and all of them had to do with my choice to use thicker fabric. For the rolled handles, I experimented with some suede scraps to see how my machine would handle the 4 layers of suede, and I decided I wasn’t going to fight that fight. So I cut my straps to half the width the pattern called for and then rolled that amount around my cording. This means my edges on the straps are raw, but so were the straps on this bag and it hasn’t bothered me.
I also couldn’t found that the key fob couldn’t be folded in as many layers as the pattern called for. So again I cut mine half as wide, then serged the long edges to finish them (the big weave of the placemats meant that I had to serge all my edges after cutting but before construction anyway to keep them from unravelling). I folded the two long edges toward the center, but then instead of folding the whole thing longways again I topstitched the edges and then inserted the straps through the swivel clasp and sewed it. That way I only sewed through 4 layers by the clasp instead of 8. It also means that if you look inside the fob loop you’d see serged edges instead of no raw edges to be found (which is what you get if you follow the instructions).
Overall, I think the Colleen Tote Bag pattern would be a great one for beginners to bag sewing, particularly if you follow the suggested fabric instructions instead of branching out into your own materials like I did. All of the struggles I had with the pattern were due to how thick the placemat fabric I used was. So let’s dive into some tips for sewing thick fabrics.
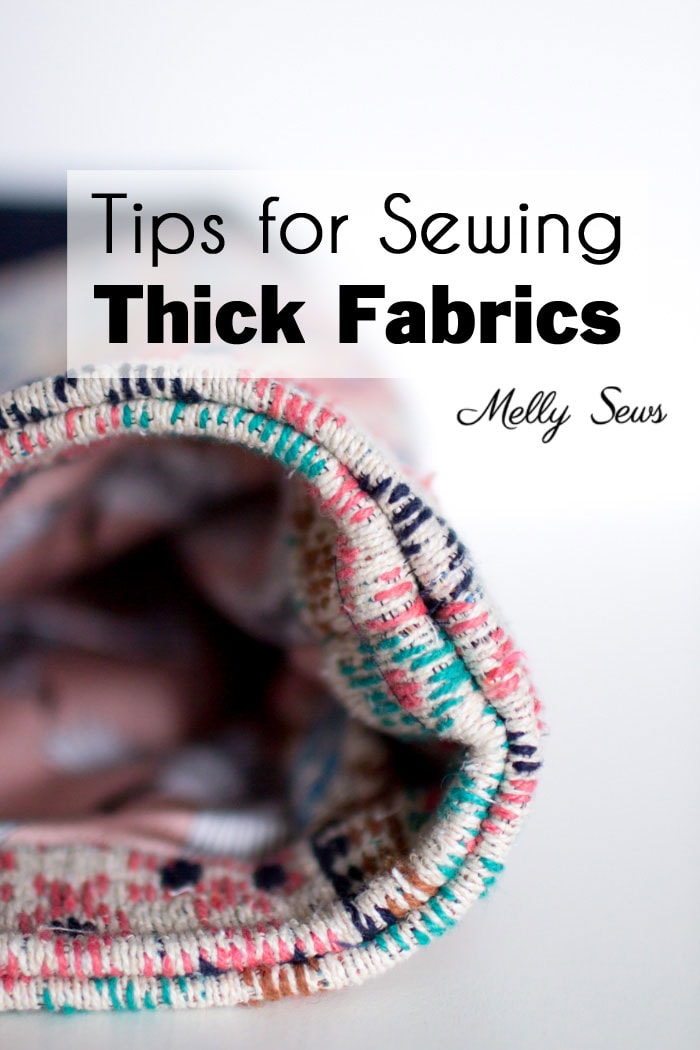
How to Sew Thick Fabrics
- Have the right tools
- Flatten as much as you can
- Hand crank your machine
If you’re working with thick fabric, the right tools help a lot. First is a thicker needle – I used a 90/14 on this project. You’ll also want to adjust the presser foot pressure on your machine to a higher (more pressure) setting.
This post contains affiliate links. As an Amazon Associate I earn from qualifying purchases. All affiliate links are identified with (affiliate link) after the link or a commissions earned statement above the link(s).
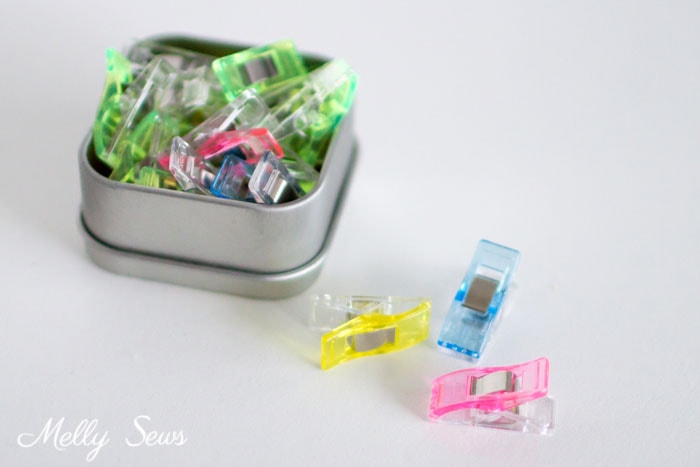
Next, use sewing clips, also called Wonder clips. I got mine here (affiliate link). These are great for holding thick layers of fabric that pins aren’t working on. They’re also great when you’re serging and don’t want to take the chance of hitting a pin – which I’ve done many, many times and had to buy many, many replacement serger blades because of my pinning propensity. Don’t be like me – buy the clips and use them. I should have gotten myself some waaaaay before I actually did.
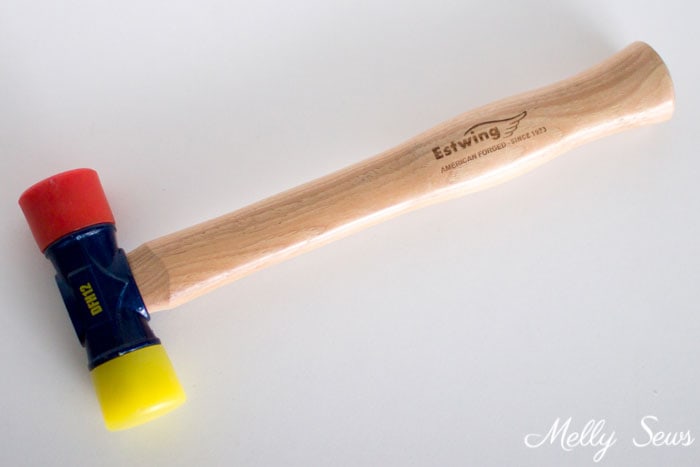
Flatten your seams as much as you can before putting them under your presser foot and your machine will thank you. I keep a rubber mallet (affiliate link) in my sewing room for just these kinds of occasions. You might want to work on a scrap first to test it, but then pound the heck out of seams before sewing over them. I went at the top and side seams on my tote for a good 10 minutes before topstitching around the top of the bag, and I still had to hand crank over the side seams.
Use your machine’s hand crank. It’s tiresome, but when you get to thick areas like the side seams of my bag while I was topstitching, you may need to take your foot off the pedal and crank the machine manually. This slows you down and helps the machine form proper stitches through all those layers, and in my case gave me a chance to put even more pressure on my presser foot with my finger for those stitches to help. That side seam area pictured above had the needle holder hitting my presser foot even after all my pounding with the mallet. Slow and steady wins the race in those instances.
I love the final product though, so the thick fabric struggles were all worth it. Check out the Colleen Tote pattern from Love You Sew to get the pattern and more inspiration.
Barbara Esposito, @TheQuiltedB
Oh Melly – I love that you use a mallet in your sewing room. I do too and people think I am crazy! Thank you for these tips and especially for the tip to put MORE pressure on the presser foot for these thick fabrics. I would have thought it needed less. I sew quite a few bags and am anxious now to get to a pile of home dec fabric I have been dying to use! Thank you!
Kristine Alvarez
I was surprised you didn’t mention hump jumpers. They help also!
Denise
i love the hammer as I never heard of using it to help get the seams fatter until someone on a sewing site and i was like why did i not think of that lol. I never thought to use a rubber one i used a huge wooden one and the other day i used a regular hammer but it kind of left marks so i decided not to do that again. i love to sew placemats into other things like purses and i look all the time for quilted ones there is a lady who has made many using Pioneer women and they turn out really cool..
Cindy
A mallet! What great sewing advise. Thank you.
Judy Gordon
The prettiest bag I have ever seen. Great work!
I always enjoy your postings.
Cheryl
I love the mallet idea. I randomly discovered several years ago, that a wallpaper seam roller also helps to flatten seams and make creases in materials without using the iron.
Charlotte
I love the mallet idea. I make tote bags all the time and use fabrics like denim and canvas. It is hard to go through 4 layers of fabric so I will for sure use the mallet idea. Thanks.
Jan Moore
Thank you for this, I intend to get a mallet. My machine came with a walking foot as it’s a humble quilting model. I have used this foot with some success when sewing thick fabrics for projects other than quilting.