
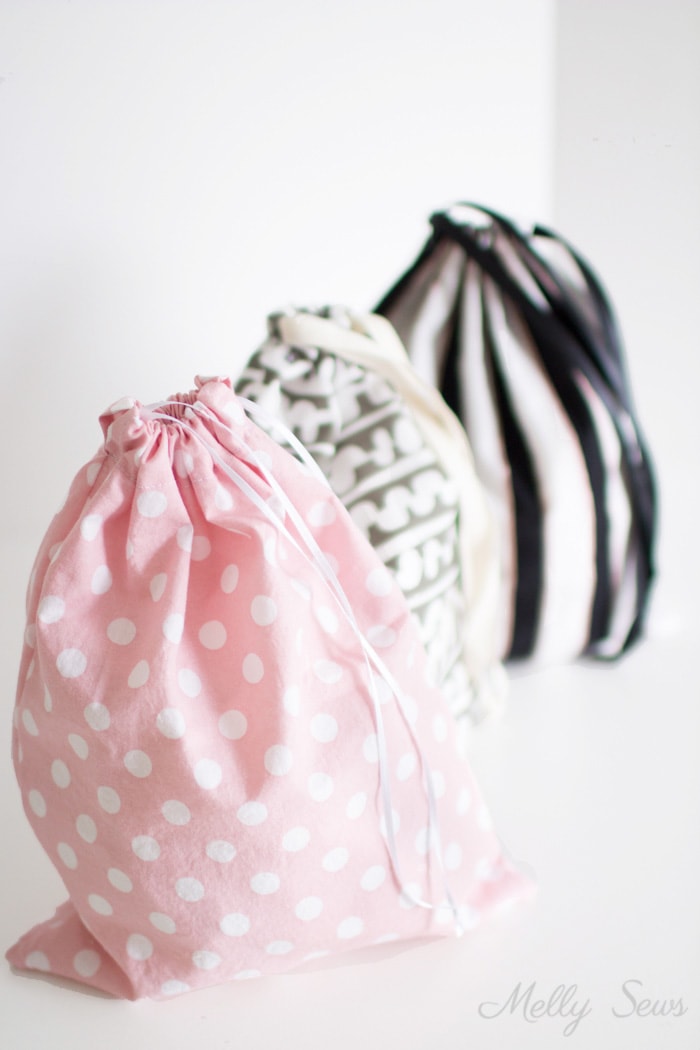
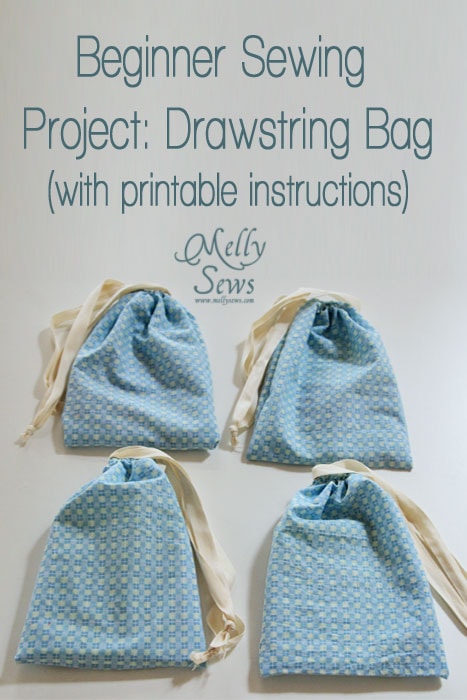
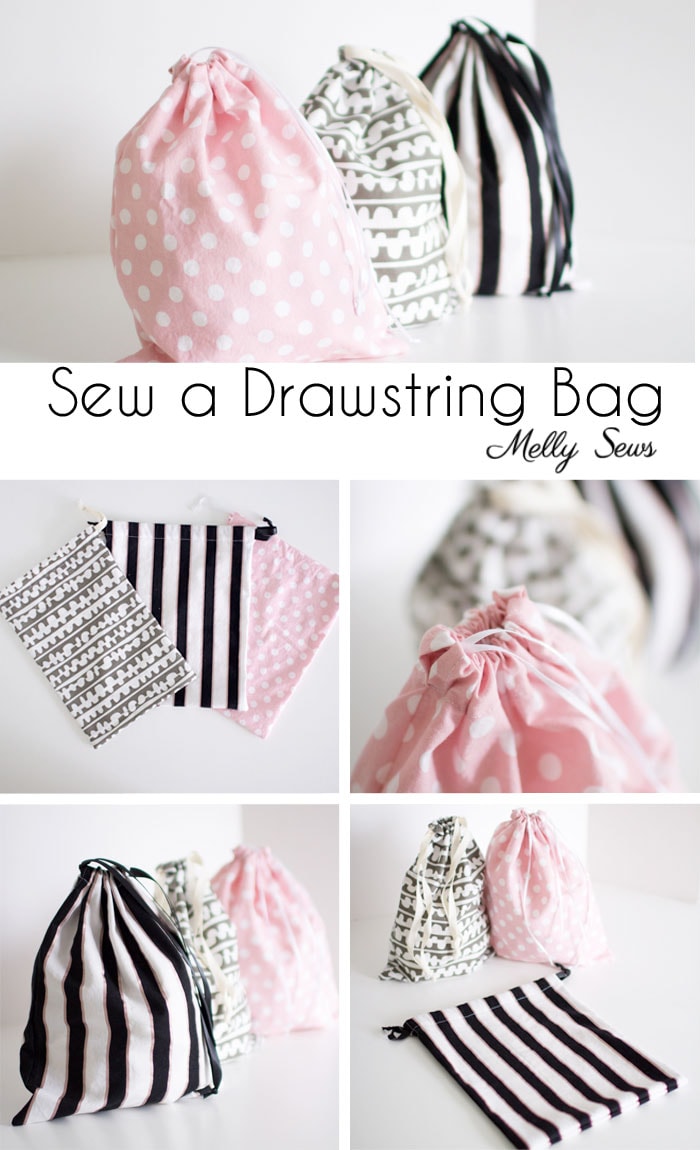
Make a beginner sewing project with so many uses. This DIY drawstring bag is simple to sew in any size.
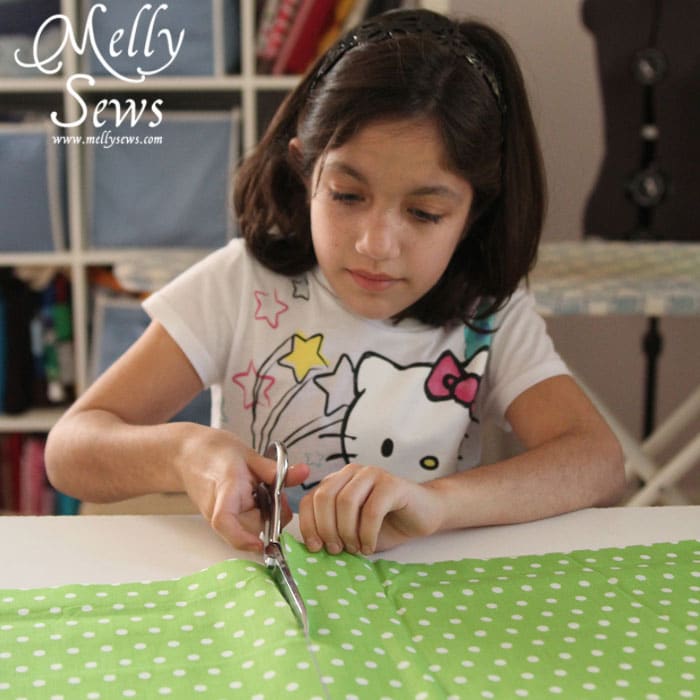
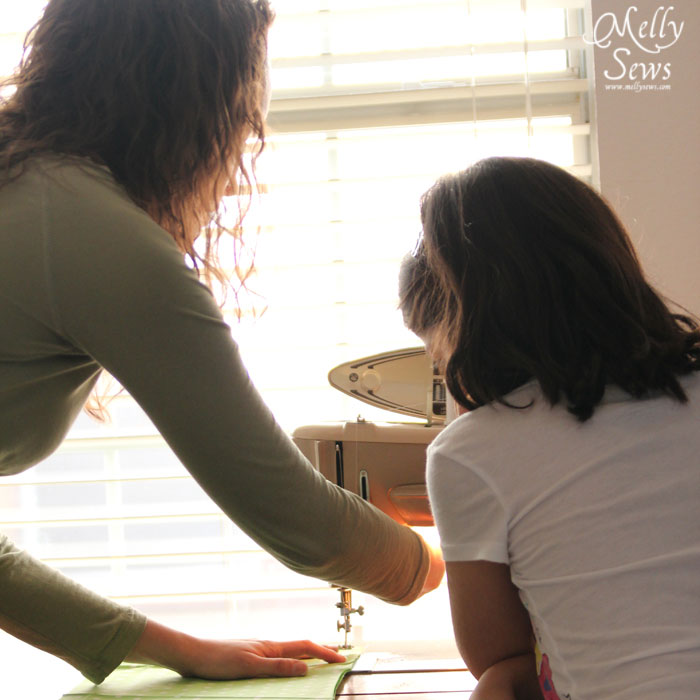
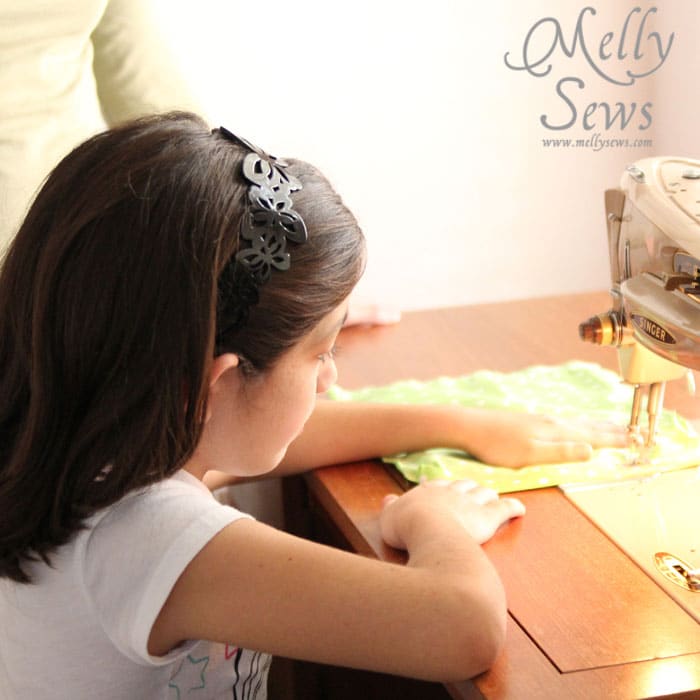
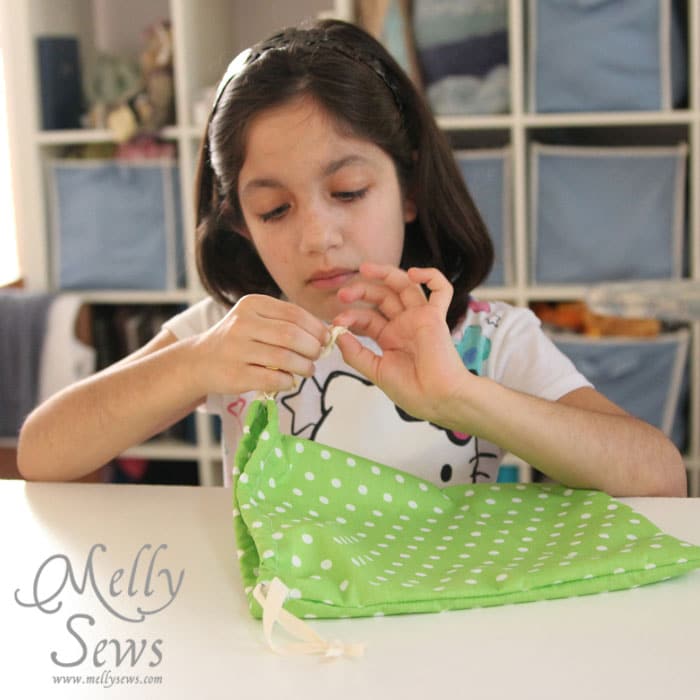
Hey y’all today I’m going to show you how to sew a drawstring bag. Over the holiday break I got to help my cousin use a sewing machine for the first time. People often ask about easy beginner sewing projects, and this is one of my favorites.
One of the things I’ve learned with packing is that packing within my packing is helpful. And by that I mean – I like to use packing cubes, drawstring bags, clear zipper pouches, etc to organize things within my suitcase. So this project is also useful for traveling.
I’ve taught a lot of beginners to sew, and I love a drawstring bag as a first project. It’s not too hard, it doesn’t take too long, and you get something useful. If you know someone who might be getting a sewing machine for Christmas, this is a good project to save for them. And if you read all the way to the bottom, I have a link for the diagrams and instructions in a printable version. Or you can watch the video version of the project a little further in this post.
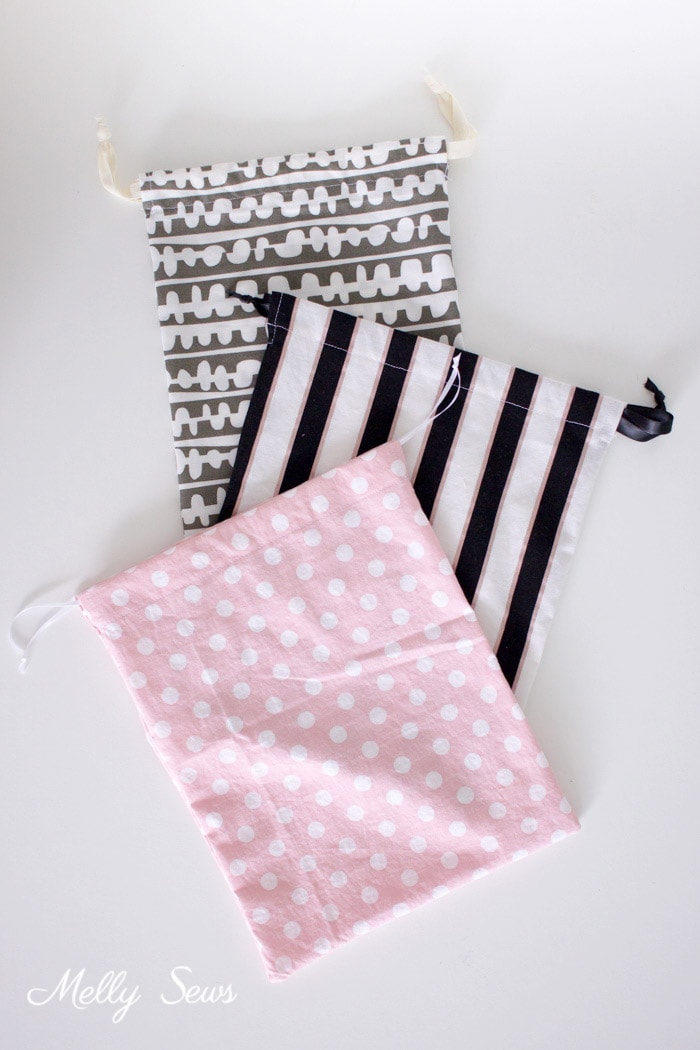
Not only are these useful for packing, they’re a great to use as gift bag (like this), to store crafts or projects (I like to use them to carry knitting with me) and many, many other uses.
You can make these in any size, but the tutorial I’m sharing today ends up with an 8 3/4 in by 11 1/4 inch bag, which I’d consider a medium size bag – it’s close to the size of a piece of letter size paper when it’s flat. To change the size, determine your final desired size, then add 1 1/4 inches to the width and 1 3/4 inches to the height.

Materials to Sew a Drawstring Bag
Here are the supplies you’ll need to make a bag like the ones in this post. If you’d like to see my list of essential basic sewing supplies, check this post.
- 1/3 yard of fabric. Cut this into 2 rectangles of fabric that measure 10 inches x 13 inches (you will have extra fabric). For beginners I suggest quilting cotton fabric.
- 1 1/3 yards of ribbon for the ties for this project. You cal also use cording, twill tape, thin rope, etc.
- Sewing machine, needle, thread, etc
- Iron and ironing board or pressing mat
- Scissors
- Safety pin or bodkin to pull the drawstrings through the casing
Again, if you adjust the size, you’ll want to adjust the length of the ribbon. Make each ribbon double the final width plus 6 inches.
Sewing Instructions
To sew, watch the video below. Or, if you prefer written instructions, scroll past the video. If the video below won’t load for some reason, you can also watch on YouTube here. Remember if you’re sewing this with kids, don’t leave them unsupervised with the sewing machine.
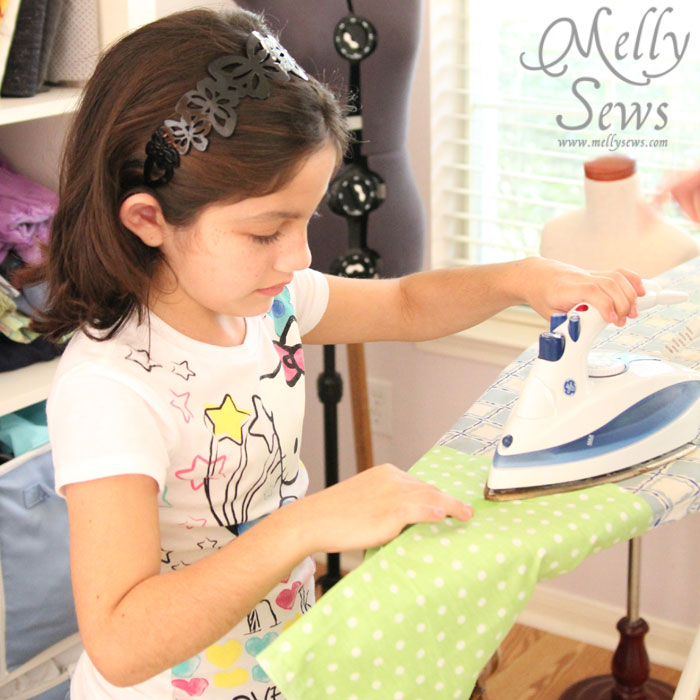
Start by folding the 10” edge on one piece of fabric 1/4” to the wrong side. Press the fold and stitch it down. Repeat on the other piece. These folds will make sure there aren’t fraying raw edges exposed on your drawstring casing later.

Lay your two fabric pieces on top of each other, right sides together, and stitch with a 5/8” seam allowance around down one side, across the bottom seam, and up the other side seam, stopping 2 inches below the top edge.

On the side seam, press the seam allowance flat, then turn the raw edge under toward the seam. Stitch into place on the inside, around top opening.

Turn the top down 7/8 inch on each side and stitch bottom edge (the edge you stitched in the first step) to form casing.

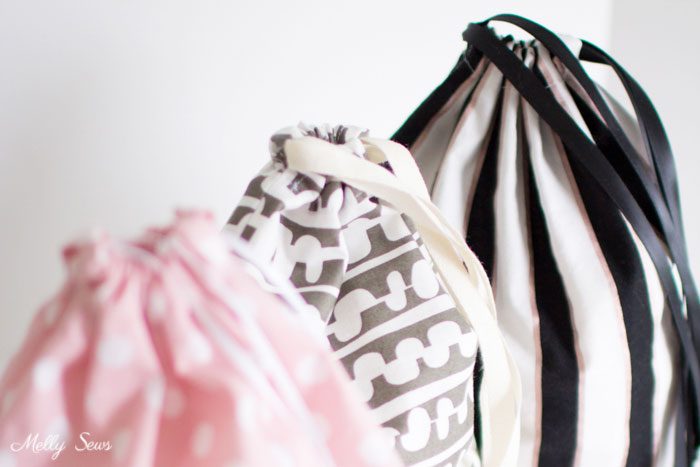
Cut ties into two 18” long pieces. Thread one through one casing, go across the gap and back through the other casing using a safety pin and knot ends of the drawstring together to form a loop. Starting on the opposite side of the bag, repeat with the other tie. You should have two handles now, and when you pull both of them, the bag will close.

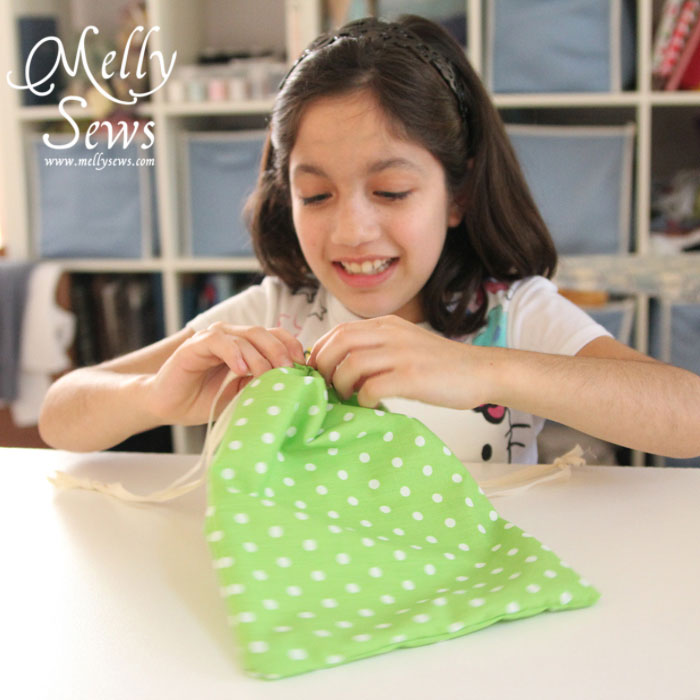

Now pat yourself on the back and find something to carry in your drawstring bag!
If you want these instructions in printable PDF form, click HERE.
Ruth
Love the idea of making personalized bags for myself and my girls! Thanks for this!
Terri Miller
Great video! Thank you! I am making a drawstring bag for a gift. I am a visual learner, so your video was helpful.
Adelaide
Thanks for teaching me as a beginner. Your video is easy to follow and clear.
Lil
Great and easy video:)
Ruth E Curwick
This is a perfect first project for teaching children to sew. Thanks so much for the video and detailed instructions!
Cynthia
Thank you so much for this tutorial. Despite being in my sixties I am a beginning sewer and found this project easy to make and your instructions were flawless. Extra points for using the same sewing machine as mine:-)
Zoe Baker
Hi I was looking for something to store our face masks in (2020 Covid19 problems) This is just perfect. Thank you for your easy to follow instructions and video for extra help xx
Jay
I never thought it was so easy but so easy! Thank you for the video.
Zsuzsanna Matika
I have been making bags in the past years to replace wrapping paper. This way the recipients reuse the little bags for other personal items and I can use up my leftover fabric. I love the tutorial and thank you for posting it!
Vicki
Thanks Melissa, just when I need an idea for making some personalized gifts, you provide the perfect project.
Melinda Laurie
Excellent directions/video… I neglected to leave enough room for my ribbon as it was a bit wider but it still works.. I used Minnie Mouse material and ribbon for my 3 year grand little…. She will love it and won’t notice my flaw