
In this tutorial I’m going to show you how to alter a regular t-shirt pattern to make a v-neck (really easy) and I’ll show you how I actually sew the v in the neck binding.
You need a regular t-shirt pattern to start with, so if you don’t have that, start here
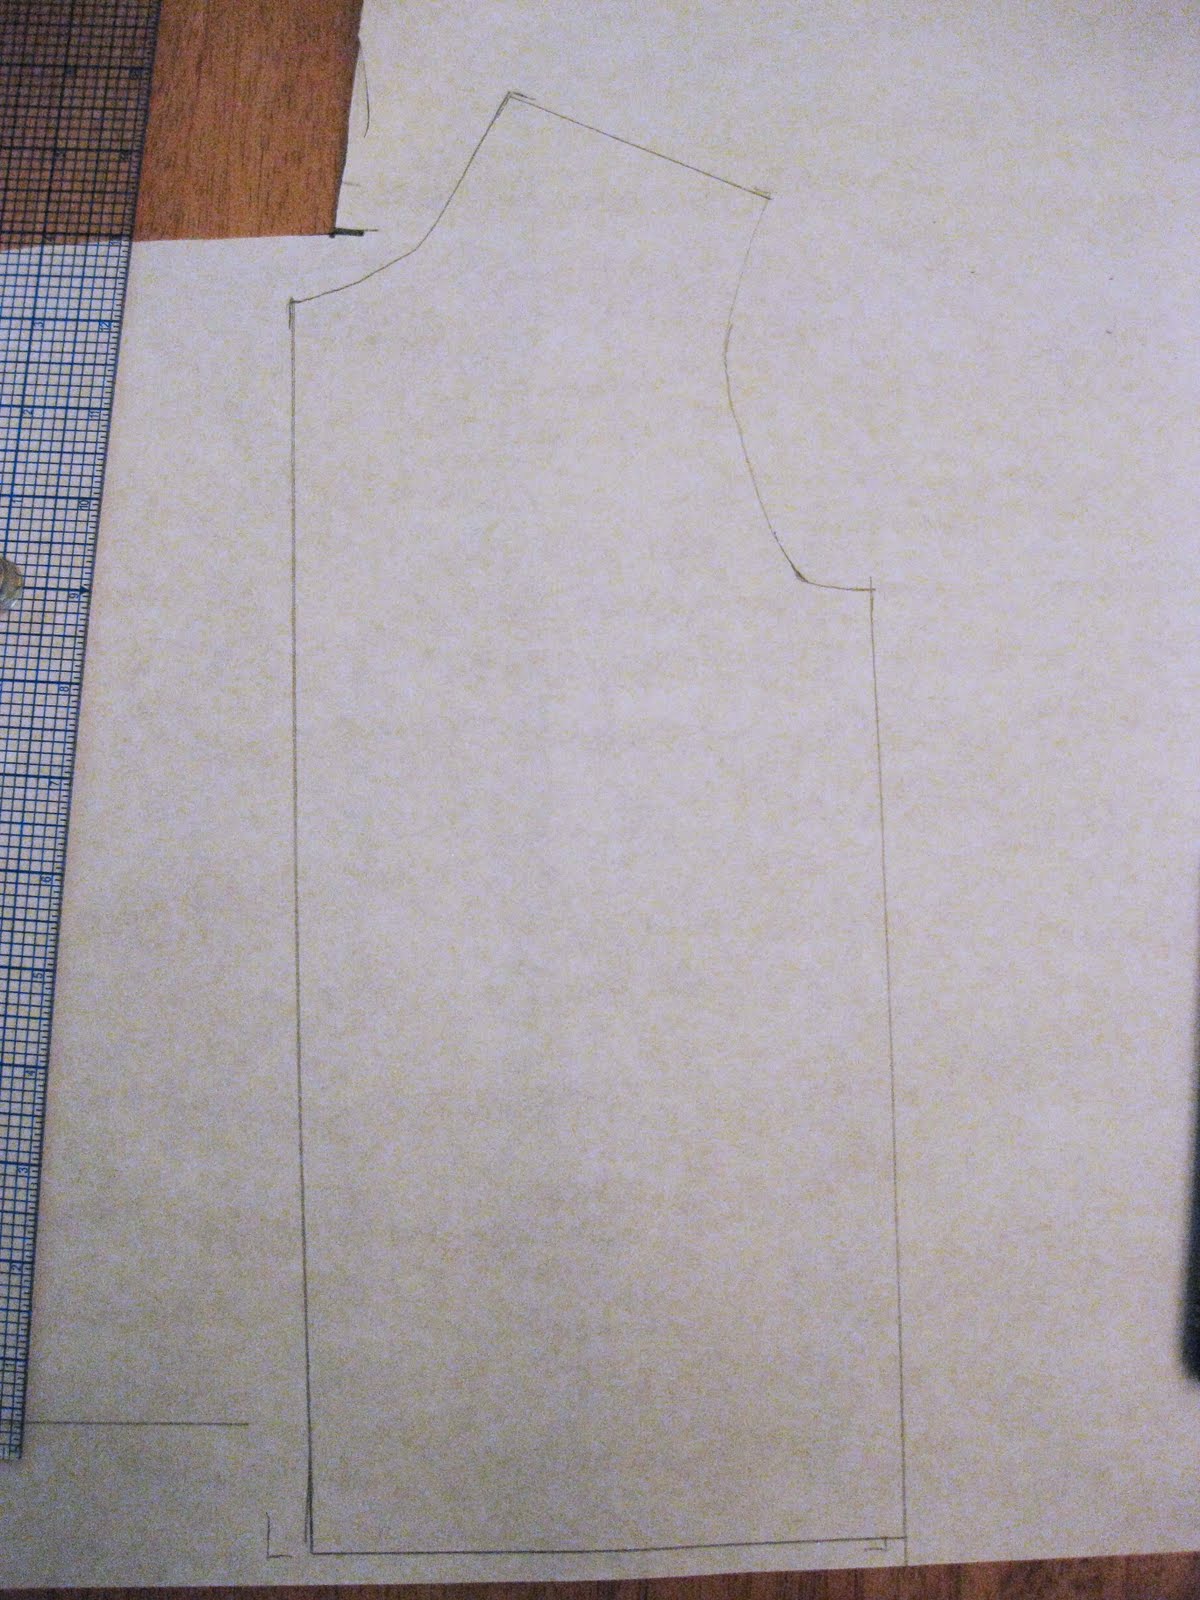
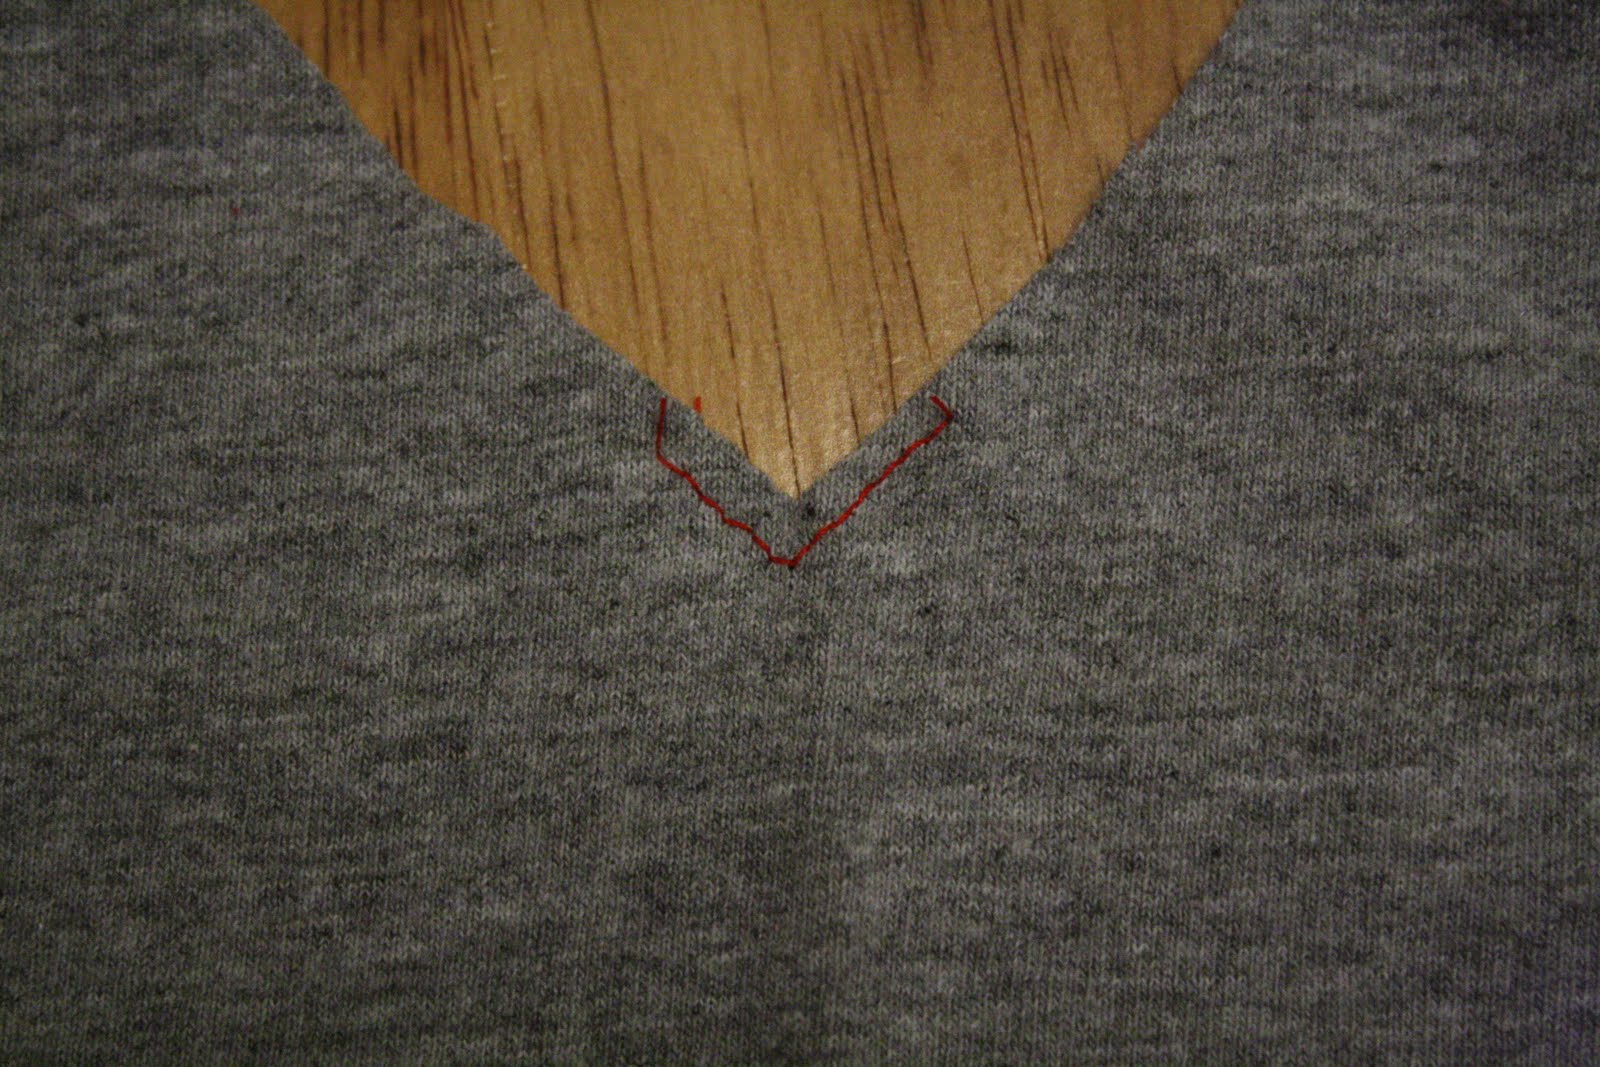
OK, one of the really easy things about making a v-neck is that you only have to alter the front pattern piece. So trace out just the front on paper (or don’t cut out the one you just made).
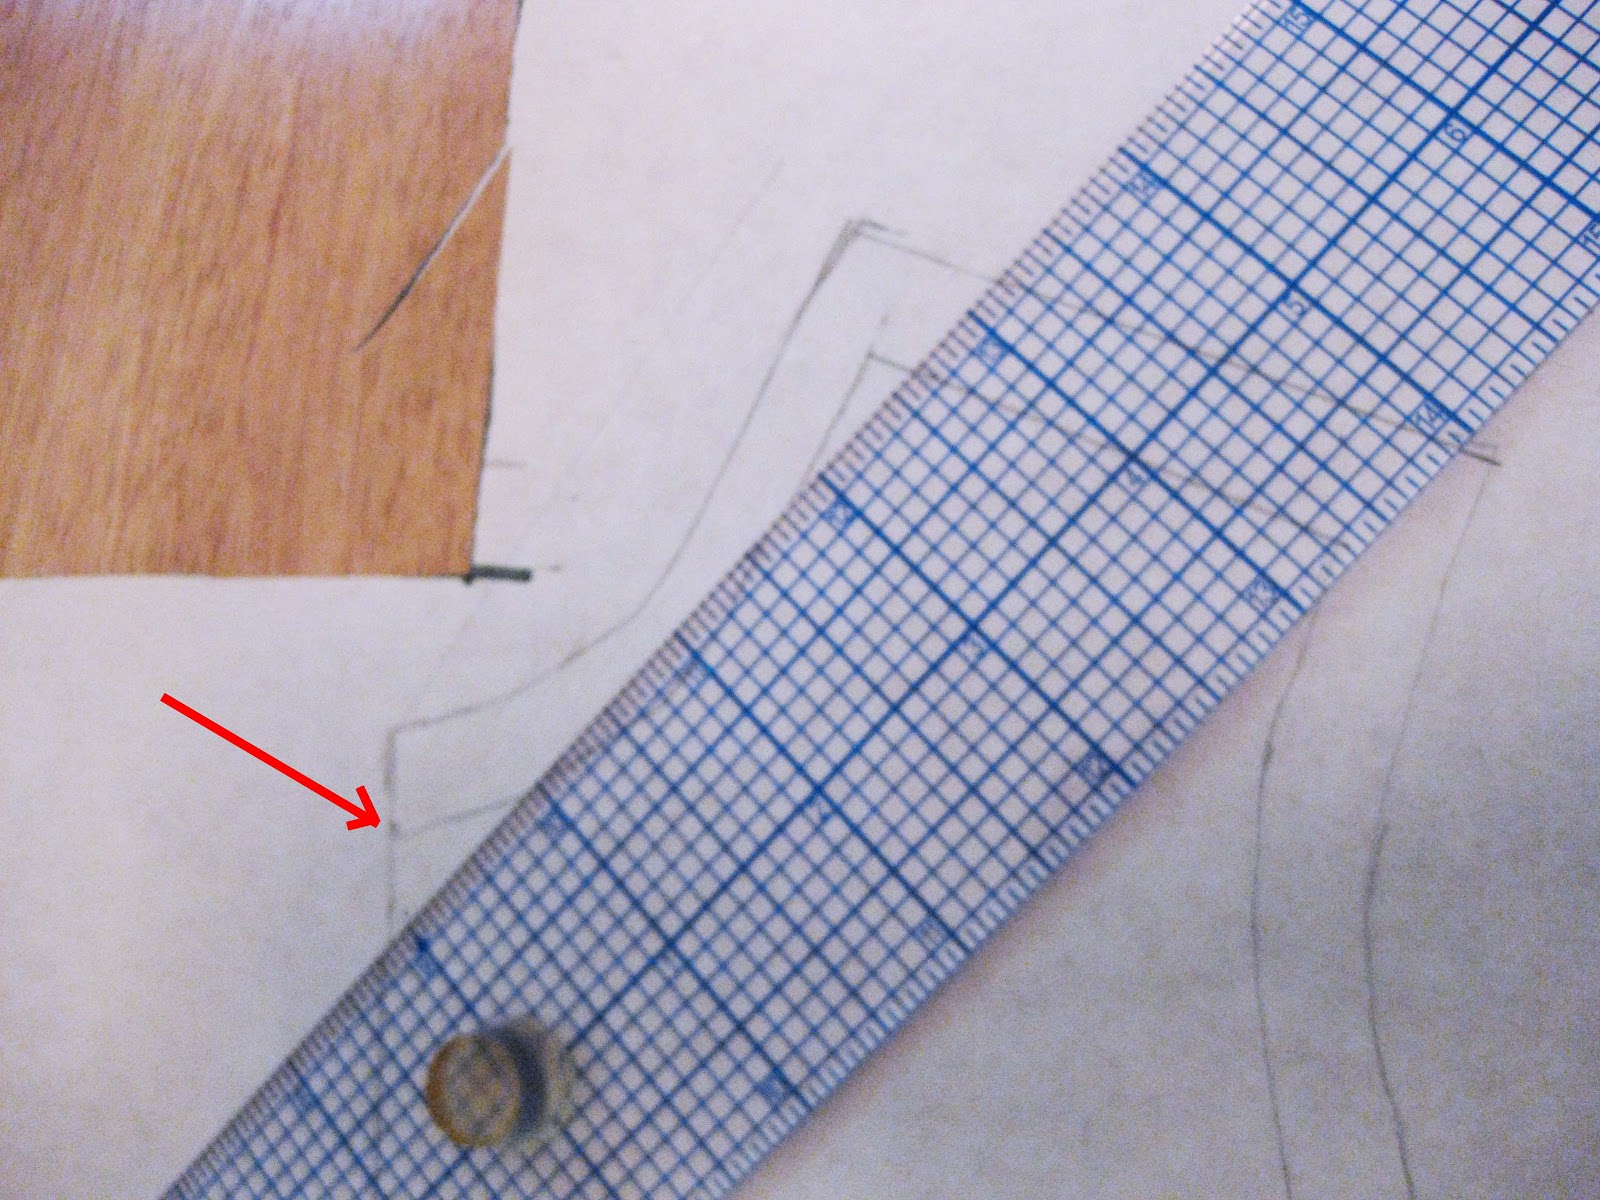
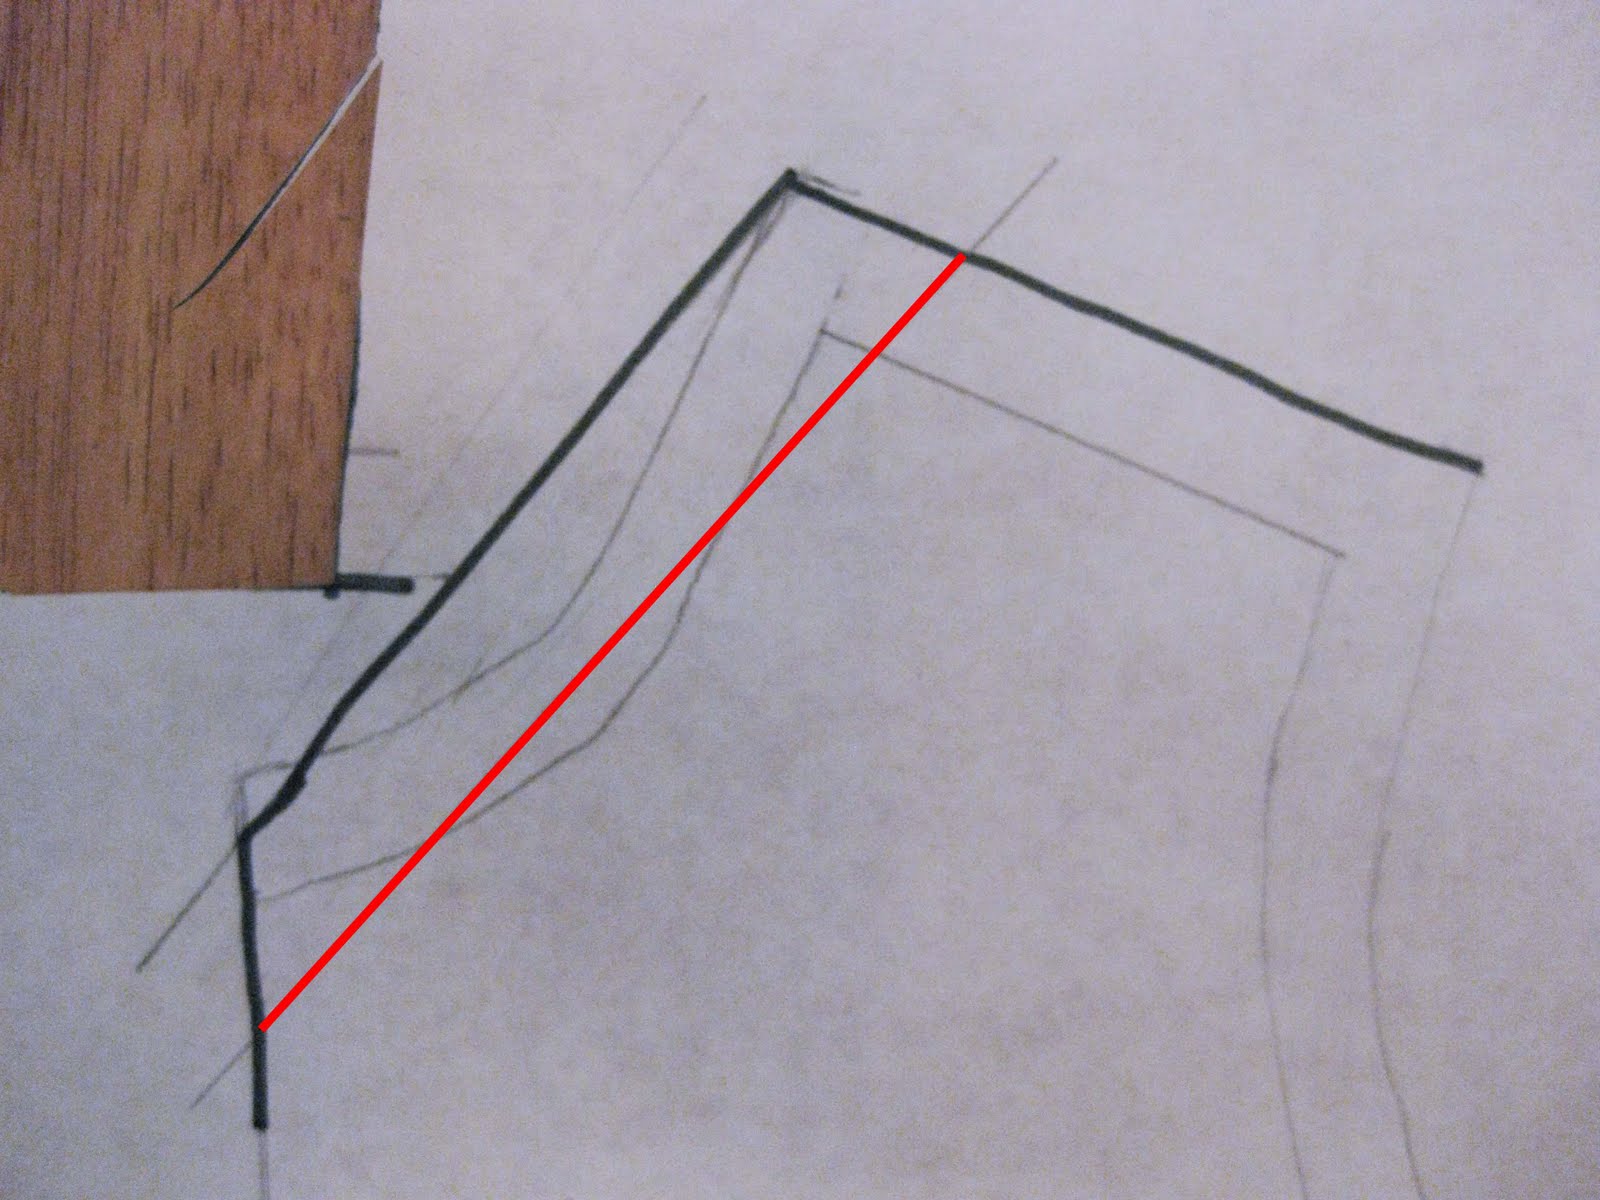
Next, determine how low you want the v. Since this is for a baby, and a boy, I’m not going very low. The red arrow in the picture below shows where the seam for the crew neck was.
As you can see, I’ve chosen to go only a little lower with the v, about 3/4″. From that point, angle your ruler up to about 1/2″ below the point of the shoulder seam and draw a line.
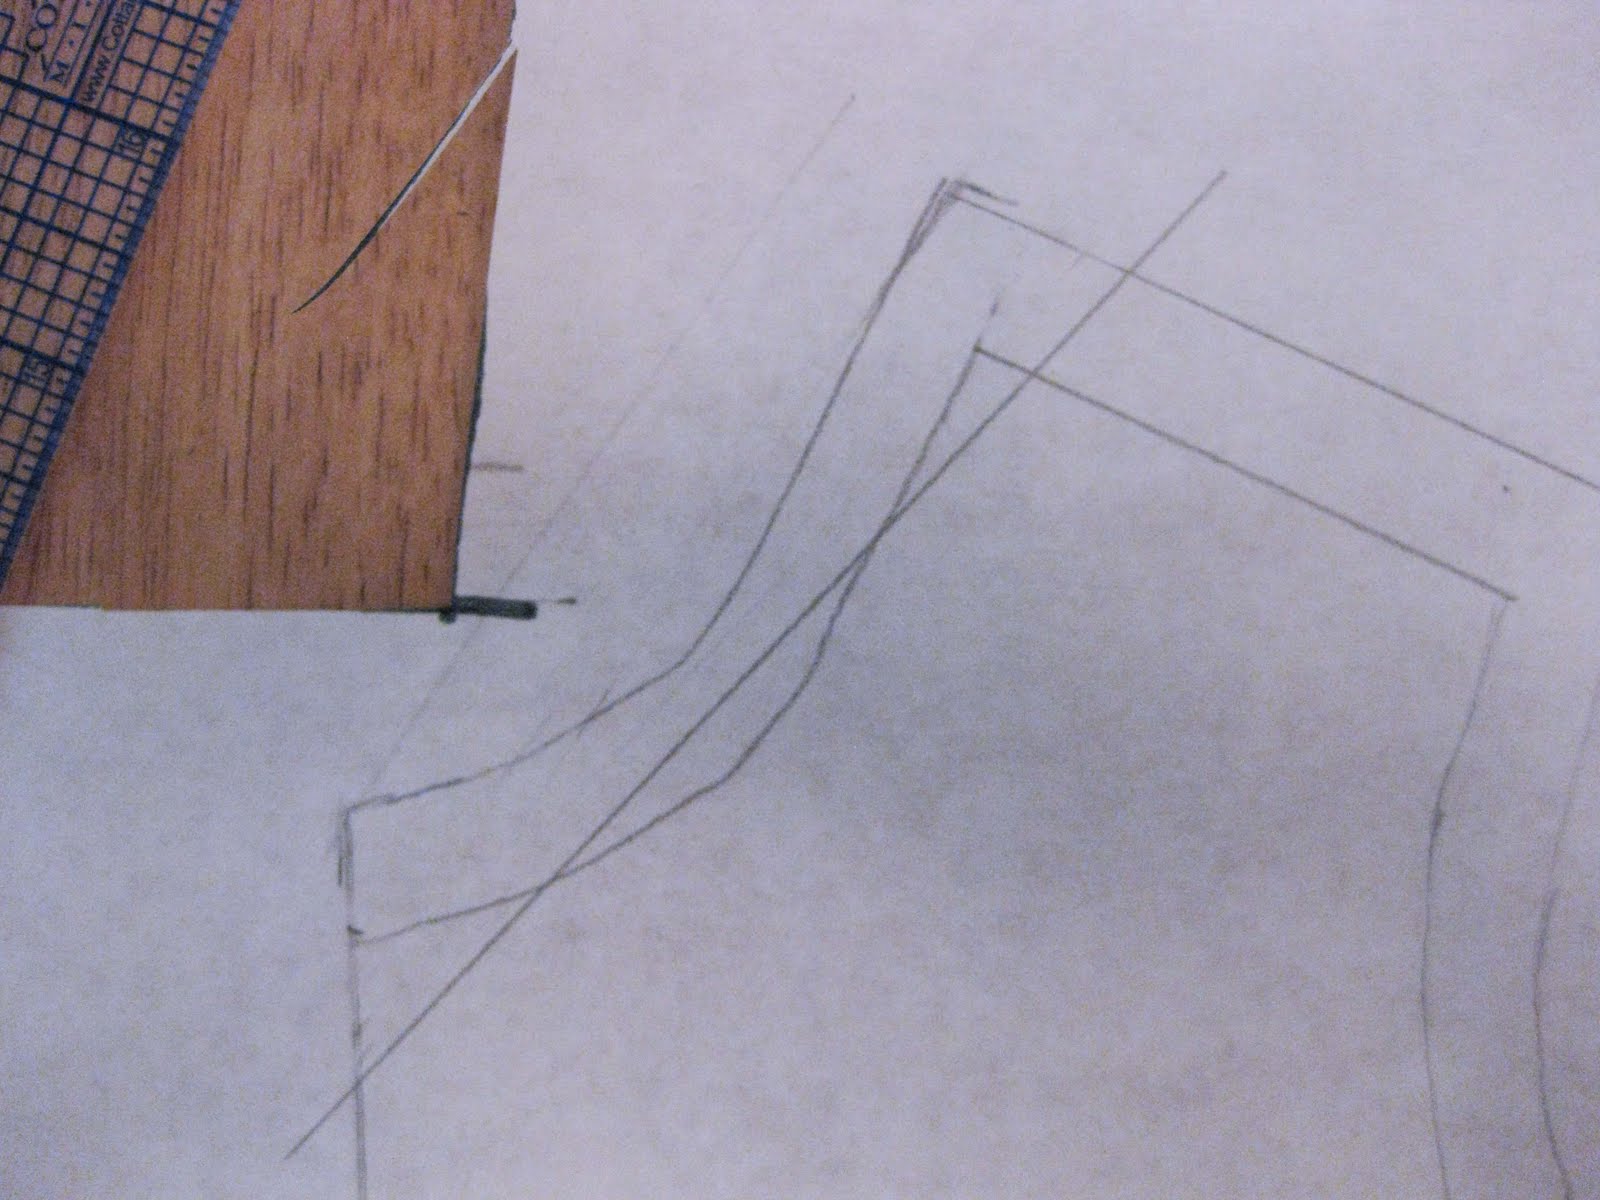
Now you need to add a seam allowance, so go 1/2″ above your seam line and draw another line. Make sure this line meets the point of the shoulder, this way you won’t have to redraw your back pattern piece, you can just use the same one from the crew neck. If you have to fudge the angle a little or go more than 1/2″ from your original line, do it, the most important thing is that you meet the shoulder point. In the picture below the red line is my original one, and the black includes the seam allowance. You can see they’re not perfectly parallel.

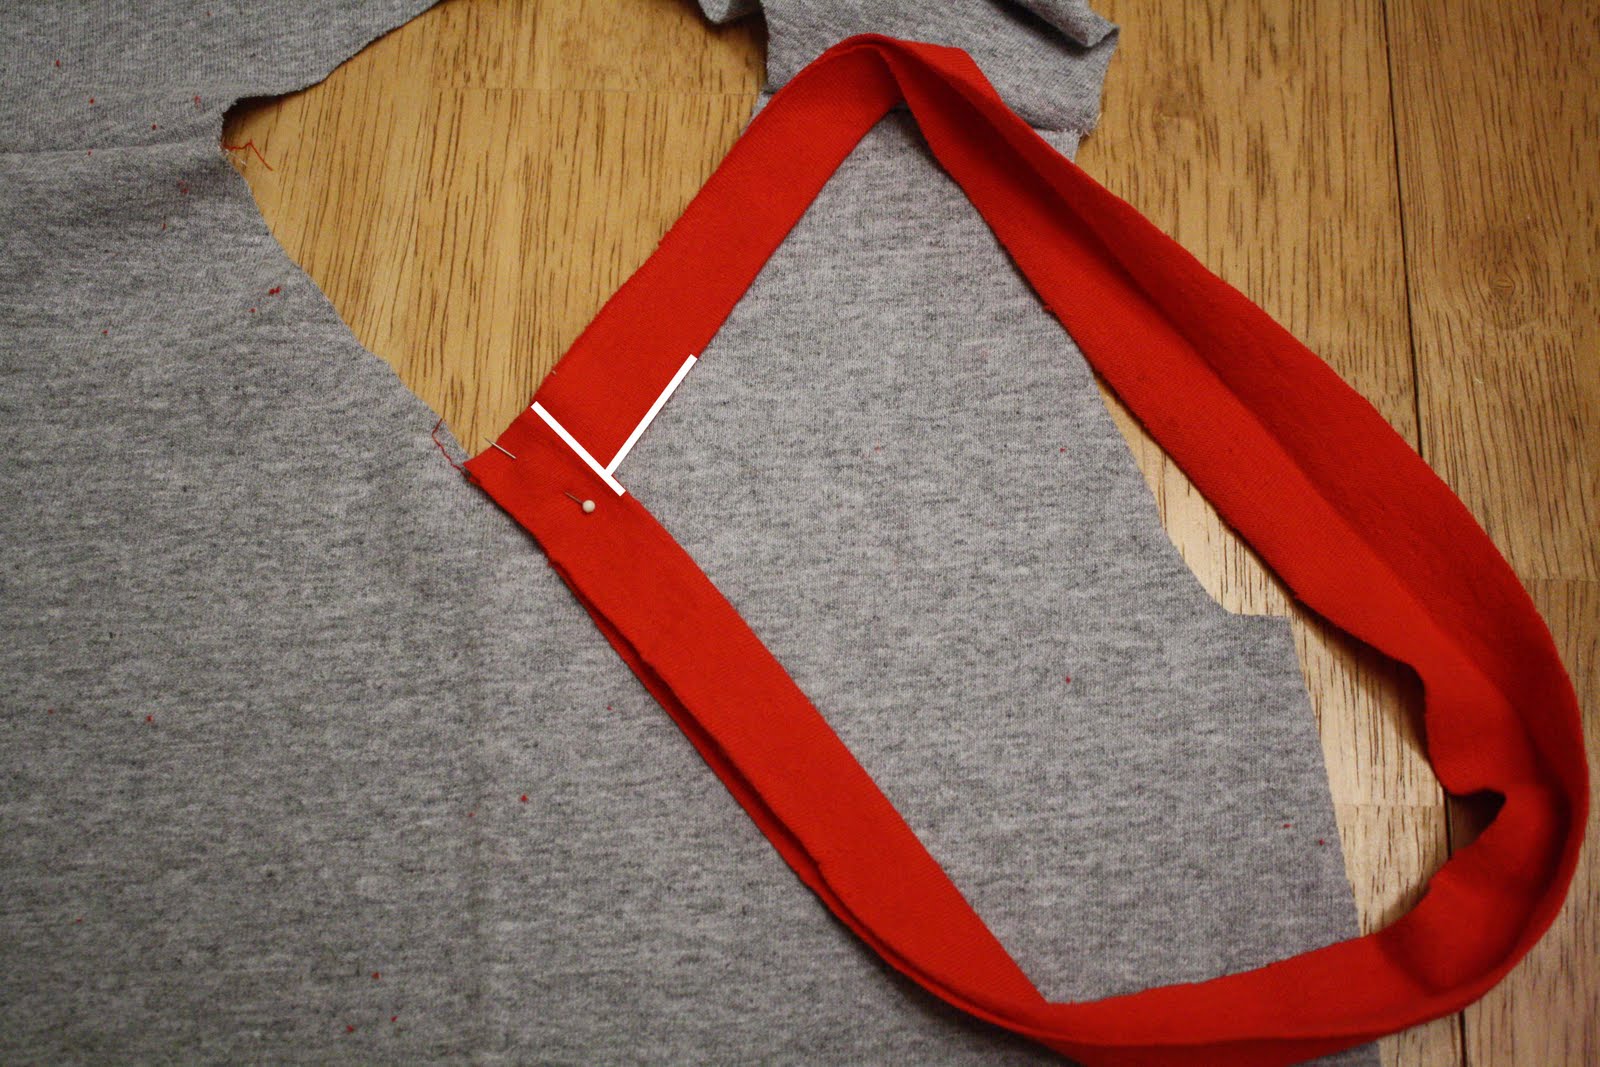
Next, overlap the edges of your binding and line them up precisely with the right side of the V with the shirt right side up. In the picture below, the white lines I added show the folded edges of the binding. You want the raw edges of the binding to line up with the raw edge of the neck. The bottom part of the binding in the picture is on top.
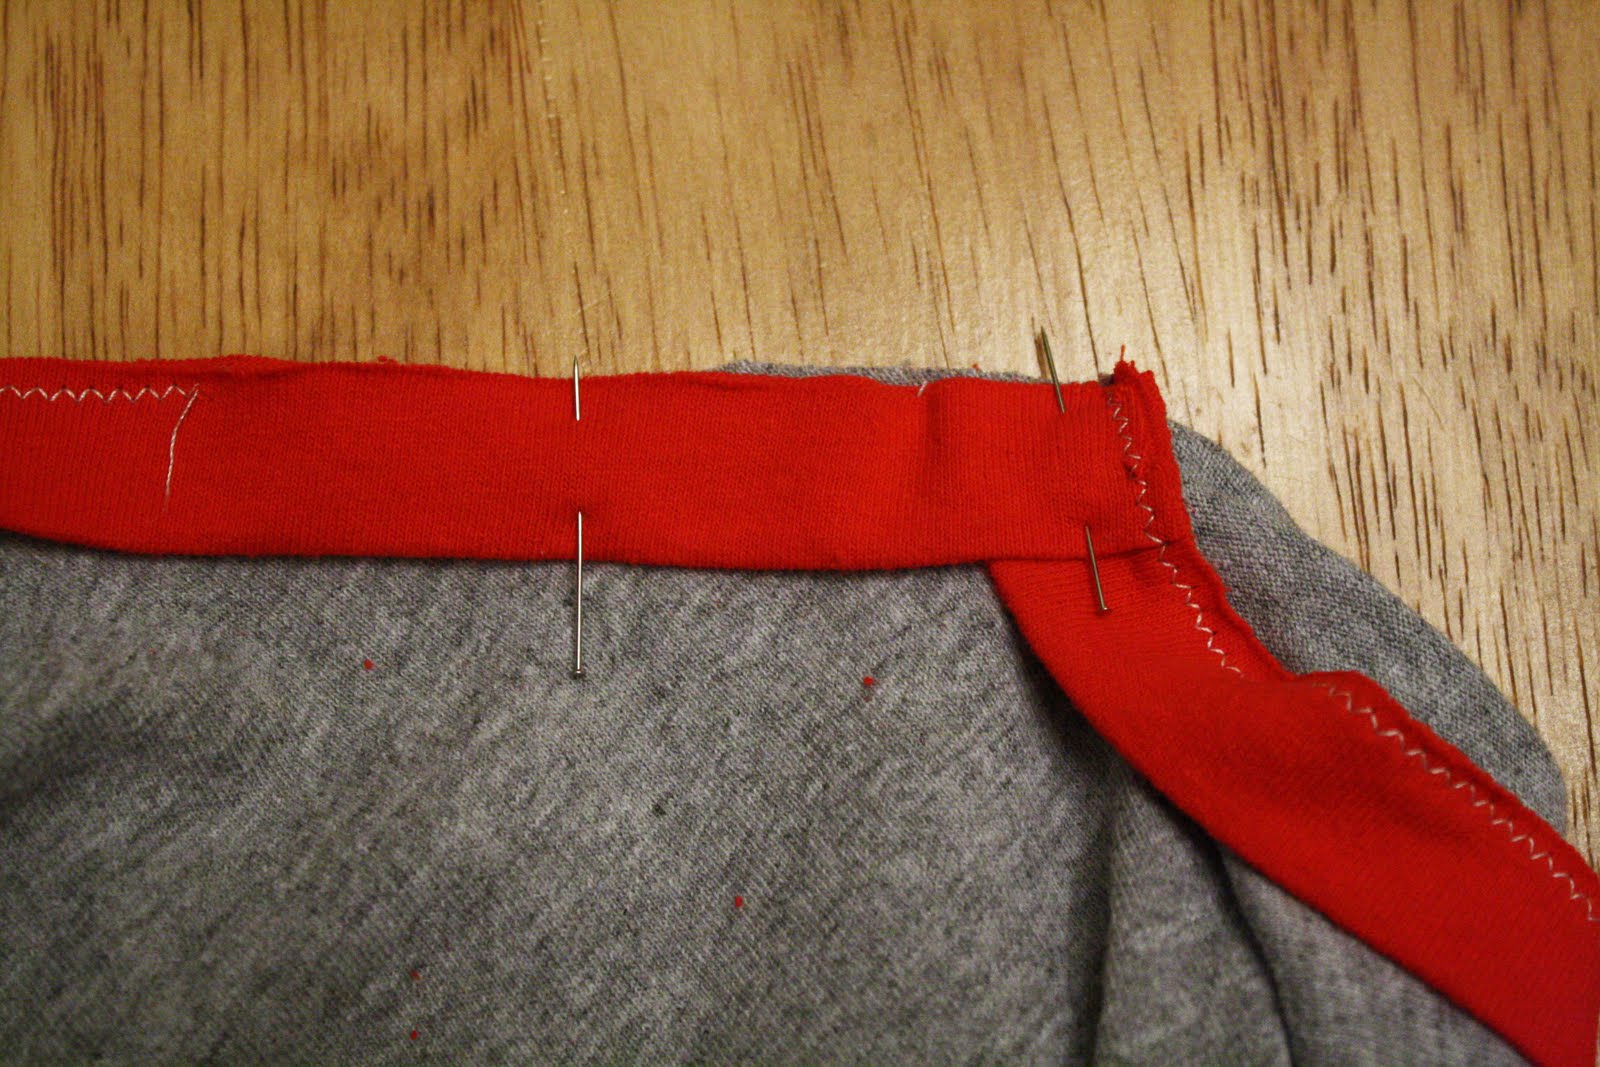
Match the center of the binding to the center back of the shirt, then continue to pin around the neck edge, matching raw edges and stretching the binding gently if need be. Go as far as you can go until the binding and/or the shirt starts to want to bunch, about 2-3″ from the other side of the V. You should have something kind of like this:

Sew around the part you have pinned. Now your collar looks kind of like this:

You can see the last little bit I haven’t sewn in the picture above. Remove your pins and focus on that last unstitched piece, flipping the binding down and adding pins. You can also fold the rest of the shirt out of the way. Now it looks like this:
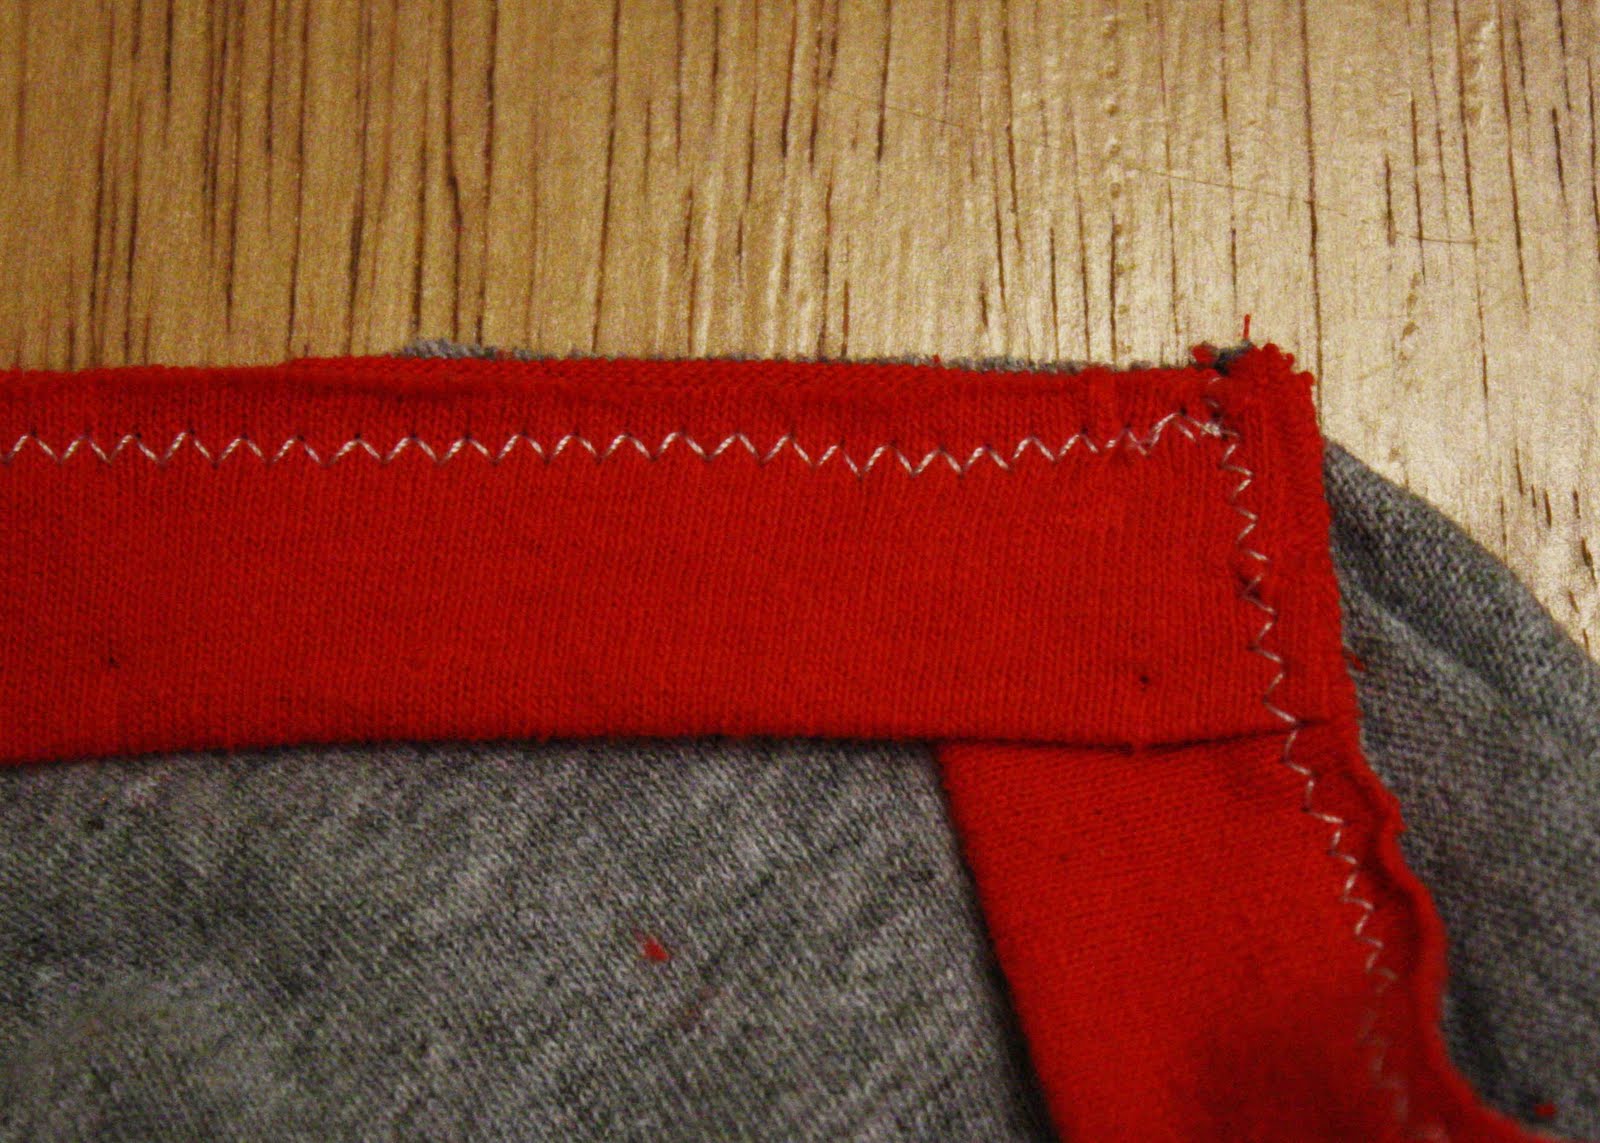
Flip your seam to the inside of the shirt. Now it looks like this on the outside:
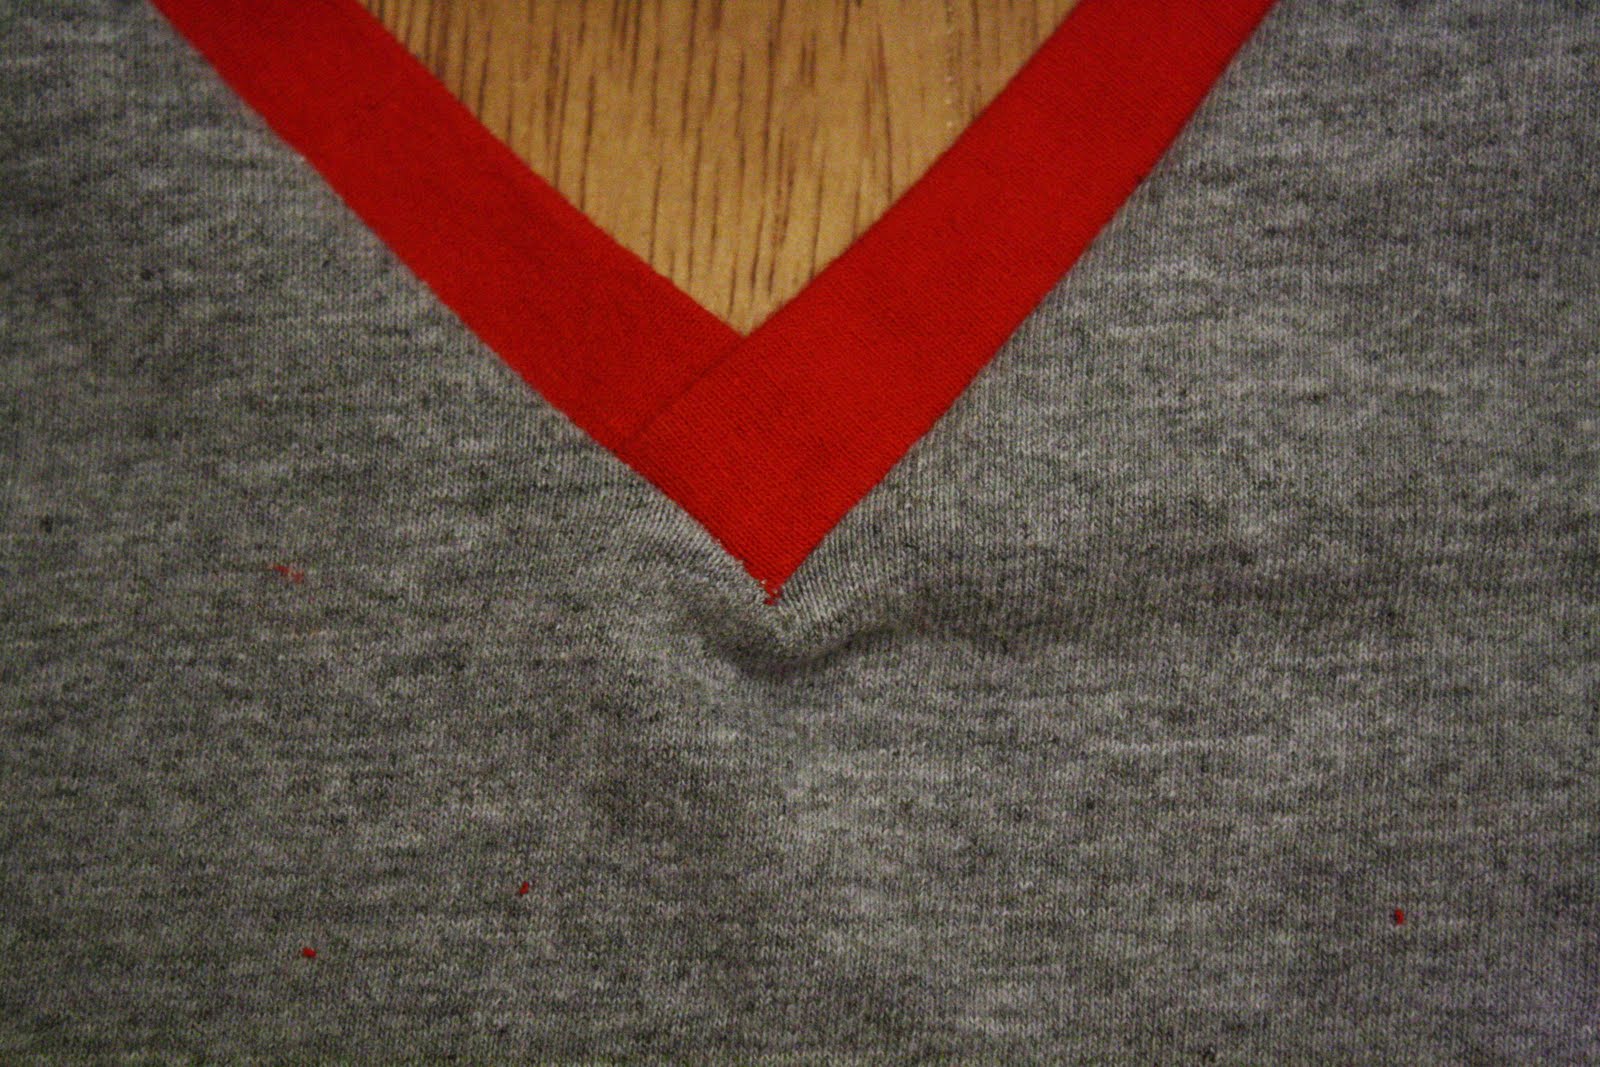
See the little pucker I have? As long as you don’t have wrinkles on the V seam, this can usually be fixed with a little steam ironing. Check that it can before you continue.
I like to topstitch close to the seam so that it is held down flat and the binding won’t try to roll outward. So here’s the V neck now:


Or on a cute baby, a v-neck might look something like this:

Lisa
I never really realized that they don’t have v-neck shirts for babies until right now. I wonder why…
This is really cute!
The Michelle Show
Thank you for this! I just found it as I was preparing to make a Vneck for my litle guy.
Emily
Fantastic binding tutorial! I’ve been wondering about v neck binding for a while now. 🙂
R
Thanks for the really clear tutorial, I successfully adapted a crew neck t shirt to v neck for my 7 year old from this.