
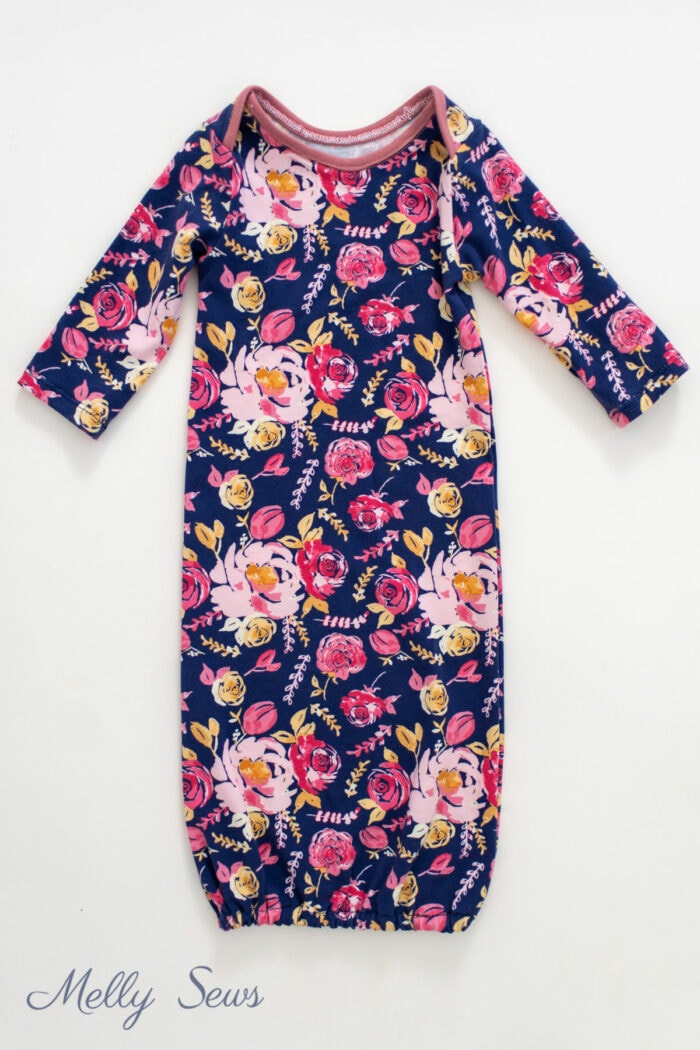
Why buy when you can make a baby gift? Learn how to make your own newborn sleeper gown.
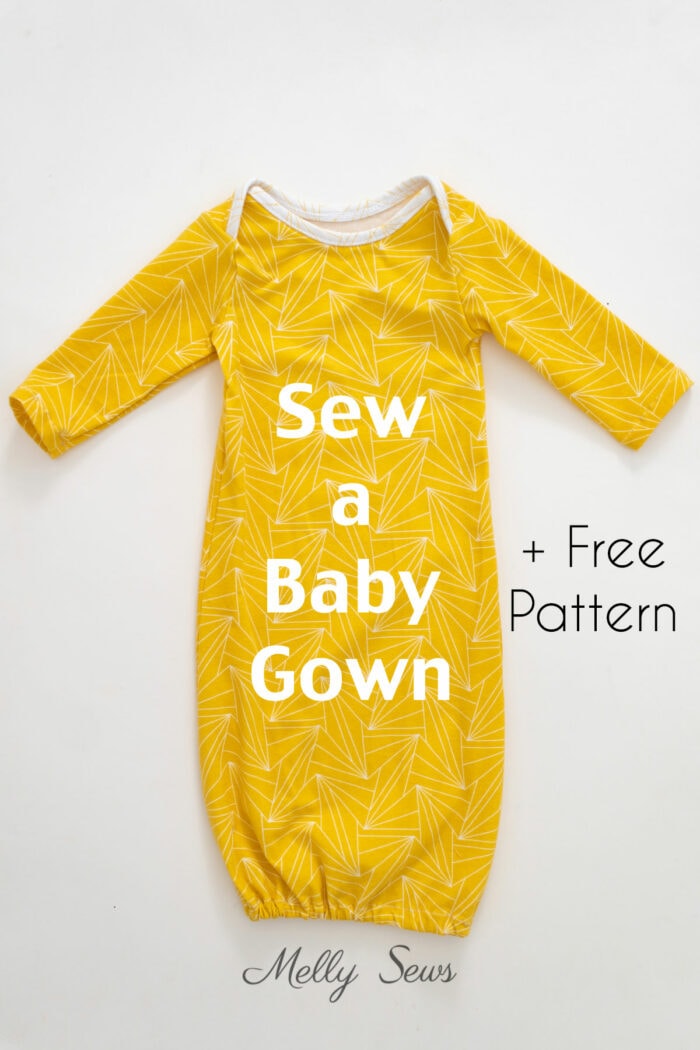
Hey y’all, today I’m sharing a free baby gown pattern and the tutorial to sew this sleeper. This is an extension of my baby t-shirt pattern for cooler weather, and it’s a perfect gift for a new parents. A newborn gown is perfect to sew for a baby shower and also share some handmade love.
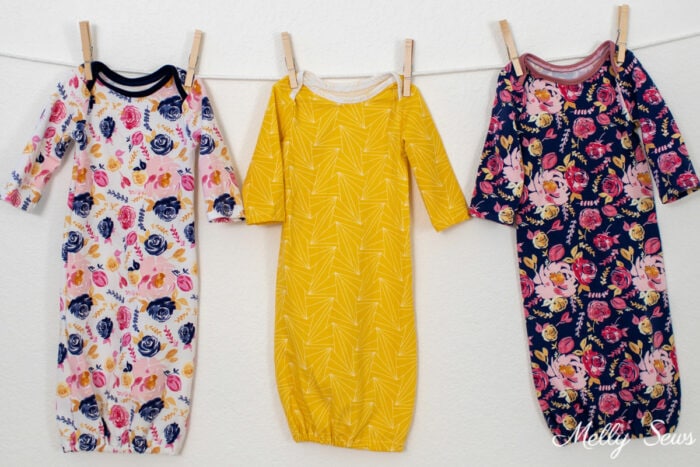
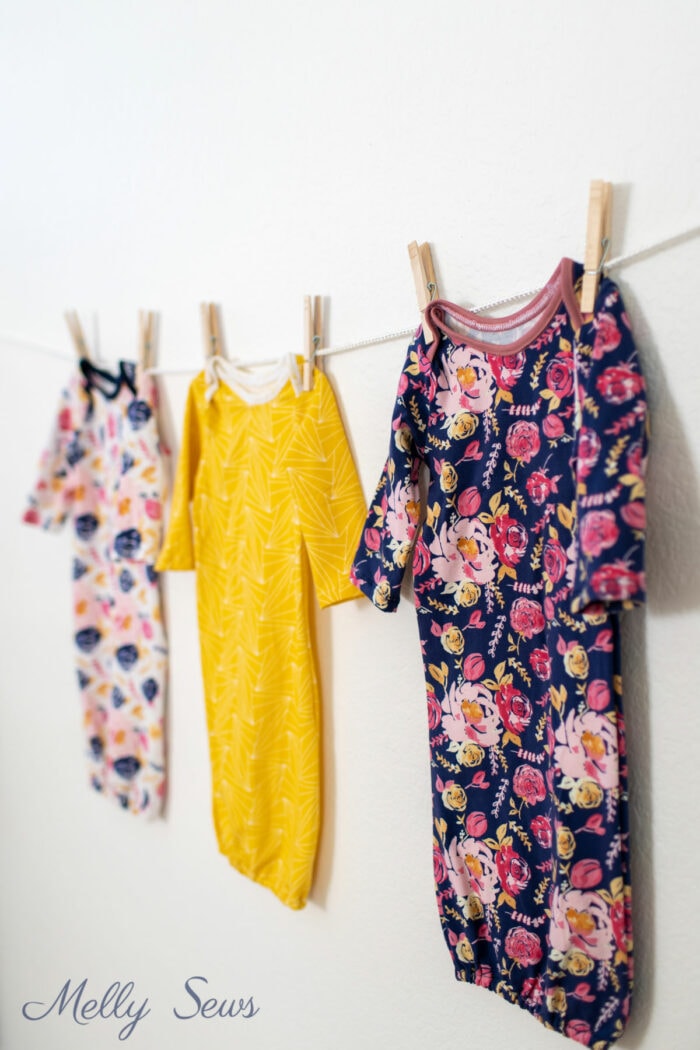
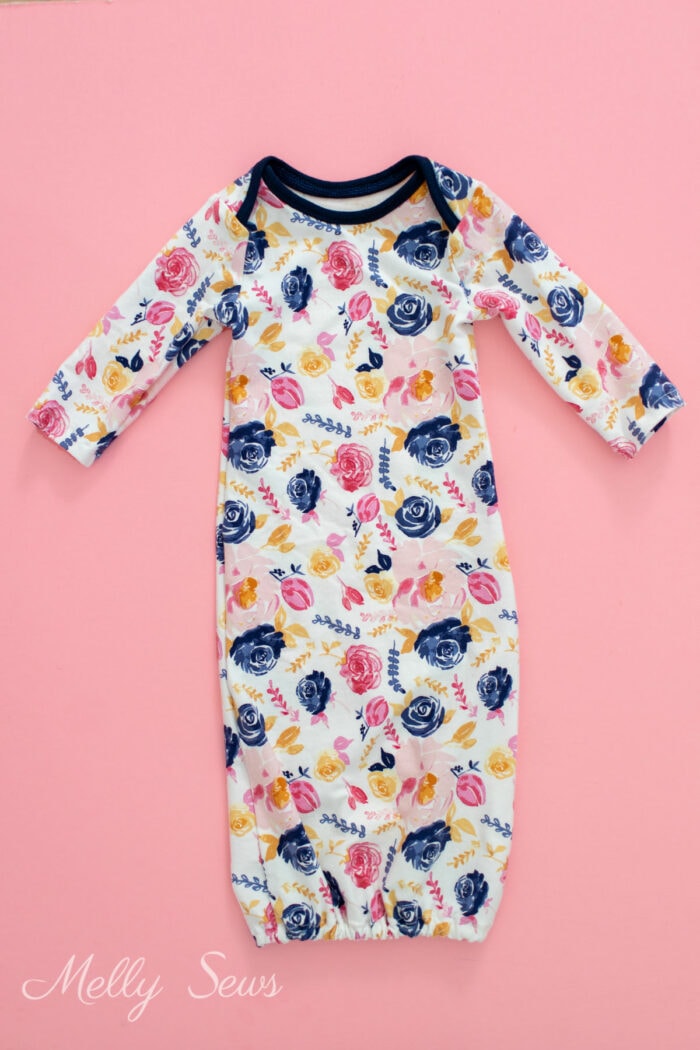
I sewed these in a selection of some of my designer knit fabric. This is a pattern for baby boys and baby girls, just customize your fabric print choice. Alternatively, you could choose something like the yellow print that would be great for any baby.
This post contains affiliate links. As an Amazon Associate I earn from qualifying purchases. All affiliate links are identified with (affiliate link) after the link or a commissions earned statement above the link(s).
Materials to Sew a Baby Sleeper
Want to make your own sleeping gown? You’ll need the materials below.
- 1 yard of knit fabric. I used a cotton spandex knit. You’ll likely have extra width of fabric left over since stretch fabrics are generally 60 inches wide. I’d suggest adding a beanie hat to use up the extra if you’d like.
- If you’d like to use contrast color for the neck binding strips, you’ll need 1/8 yard of that.
- 1/2 yard of 1/4 or 3/8 inch wide elastic
- A safety pin or bodkin (affiliate link) to thread the elastic
- Sewing machine that will sew a stretch stitch, thread, needles, etc.
- The pattern (see section below for details to get it)
A few notes: Before you begin you’ll want to prewash your fabric to pre shrink it. Make sure to use a gentle detergent as many newborns have sensitive skin. You’ll also want to be extra careful about cutting off thread ends since tiny fingers and toes can get caught in even short threads.
How to Get the Baby Gown Free Pattern
This pattern is size 0-3 months, so it should work for an average sized newborn up through several weeks old, though the sleeves might need to be rolled up at first. Or let them cover baby’s hands to keep their scratchy nails away from their face.
To get this pattern, you must either be a free newsletter subscriber or have purchased a gallery access pass. Then click your preferred option from the buttons below. Existing newsletter subscribers should look at the bottom of the most recent Friday newsletter for the current free pattern gallery password. If you purchased the all access pass you’ll log in to your shop account to download the pattern. Note that the free version of the pattern does not have printable instructions so you’ll need to refer to this post for instructions.
 |  |  |
Before using this pattern, you may wish to visit the CPSC standards to make sure your finished product will be safety compliant with current standards. For example, don’t substitute a drawstring for the elastic, as ties can be choking hazards for babies and children.
Sewing The Gown
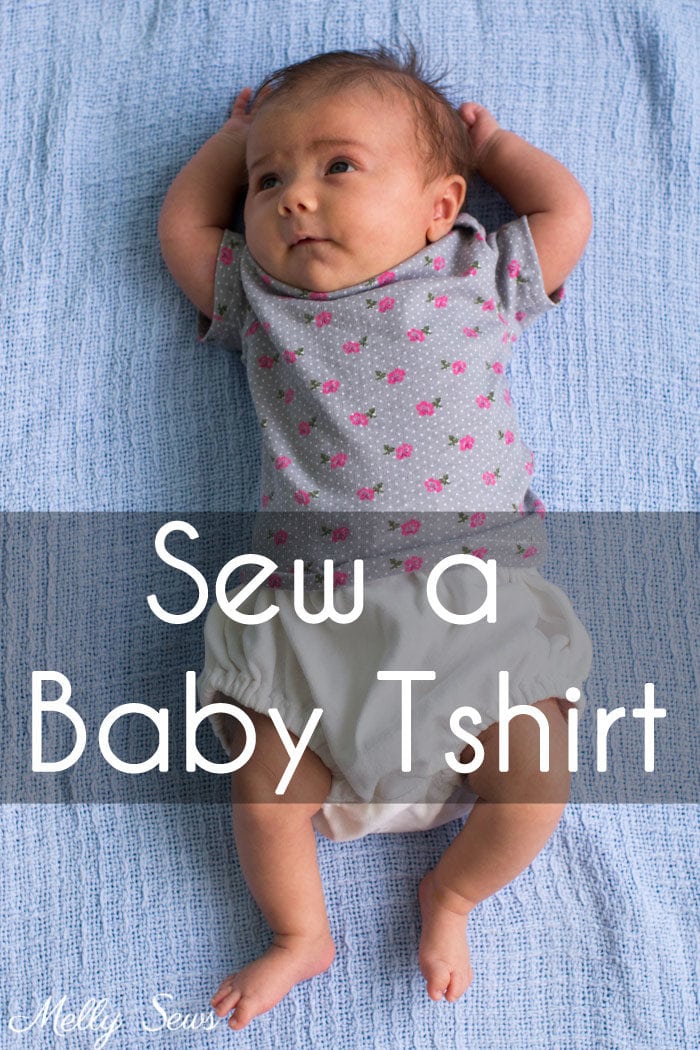
To see how to sew the top of the gown, including the neckbands, refer to the Baby T-shirt post.
To see how to sew the bottom of the gown, check out the video below or on YouTube here.
Sewing Instructions for a Newborn Sleeper
Time needed: 1 hour and 30 minutes
How to Sew a Baby Gown Pattern
- Cut out your pattern
To start, you should have a front and a front binding (dimensions for the binding are on the pattern, make sure it stretches lengthwise), a back and a back binding, and two sleeves. Make sure you cut or mark those notches on the front and back pieces, you’re going to need them later. This pattern includes 1/2 inch seam allowances unless otherwise noted.
- Sew the neck binding
First, pin the front binding right sides together with the front neckline and around the shoulder extensions. Stretch the binding slightly to fit; you want to do most of your stretching on the curves and less stretching on the straighter parts of the neckline. Stitch, using a stretch stitch. Need to know more about stretch stitching? See this post. Repeat this process with the back and back binding.
- Finish the neckline
Next, fold the binding around the seam allowance and to the wrong side of the gown. Pin it in place, then flip the shirt over with right side up and replace the pins onto the right side. This is because we’re going to sew on the right side, and you don’t want to zig-zag stitch over pins. Set your machine for a medium length, medium width zig-zag stitch. Sew with the seam centered under the presser foot, so one side of the stitch lands on the binding and one lands on the shirt. Repeat this with the back/back binding. Then trim the excess fabric off the bindings on the wrong side, being careful not to cut the gown.
- Sew the sleeves
Lay the front of the gown right side up on the table, then overlap the back of the gown on it at the shoulders. The wrong side of the back should be against the right side of the front. Next, match the notches, then pin the armholes with the raw edges even. After that, match the center of each sleeve to the notch, right sides together. Pin through all 3 layers, then pin the rest of the sleeve in place. Stitch the sleeves, using stretch stitch.
- Sew the side seams
Fold the gown right sides together, matching the underarm seams. Pin down the sides so that you can sew the sleeves and the side seams in one pass.
- Hem the sleeves
Fold the sleeves under 1/2 inch to the wrong side and then hem. Need more help with hemming knits? See this post.
- Sew the casing
Fold the bottom edge of the gown 1/2 inch to the wrong side and then stitch close to the raw edge, leaving a 1 1/2 inch gap somewhere on this stitching line.
- Insert the elastic
Use a safety pin or bodkin to thread the elastic through the casing, making sure not to twist it. Once that is done, overlap the ends of the elastic and sew them together. Finally, sew the gap in the stitching line closed and trim threads.

Leave a Reply