
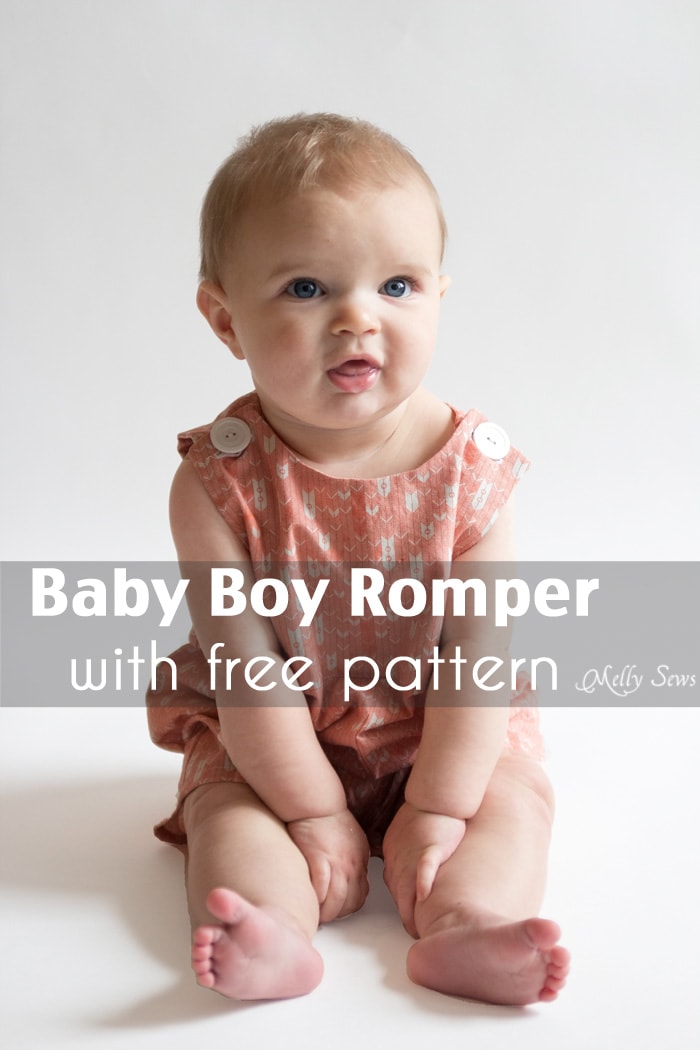
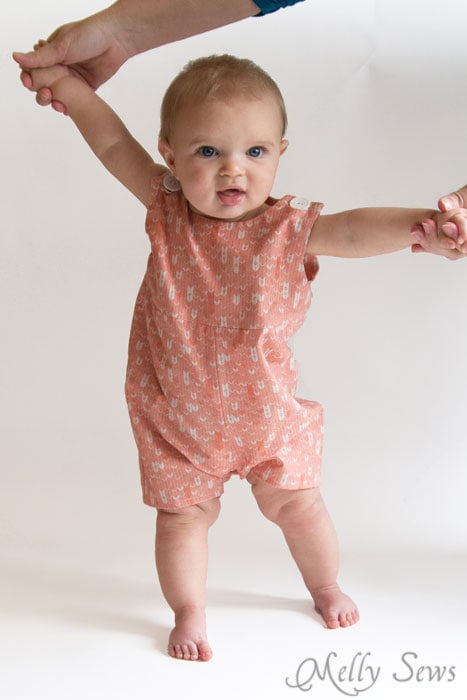
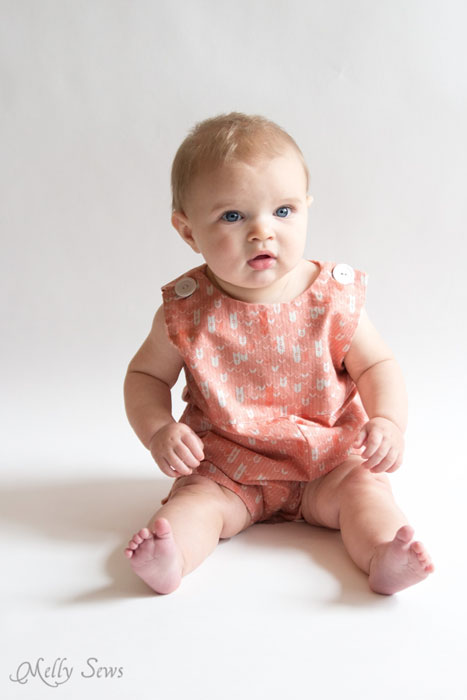
Isn’t my friend’s little guy just an adorable squish? Today I’m sharing a free romper pattern for baby boys with a VIDEO tutorial included! This style is perfect for warmer weather, and depending on your region, they can also be called jon jons or john johns.

The pattern I’m sharing today is a 0-3M size, so it’s smaller than the one you see in these pictures. If you need a different size, the Raleigh Romper and Dress pattern is available for purchase and comes in sizes NB-3T. To buy the Raleigh Romper and Dress Pattern, click the Buy Now button below. You’ll get an email with your download link after payment.
To make the romper you’ll need:
- 1/2 yard of fabric
- 3 snaps – you can use hammer on, KAM snaps, sew on, or snap tape for this
- 2 tiny scraps of fusible interfacing – about 3 inches by 1/2″
- The pattern, see below
How to Get the Pattern
The free pattern is in size 0-3m. To get it, click your preferred option below to get the free pattern only as a newsletter subscriber, or you can buy the full NB-3T digital pattern + printable instructions.
 |  |  |
Please note that all my free patterns are licensed for personal use only (no selling items made from this unless you purchase it) and by downloading you are agreeing to this license.
To sew this, you can use the video tutorial below, which you can also watch here, or scroll past it for written instructions.
Here’s the video tutorial below; if you prefer written instructions, you can scroll on by. If you want to watch this directly on YouTube, you can see it here.
After printing and taping the pattern, cut out your pieces according to the directions on the pattern. Mark buttonholes on the right side of the front bodice piece.
Sew the front to the front lining along the armhole and neckline, right sides together, using a 1/2″ (12mm) seam. Repeat with the back and back lining. Clip the corners and curves.
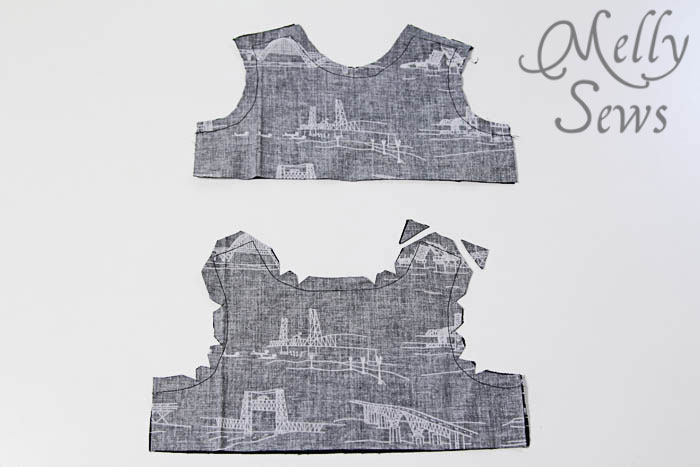
Turn front and back pieces right sides out and press.

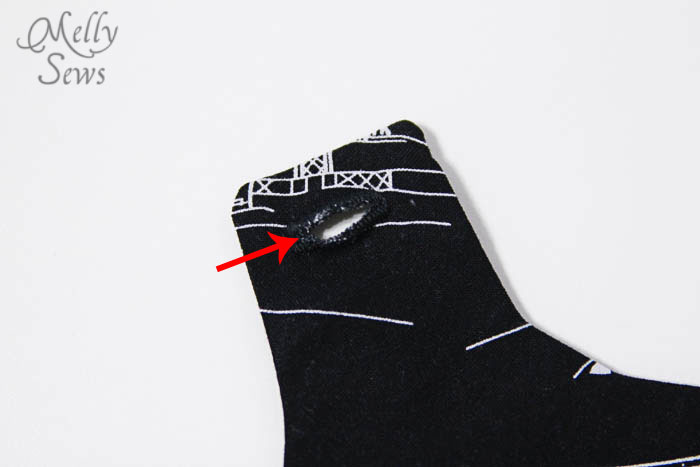
Sew the buttonholes on the front piece. Need help with buttonholes? Check this post.
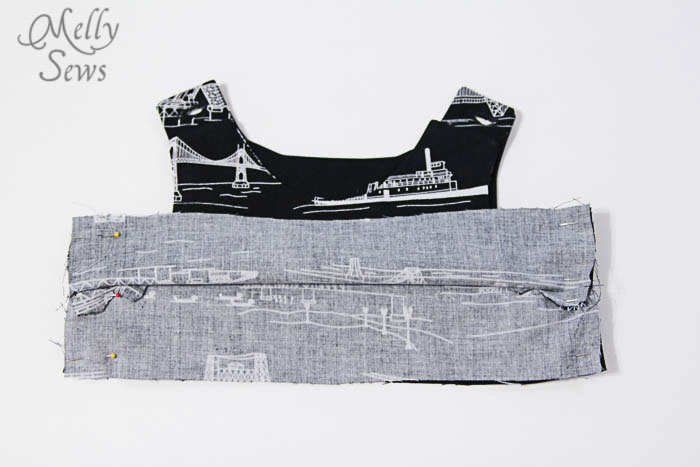
Place the front on top of the back, lining sides together. Open the side seams and pin the front to the back and the front lining to the back lining at the side seams, matching the armhole seam. Sew each side in one seam.
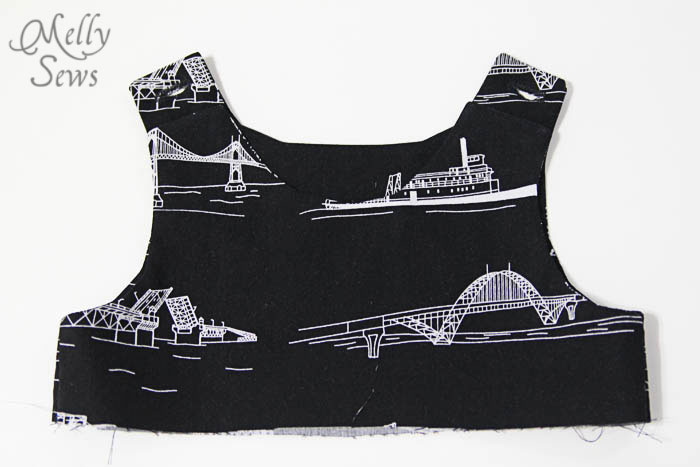
When you fold the front and back down, the seams are enclosed inside.
Sew the shorts fronts along the curved crotch seam, right sides together. Repeat with the shorts backs. Finish this seam with your preferred seam finishing method (seam finishing tutorial here).

Open up your shorts front and back and place them right sides together. Line up side edges and sew, then finish with your preferred method.
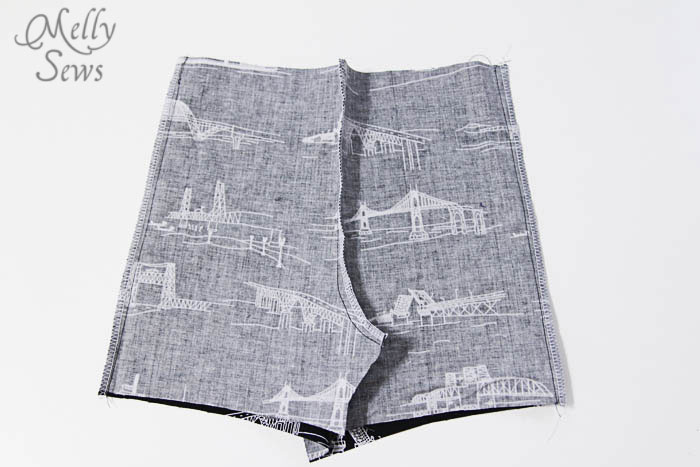
Lay your shorts flat so that the side seam is facing up. Press the bottom edge up 1/4″ (6mm) twice, then stitch in place to hem. Repeat on other leg.
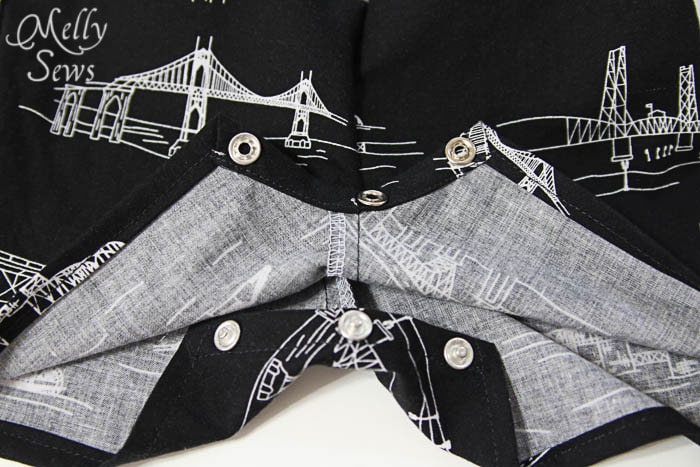
See the short raw edges on the bottom right and left of this picture? Those are your inseams, and we will be looking at them more closely in the next picture.
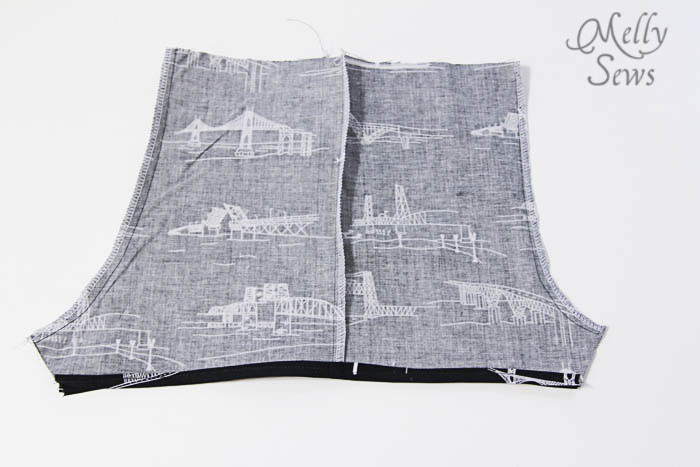
Lay shorts so crotch seam is facing up. Iron a piece of 1/2″ (12mm) wide interfacing onto the shorts 1/8″ (3mm) away from the raw edge of the inseam. Trim interfacing to fit the width of the inseam.
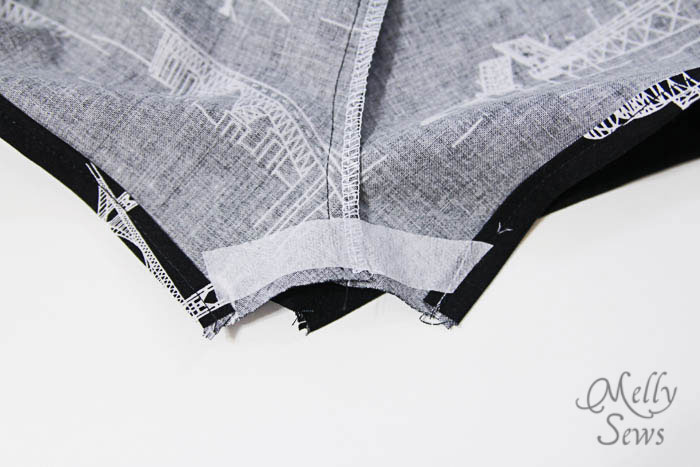
Iron the 1/8″ (3mm) or raw fabric toward the interfacing.

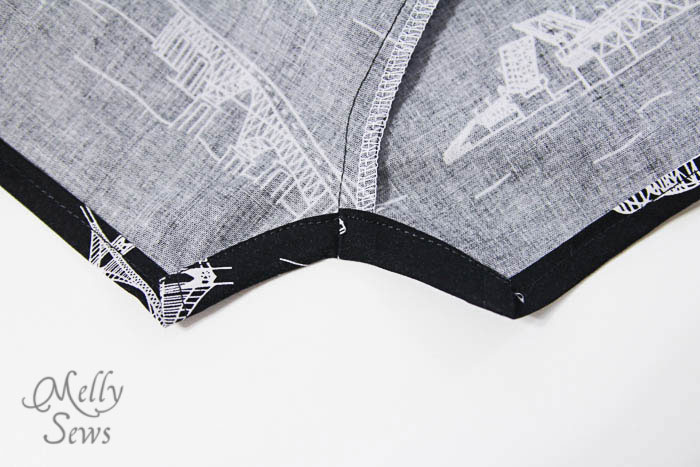
Fold the inseam again 1/2″ (12mm) to cover the interfacing. You will have to stretch fabric on the bias to achieve this. Make sure the center seam on the folded edge aligns with the center seam of the shorts, then stretch the folded fabric toward the hemmed edges. Stitch folded edge in place. Repeat with other inseam, making sure the two inseams are the same length.
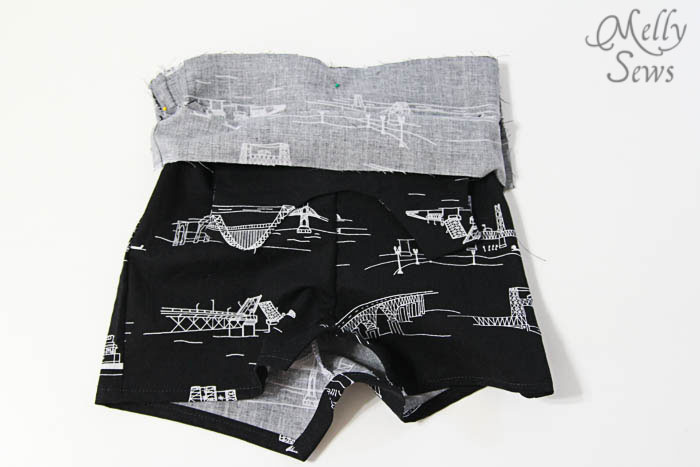
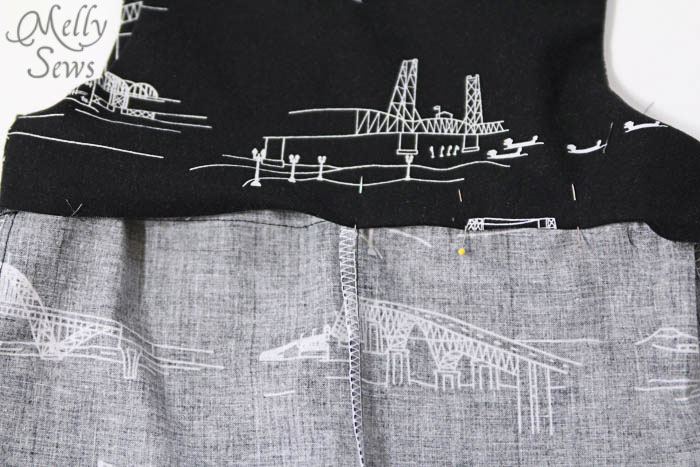
Turn the shorts right side out. Pin the outside of the top only (not the lining ) to the shorts at the waistline, right sides together. Match top front to the shorts front, the top back to the shorts back, and make sure to match the side seams. Stitch around waistline.
Turn romper wrong side out. Press the seam from the previous step up toward the top. Then fold the bottom edge of the lining under 3/8″ (9mm) and pin over the seam. On the right side of the romper, stitch in the ditch of the waistline seam to secure the lining in place. Alternately, you could handstitch the lining to the seam allowance.
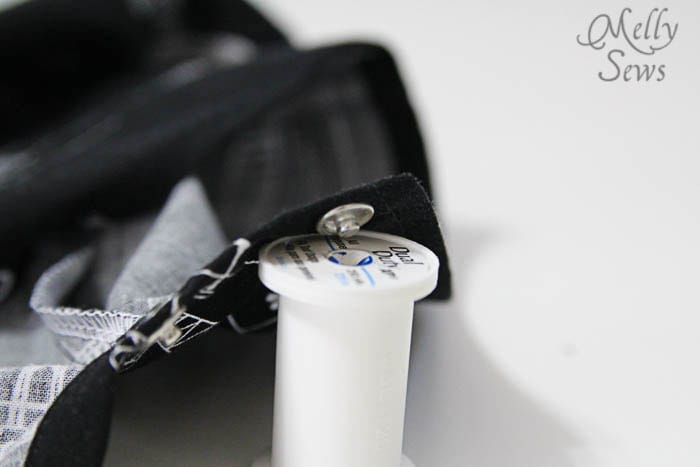
Set 3 snaps on the inseam. One should be just to the side of the center seam, the other two close to the edges.
Tip: use an old thread spool to keep the snap intact while you hammer it on.
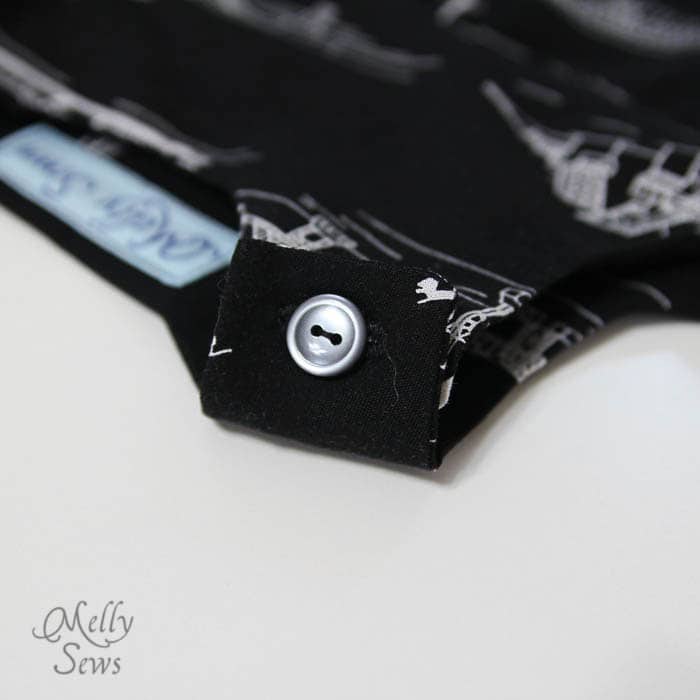
Sew the buttons on the shoulders, and there’s your finished romper for a new baby boy!


Annika
Oh my! He’s so adorable. And that romper is so cute. Several friends of mine are having babys within the next months, so I might make them one of these!
Gail
This is a super cute pattern.Thanks so much for sharing it. I’ve made one in a day. Your instructions are straightforward and pictures make it so easy to follow. Thanks. 🙂
Mary Schopper
This would look just as adorable on a baby girl.
Anne
Great gift for a new baby! I’ve got a Craft Gossip post scheduled for tomorrow morning that links to your free pattern: http://sewing.craftgossip.com/free-pattern-baby-boy-romper-or-jon-jons/2015/04/18/
–Anne
Coloursforbaby
Very well explained as usual. It is a lovely pattern.
Koenig Catherine
very nice
Lainee Sunflower
I just finished making one for a friend who’s having a baby. So cute and easy to make!
Patricia
I made this and it turned out so cute! Very good instructions and pictures.
Vickie
Love this pattern! Can’t wait for the arrival of my new grandson so he can wear it!
Jane
I am making one for my new Grandson who is due to arrive in January in Australia so it should be fine for hot weather conditions.
I upcycled a thrift shop shirt in a mini check and used a solid red lining and top stitching.
Thank you for the free pattern, Melly
ps I had little fabric so overlapped the side seams with the front and back shorts eliminating the need for a side seam, it will be less scratchy for baby and just as cute!
Bernadette
Thank you!
Soumya
Thank you very much for the pattern and the tutorial. You made it feel very easy and simple. I made one for my friend’s son and it was perfect. An amazing gift for new borns. I look forward to make more of these.
Julie
Great pattern. Just completed it recycling some vintage batik fabric and it looks lovely. Very clear pattern and instructions. Like the idea if eliminating the side seams.
Liz Jones
Gorgeous photos so looking forward to making this in off cuts of African wax fabric for my son and GF baby boy
Jenni
This was one of the best little baby outfit patterns with such simple instructions. I chose to put snaps on the shoulders purely for lazy reasons (easy than button holes). Thank you for such a beautiful pattern my future grandson is going to love it and I will definitely be making more.
Gayle Wayne
What a jewel you are for posting this darling pattern! Thank you! I made two!,