
I am so excited to share today’s post which has been in the works since APRIL y’all! Earlier this year, Sabra and I had noticed there are some more jeans patterns since we did our original sew your own jeans series, and we wanted to explore them, so what better way to try out new jeans and new jeans supplies than to sew more jeans? We decided that revisiting our jeans sewing series would be in order, so this week she and I will be teaching you how to be a Sewing Jean-ious.

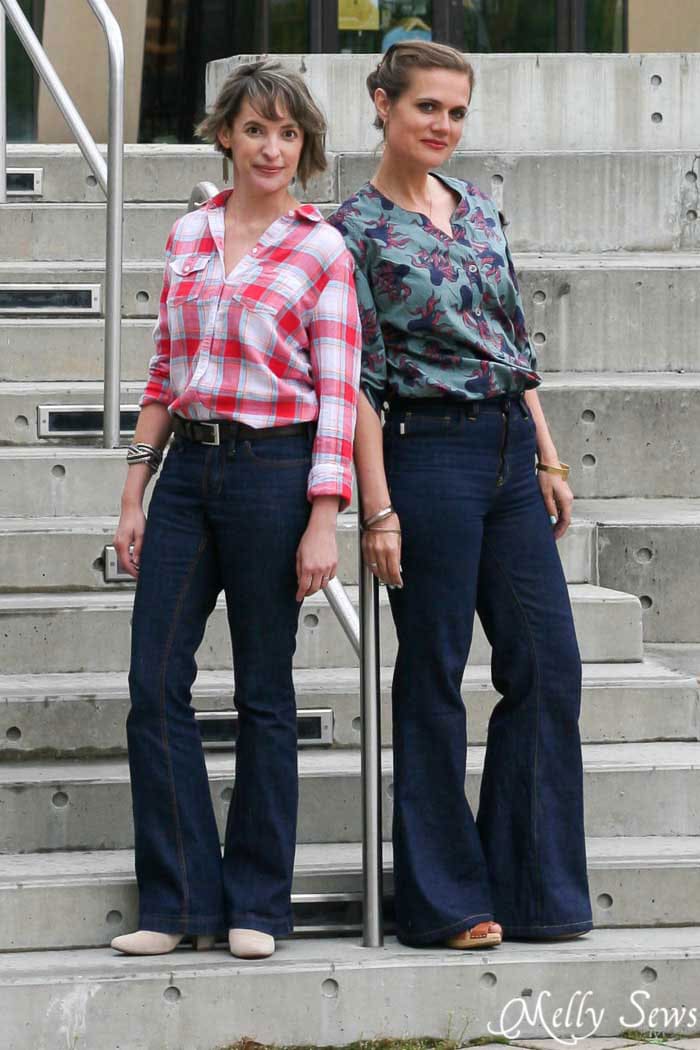
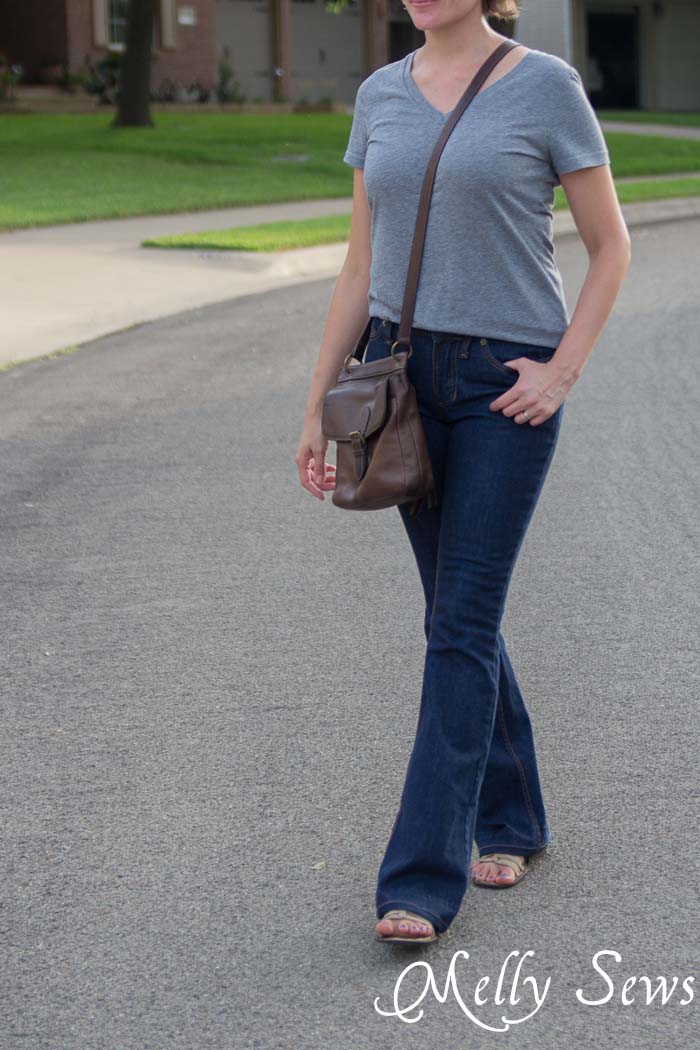
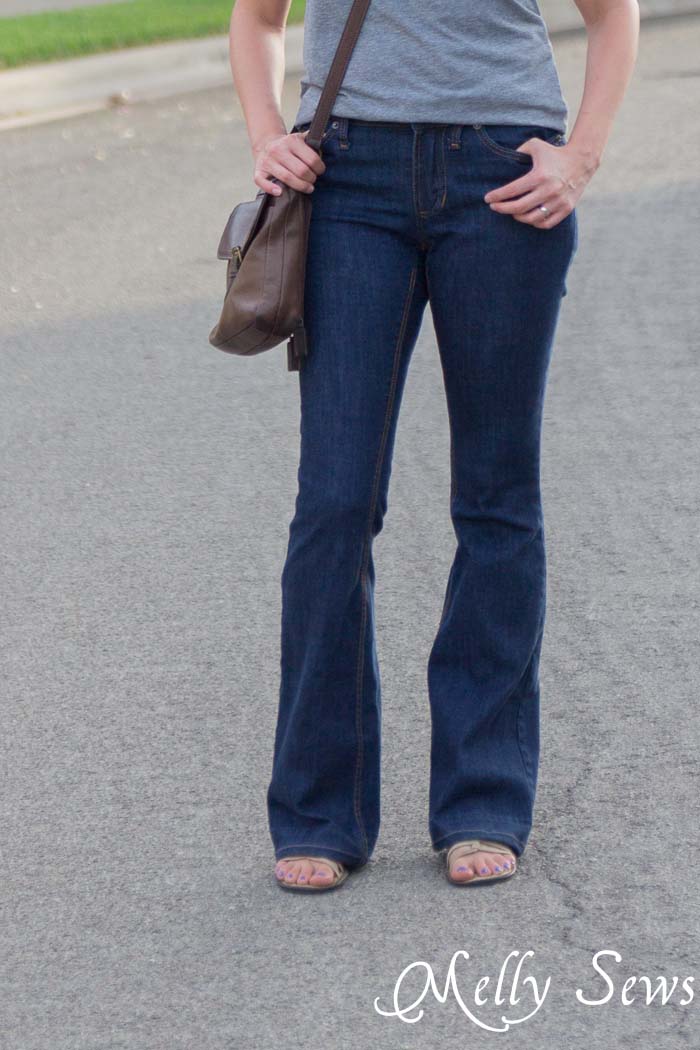
And today I’m sharing my Ginger Flares.
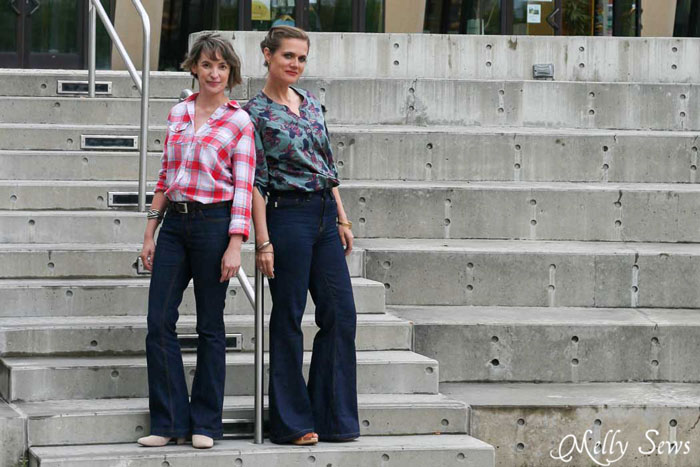
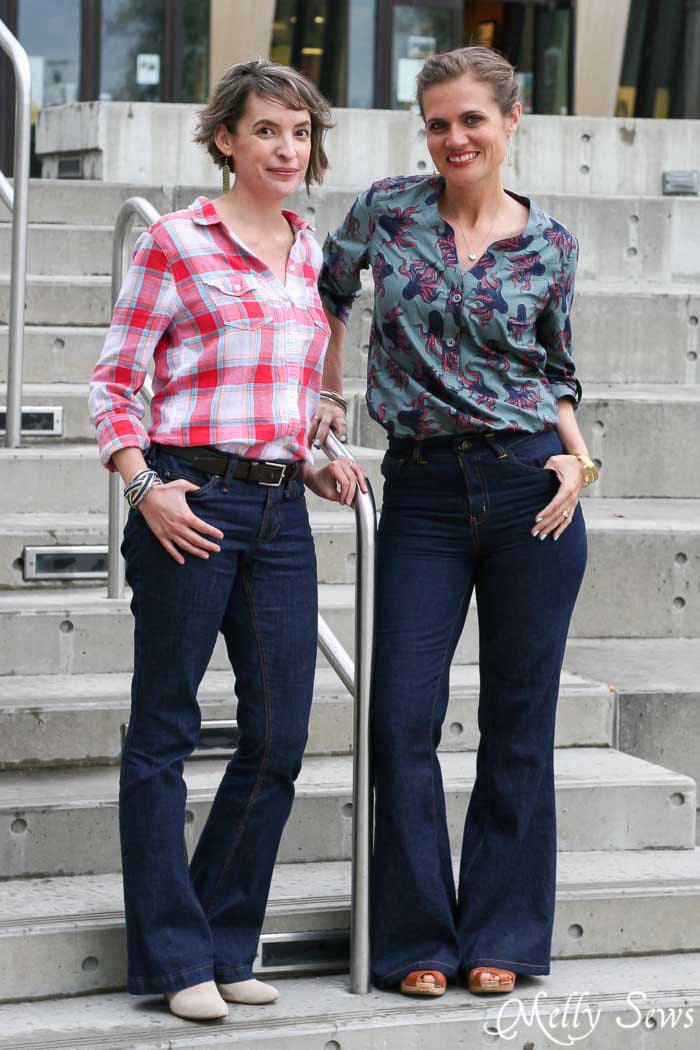
Since I had a trip to SNAP Conference planned for April and Sabra lives in the Salt Lake City area, she and I planned to have our jeans sewn and meet up to take photos together, which was so fun. We have to thank Lindsay for taking these.
For today’s post in the series, I’m talking about the Ginger Flares I sewed, and if you hop over to Sabra’s blog, she’s telling you all about the Birkin Flares she sewed.
Spoiler alert – I love these jeans! The Ginger Flares are an add on pattern from Closet Case Files for her Ginger Skinny Jeans. Heather was nice enough to send me the pattern to review. Because the flares are an add on, this does become a pricy pattern – all together for both patterns, you’ll spend $21. But you get so.many.options. for that money, which also makes these easier to customize.
Case in point: the original Gingers come with both skinny and stovepipe (straight) leg options, as well as high and low rises. The Ginger Flares also have both a high and low rise, but only the flared leg. Which means that once you buy the whole kit and kaboodle, you have pretty much all the classic jeans silhouettes, and you can adjust according to your individual taste and current trends.
Here are the details for the pair I sewed.
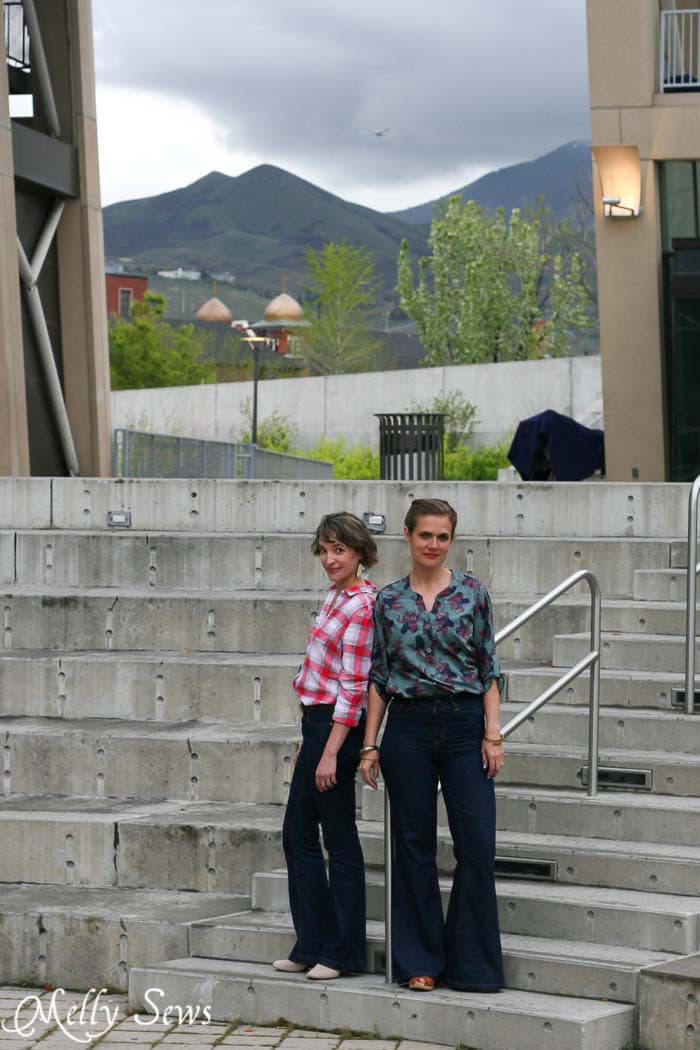
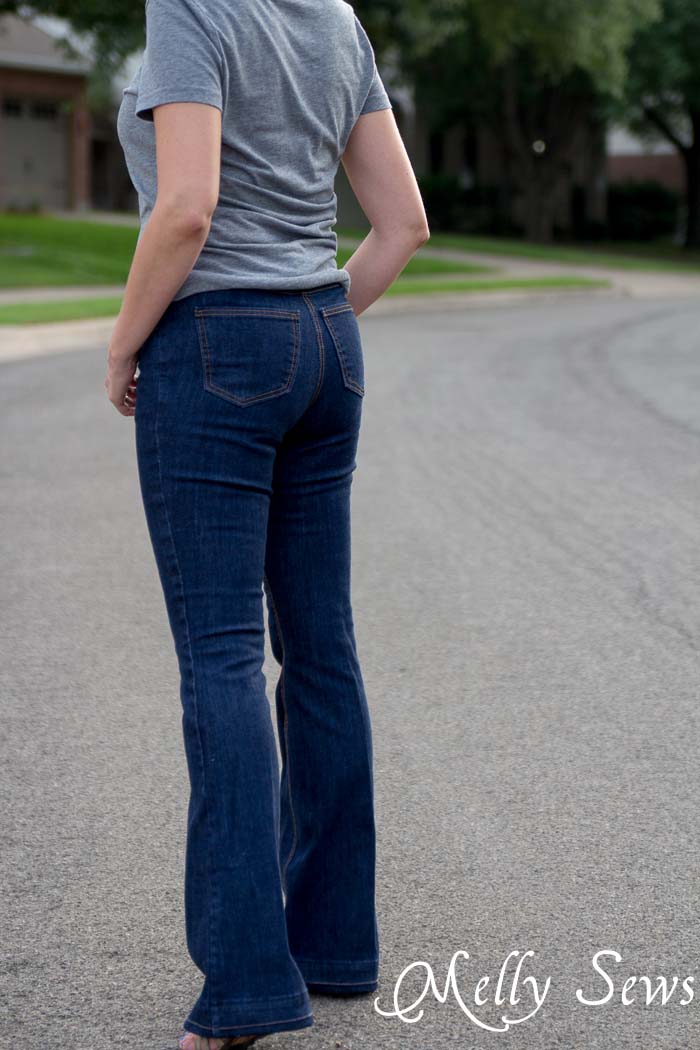
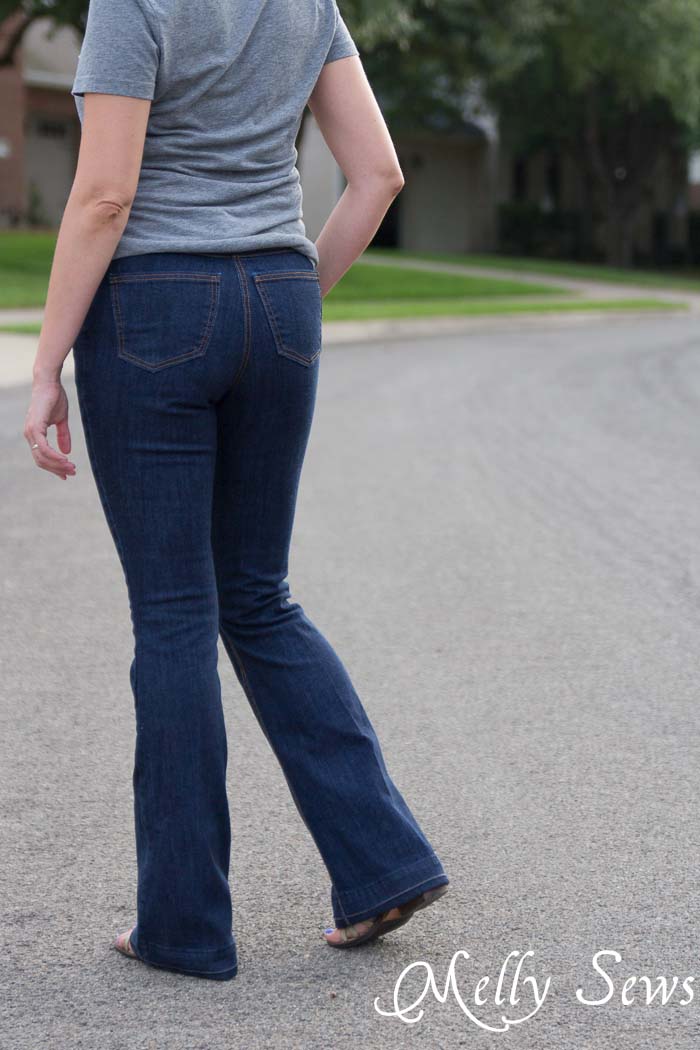
Fabric: I used this stretch denim (affiliate link), which is only OK. The photos of Sabra and I were taken after I had been traveling for 6 hours, and you don’t get to see my rear from those because in that time the denim had stretched out quite a bit and I had a definite saggy booty going on. Not so cool. I do think the alteration I did later and took in the waistband more helped with that (see below, post alteration), but I’m still going to try a different denim for my next make.
Base Size: I sewed two muslins to the knee to double check my size and fit after checking my measurements and ultimately decided to start with a size 6. I compared both my Jaime Jeans to the Ginger pattern to help determine this too. However, the next pair I sew I may go down a size, because I used non-stretch fabric for my muslin, so when I used my stretch denim for the final product I had to take the jeans in as much as if I had just cut a size 4 to begin with.
Options: I cut the between the high and low rise in front and the high rise at the back, blending the pattern pieces at the side seams. This worked well for me because of both my preference for a higher rise in the back as compared to the front, and the fact that my pelvis is slightly tilted and I’m bigger in the back, so the higher back rise works better for my body.
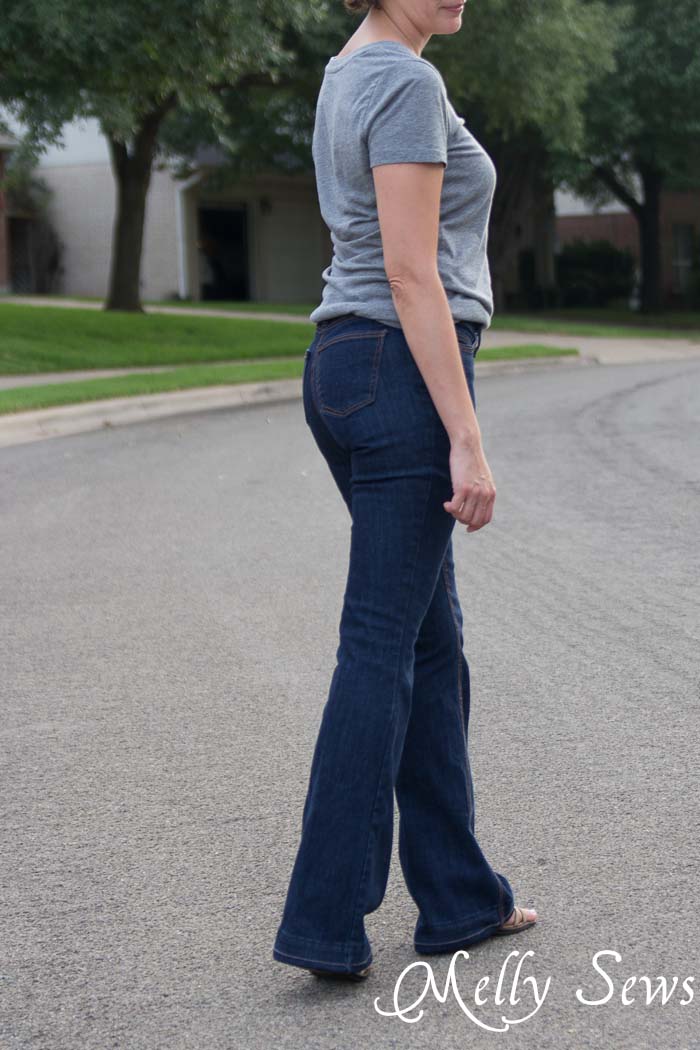
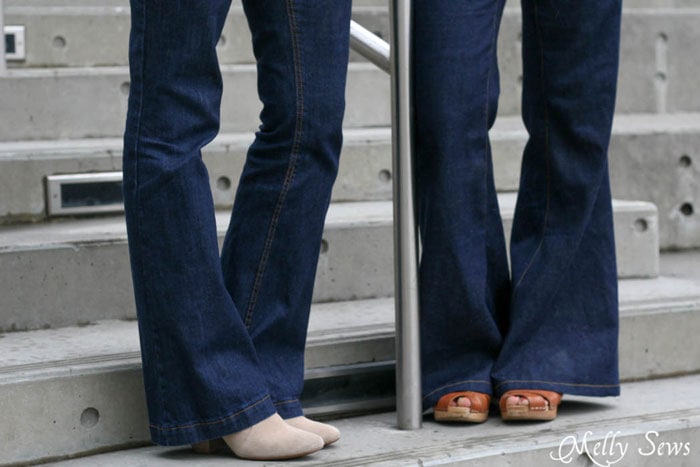
Alterations: Aside from the rise mixing that I did, I shortened the jeans by 2 inches (too much – I had to let down the hems after I washed these again because of vertical shrinkage, even though I had pre-washed the fabric. This is why the jeans look longer in the pictures of me by myself – I lost that deep hem I had originally) and I took the flares in a total of 1 1/2 inches on each leg. I felt the amount of flare was a little overwhelming on my petite frame, so this worked much better for me. I do like the deeper hem than the pattern called for that I made, but as mentioned that hem got lost after my fabric shrunk again, so next time I’m going to wash more than once before I hem just to make sure. Other alterations, based on my own figure and muslin test:
Added 1/4 in to the length of the front crotch at the crotch point.
Added 1/2 inch to the back rise at the top and took that amount off the back yoke – I find my figure is more flattered with a shorter yoke
Took 1/2 in out of the center back of the waistband and the top edge of the yoke – I angled this amount, so the bottom of the yoke is the same as the pattern and the top center edge is shorter. This is because of how quickly my rear curves out and back in.
Took in 1/8 in on the side and thigh inseams – essentially making these a size 4. Next time, though, due to my runner’s thighs, I may go ahead and cut the 6 for the front and the 4 for the back leg width below the crotch. It’s easier to take these in than let them out anyway.
Additionally, next time I may go ahead and add the control front panel fabric.
So, there are all the details of my Ginger Flares! Make sure to go over to Sew a Straight Line to see all her thoughts on the Birkin Flares she’s wearing in these photos.
And stick around for the rest of the week – Sabra and I have daily posts and a giveaway planned to fill in some of the gaps from our first sewing jeans series. But also make sure to check out that old series, because there’s a lot of good stuff in there too.
Emily
These are fabulous!!
Lisa J
Thank you, thank you, thank you for sharing ALL of your information regarding making your own jeans! I have tried many times to make my own jeans and ended up totally frustrated with a pair of jeans that don’t “fit worth a hoot!” After all the time you spend with just the top-stitching, you’d think one of the tries would work. Didn’t happen. Also, I found that cotton denim is much easier to work with (a little thicker going through presser feet) and at least somewhat resembles the oh-so-expensive jeans you see in the stores. I’m going to give this pattern a try and…fingers crossed….they end up fitting and looking as good as the ones you are wearing in the posted picture. Thanks too for the waistband fitting instructions too!!
Barbara holmes
Those jeans are so cute! I enjoy your blog posts.
Gail
Well you’ve nailed this pattern. They look fantastic.