
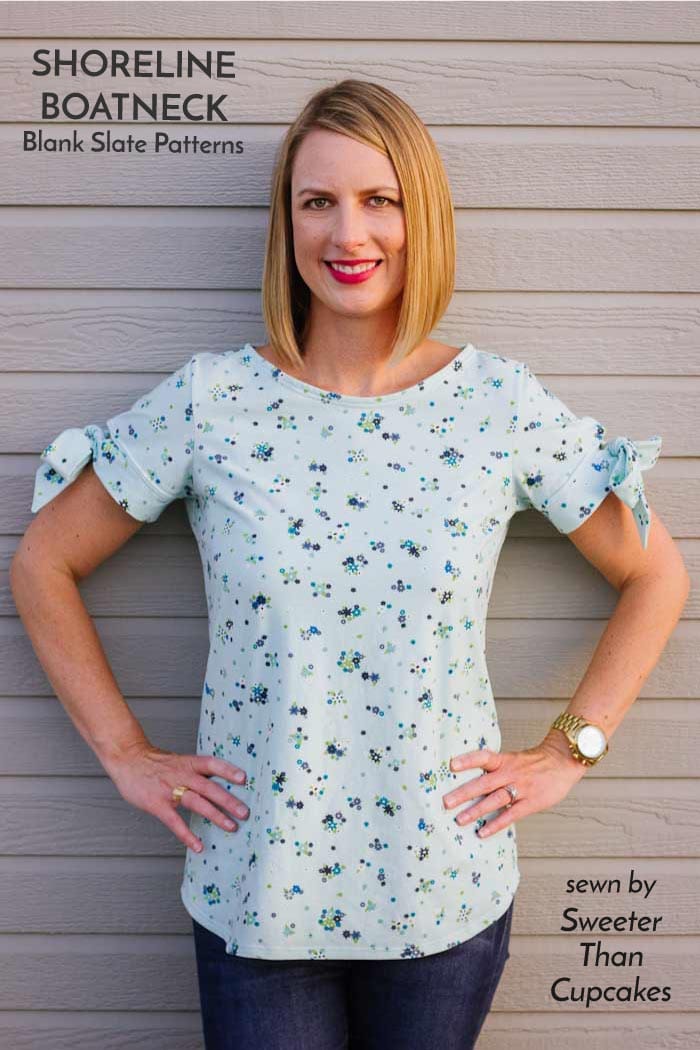
 Hello all! I’m Courtney from Sweeter Than Cupcakes. The Melly Sews monthly theme of “rejuvenation” lead me to thinking of ways to breathe a little more life into my favorite basic tee. Well, why not put a bow on it! Did you know the phrase “put a bow on it” is an idiom for putting the finishing touch on something? So, I took the much-loved Shoreline Boatneck pattern (affiliate link) and added a little finishing touch with a bow at each sleeve.
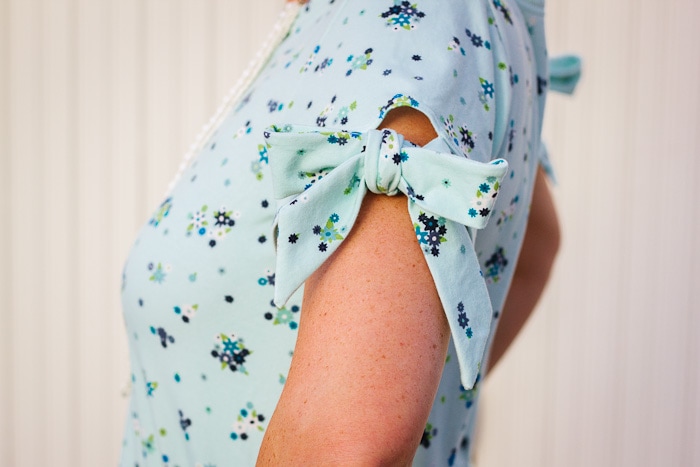
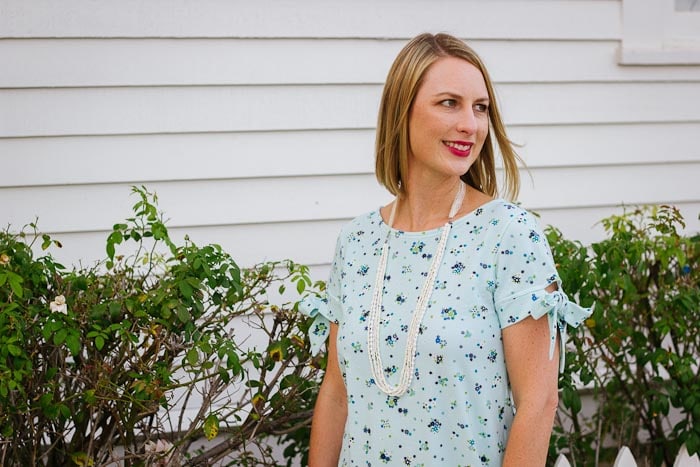
The dainty floral of the Efflorescent Celeste Knit fabric from Mister Domestic‘s fabric line Loved to Pieces, combined with the bow, makes a decidedly feminine statement. I am including a bow cuff tutorial below so you can rejuvenate your very own knit tee.
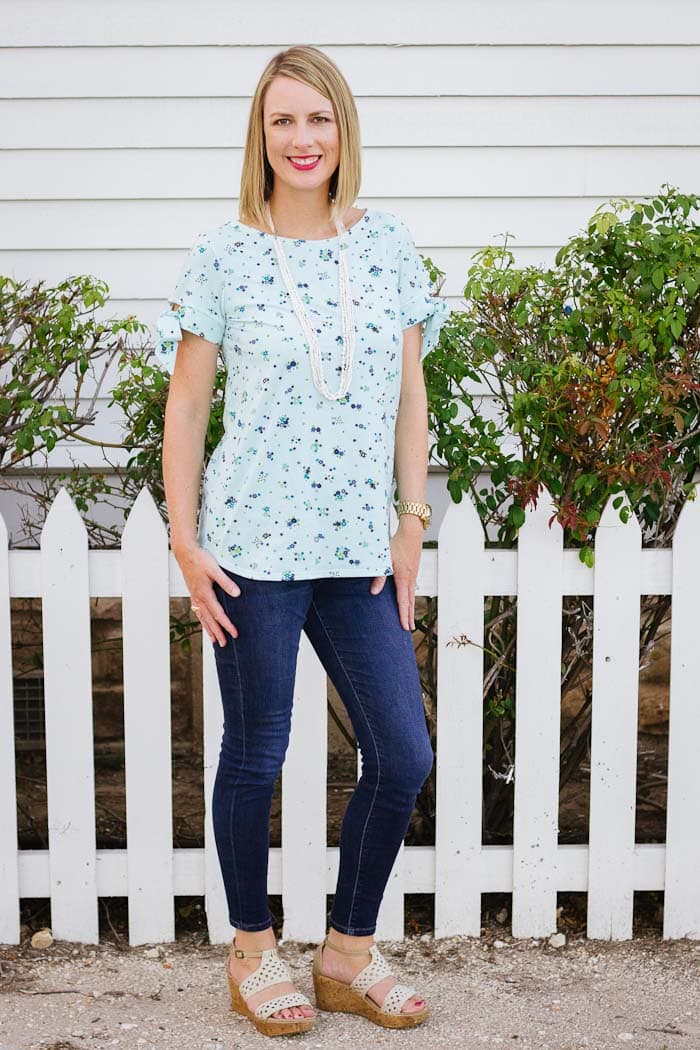
The Shoreline Boatneck is the perfect basic tee pattern to start with. I’ve added a bit of length to the pattern to achieve this look. The great thing about sewing is being able to do what works for you! Let’s get on to the turotial!
Bow Cuff Tutorial
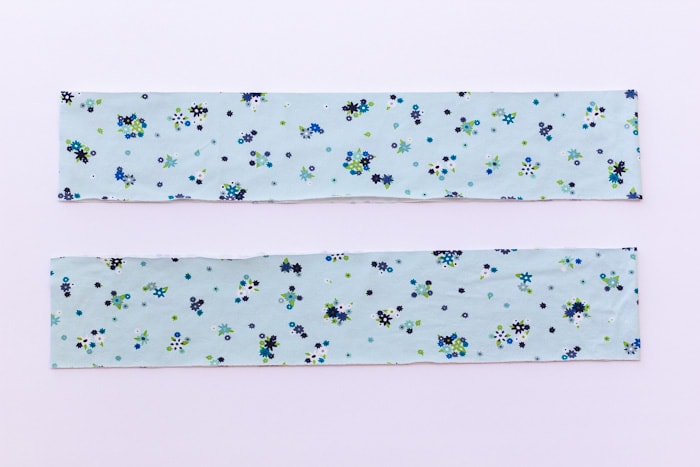
To create the bow cuffs, cut 2 strips of knit fabric 4″ x 42″ with the stretch in the long direction. Sew up your tee according to the pattern instructions except do not hem the sleeves. Remember, we are adding the finishing touch here! All seam allowances are 1/2″ unless noted otherwise.
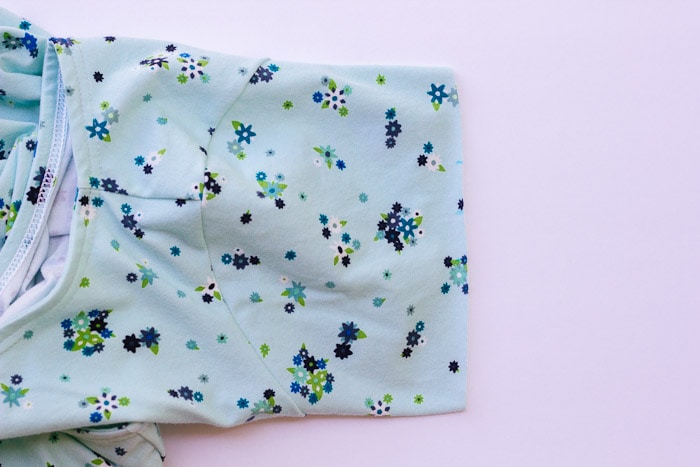
Next, measure the circumference of the sleeve (mine measured 14″). Mark the sleeve at the center opposite the underarm seam. Then, mark 1″ to either side of the center. This section will remain unstitched when we add the cuff.
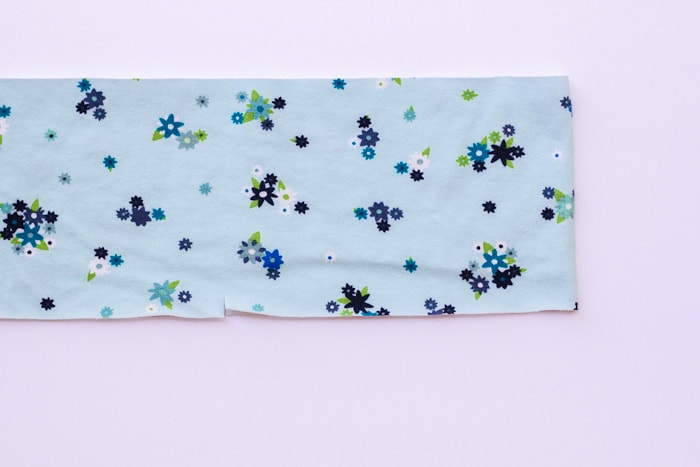
On the cuff, measure half of the sleeve circumference from the center fold and cut a 1/2″ notch into the seam allowance top and bottom. For my example, I measured 7″ from the center fold of the cuff to my notches.
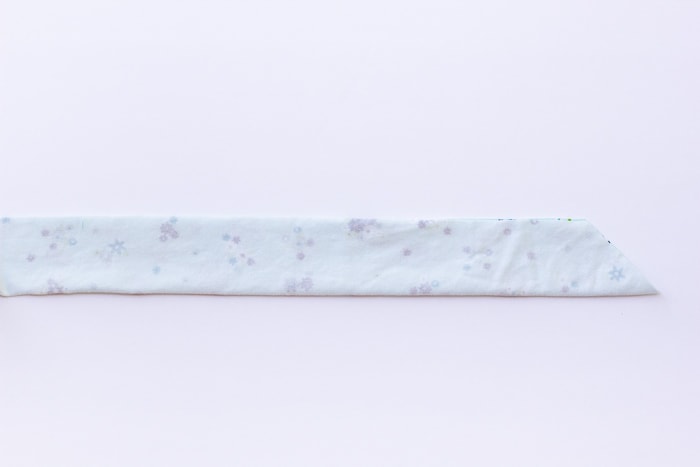
Fold the cuff right sides together and cut each end at a 45 degree angle.
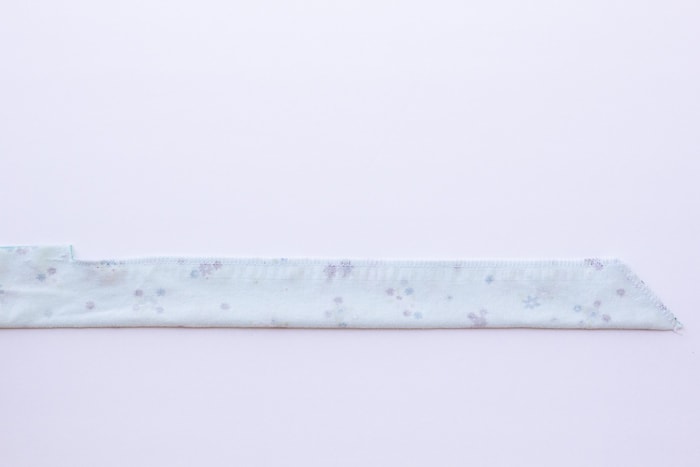
Stitch from the notch to the angled point at each end of the strip. Trim the seam allowances. The center length that will attach to the sleeve should be unstitched.
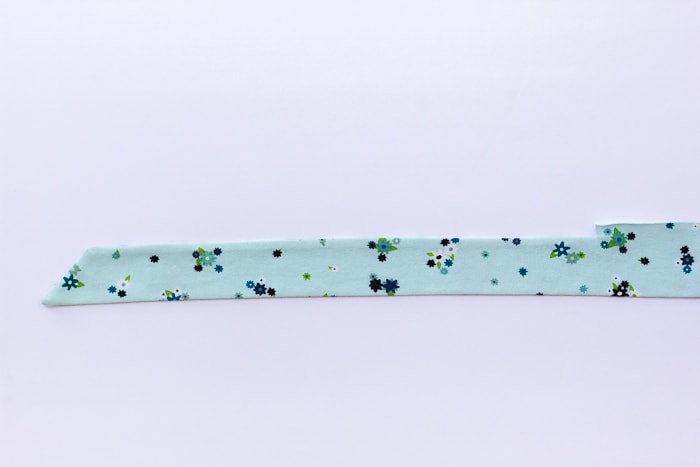
Turn the cuff right sides out and push out the points. Press well.

Pin the cuff right sides together with the sleeve starting with the center of the cuff at the underarm seam. Continue to pin around the sleeve. The notches should fall at the marks you made 1″ from the top of the sleeve. Stitch the cuff to the sleeve from notch to notch with a 1/2″ seam allowance.
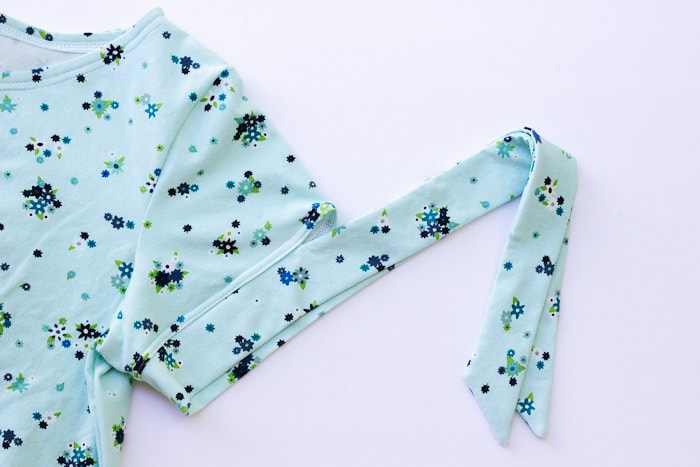
Press the seam allowance toward the sleeve. Also, press the unstitched section between the notches to the wrong side. Topstitch the seam allowance all the way around the sleeve to secure. Tie a bow and you are good to go!
Find Courtney: Blog, Instagram, Pinterest

You can find more inspiration for the Loved to Pieces fabric line through the many more blog tour participants.
MISTER DOMESTIC’S LOVED TO PIECES BLOG PARTY
- Monday July 16: Amanda Woodruff of A Crafty Fox
- Tuesday July 17: Sharon Holland of Sharon Holland Designs
- Wednesday July 18: Angela Wolf of Angela Wolf Pattern Collection
- Thursday July 19: Brittany Jones of Brittany Jones
- Friday July 20: Sharon McConnell of Color Girl Quilts
- Saturday July 21: Elina Temmes of Elina Temmes
- Monday July 23: Meghan Buchanan of Then Came June
- Tuesday July 24: Nicole Daksiewicz of Modern Handcraft
- Wednesday July 25: Cristy Stuhldreher of I Love You Sew
- Thursday July 26: Kate Basti of Quilt with Kate
- Friday July 27: Courtney Davis posting at Melly Sews
- Sunday July 29: Mimi Goodwin of Mimi G Style
- Monday July 30: Kim Niedzwiecki of Go Go Kim
- Tuesday July 31: Tara Curtis of Wefty Needle
- Wednesday August 1: Saija Kiiskinen of Saija Kiiskinen
- Thursday August 2: Jodi Godfrey of Tales of Cloth
- Sunday August 5: Brett Lewis of Natural Born Quilter
- Monday August 6: Karen Tripp of The DIY Addict
- Tuesday August 7: Tracy Martin of Tracy Bug Creative
- Wednesday August 8: Sharon Burgess of Lilabelle Lane Creations
- Thursday August 9: Maureen Cracknell of Maureen Cracknell Handmade
- Friday August 10: Kylie Gersekowski of Little Moo Designs
Leave a Reply