
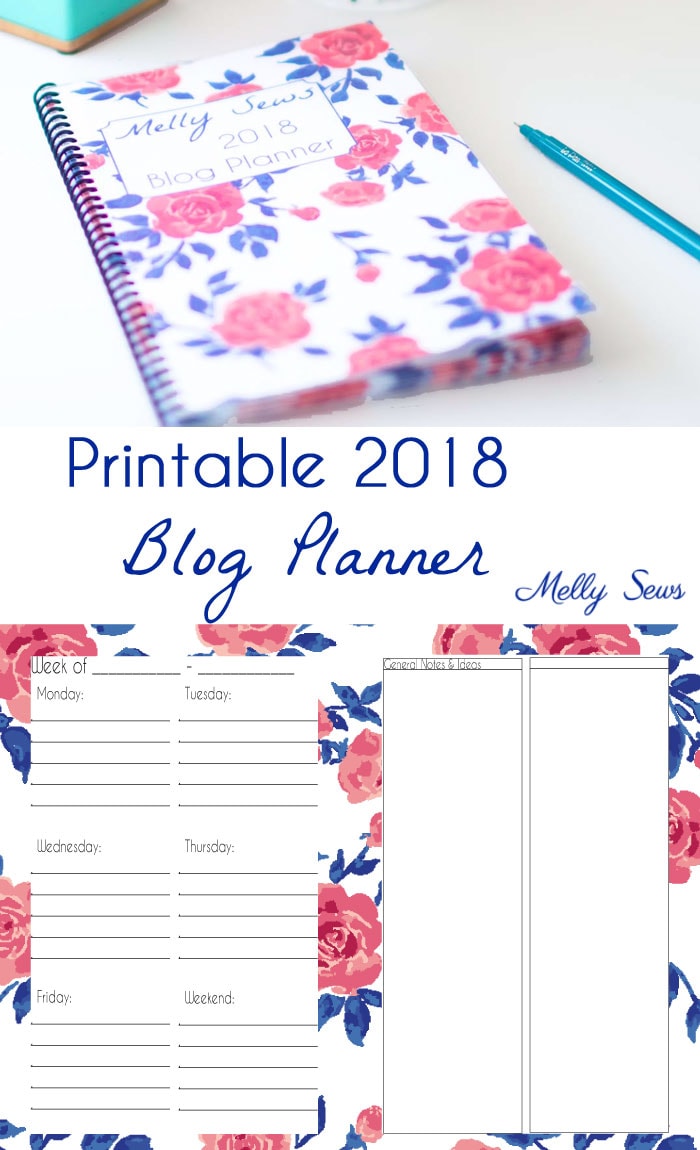
The week between Christmas and New Year’s Day (I’ve heard that time called “Twixmas”) gets me wanting to plan every year. I think it’s great to take a moment to reflect on the year behind and plan for the year ahead, and I LOVE writing those plans down! So I’m sharing the 5th year of my blog printable planner today.
Every year I also take time to reflect on my planner, how it has worked for me, and how I might want to revise it. You can find previous years here: 2014, 2015, 2016, 2017 and you should know that you can sub out calendars in case any of my previous planners make more sense for you.
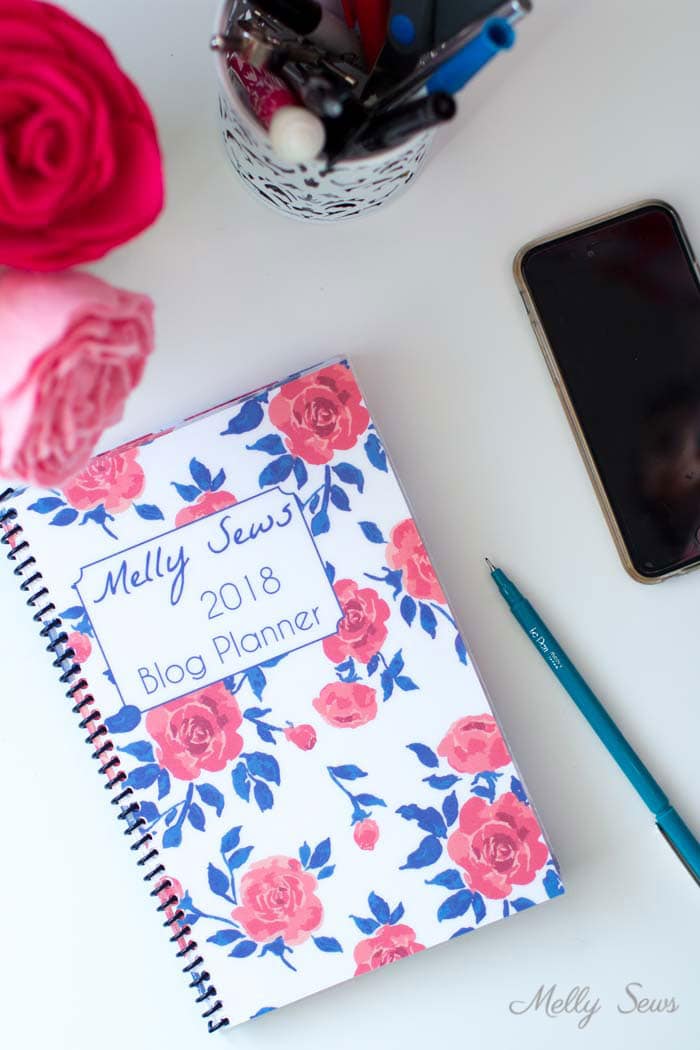
The biggest change I made this year is that I’m trying a half letter size page planner. I want to continue the intention I started in 2017 of trying to achieve a balance between family and work, which is always hard for me since I have workaholic tendencies and I work from home. I realized that if I wanted to make more room for family and fun, I needed to make less room for work. Also, this planner will be easy to fit in my purse to take with me when I need to.
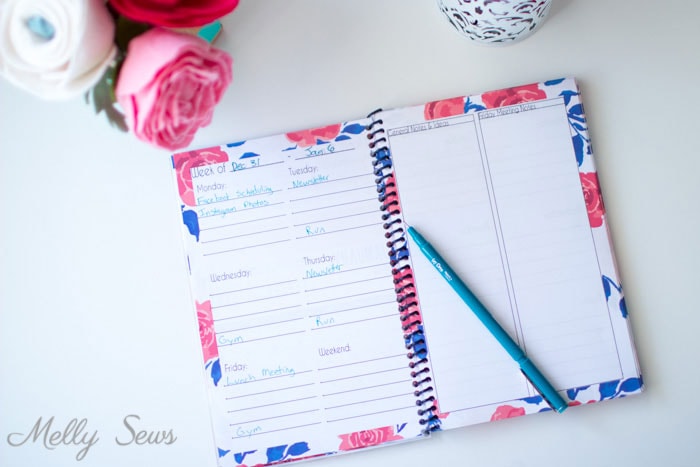
Last year I switched to only having 5 lines of daily to do list things in my planner, and that has helped me a TON!
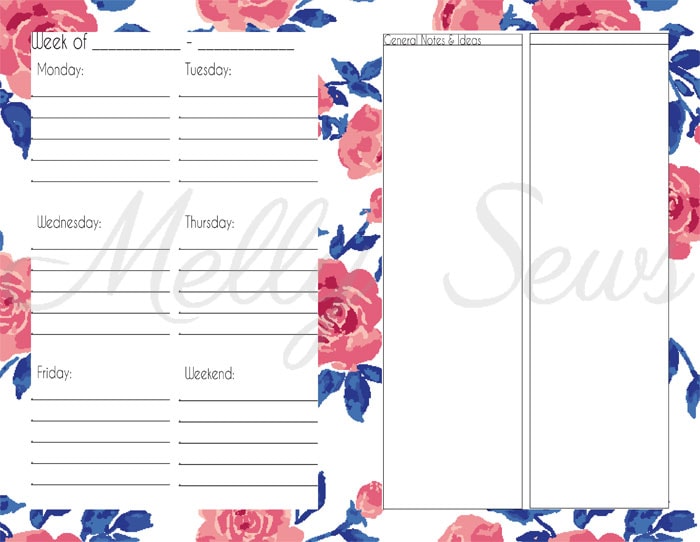
The 5 things is hard for me, but it’s also good because I’ve learned that I really can’t get more than 5 things done in a day (and I include exercise on my to-do list) and still be finished at a reasonable hour. On the other hand, my current setup only has about a 3 inch by 3 inch box for notes each week, and this new format gives me half a page. I broke it down for myself with half of that for general notes to myself (like pattern development, measurements, etc) and the other half is notes for my standing Friday meeting with my assistant.
I also eliminated the written social media tracking I had in my planner the last few years. I currently use Planoly and PostPlanner to plan out my Instagram and Facebook posts, and those tools are so easy to look at and see what I have coming up and what I’ve already posted that writing down social media notes became redundant and I stopped doing that last spring.
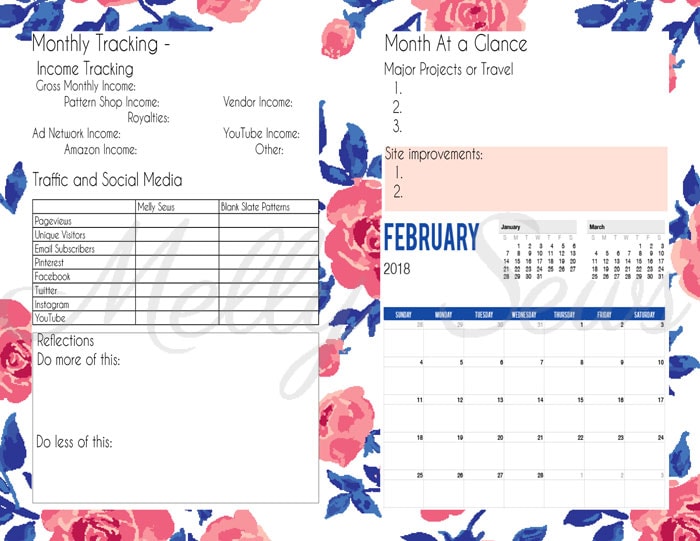
I also took out the bar graphs for tracking that I had in the front of my old planners, but I kept the monthly overview and monthly reflection pages the same. I found myself not filling in the bar graphs in favor of just flipping to the monthly reviews for comparison, so that seemed like more that I could eliminate. Instead of those pages, I typed a page of things I have to google often (like where to find the white balance tool in Adobe Premiere) and added all those as shortcuts for myself. I had written them in the back of my planner this year, and that came in really handy, so next year they should be even easier to find.
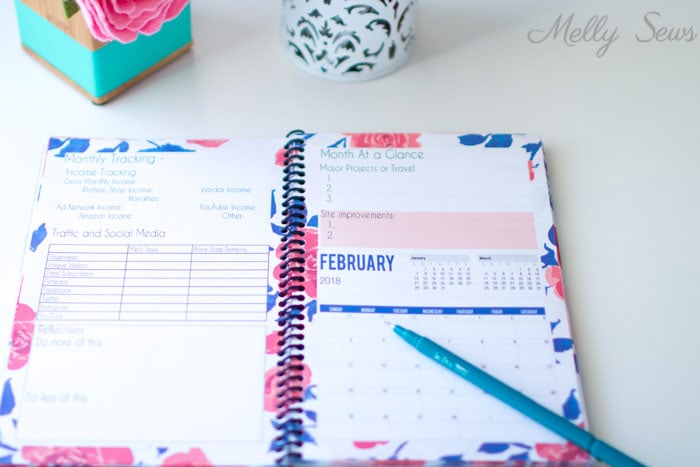
To make your own planner, you can download my file here. I printed each monthly page, then printed the weekly page on the back of each month except for January – I printed that on the back of the yearly overview page. Then I printed 21 more weekly pages front and back (so 42 weeks total). I cut all my pages in half using my quilting ruler and rotary cutter, then I assembled in the order I wanted. Once I printed and assembled all my pages, I took my planner to Office Depot to have the covers laminated (I printed that page on cardstock) and have it spiral bound, and I’ve already started writing in 2018 tasks!
Robyn
Wow, you are super organised!
Samantha Dube
Loving your blog planner.