
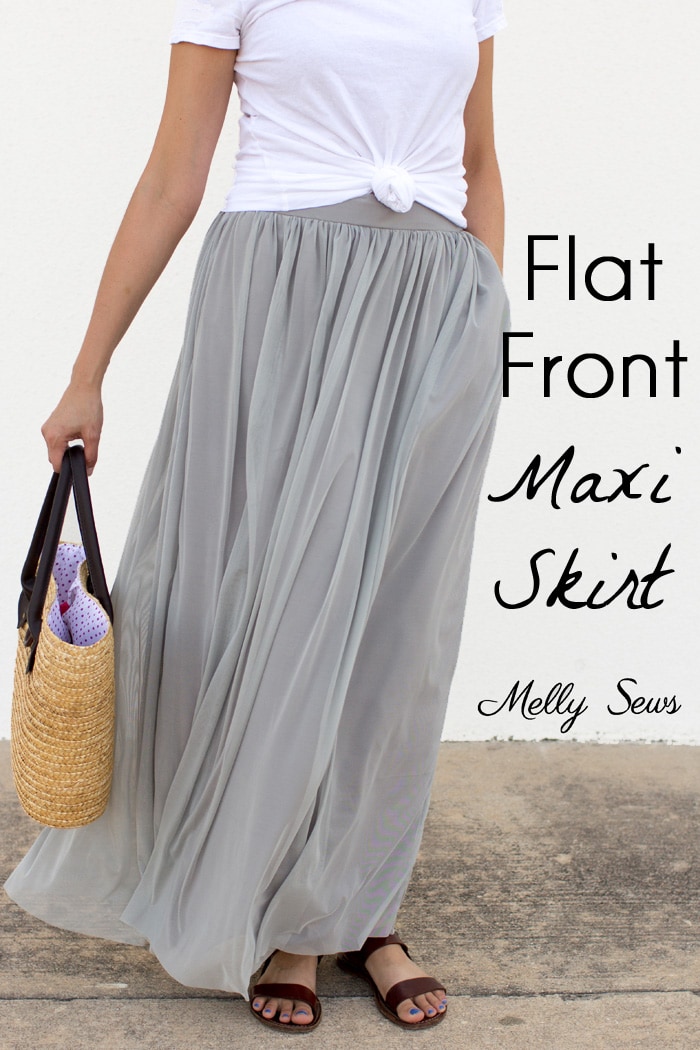
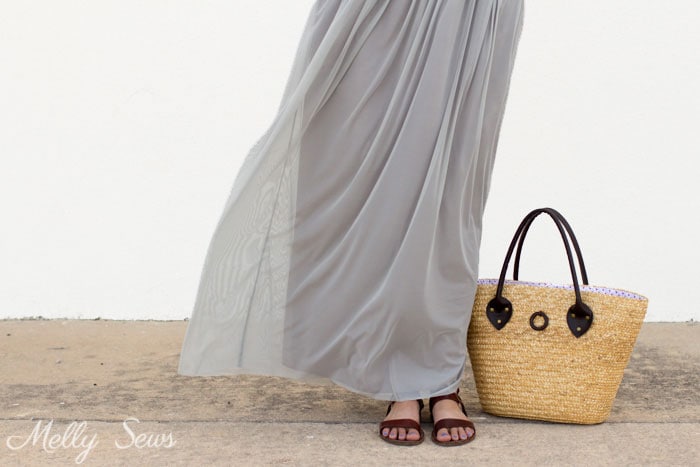
Hey y’all – today I’m sharing how to sew a maxi skirt. When I started contemplating what I wanted to sew for Skirting the Issue over at Simple Simon & Co this year, I took a good look at my closet and realized I wanted a basic, neutral colored maxi skirt. And I wanted an elastic waist with a flat front. Then I started looking at the fabrics in my stash, and found this gray nylon tricot mesh that I thought would be lovely, but it definitely needed a lining. So today I have a video that covers all of those techniques for this project!
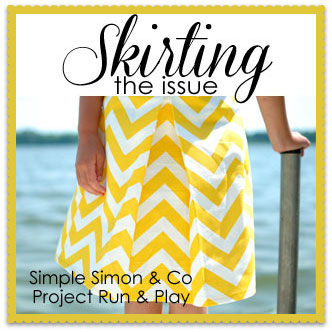
If you’d like to know a little more about Skirting the Issue, check out this post. Basically it’s an event to encourage sewists to share a little handmade love with girls who might need it.
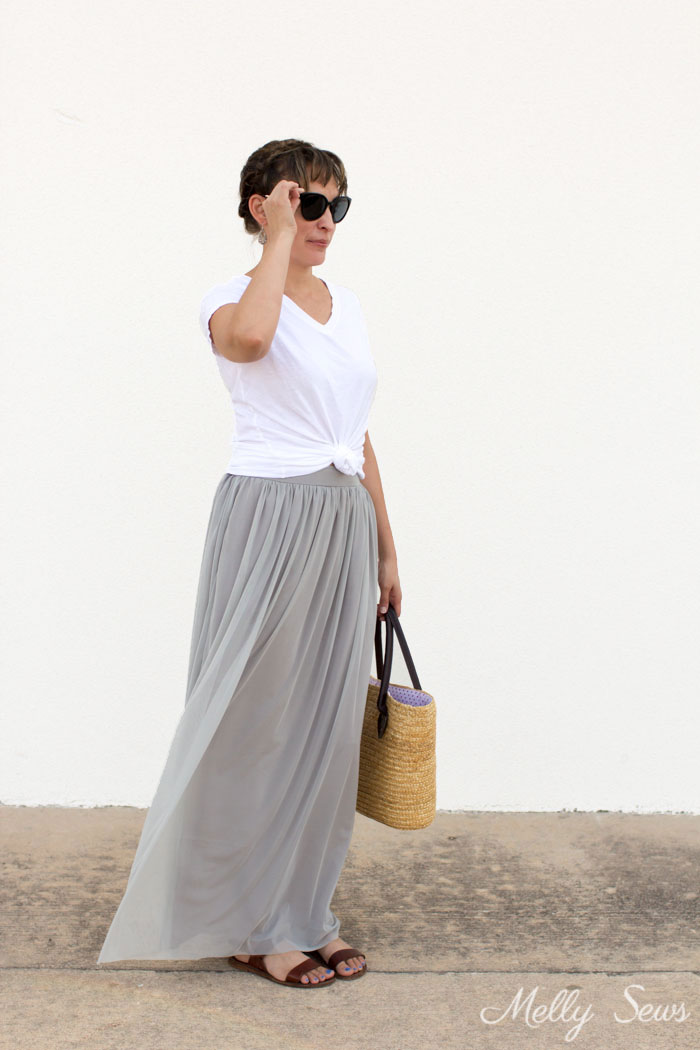
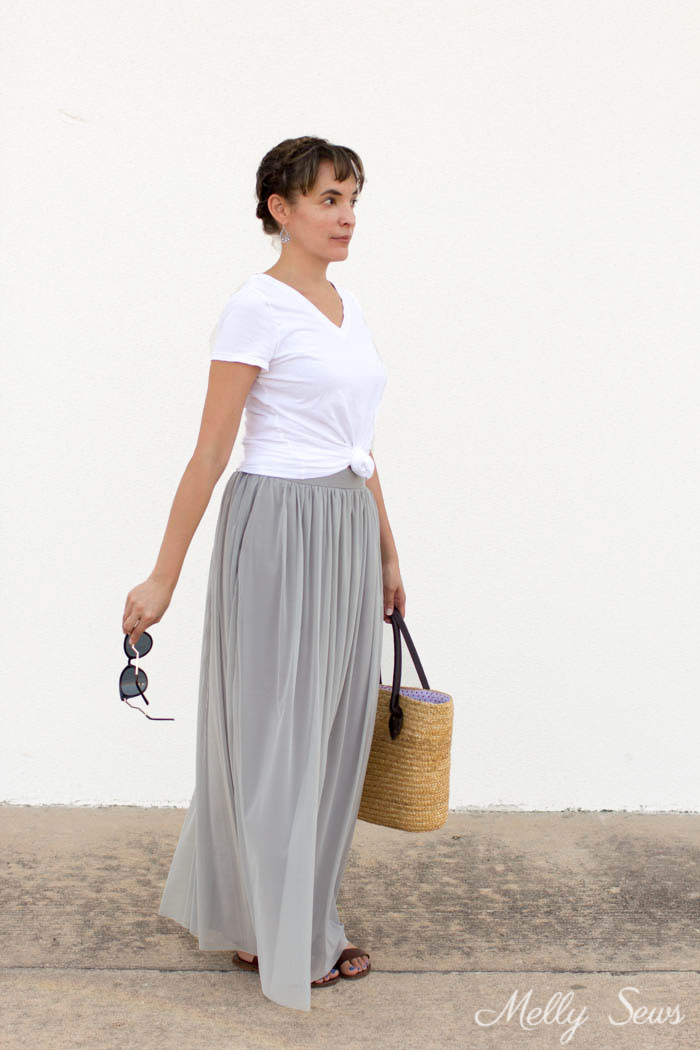
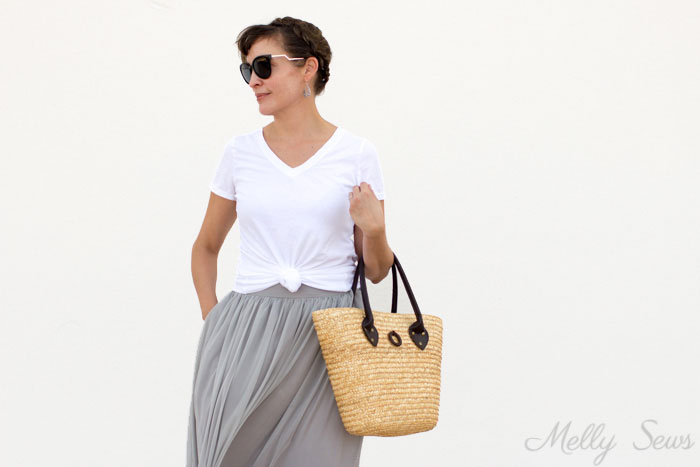
In addition to this skirt that I love, I’m also super excited that a) my hair is long enough to do a crown braid and b) that I managed to braid it Dutch style for the first time. I’ve been able to do French braids on myself for a long time, but it’s taken some practice to get Dutch braiding into my fingers.
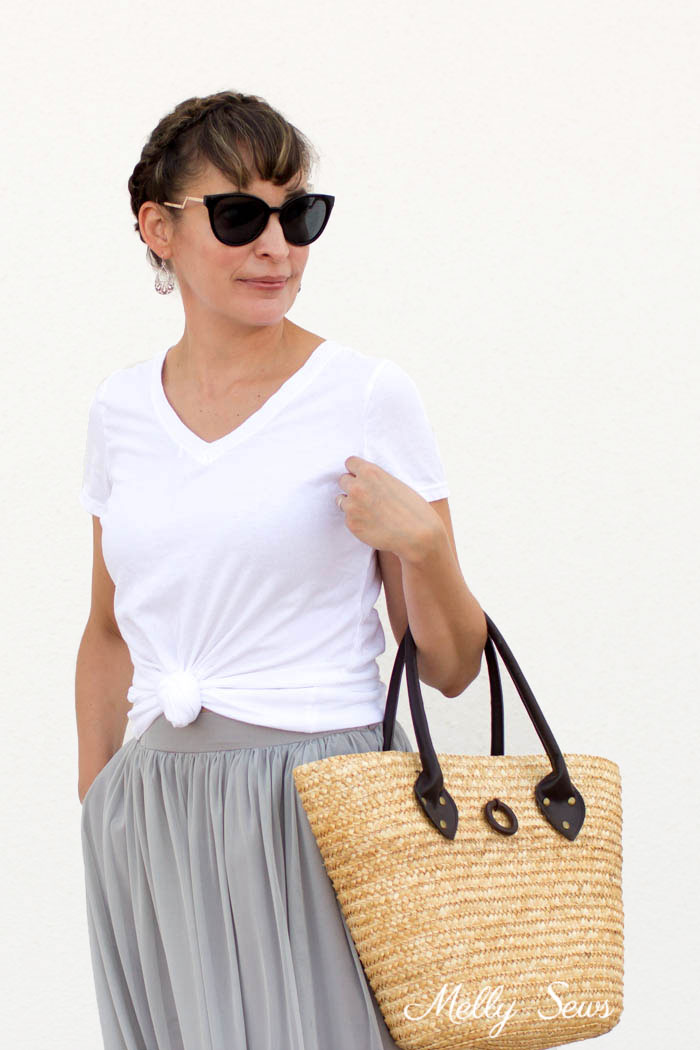
This skirt has a little bit of a sheen, so I dressed it down for summer with flat sandals and a straw bag. But I think it might also be fabulous for winter with a long sleeve shirt, some dressier shoes and maybe my antique beaded ribbon belt. But it’s too hot right now for me to photograph that second look, ha!
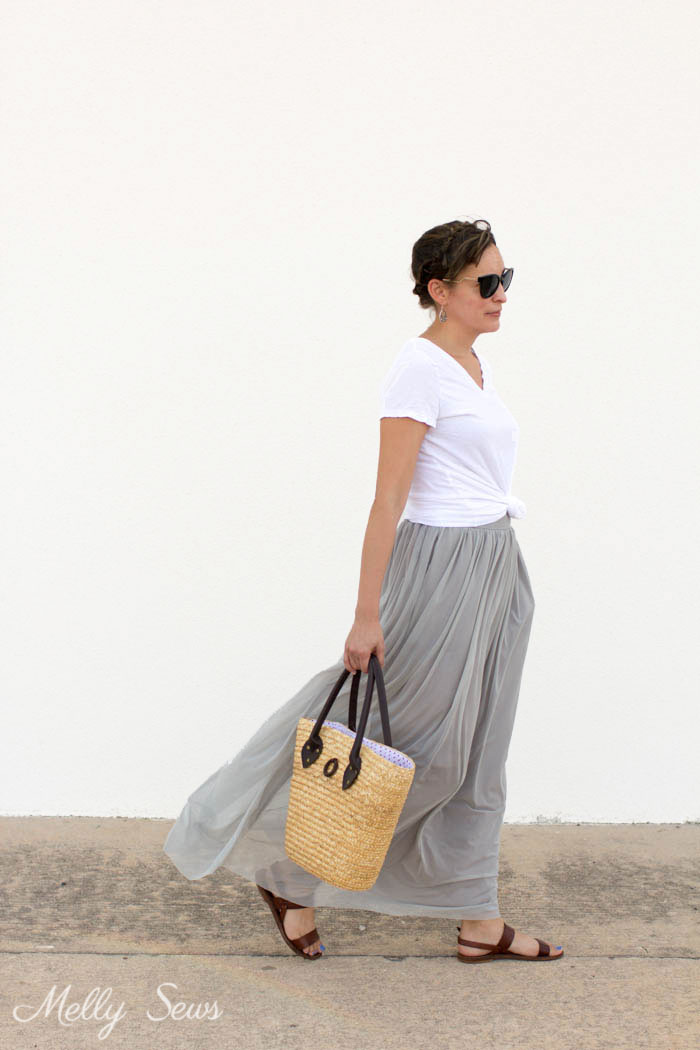
The mesh also made this skirt kind of hard to photograph and video – because I kept getting moiré patterns, like you can see below. I finally just had to decide to live with them, because in person the skirt is lovely and flowy, even if the camera doesn’t always love it.
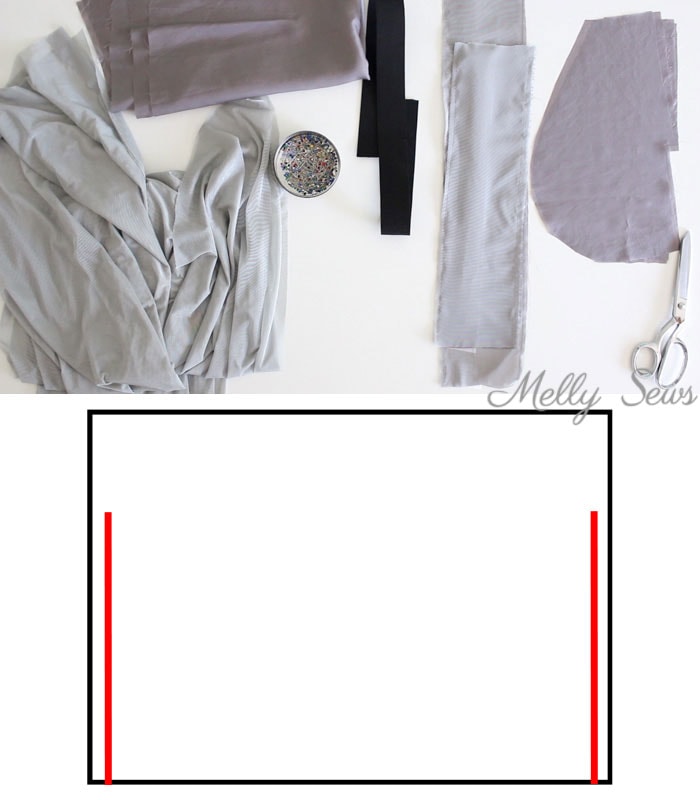
Want to make your own? I’ve got a supply list below, which contains affiliate links. You’ll need:
- Sheer fabric. I used nylon tricot, aka power mesh.
- Lining fabric. I used bemberg rayon, which is cool and swishy.
- 1 1/2 inch wide elastic
- I also used a bodkin to insert my elastic.
To determine your yardage, you’ll need to measure your hips and determine the final length of your skirt, then cut rectangles. Here’s a list of the pieces you’ll need:
- Outer Skirt. This needs to be 2.5 times your hip width in total circumference, cut into two pieces, and as tall as your final skirt should be.
- Skirt Lining. This needs to be 1.5 times your hip width in total circumference, cut into two pieces, and as tall as your final skirt should be.
- Front Waistband. This needs to be equal to your front waist, side seam to side seam (measure while wearing a shirt with side seams) plus 1 inch, and 4 1/4 inches tall. Cut one of outer and one of lining.
- Back Waistband. This needs to be your hip circumference minus your front waist measurement plus 1 inch by 4 1/4 inches tall. Cut one of outer and one of lining.
- Pockets, 4. I used this pocket pattern piece. Cut these of lining.
- Waistband interfacing – equal to the length of the waistband pieces and 1 1/2 inches tall.
- Waistband elastic – this should be equal to your waist measurement minus your front waist measurement.
I’ve got a video tutorial that shows how to construct this below, and if it won’t load you can also watch it on YouTube here. If you prefer the written tutorial, scroll past the video to see it. Use 1/2 inch seam allowances throughout unless otherwise indicated.
Start by placing your skirt pieces right sides together, and sewing from the hem to the bottom of the pocket opening, making sure to backstitch at the pocket opening end. Repeat this with the lining. Finish these seams; I used a French seam for the sheer fabric and my serger for the lining fabric.
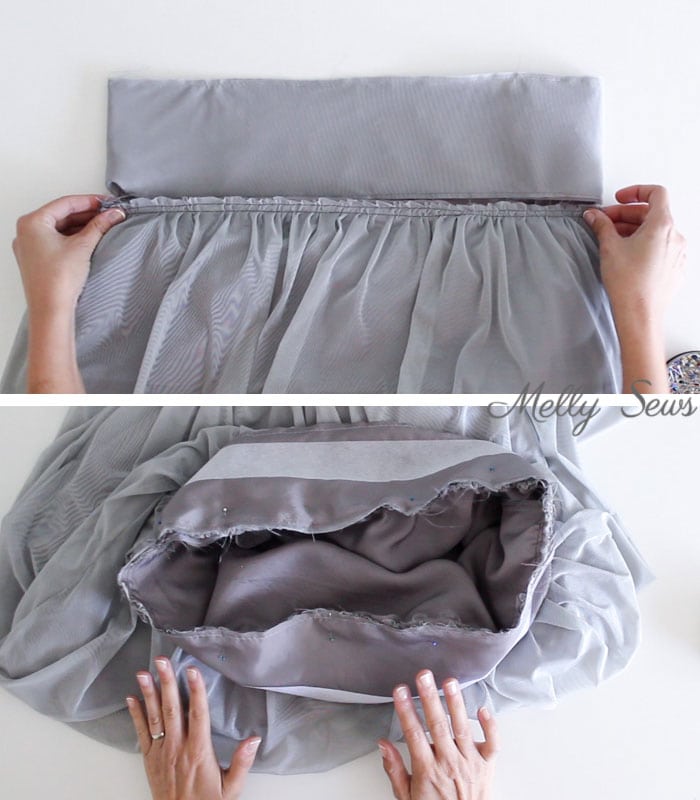
Next sew gathering stitches along the top of the outer skirt. Place the lining inside the outer skirt, lining right side to the outer skirt’s wrong side. Gather the outer fabric to the same width as the lining, then baste more gathering rows to hold the lining and outer fabric together. It might be helpful to use different colored threads for these different sections of gathering
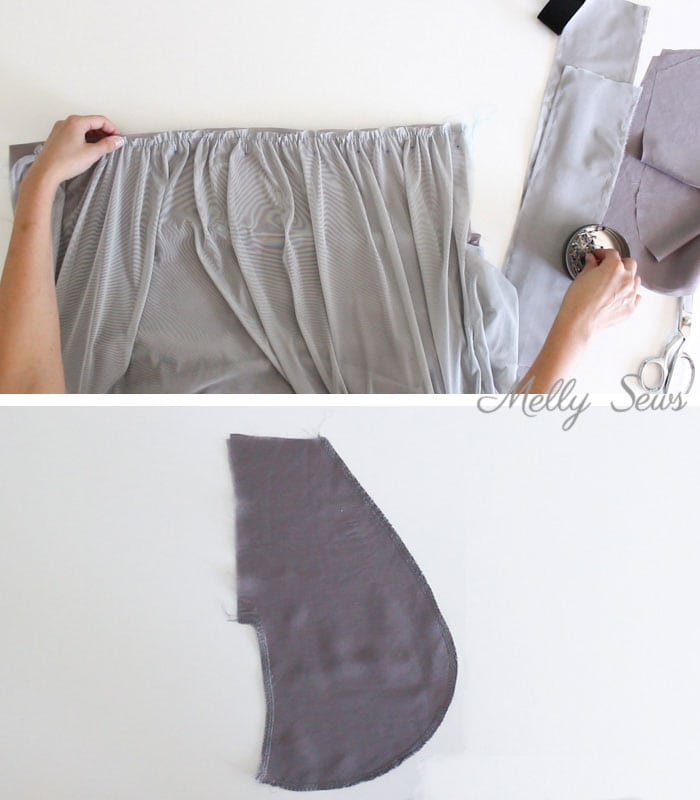
Stitch around the outer edges of the pocket as shown above, and finish your seams. Then turn the pockets right side out. Place the pockets right sides together with the skirt, so the outer skirt is sandwiched between the pocket and the lining. Pin together – it will be a V kind of shape – then sew through all 3 layers and finish this seam. Push the pockets to the inside and understitch the seam allowance to the pocket bag.
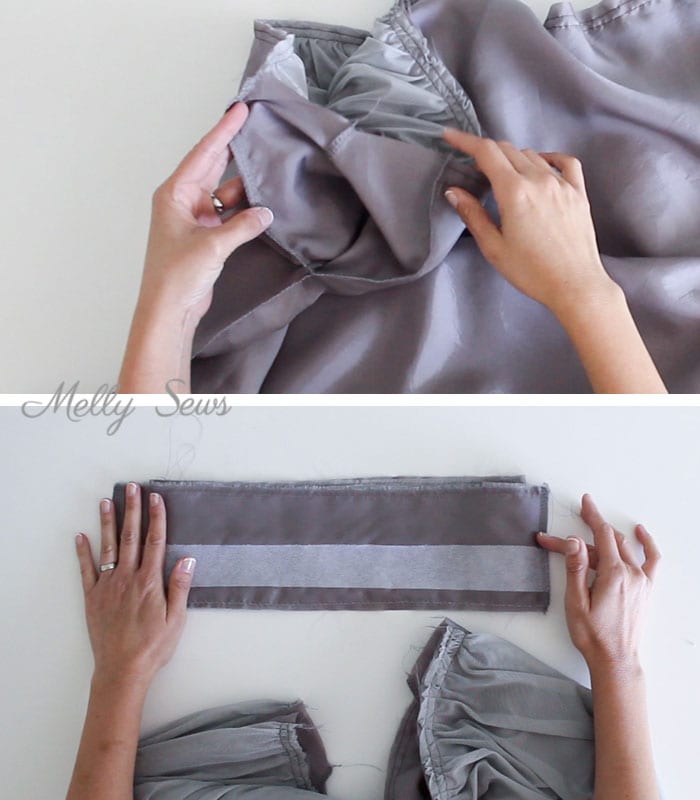
Baste the outer fabric to the linings for the waistbands, and then fold then wrong sides together, matching the long edges. Press to crease. Fuse interfacing with long edge against the crease, then match the front waistband to the back waistband along a short edge, right sides together. Stitch. Repeat with the other side.
Gather the skirt to match the front then the back waistband. Note that the front skirt will be gathered much more than the back.
Place the waistband right sides together with the waist edge of the skirt and stitch the waistband to the skirt.
Fold the waistband raw edge 1/4 inch to the wrong side then fold that to just cover the waist seam as shown below. Stitch in the ditch on the the back side of the skirt only, seam to seam, to for the elastic casing.
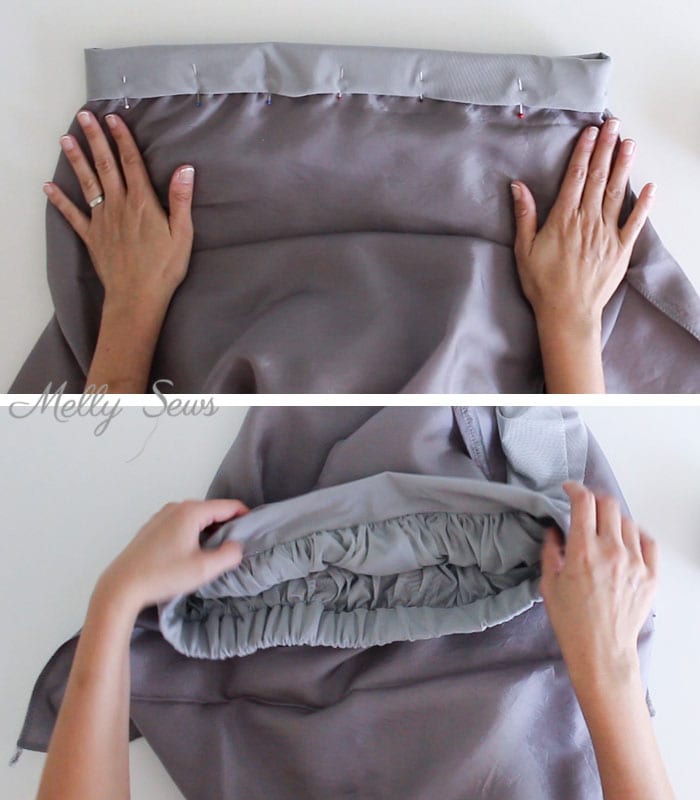
Insert the elastic through the back casing, then sew the ends of the elastic into the side seams. Finally, finish stitching in the ditch around the front of the waistband. Hem the skirt and the lining separately, making the lining an inch or two shorter than the outer fabric.
pennyfp
Yea!!! I have been wondering how to do that! I think flat fronts looks a little more dressy and they definitely seem to feel better on my tummy. I’m SOOO excited!!! THANKS for sharing!!!
Dara
Very Pretty Melly! I am pinning this! Thanks “sew’ much!
Irene Haugen
This skirt is dreamy in every way. Superb job! I am new to this site and a beginner sewer. Learning as I go. Thank you for your dedication to this craft, and passing your knowledge on to us.
Diana
Gorgeous, thank you so much for all the info you pass on