
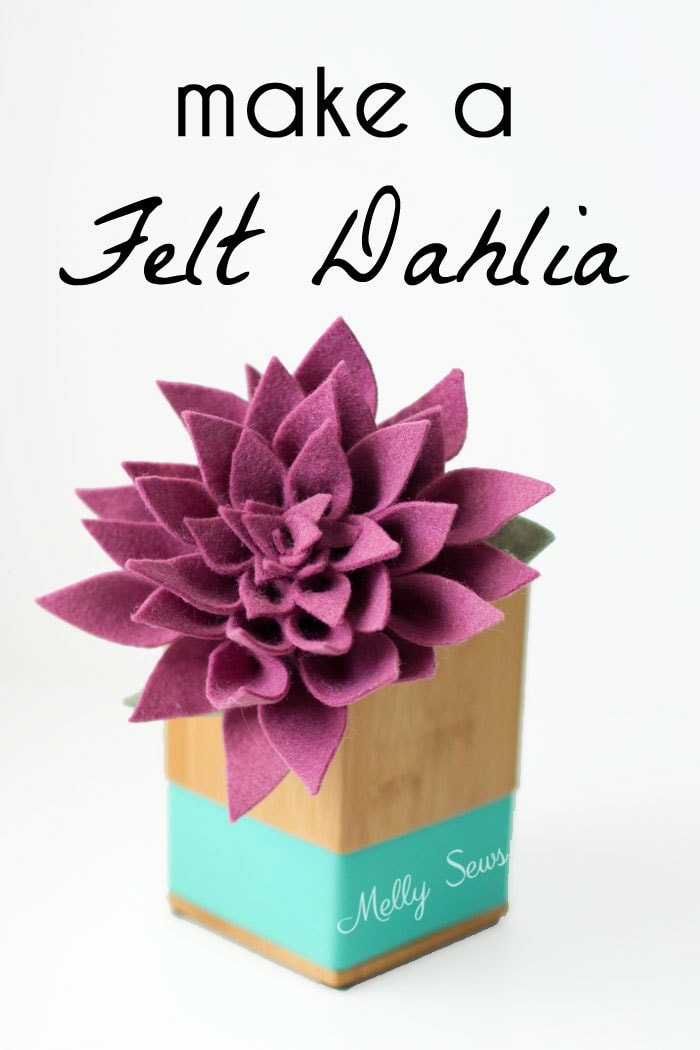
Hey y’all, it’s the today’s felt flower tutorial is a little different. Today I’m going to show you how I make a felt dahlia with a time lapse video. This whole flower is based on this tutorial, and you can go there to see the still images and instructions, but I thought the video version of flower making might be fun too.
And in case you’d rather download the petal shapes instead of eyeballing them from my images, I have the entire file for all these flowers available for purchase here.
You’ll need:
- 1 sheet of 9×12 felt in the color you want your dahlia, and some scraps of green. For this one I used Mulberry and Loden from this shop. I prefer the wool blend felt (which is hard to find in stores) because it cuts cleaner and is softer and easier to shape.
- Floral wire. I prefer the cloth covered kind for these
- Hot glue gun. Do your fingers a favor and get the low temp kind.
Note – if you wanted to, you could hand sew these. That’s the method I would recommend if you want to make them to embellish clothing. And then either use fabric that won’t fray, like fleece or knit, or add fray check to the edges after you make the flower if you use other fabric.
One more note – flowers in nature aren’t perfect. Allow yourself some imperfections while making these, and you’ll get a more realistic looking flower. Remember to have fun!
So here’s the video time lapse of how I made the flower. If it doesn’t load for some reason you can also watch it on YouTube here.
Look out for more flower tutorials to come – like I said, I’ve made a bunch of these!
Leave a Reply