
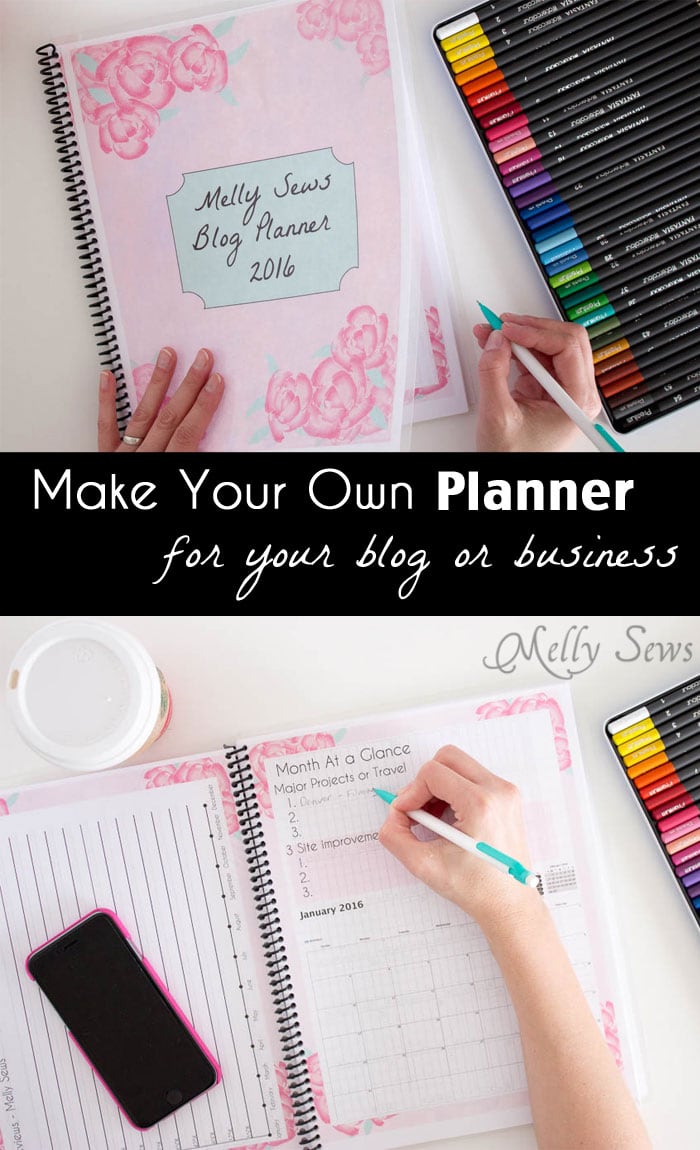
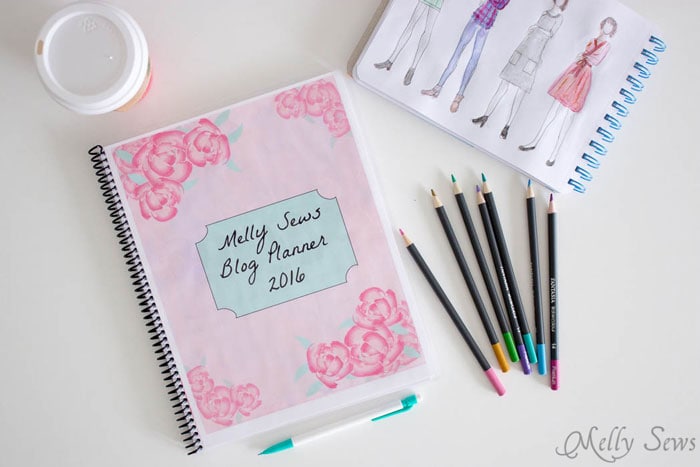
 How is it already time to for me to do this again? Like where did 2015 go? Anyway, today I’l sharing my 2016 blog planner and showing you how to make your own DIY planner – for a blog, business, or even to keep up with family activities.
When people ask me how I get so much done, there is a two part answer. Part 1 is that you’re only seeing part of the picture on any given social media channel, and I have help that you’re not seeing. But Part 2 is that ORGANIZATION IS KEY, and a system that works for you helps you get more done. A big part of my system is handwriting things. I know people love phone organizers, but I use my phone for so many other things that I like being able to see my calendar at a glance, even if my phone isn’t within reach. Plus, there is research that writing things down helps them stick better in your brain, and checking a box on a phone for me is just not as satisfying as crossing off something on my list with a pencil.
So, here’s what works for me…and if you want to download the pages I made for this year, you can print them for personal use here. I’ve got images below that show what the pages look like, and the actual pages don’t have watermarks like you’ll see in the post here.
How to Make a Blog Planner
- Print a front and back cover on cardstock
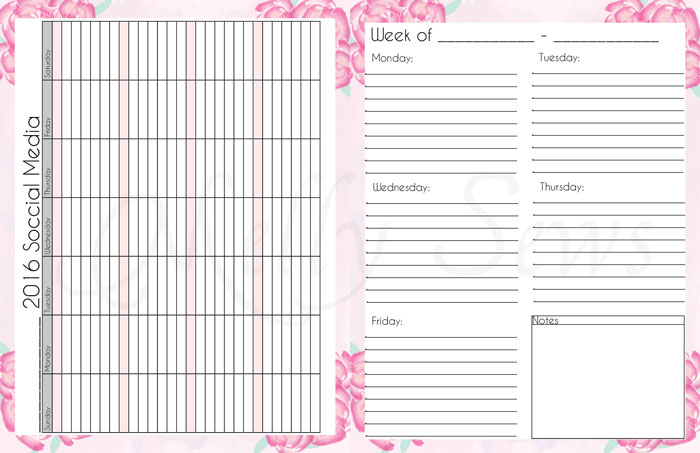
- Print all the pages you need for the year. I printed:
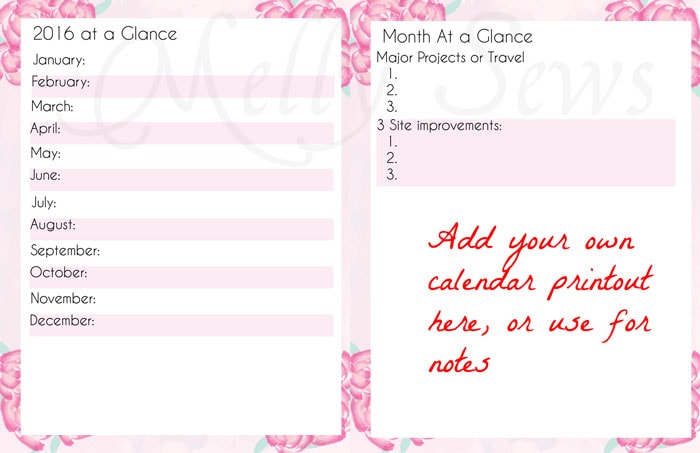
- 1 Year at a Glance
- 3 Bar Graph Charts
- 12 Monthly Overviews
- 15 Social Media Calendars
- 52 Weekly To-Do Lists
- 12 Monthly Tracking pages
- To save paper, I set my printer to print some of the pages front and back. You could also print half the pages and reload them to print on the back sides.
- I also added some blank pages to the back of the planner for list making, sketches, etc. It’s just nice to have blank paper close at hand.
- Once you have the covers and pages printed, stack them in the order you want them and take them to an office supply/custom printing shop. Ask for the covers to be laminated and then the whole thing spiral bound. I used to go to Fedex Kinkos for this, but they wouldn’t do it this year because they said they won’t spiral bind laminated things anymore. So I went to Office Depot, and I don’t know why I haven’t been going there all along – not only were they happy to laminate and bind, they were MUCH faster than Kinkos. I’m sure this varies depending on your location, but I know where I’m going next year.
Every year I tweak my planner based on how I used it the past year. So, this is what I’m doing for 2016. And this is what I did for 2015, and this is 2014.
First, I forgot to print my covers on card stock, which led to them being a little more flexible than in year’s past. Oh well, it still works.
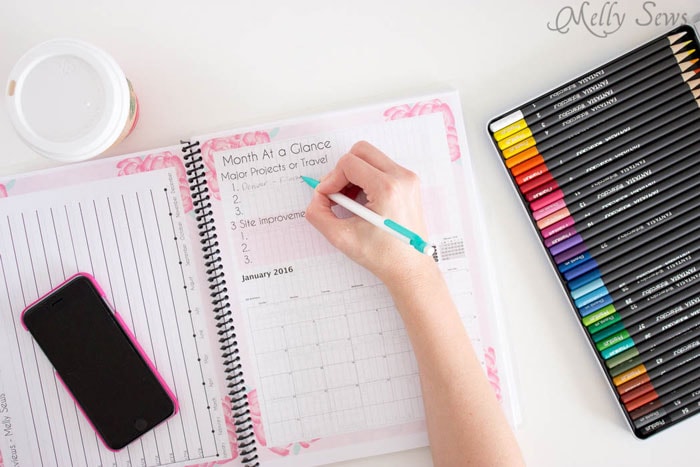
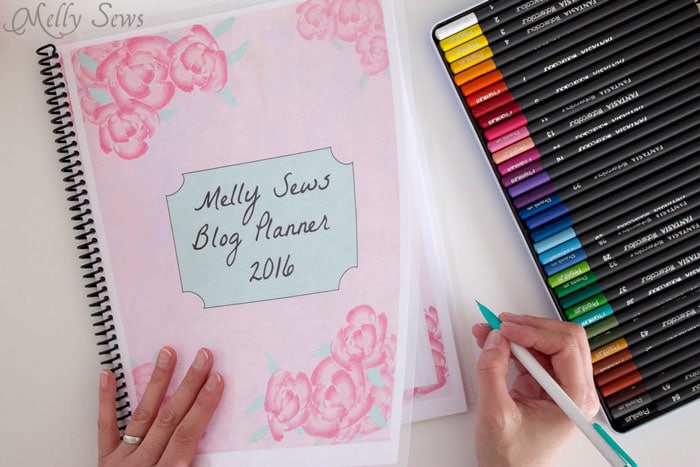
I noticed this year that I haven’t used the full page calendars I included last year or the monthly list of sewing/pattern work, so I redid my month at a glance page to simplify. I am still adding a small calendar so I can keep my days of the week straight (as you can see above – I just print those from the calendar app on my phone) but then I simplified the month at a glance so I know what major things I have to do each month. Also, with limiting major things to 3, I’m hoping to eliminate some guesswork and stress from overextending myself.
The weekly to do lists, social media calendars, monthly tracking and bar graphs are still working well for me, so those pages stayed just the same.

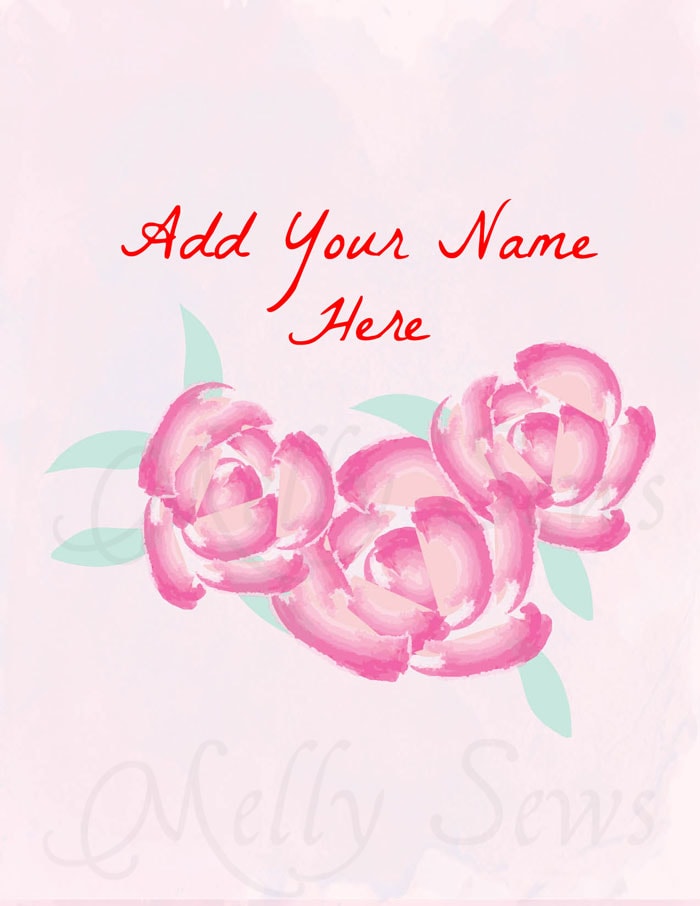
I’m also sharing a cover this year that you can use – the file in the download has space where you can write or draw your name or blog name if you’d like.
So, if you want these pages, you’re welcome to print them for personal use from here. Here’s to an organized and productive year in 2015!
People have asked about my design sketchbook. It is The Pocket Fashion Sketchbook, available here. (affiliate link)
melissa evans of mahlicadesigns
Thanks Melissa. Since using your 2015 planner I am a convert to having a paper planner over digital. Having it in hand and being able to view it all together makes planning so much easier.
Fellow bloggers, you need to give this a try.
Mary
I’d love to make one of these, but unfortunately I’m out of liquid gold (printer ink) at the moment. You should make and sell these – I’d totally buy one if you did!
Kate B.
Thanks so much for sharing these pages.
Gina
Do you mind sharing how you made these pages (what program). I don’t blog but I do have my own business and I would love to just add a couple different pages to help me keep track of items I want to make with what fabric and what patterns as well as ideas that I may or may not pursue!
Thanks so much for sharing this- it’s great! I will be using it to get myself more organized 🙂
Melissa Mora
I use Adobe InDesign
cindy
Thank you for this planner. I am going to print it out and give it a try as I set up my blogs for both work and personal. This is a big help!
Lois LaPointe
sew sweet! thank you